
Design custom Manual Task forms
Manual Task (MT) Designer is a solution for building custom form layouts you can further employ for various purposes, such as creating Manual Task forms.
The MT Designer tool comprises two major components:
Builder lets you create layouts from different components. Its output is a JSON configuration describing a form layout.
Renderer utilizes the JSON configuration to render the layout. The component provides a user-friendly interface inside the WorkFusion application for filling the form with appropriate data.
Complete preparations
To enable rendering of Manual Tasks based on MT Designer layouts via the Control Tower (CT) user interface, complete the following preparations:
Click the link to download a template file.
Sign in to CT, go to Advanced > Templates. On the right, click the Import button.
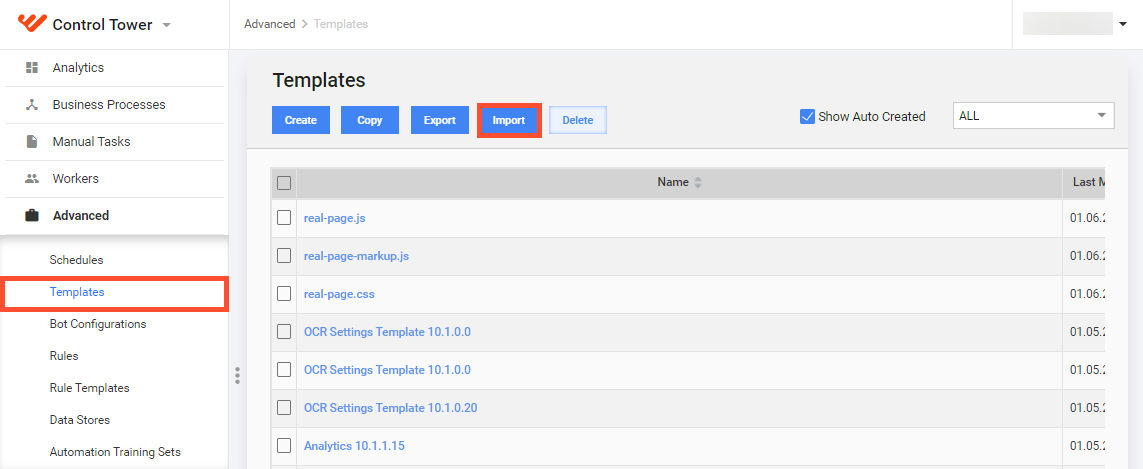
Upload the downloaded file under the same name (in this case, task-designer-10-3.ftl), setting Template type to Macro.
Click the link to download the package containing a new MT.
Import the package to CT. For that, go to Manual Tasks, open the drop-down list next to the Create Manual Task button, and select Import Package.
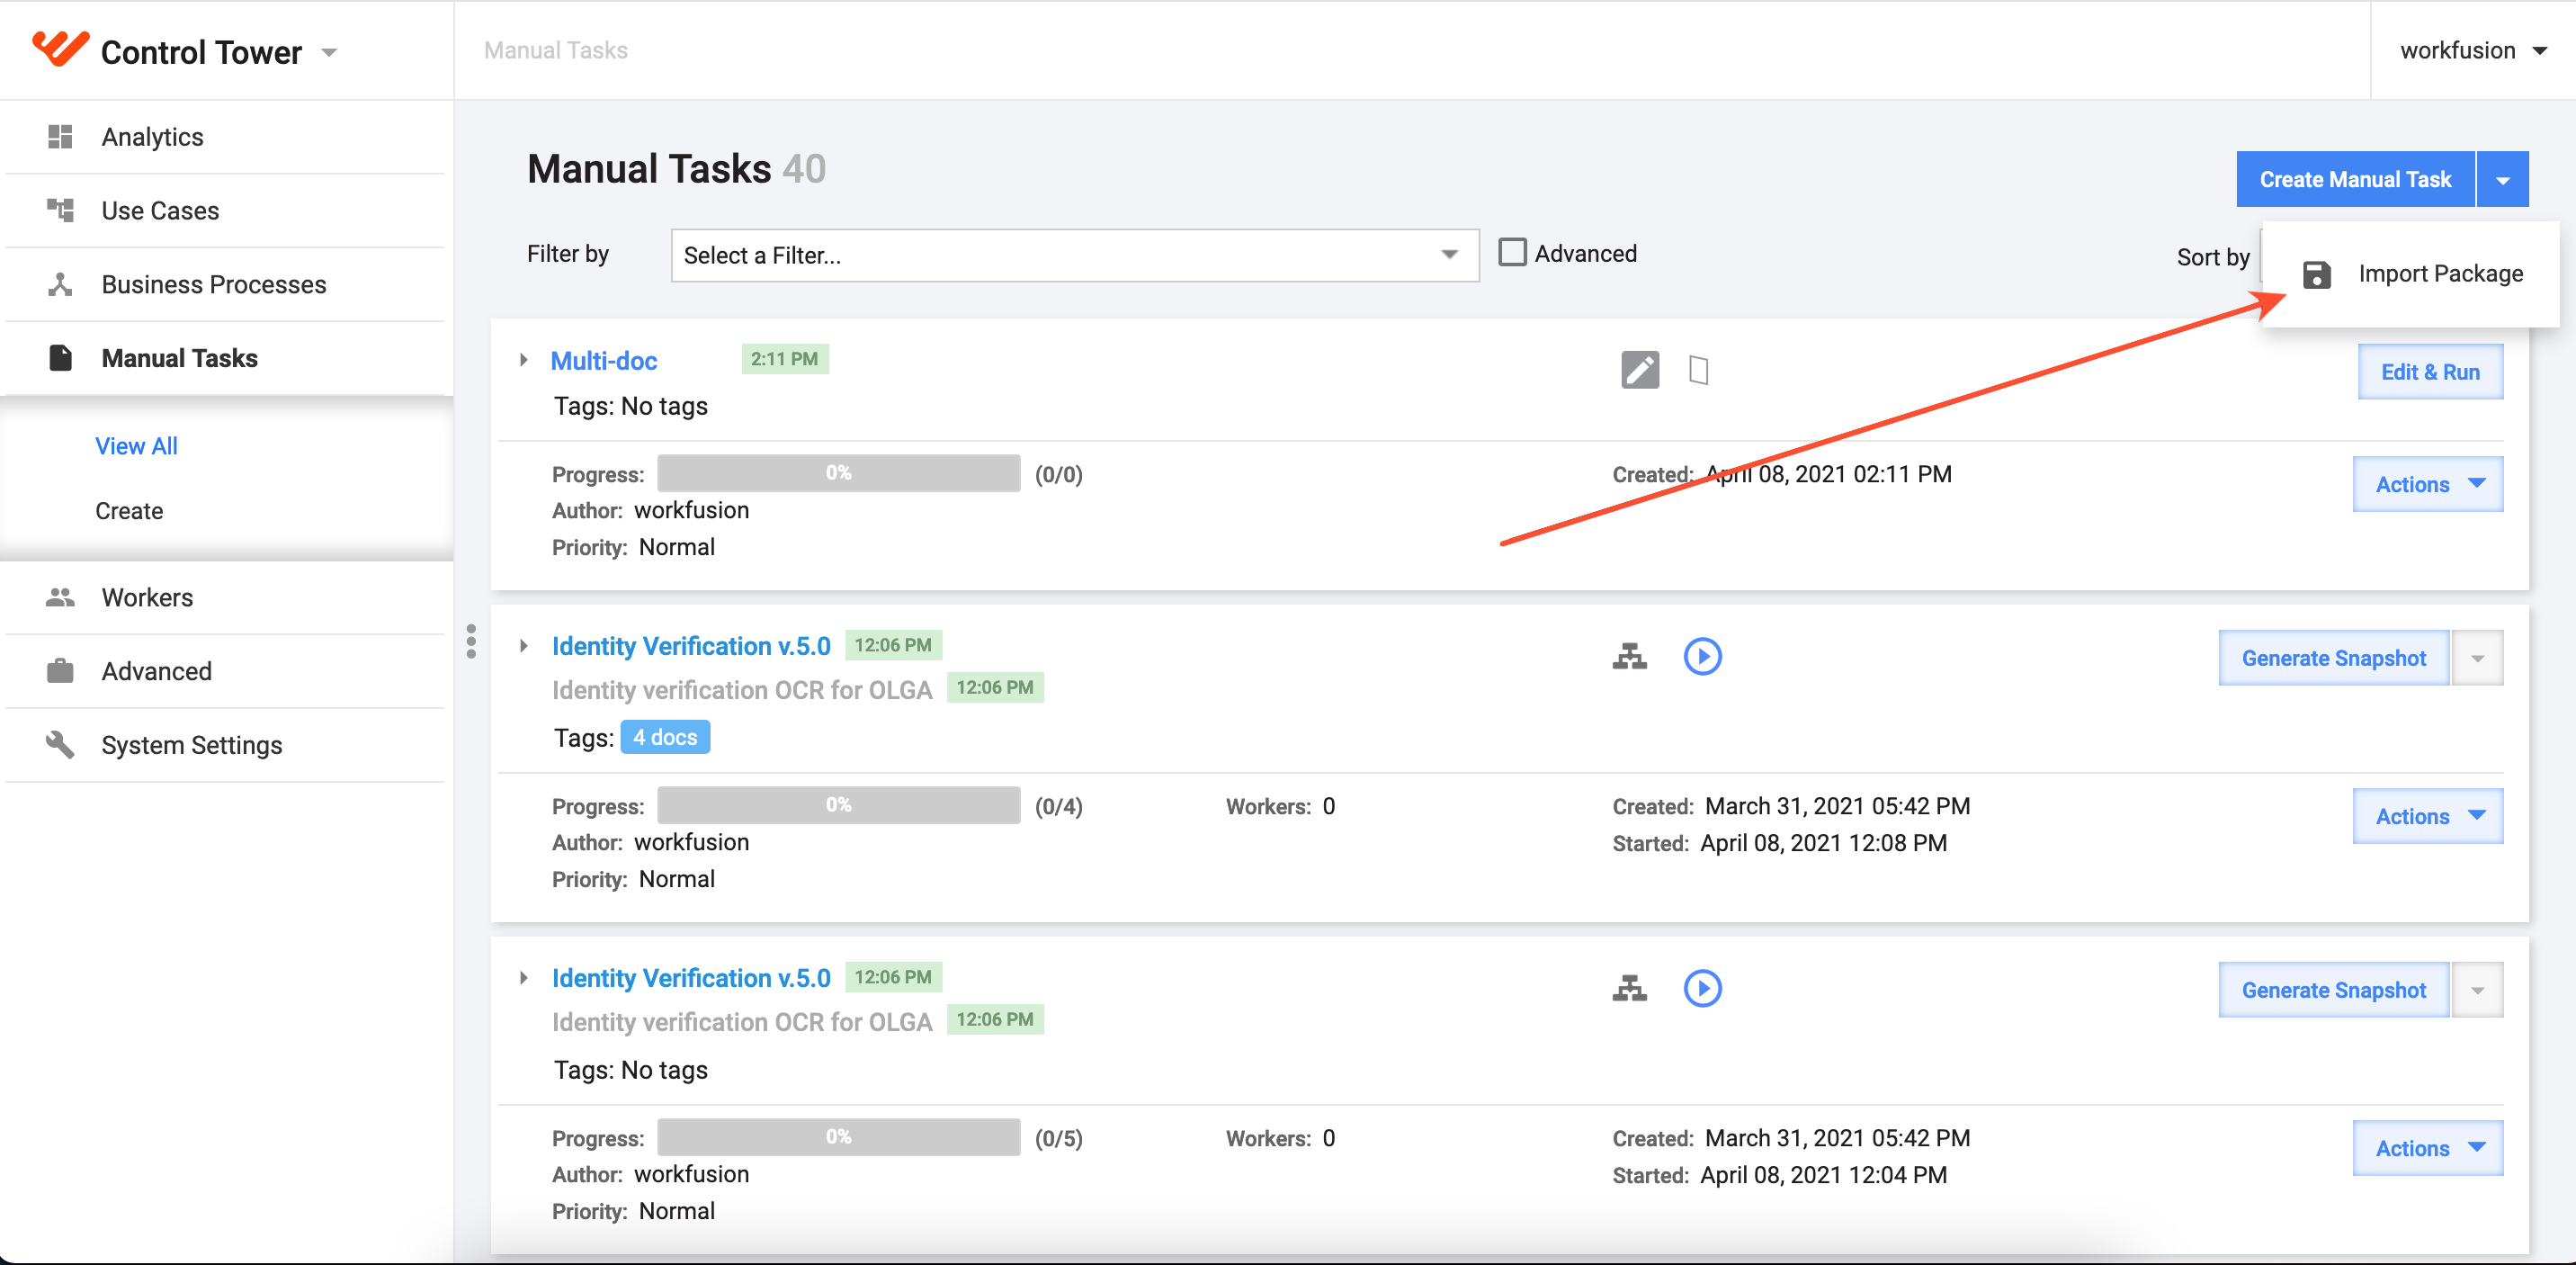
Now, CT is ready to work with Manual Tasks based on MT Designer templates.
Create form layout in MT Designer
To open the MT Designer interface, click the link. Mind that the link works only if you are connected to WorkFusion's VPN.
To create a form layout, follow one of the instructions below, depending on your purpose.
Single-document Manual Task
To create a form layout for a single-document Information Extraction task, act as follows:
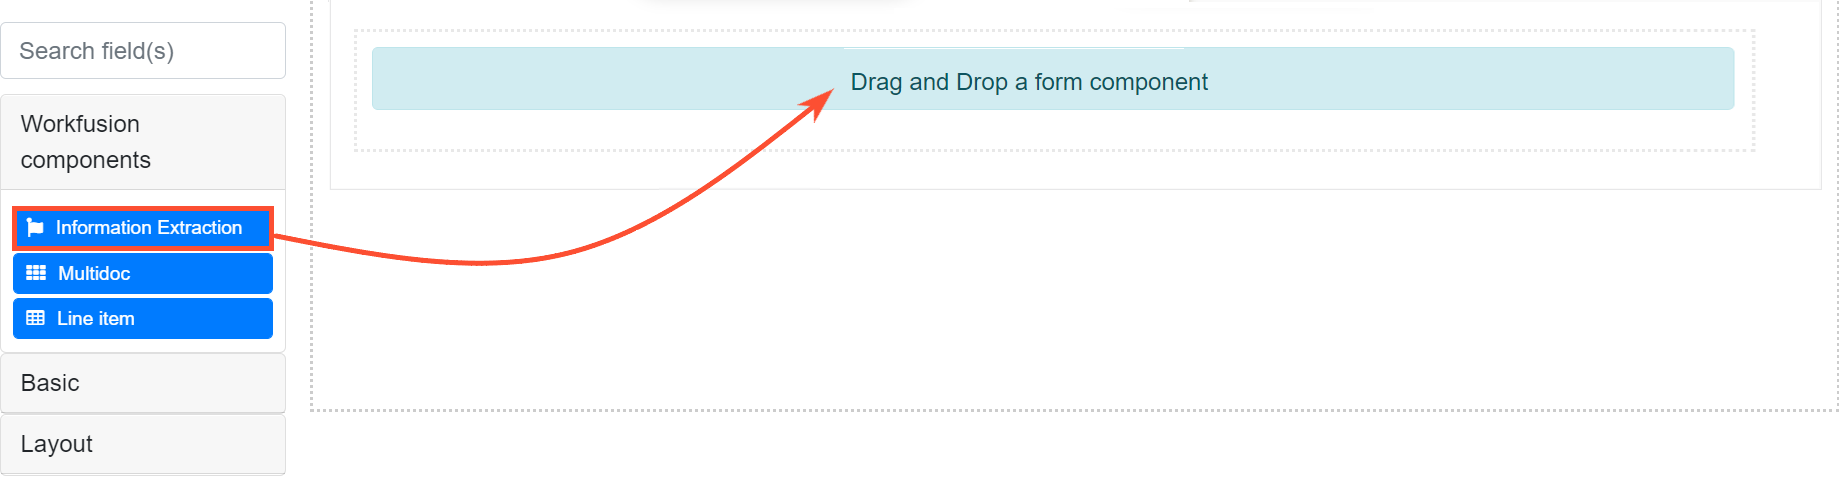
From the pane on the left, drag the Information Extraction component to the drop area on the right.
In the window that opens next, specify the Property Name matching the column name with the task data in the input CSV file. Typically, it is
meta_info_json.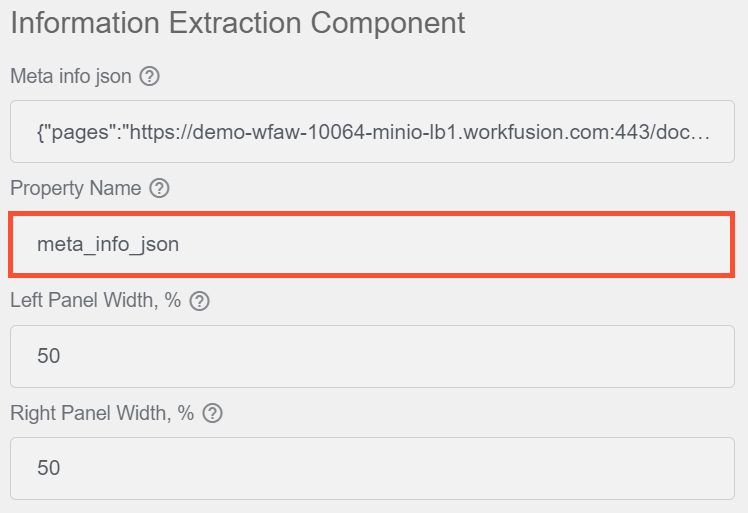
Typically, the column in the CSV file comprises JSON with the following fields:
pages,ocrXmlUrl, andtaggedXMLif the model has already extracted fields.In the Preview area on the right, click the Save button to save the setting.
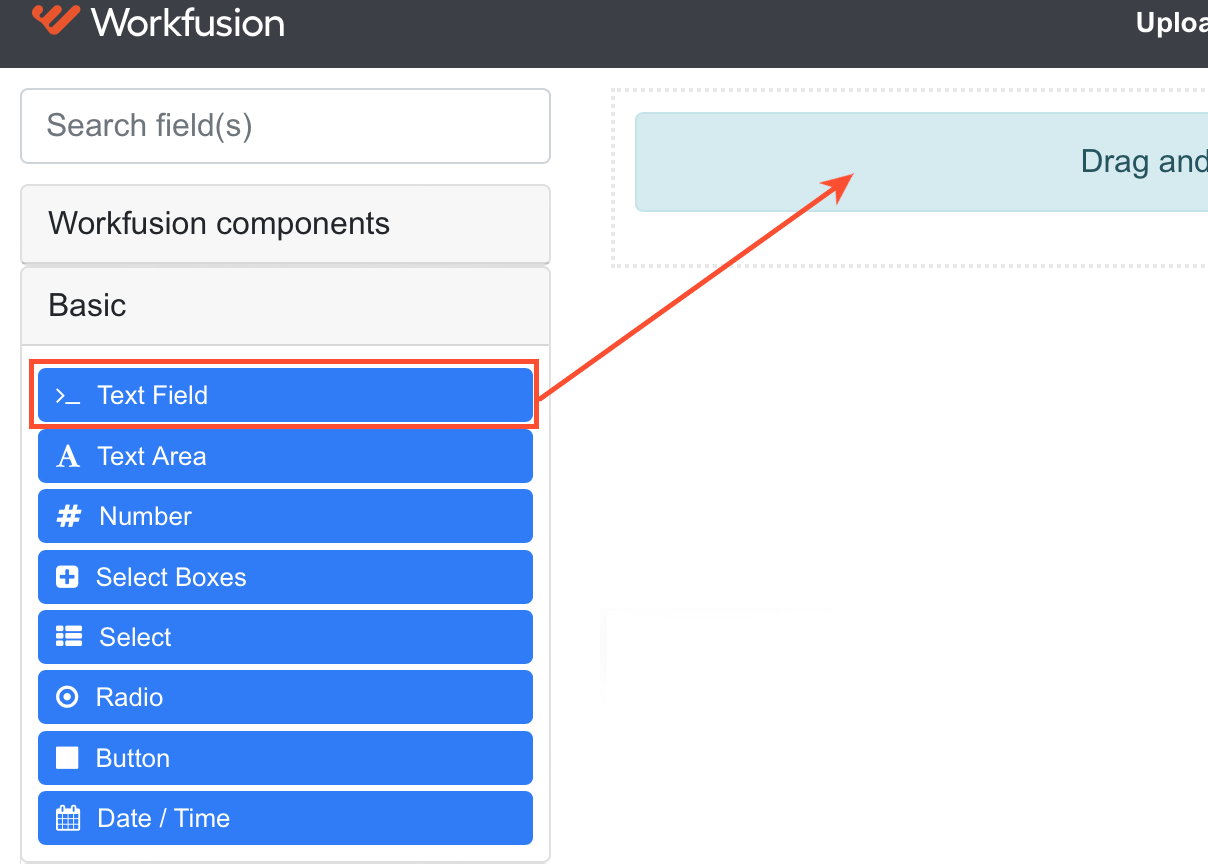
To add fields for tagging values, select appropriate components from the Basic or Layout menus on the left and drag them to the drop area on the right. For a detailed description of the components, refer to Add fields.
Multi-document Manual Task
To create a form layout for a multi-document Manual Task, act as follows:
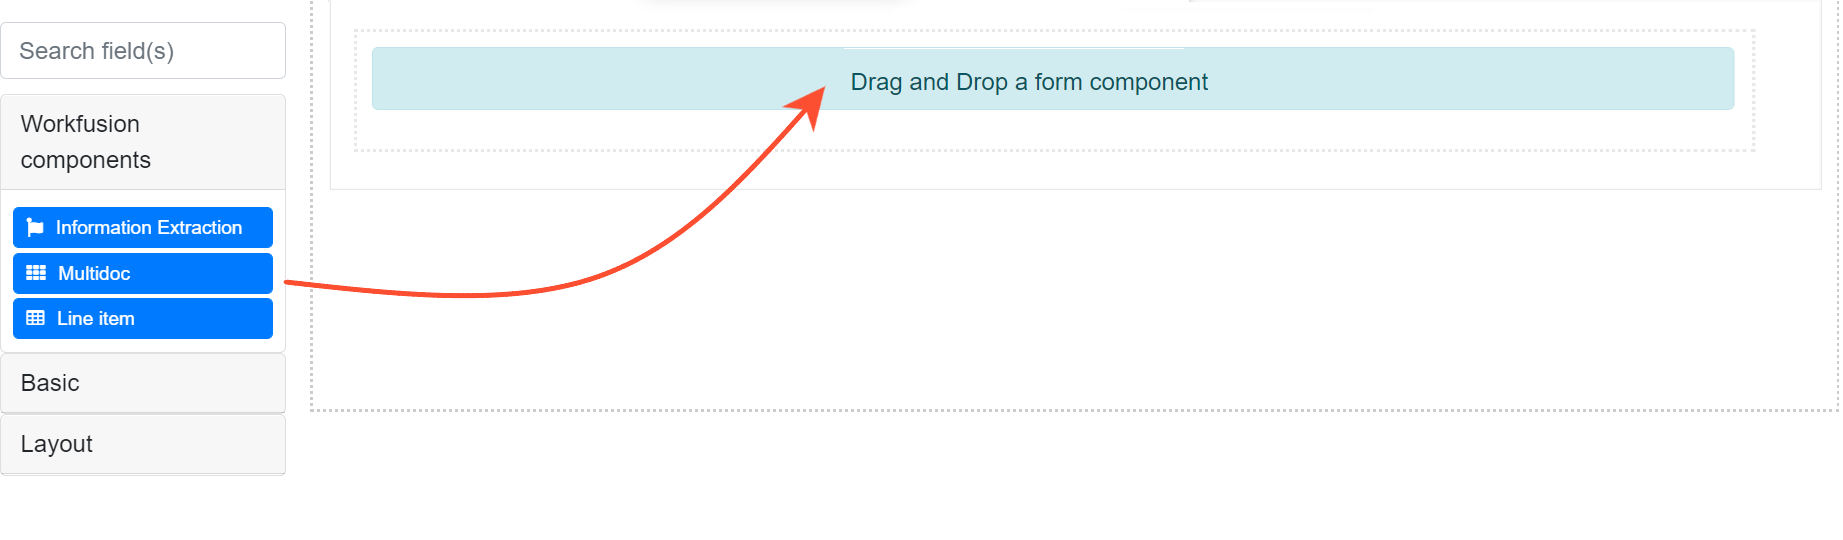
From the pane on the left, drag the Multidoc component to the drop area on the right.
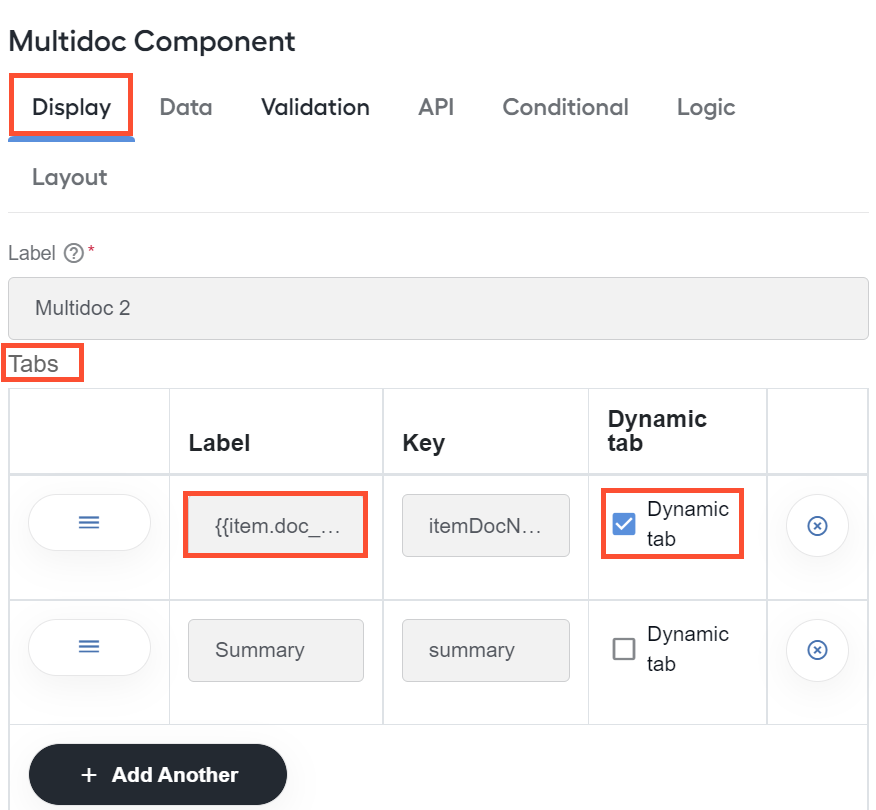
In the window that opens next, go to the Display tab and set a dynamic tab—the task form tab to be dynamically multiplied depending on the input data:
In the Tabs section, select the Dynamic tab checkbox.
In the Label box, insert the tab name—typically, corresponding to that of a document in the MT from
_sys_transaction_json.
- In the Type of view field, select Horizontal or Vertical to set how the tabs are to be arranged relative to each other when rendered.
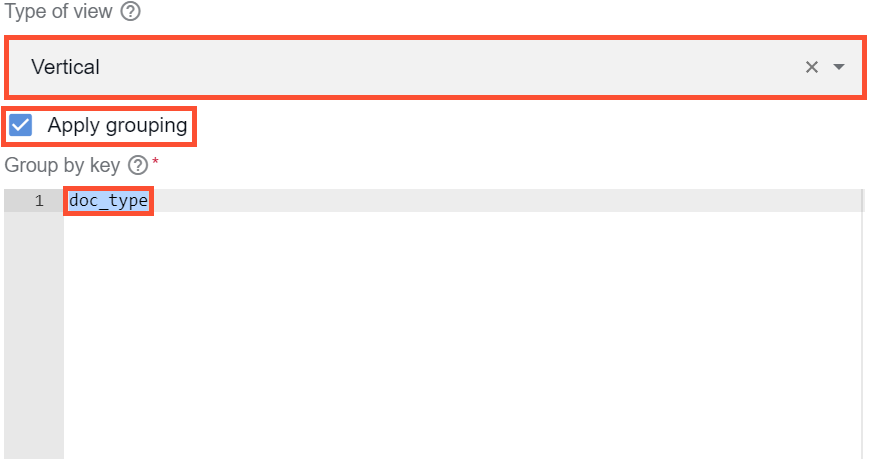
- If you want the tabs to be grouped by document types, click Apply grouping and set the
doc_typegrouping key.
tip
- In the Label field, you can type in any value as it will not be used anywhere.
- If you leave Dynamic tab unchecked, you add a static tab—the one that's not going to change whatever input data you have.
To map the input data to the Multidoc component, go to the API tab and specify the Property value to match the transaction data column name in the CSV file. Typically, it is
_sys_transaction_json.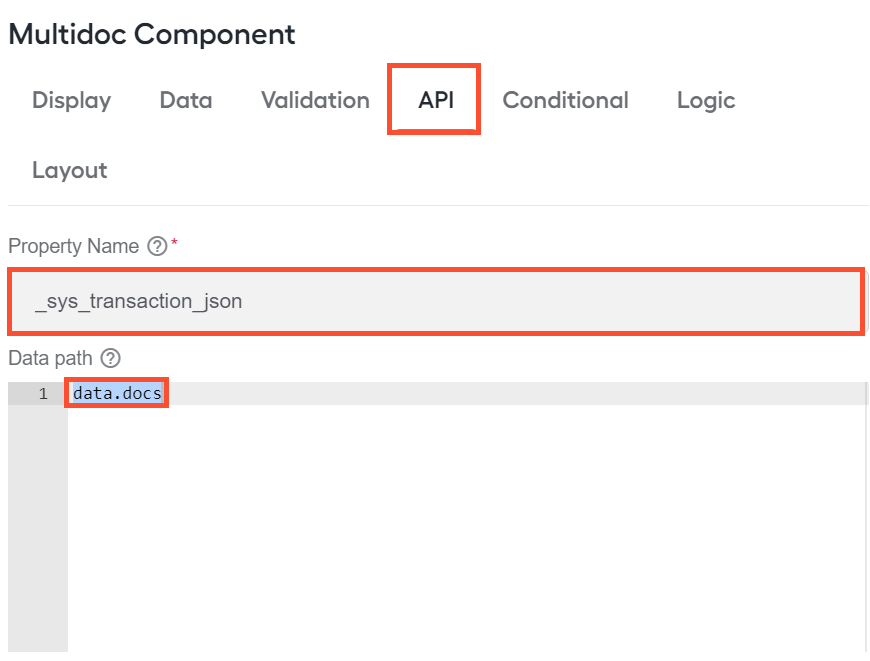
If the input document data set is nested deep, also configure the Data path value. In this case, in the input data, you can see a CT transaction comprising an object with a docs field containing a set of documents.
In the Preview area on the right, click the Save button to save the settings.
Drag-and-drop the Information Extraction component to the dynamic tab.
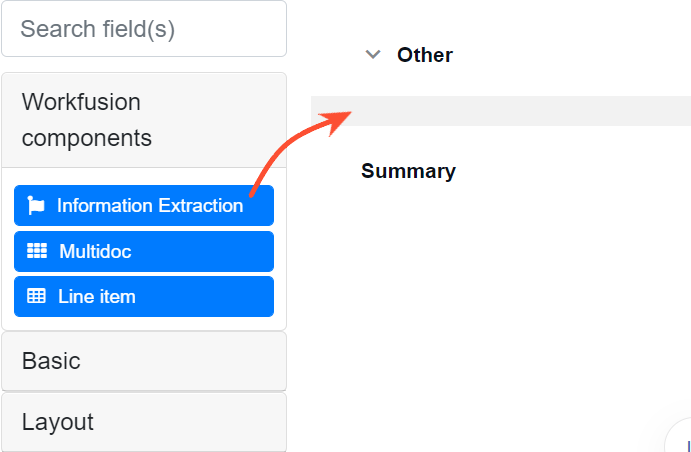
On the page that opens next, go to the API tab and specify the Property name. Typically, it is
meta_info_json. This way, you map data from the inside of the multidoc transaction to the Information Extraction component.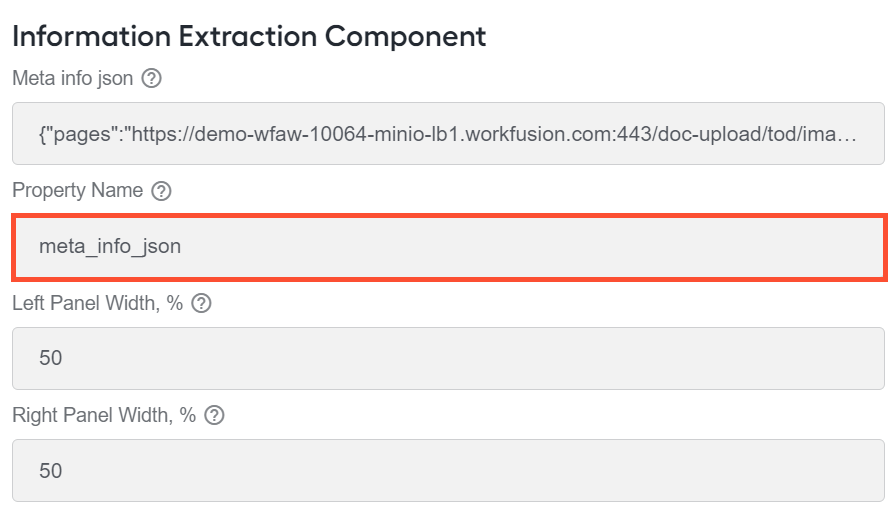
To add fields for tagging values, select appropriate components from the Basic or Layout menus on the left and drag them to the drop area on the right. For a detailed description of the components, refer to Add fields.
To configure viewing conditions for the added fields, open the settings page for a specific component and go to the Conditional tab.
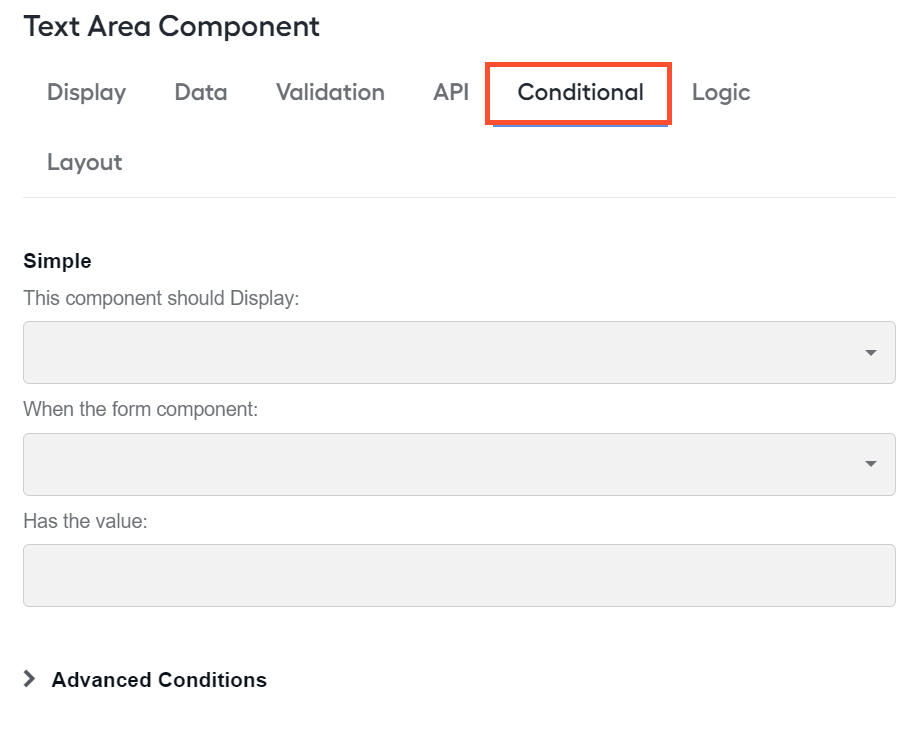
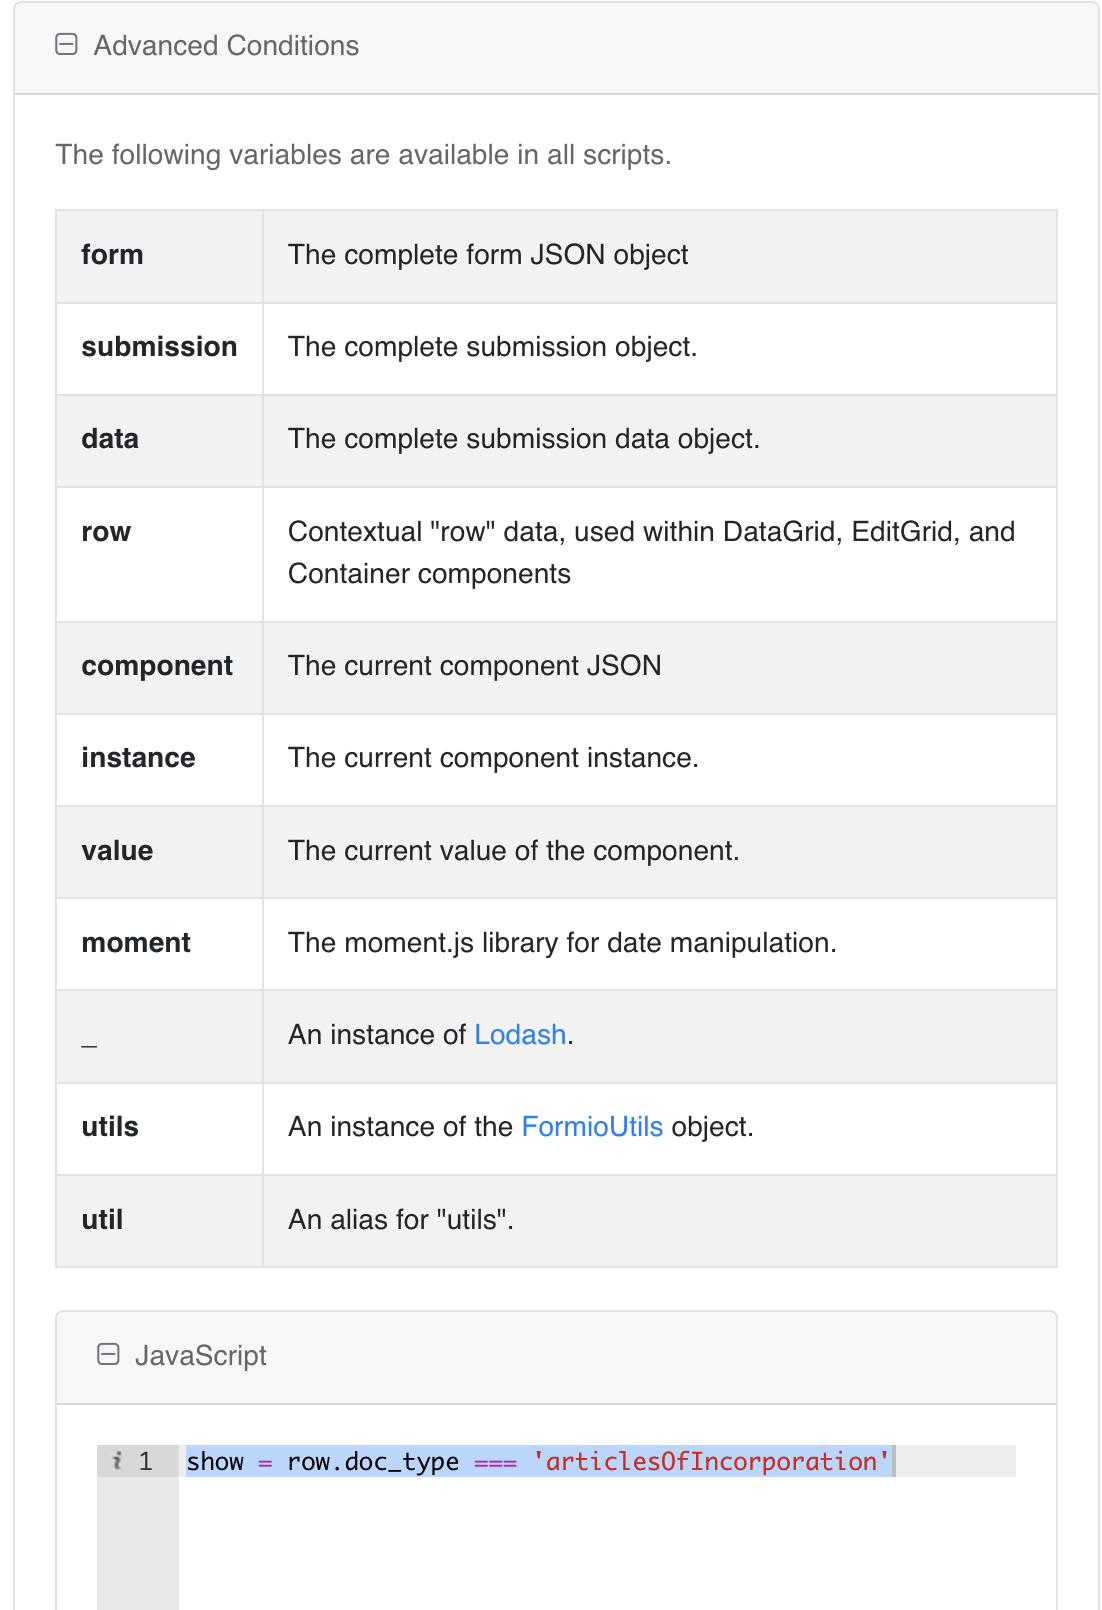
For the components within DataGrid, EditGrid, Multidoc, and Container that might be dynamically created at runtime, set viewing conditions using the Advanced conditions section. The approach allows you to access values inside each row (tab).
Add fields
You can add fields to a form layout using the components from the two menus:
Basic
Layout
The table below lists the components from the two menus and their brief descriptions.
| Component | Usage | Illustration |
|---|---|---|
| Basic/Text field | Use the component to add a text field. | 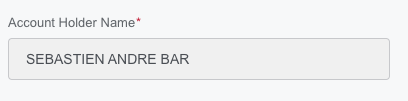 |
| Basic/Text area | Use the component to add a text area. | 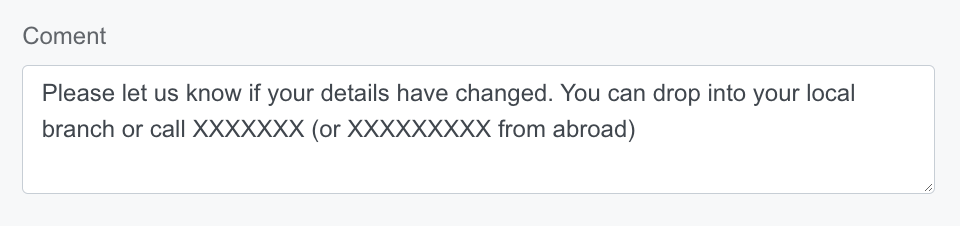 |
| Basic/Number | Use the component to limit input to numbers only. |  |
| Basic/Select boxes | Use the component to add select boxes to a page. | 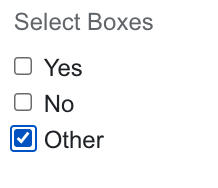 |
| Basic/Select | Use the component to add a selection list field. | 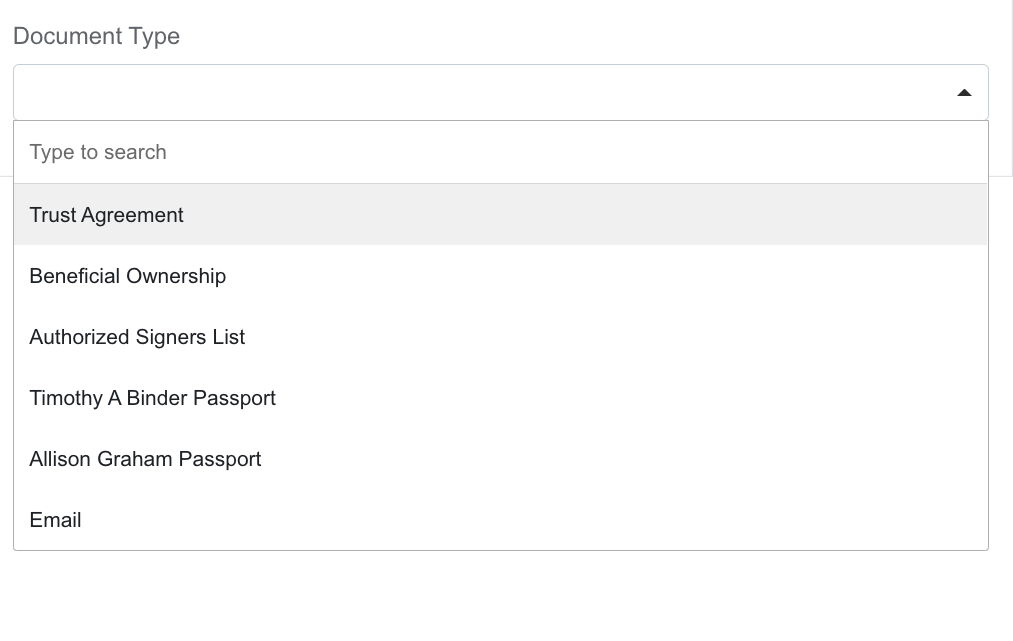 |
| Basic/Radio | Use the component to add radio buttons. | 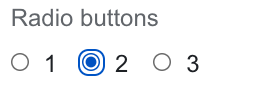 |
| Basic/Button | Use the component to add a button. |  |
| Basic/Date/Time | Use the component to add the functionality to set the date and time. The default format for setting the date is yyyy-MM-dd. You can change the date display format in the Settings menu. | 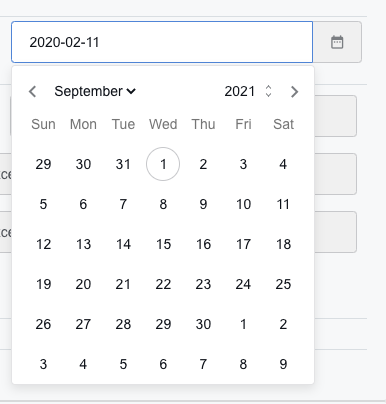 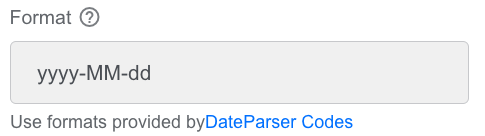 |
| Layout/HTML element | Use the component to set up an HTML element. |  |
| Layout/Content | Use the component to add non-field information, for instance, instructions at the top of a form. Type the required content in the WYSIWYG editor. |  |
| Layout/Columns | Use the component to organize the form content in a number of columns. | 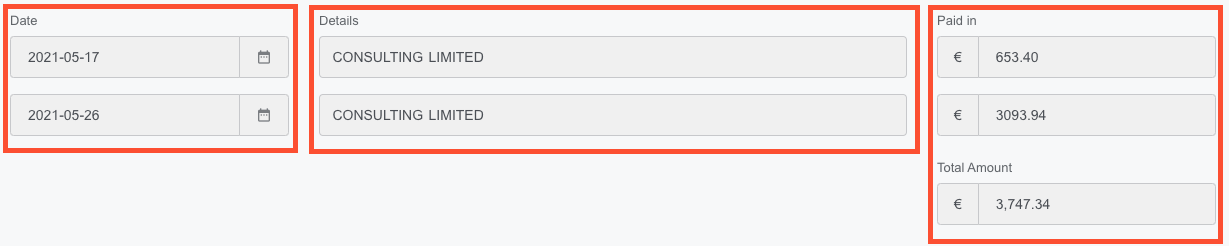 |
| Layout/Field Set | Use the component to create a title for an area in a form. Put it inside other Layout components or in between related components. | 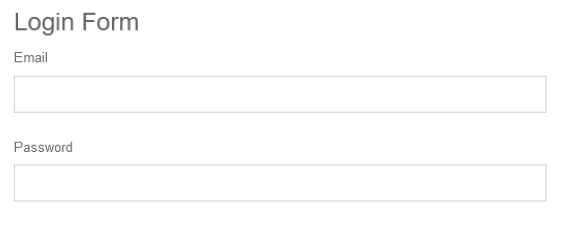 |
| Layout/Panel | Use the component to unite a number of fields under the same title and apply identical styling. | 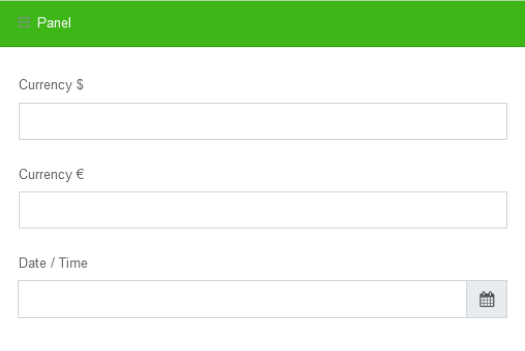 |
| Layout/Table | Use the component to organize the content in the form of a table. | 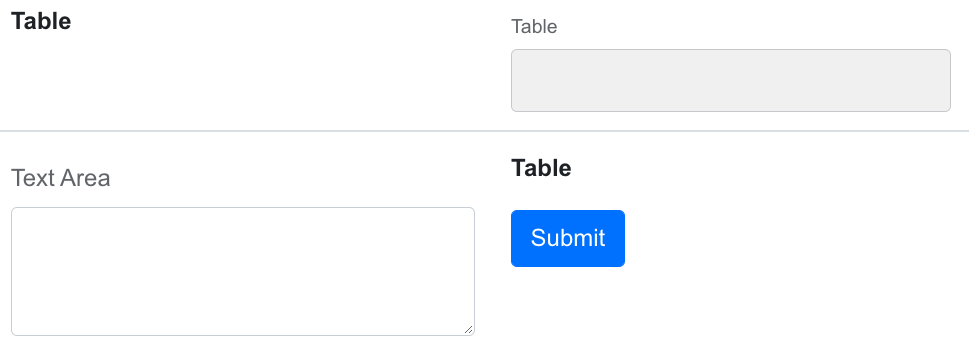 |
| Layout/Tabs | Use the component to organize the content as a collection of tabs. |  |
| Layout/Tabs | Use the component to wrap a number of fields in a div with a class. | 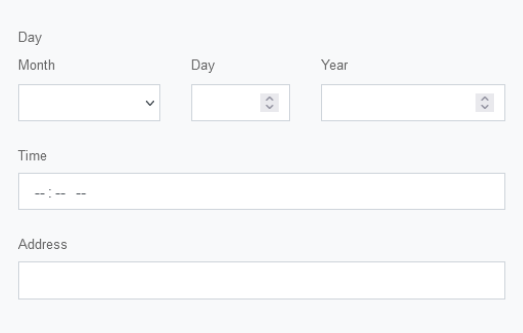 |
For more details and settings, refer to following the documentation:
Upload form to Manual Task
Once you built a form, follow the instruction below:
Copy the JSON code from the bottom of the MT Designer page and minify it.
Add the resulting JSON string to the input data CSV file under the
task_configcolumn name.It is expected that, in the CSV file, there are already column names with appropriate data mapped to the components in the form (for instance,
meta_info_jsonor_sys_transaction_json).Upload the CSV file as input data to the imported MT.
Run the MT.
After submitting the Manual Task, all data appears in the task_result column (see the configured answer).