
Add RPA server to cluster
Prerequisites
C:/RPA or INSTALL_DIR is the default RPA installation directory. Change it to your own if needed.
To add a new RPA server, follow the steps below:
Install an RPA server using the instruction. If you work with the cloud, create a custom virtual machine image from the current RPA server in the environment and launch a new instance from the image.
Create a DNS for the new Windows host with RPA.
Log in to the newly created Windows host with RPA. Go to
INSTALL_DIR/nginx/confand change the DNS and IP address of the RPA server to the new instance values in thenginx.conffile.Go to
INSTALL_DIR/bot-agent/confand change the DNS of the RPA server to a value of the new instance in theenvironment.ymlfile.Replace the
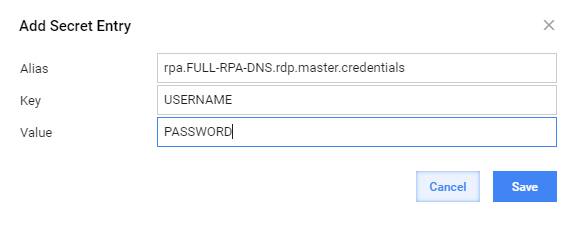
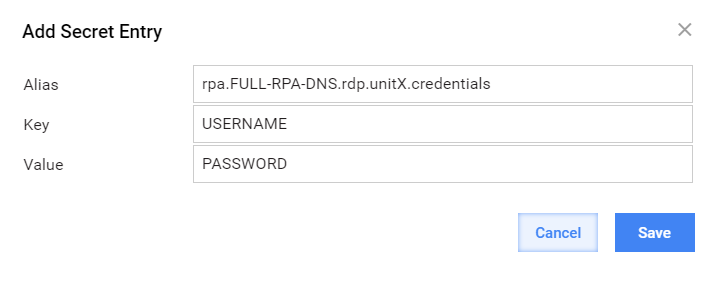
rpa.keyandrpa.crtSSL certificates with new ones, setting the appropriate DNS name of the RPA server in theINSTALL_DIR/nginx/ssldirectory.Log in to Control Tower, switch to System Settings > Secrets Vault. Click Add and create new aliases:
a. For Enterprise RPA Server, create new aliases for Master and Unit users with a predefined structure. Mind that the Alias structure is different for the Master and Unit users.
A Master user secret entry:
A Bot Unit user secret entry:
b. For VDI RPA Server, create an alias with a defined structure for the Master user only. The Master user secret entry is as follows:
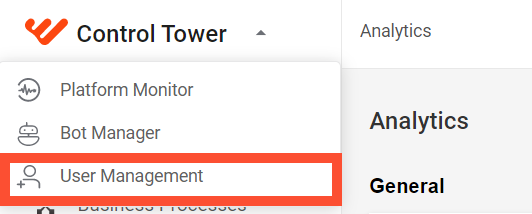
Log in to the Bot Manager console.
Click Add New RPA Server.
In the window that follows, enter the DNS of the new RPA server and click Add.
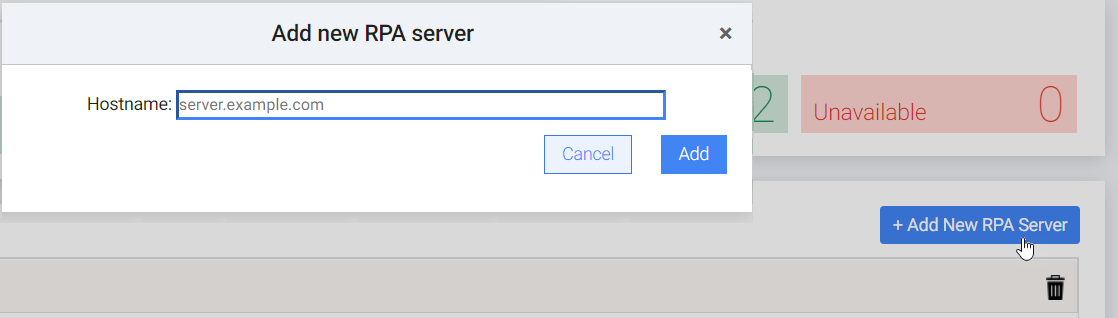
The new RPA server appears on the Bot Manager console, and an RDP connection automatically opens on a new host with the changed configuration files.