Install and configure ML Ops Platform
ML Ops Platform is an optional Work.AI add-on allowing you to work with more complex model types. The guide describes how to install the ML Ops Platform in your environment.
Choose installation type
The ML Ops Platform installer supports several deployment options:
- gcp-prod-standalone: standalone installation to Google Cloud Platform (GCP)
- onprem-standalone: standalone installation to a pre-provisioned Kubernetes cluster
Meet prerequisites
You can install ML Ops from a machine that complies with the following prerequisites:
- Bash
- Python 3.9 or higher
- Access to the Internet
Prerequisites for cloud deployment
To enable deployment of the ML Ops Platform to the GCP cloud, meet the following prerequisites:
An existing service account with the Owner role in your GCP project (
project_idinconfig.yml) and a JSON key downloaded from this account asauth.json.An existing service account from where you can create DNS records and give IAM permissions for the project and a JSON key downloaded for a public account as
auth-public.json.Both JSON keys added to the
authdirectory.$ ls ../auth/
auth.json auth-public.json
For cloud deployments other than to GCP, use the same prerequisites as for on-prem standalone deployments. However, mind that you cannot use the ML Ops Platform installer provided by WorkFusion to prepare the infrastructure for non-GCP deployments.
Prerequisites for on-prem deployment
To prepare for the on-prem deployment, meet the following prerequisites:
A Kubernetes cluster with the following resources:
The main pool of autoscaled CPU nodes with a total of 16 CPUs and 64 GB of RAM. Each node in the main pool must have the
type: cpulabel.A pool of GPU nodes equipped with at least one NVIDIA GPU A100 accelerator (40 GB vRAM). Each node must have a minimum of 12 CPUs, 96 GB of RAM, and a 500 GB SSD drive. Additionally, every node in the GPU pool must have the taint training set to the NoSchedule effect.
To verify the GPU presence, check that the output of the
describe nodecommand in Kubectl displays a non-zero value for thenvidia.com/gpuresources in theAvailablesection and the specified taint in theTaintssection.A defined default storage class.
infoYou can use both a standalone Kubernetes installation and Kubernetes as a service. ML Ops can be deployed to Kubernetes cloud environments, such as Google Kubernetes Engine (GKE), Azure Kubernetes Service (AKS), and Amazon Elastic Kubernetes Service (Amazon EKS). The prerequisites are the ability to enable node pools that can scale to zero and node pools that can provide GPU capabilities for model training.
The
kubeconfigfile comprising a context with full privileges to access the cluster and manage any type of resources in it.A TCP load balancer to direct traffic to Kubernetes nodes. Ports to forward are as follows: 80, 443, 4437, 4438, 30022, 40080, 40443.
The
server.crt,server.key, andca.crtcertificates are in theinstaller/certificatesdirectory. The subject or subject alternative name (SAN) covers the{{ stack_name }}-mlops.{{ dns_zone }}record.A DNS A-type record pointing to the load balancer IP and resolving to a
{{ stack_name }}-mlops.{{ dns_zone }}record.MySQL database deployed to the Kubernetes cluster:
- Namespace: kubeflow
- Service name: mysql
- Port: 3306
Sample manifests are available in the following path:
installer/roles/mysql/templates.
Install cluster
Prepare the
config.ymlmanifest file. You can find the templates for the file in theinstallerdirectory.For all deployment nodes, the minimum set of parameters includes:
- stack name
- deploy_mode
- dns_zone
Some installations require additional parameters listed below:
For gcp-standalone
For standalone installation to GCP, specify the following additional parameters:
- project_id
- region
- locations
For onprem-standalone
For standalone installation to a pre-provisioned Kubernetes cluster, specify the following parameters:
- kubeconfig_path: ''
- onprem_k8s_context: ''
- image_registry: ''
- image_registry_user: ''
- image_registry_password: ''
The
image_registryparameter defines the container registry from which images are pulled during deployments.In scenarios where the cluster does not have Internet access, sources are uploaded from WorkFusion's public container registries (
src_image_registry). For such cases, include the following additional parameters:- src_image_registry: ''
- src_image_registry_user: ''
- src_image_registry_password: ''To initiate the uploading of sources, execute the following command:
./install.sh upload sourcesFor external repository used instead of Gitea
When, for the GitOps approach, you use an external repository instead of Gitea, specify the following parameters:
- repository_url: ''
- repository_username: ''
- repository_password: ''
Generate passwords:
./install.sh generate passwordsDepending on the deployment type, run the installation as described below:
For cloud deployments where the installer provisions a Kubernetes cluster:
./install.sh install fullFor on-prem deployments where the Kubernetes cluster has already been provisioned:
./install.sh install product
To get the environment information, run the following command:
./install.sh get environment-info
The output of the last command contains the endpoint for the ML Ops dashboard and the credentials to access it.
Destroy cluster
The destroy option is available only for GCP deployments.
To destroy a cluster in a cloud deployment, run the command provided below. The config.yml file should be the same as it was at the creation time.
./install.sh uninstall full
Integrate ML Ops with Control Tower
To use ML functions in the Control Tower UI, which assumes leveraging MLOps, complete the following steps:
Get mTLS certificates from MLOps. From the directory containing the MLOps installer, execute the following command:
./install.sh get environment-info -e stack_name=<MLOPS_STACK_NAME> -e project_id=<GCP_PROJECT_ID*> -e kubeconfig_path=<kubeConfigPath> -e deploy_mode=<deployMode>For on-premise deployments,
GCP_PROJECT_IDcan be any string.Save the contents of
client.keyandclient.crtto theclient-mtls-mlops.keyandclient-mtls-mlops.crtfiles, respectively.Place
client-mtls-mlops.keyandclient-mtls-mlops.crtin theinstaller_dir/certificatesdirectory (the default path is/opt/workfusion/wf_installer/certificates).Update the Work.AI configuration by running the following command from
installer_diron the master1 server:./install.sh preinstall mlops -e mlops_hostname=<MLOPS_LB_DNS_NAME>
./install.sh configure mlops -e mlops_hostname=<MLOPS_LB_DNS_NAME>If Work.AI is deployed in the cloud, update the dynamic-agent configuration:
./install.sh update dynamic-agent
Modify cluster configuration
When there are no requests to the ML Ops platform, a zero-scaling approach is used for Kubernetes pods and nodes. This strategy helps save on infrastructure costs. However, this approach means that the first request made after a no-request interval of over 15 minutes may take 5 to 6 minutes to complete.
In situations where a faster response is needed (for instance, when building analytics charts with large language models), you have the option to modify the cluster configuration by editing the configuration files and then applying the changes as described in the sections below.
Reconfiguring the zero-scaling approach entails higher infrastructure costs.
Edit configuration files
To modify the ML Ops cluster configuration, follow the steps below:
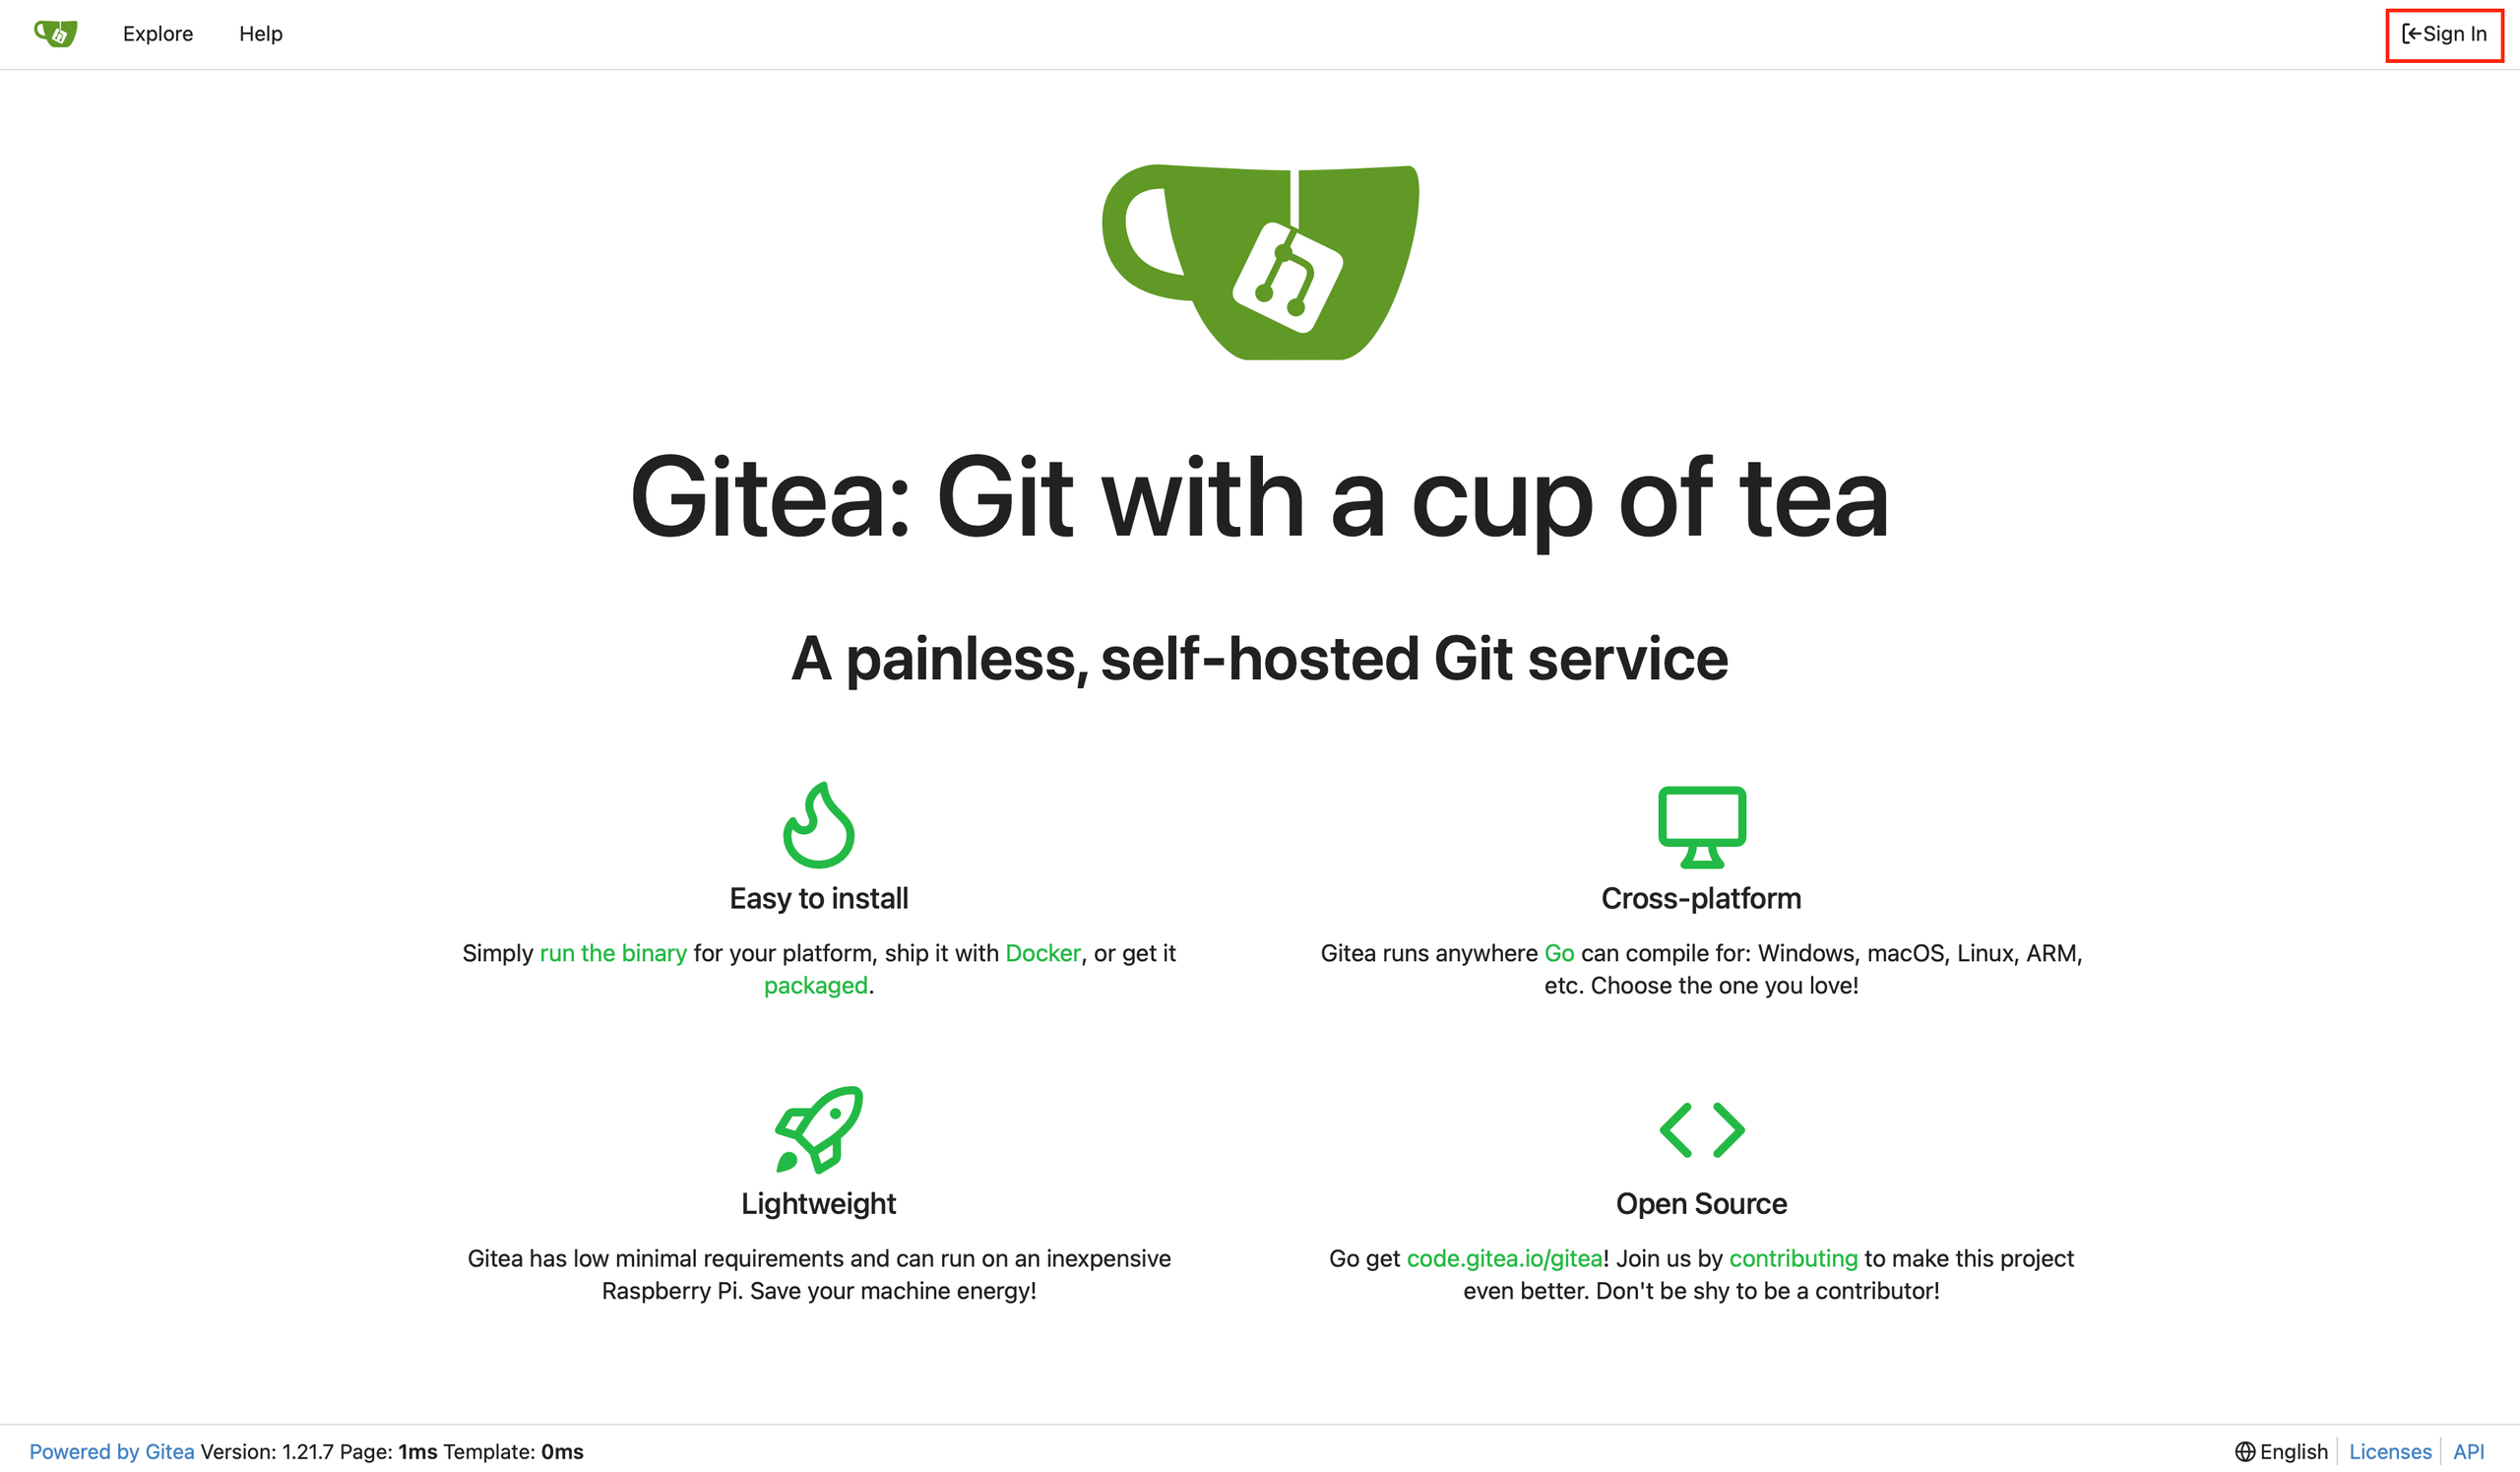
Launch https://{{stack_name}}-mlops.cloud.workfusion.com:4438.
Click Sign in.
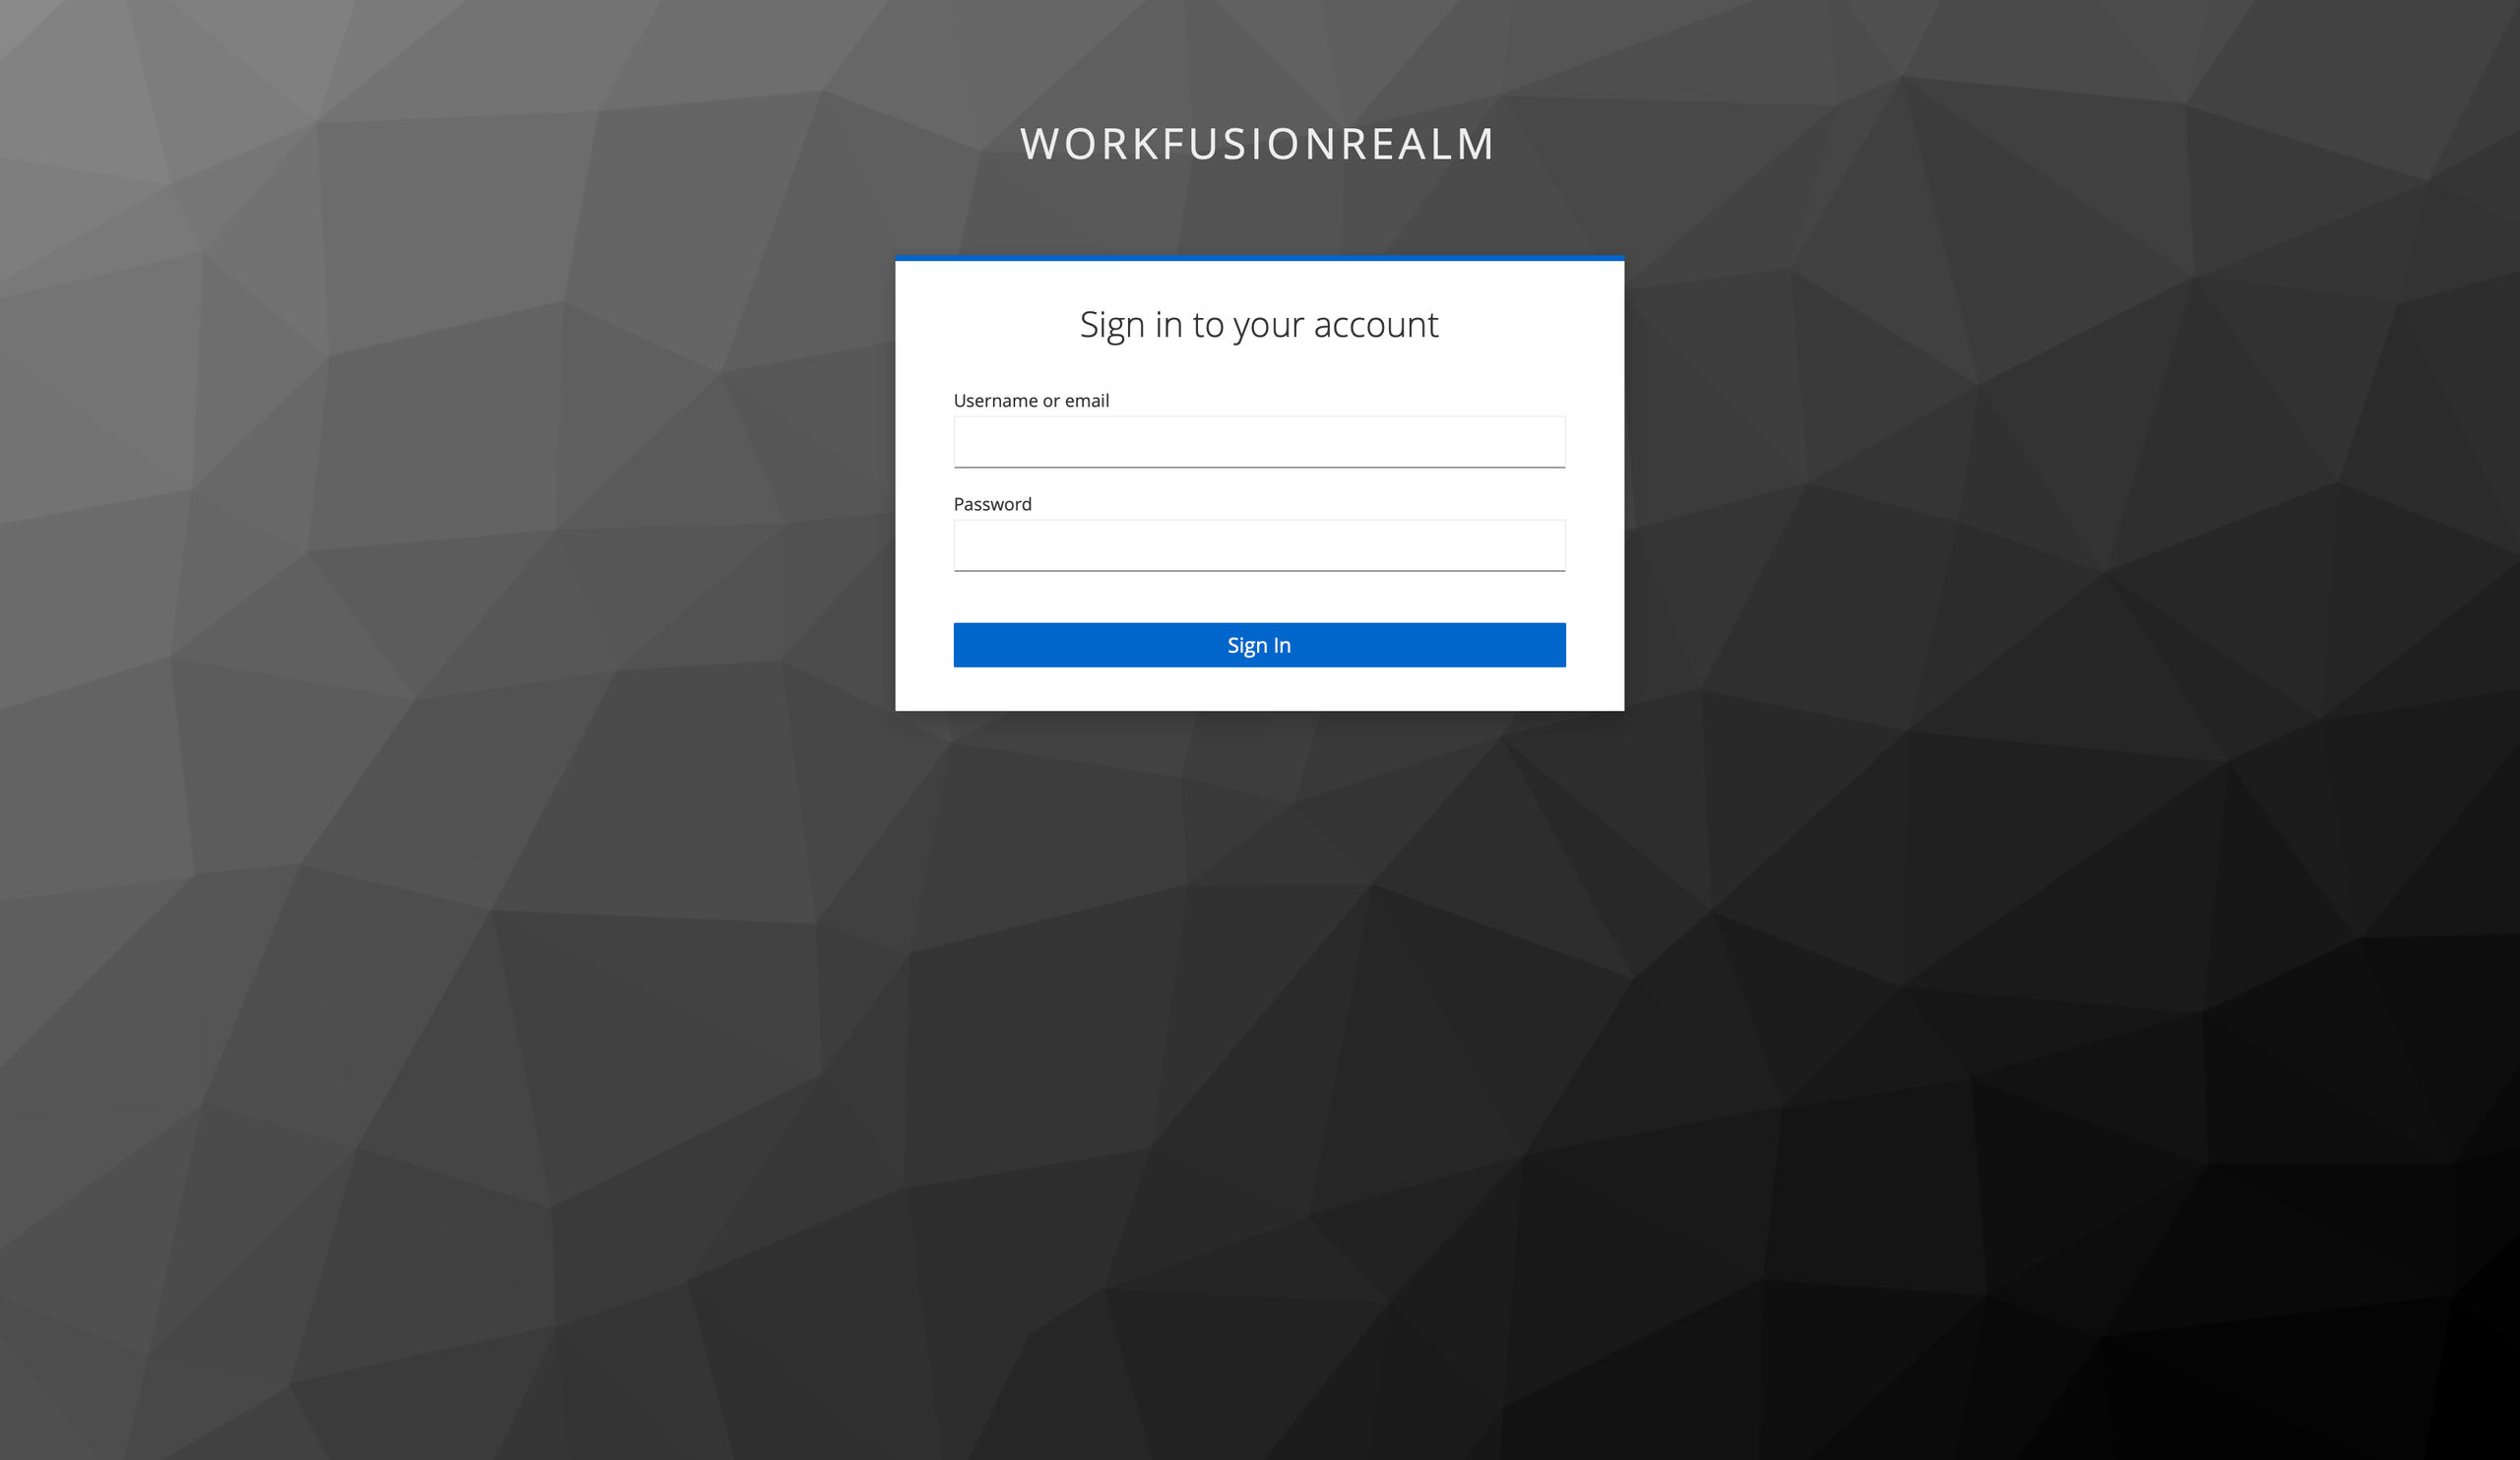
Enter mlops_username and mops_password.
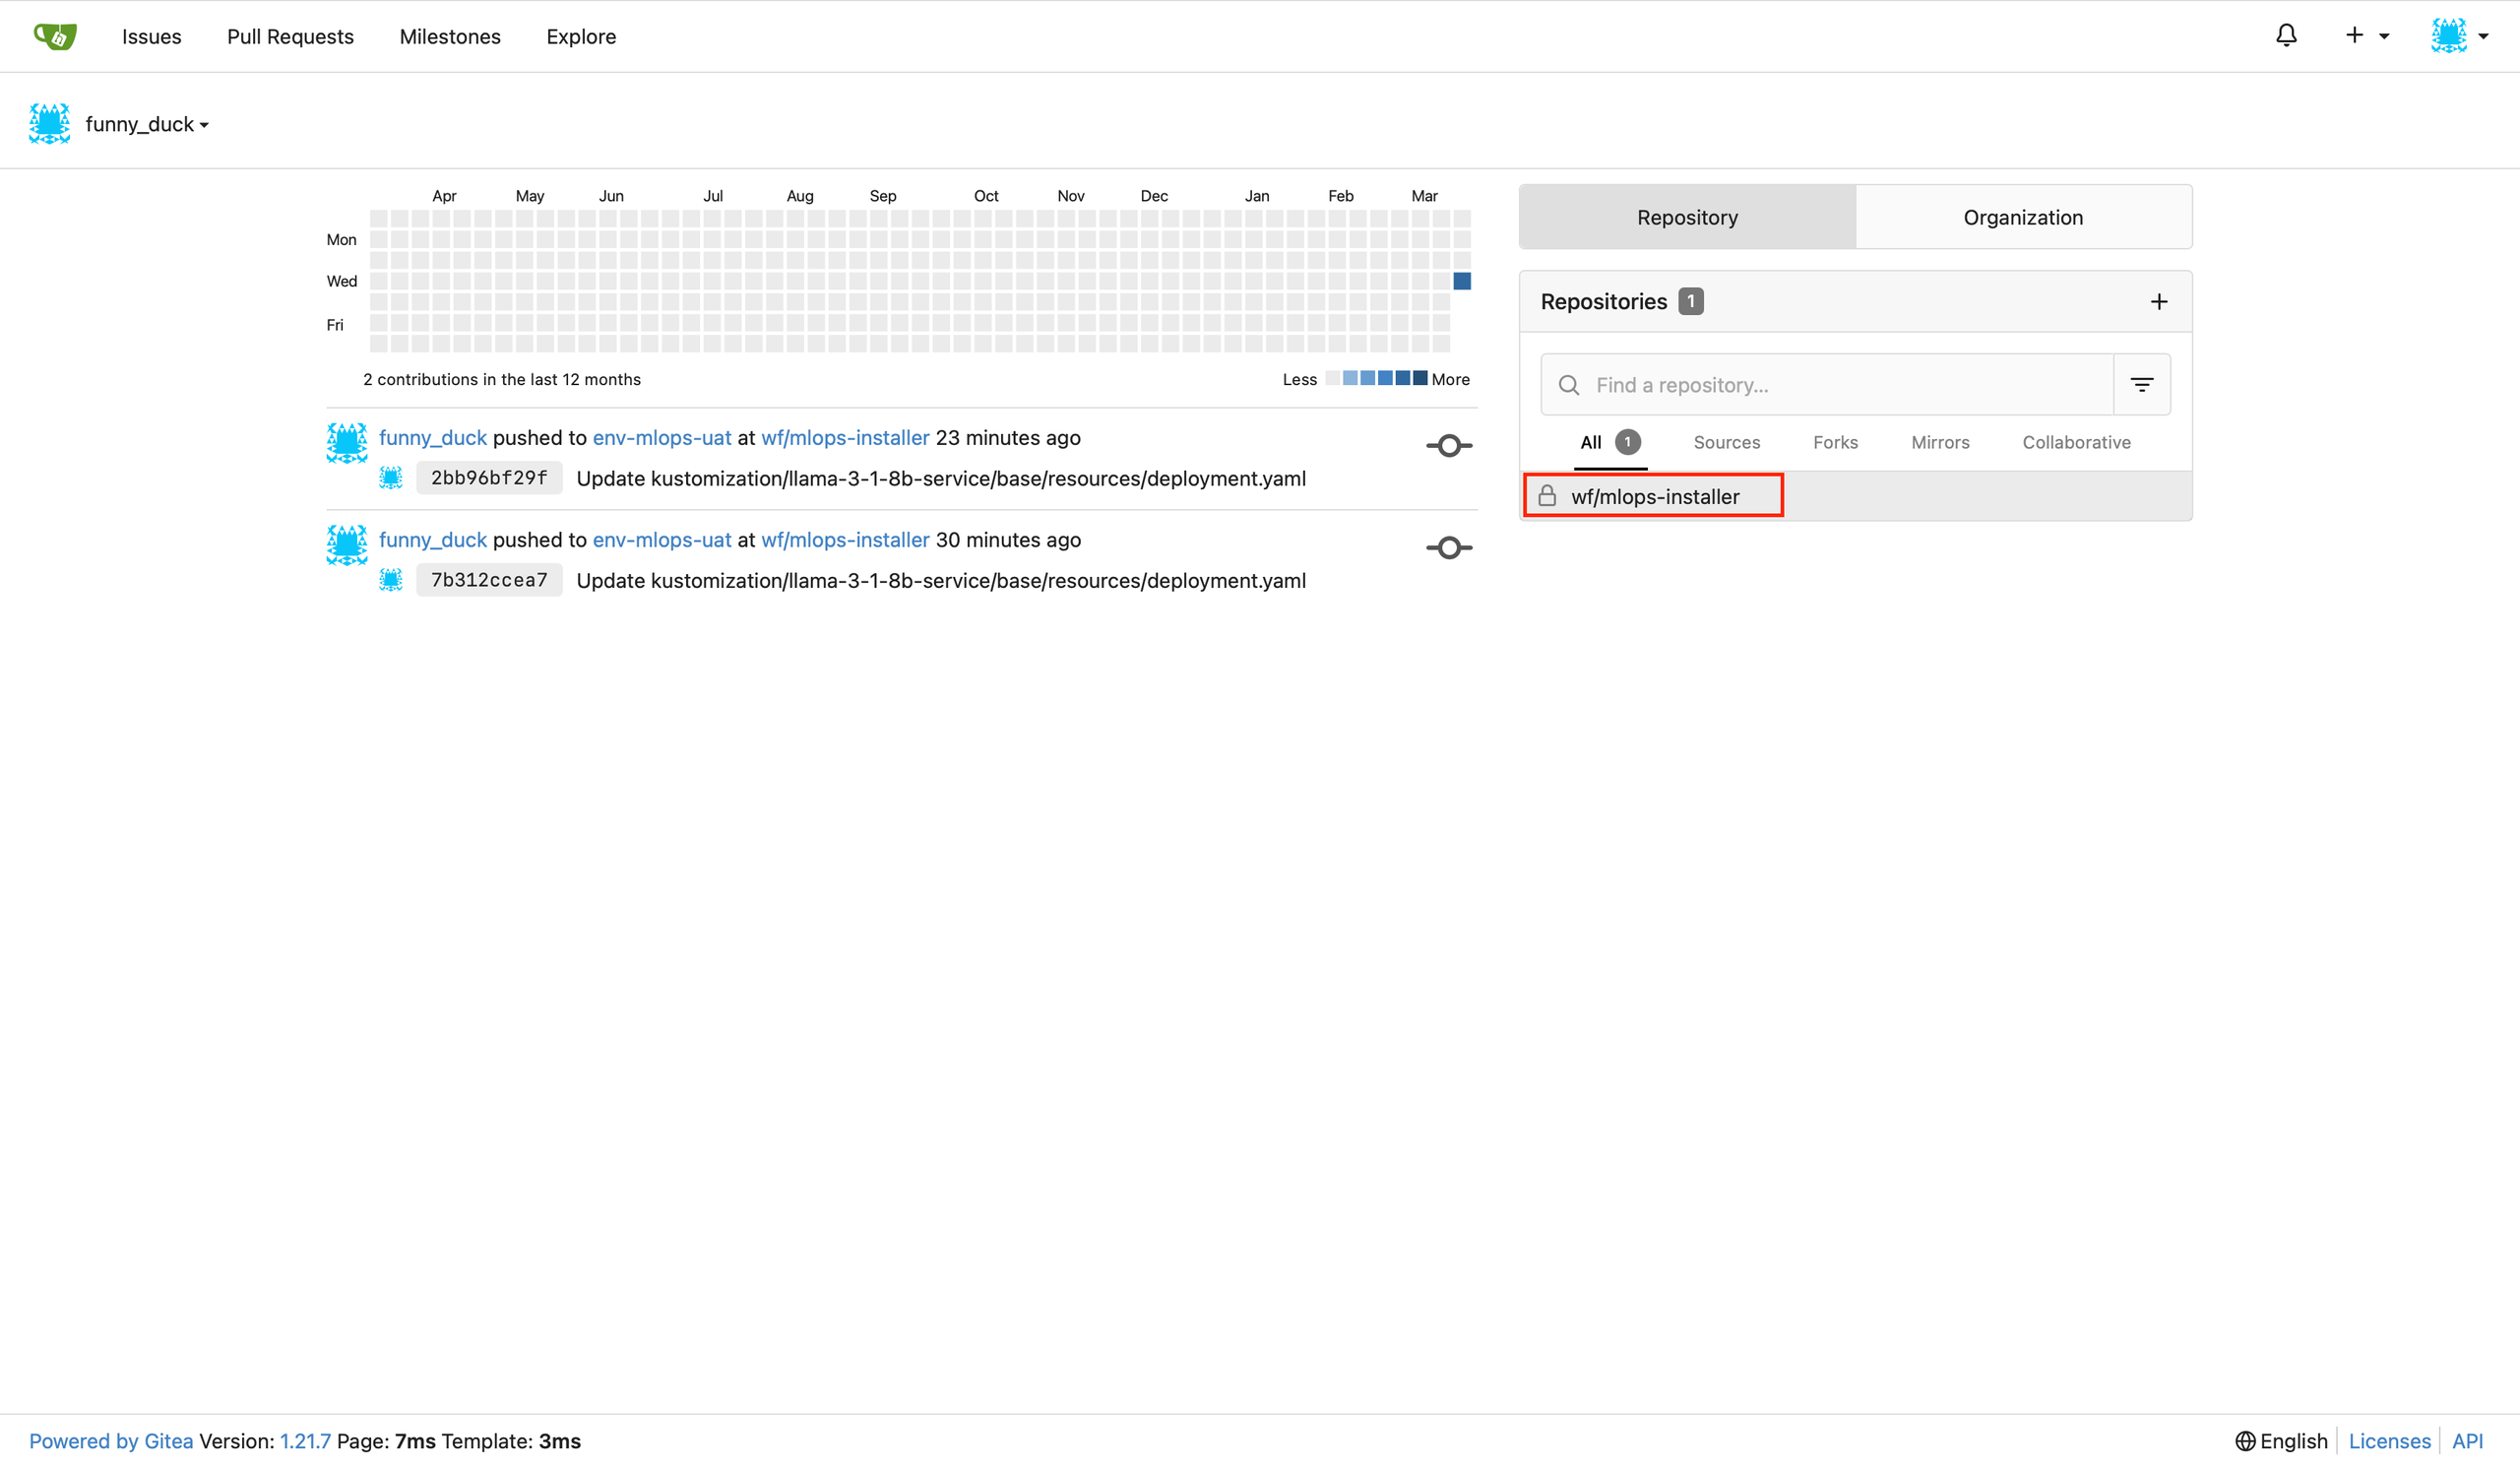
In the Repositories section, click wf/mlops-installer.
Edit the deployment file and commit the changes (the example is for LLM Llama 3.1 8B deployment):
Navigate to
mlops-installer/kustomization/llama-3-1-8b-service/base/resources/deployment.yaml.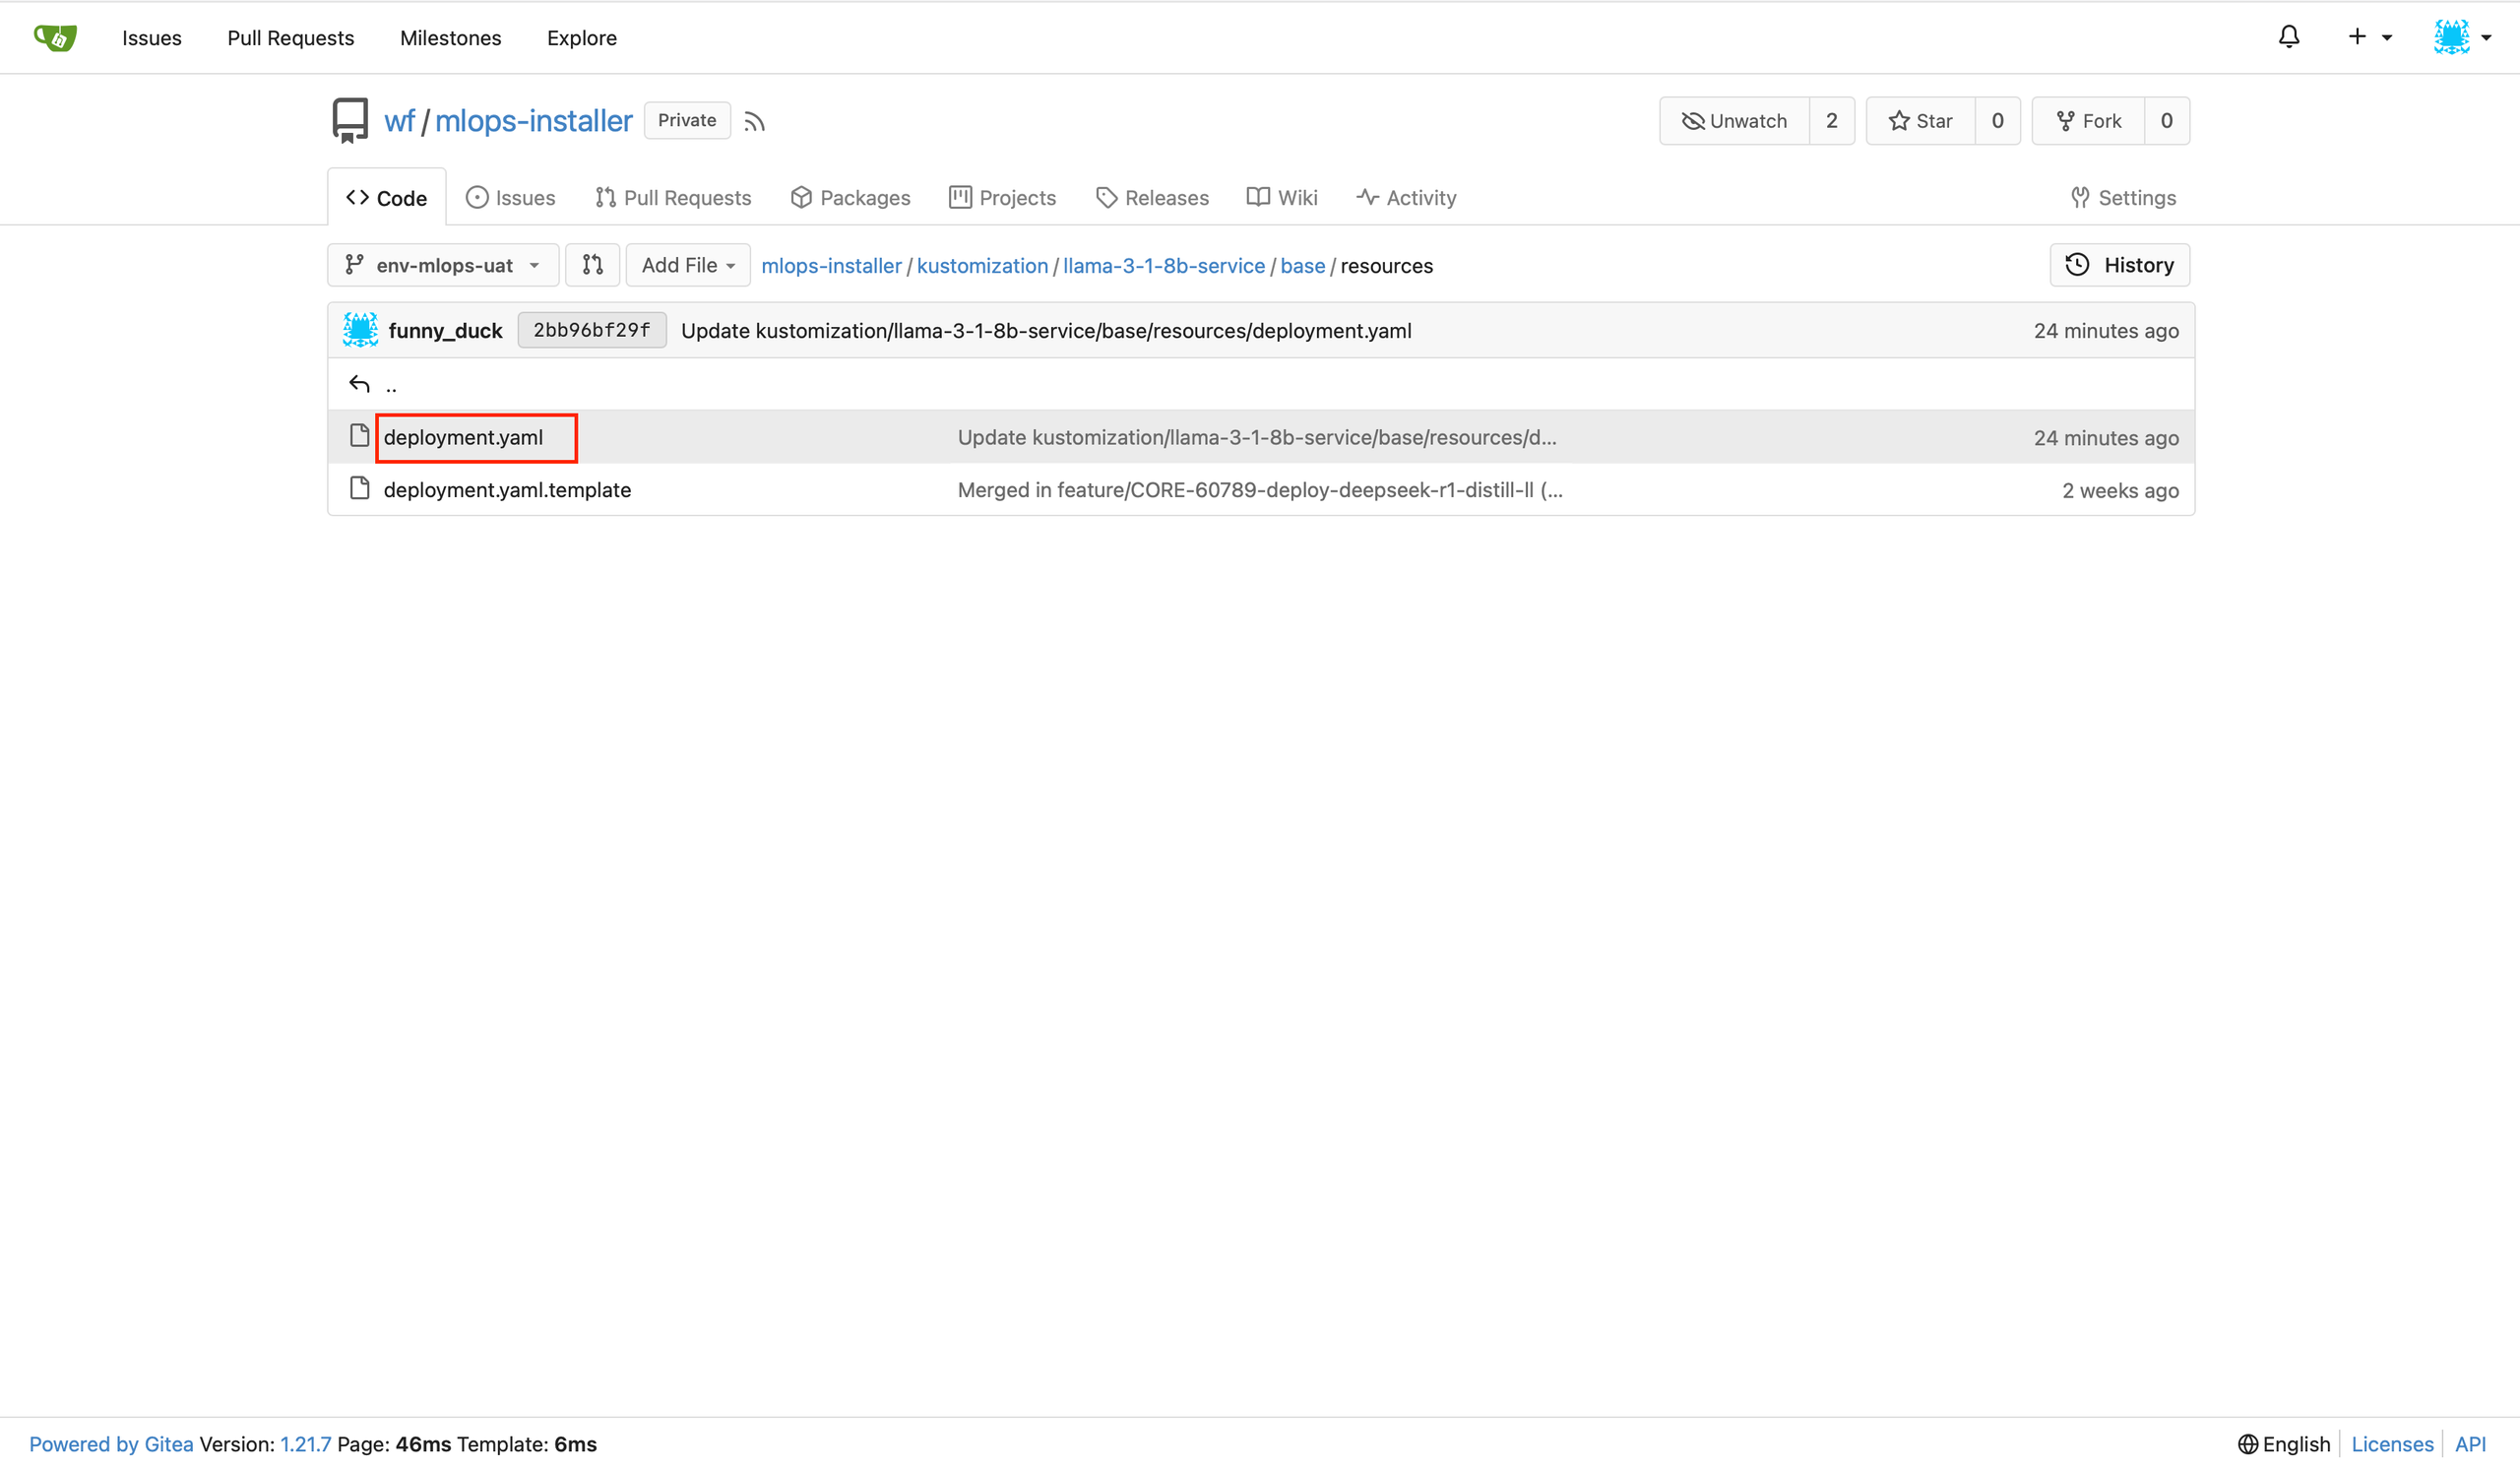
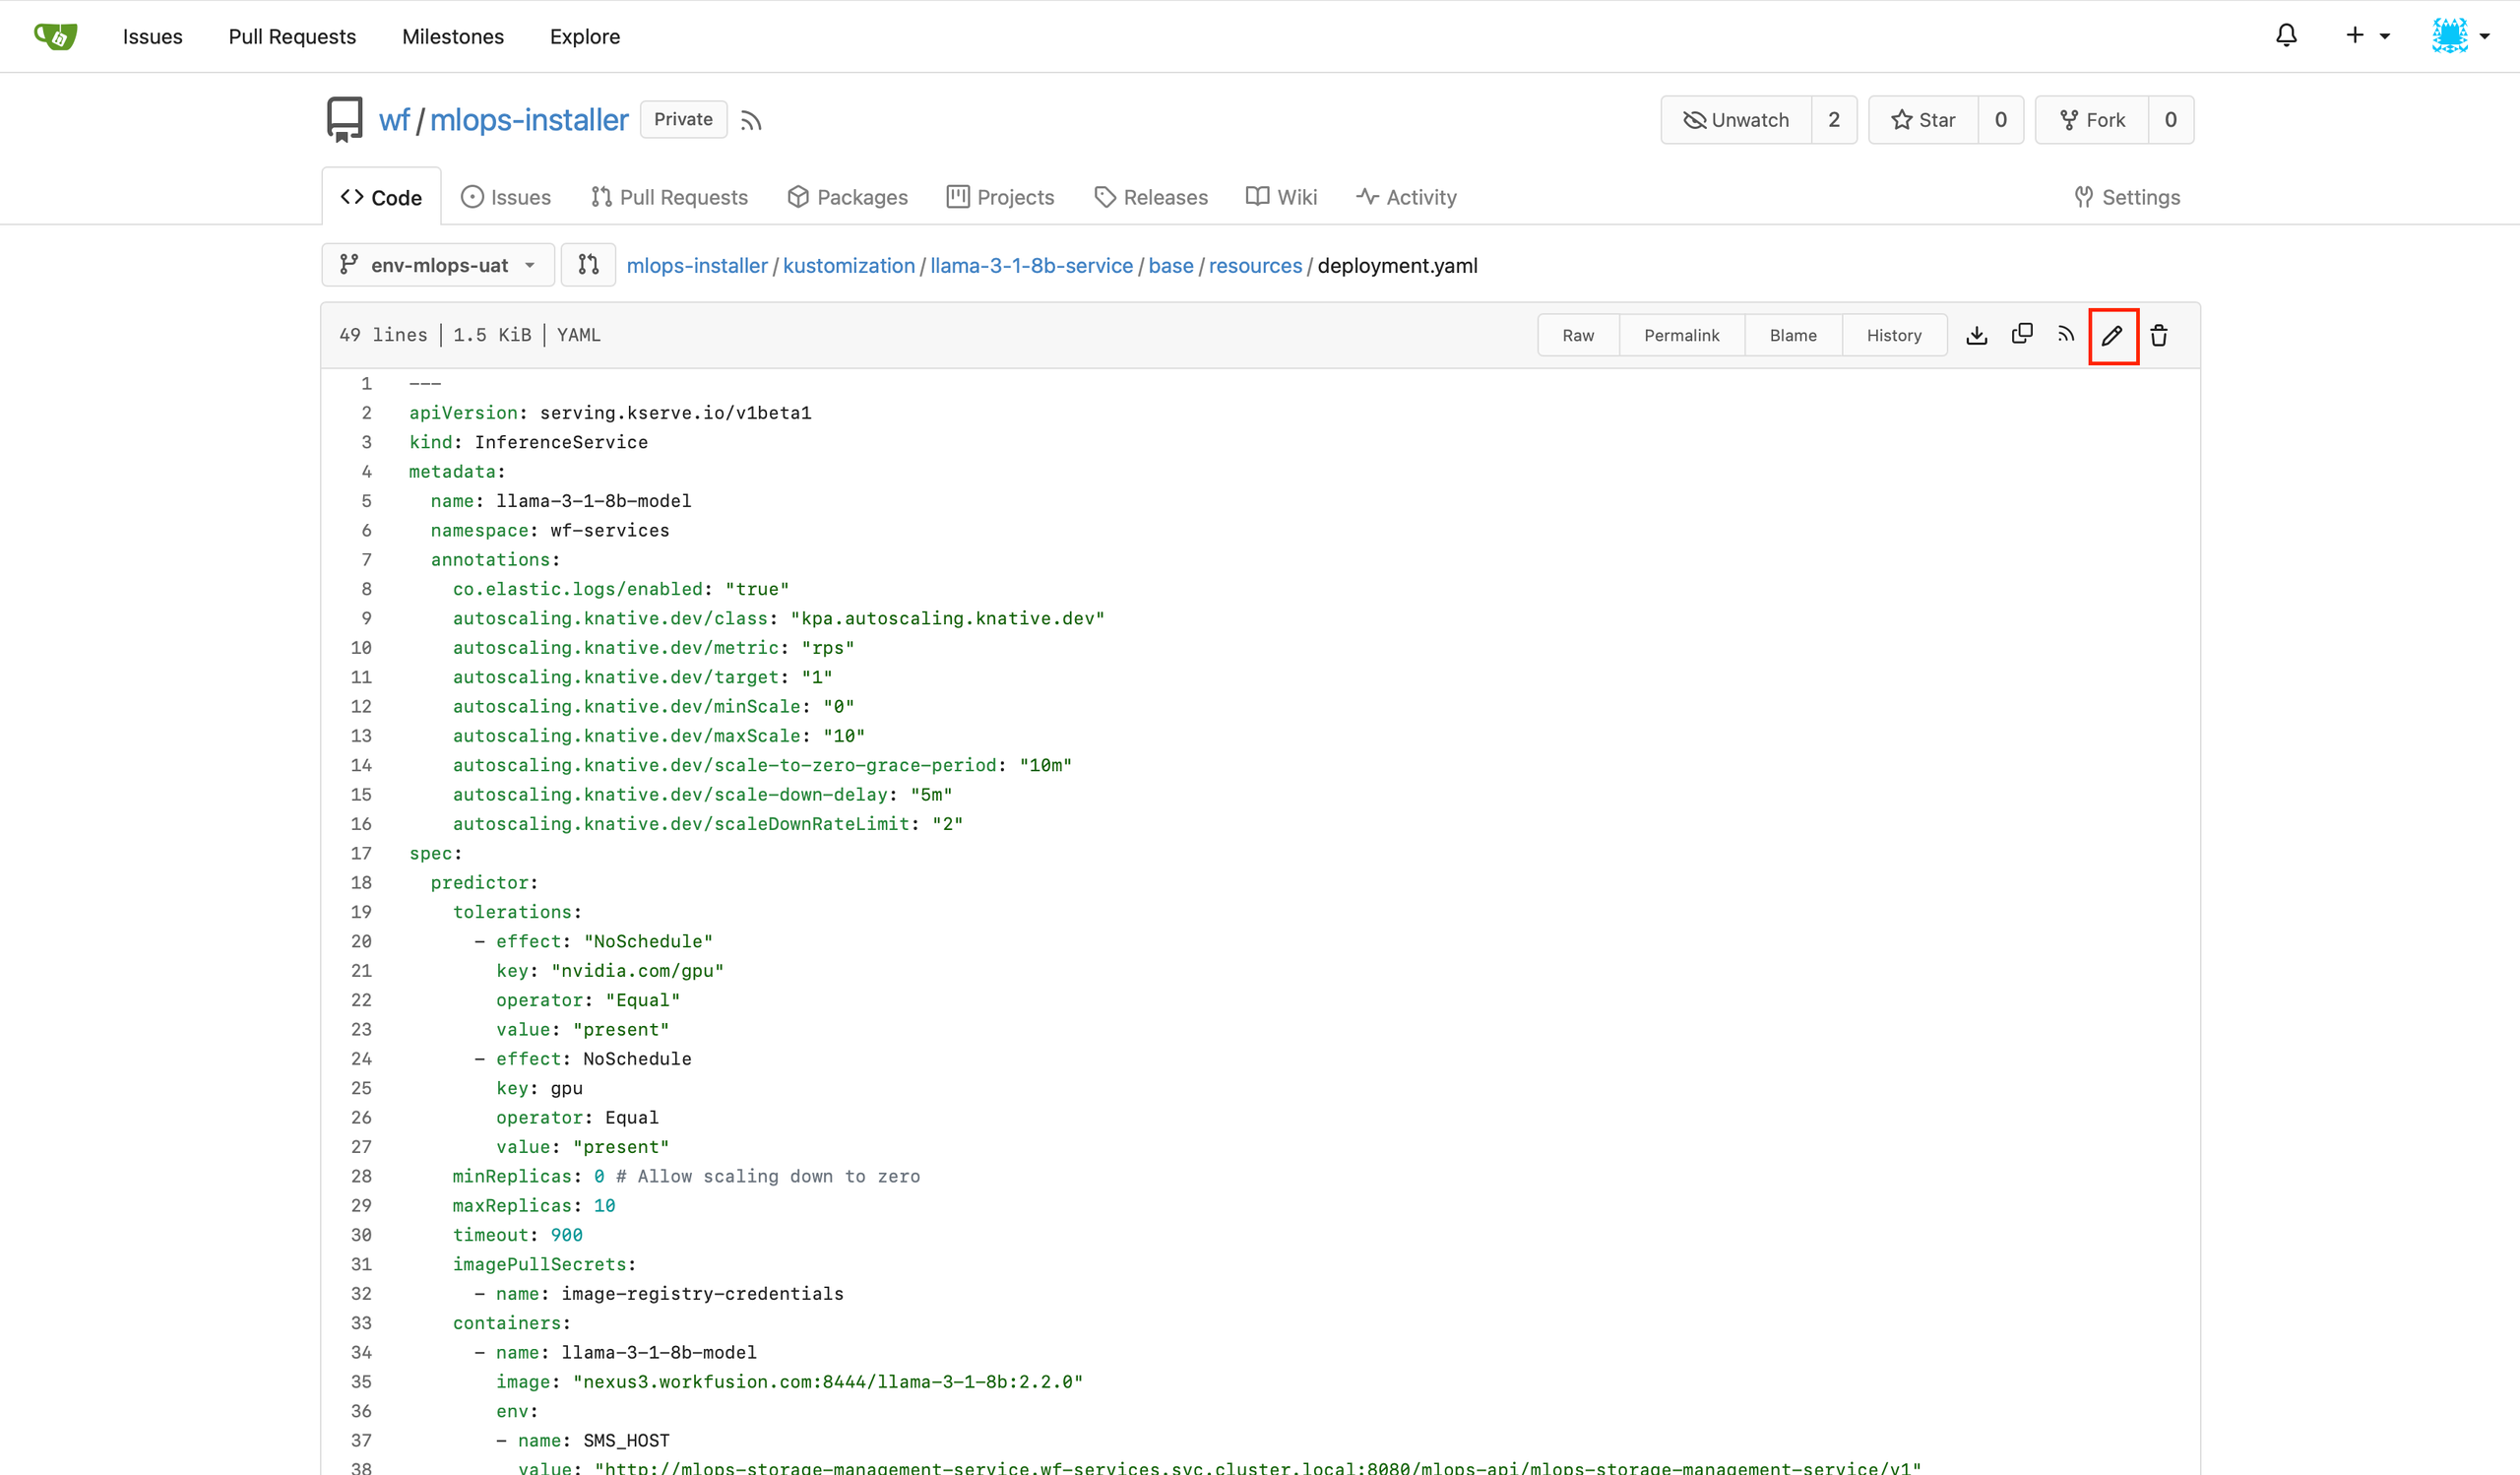
Click the Edit file button.
In the file, set
minScaleandminReplicasto1.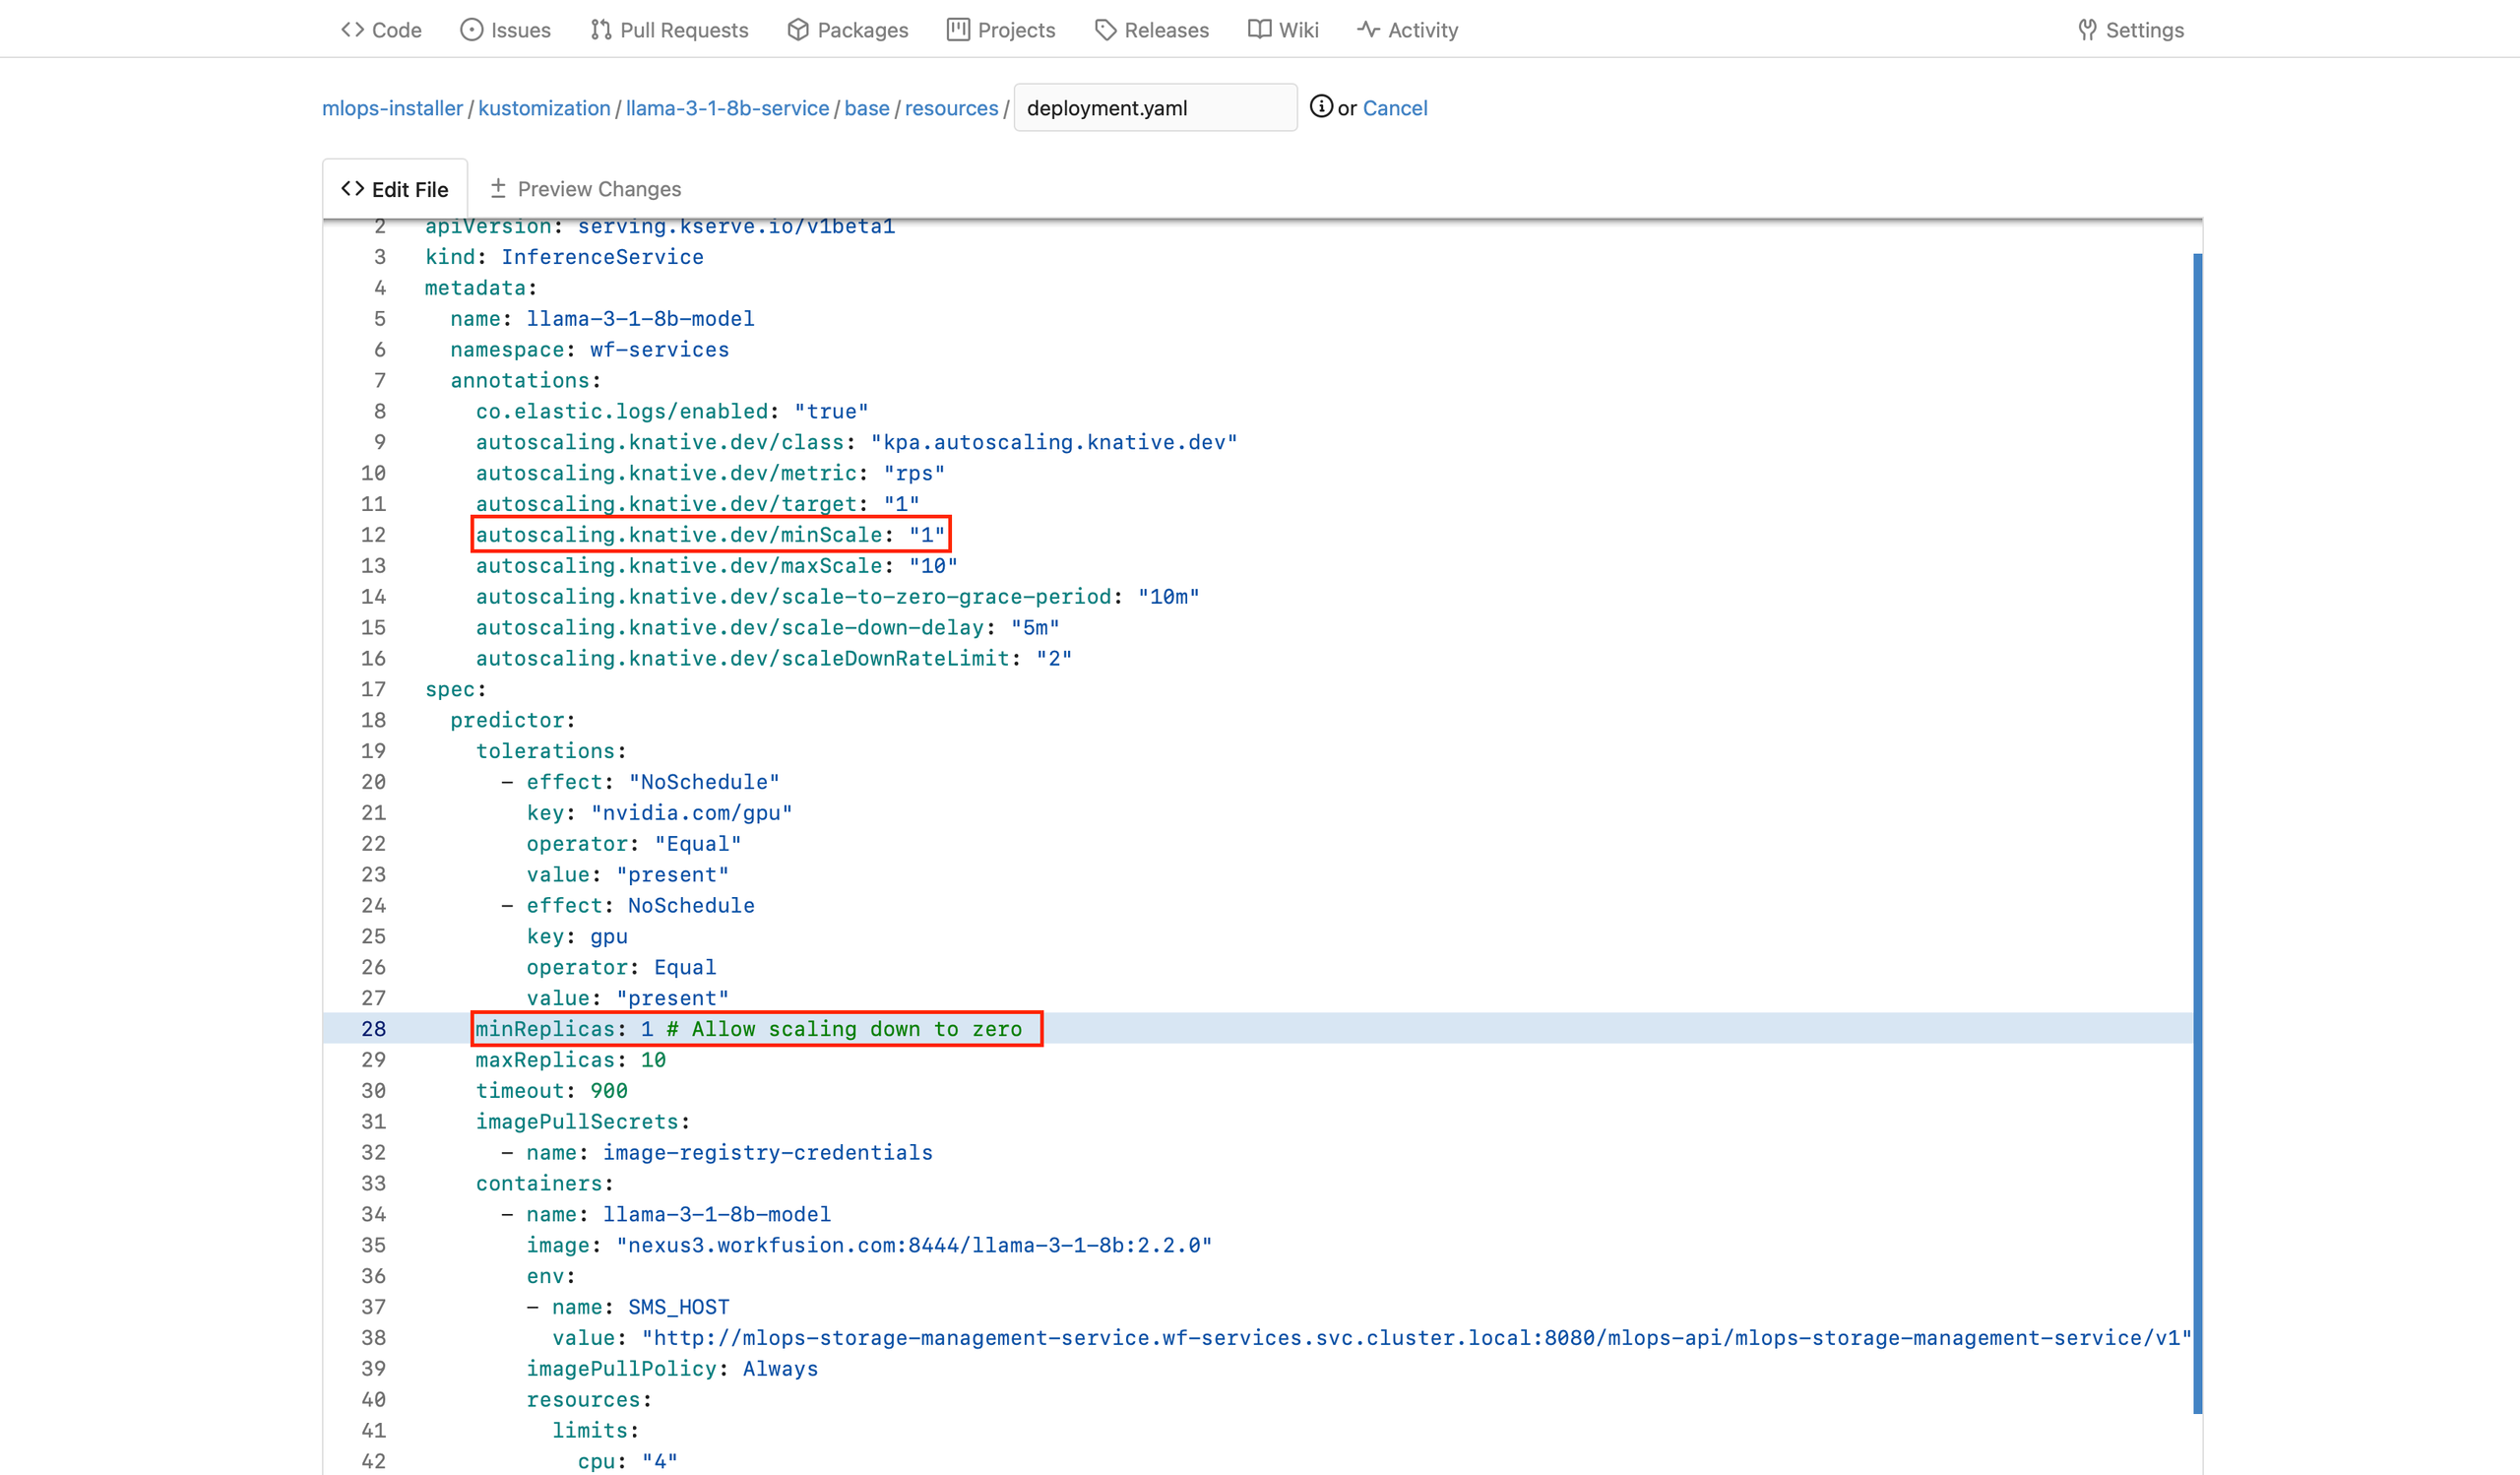
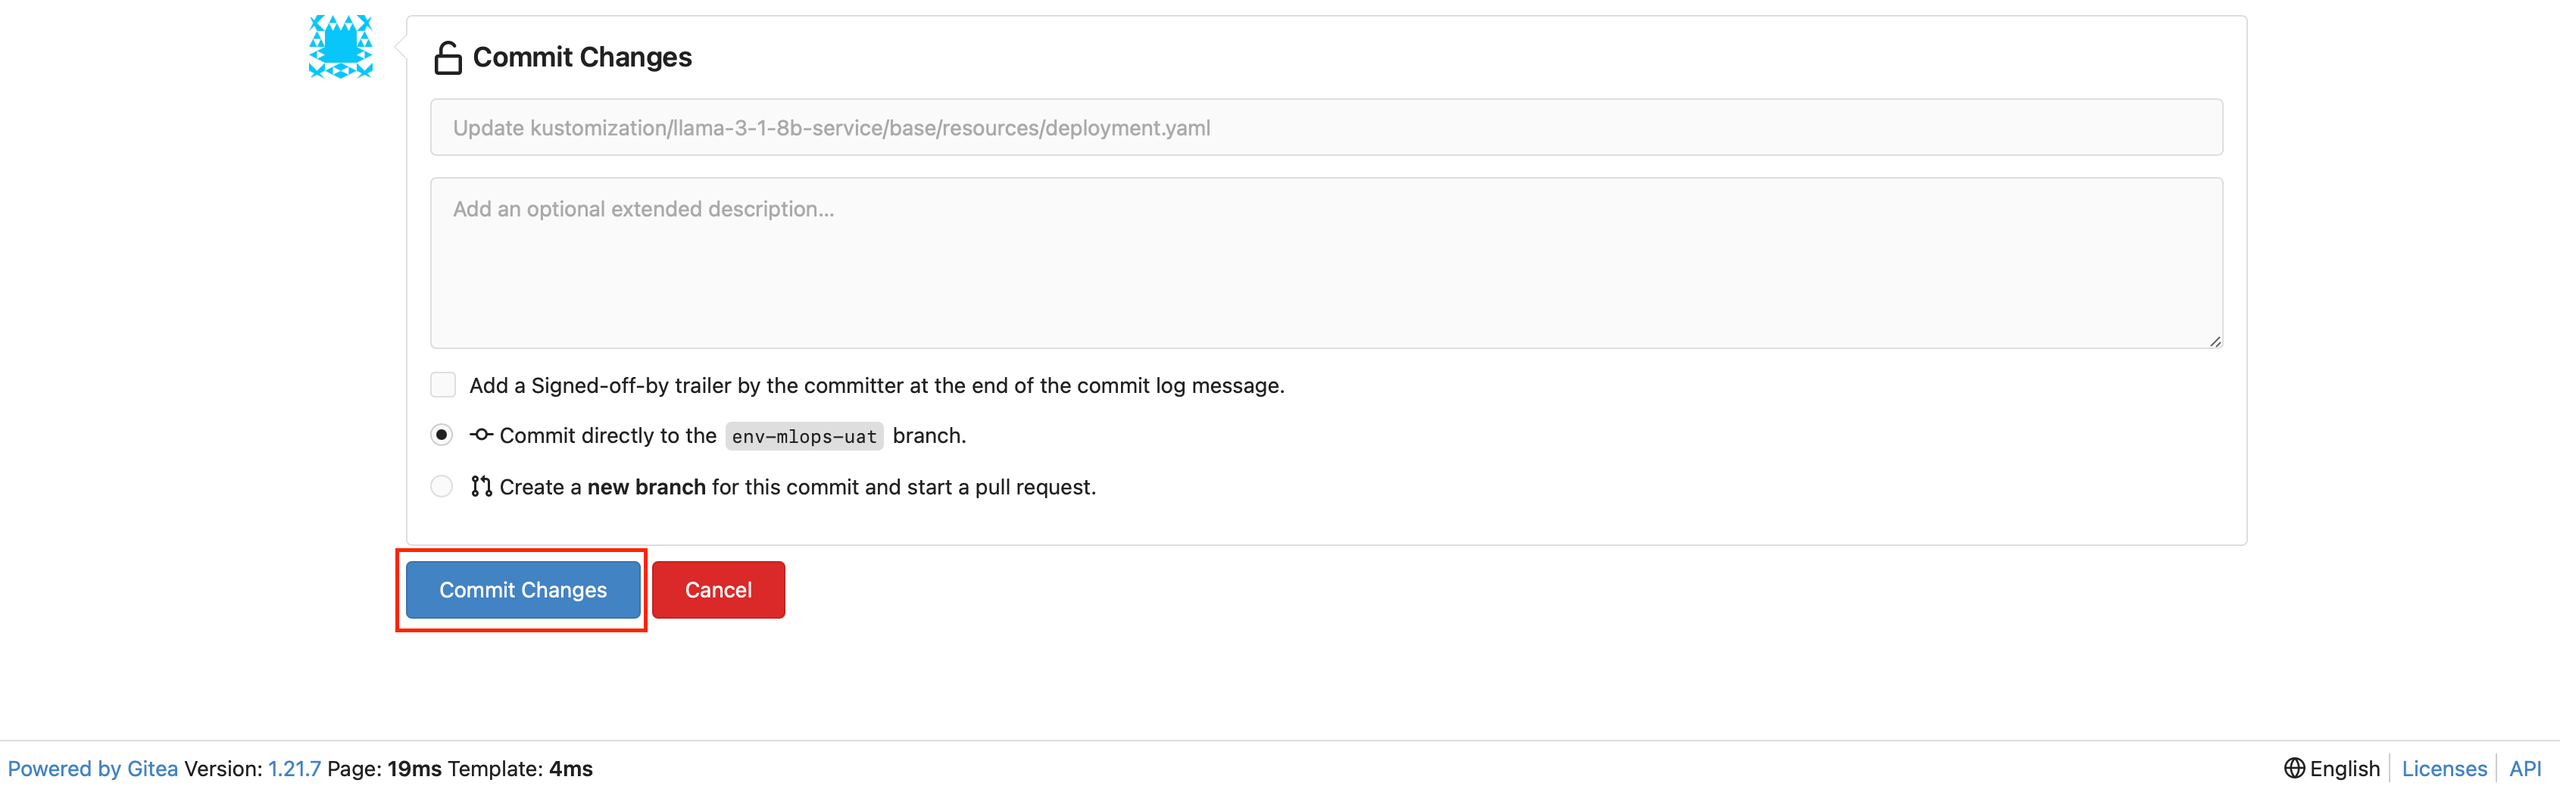
Click Commit Changes.
Apply configuration changes
To apply the new configuration settings configured as described above, follow the steps below:
Launch https://{{stack_name}}-mlops.cloud.workfusion.com/mgmt.
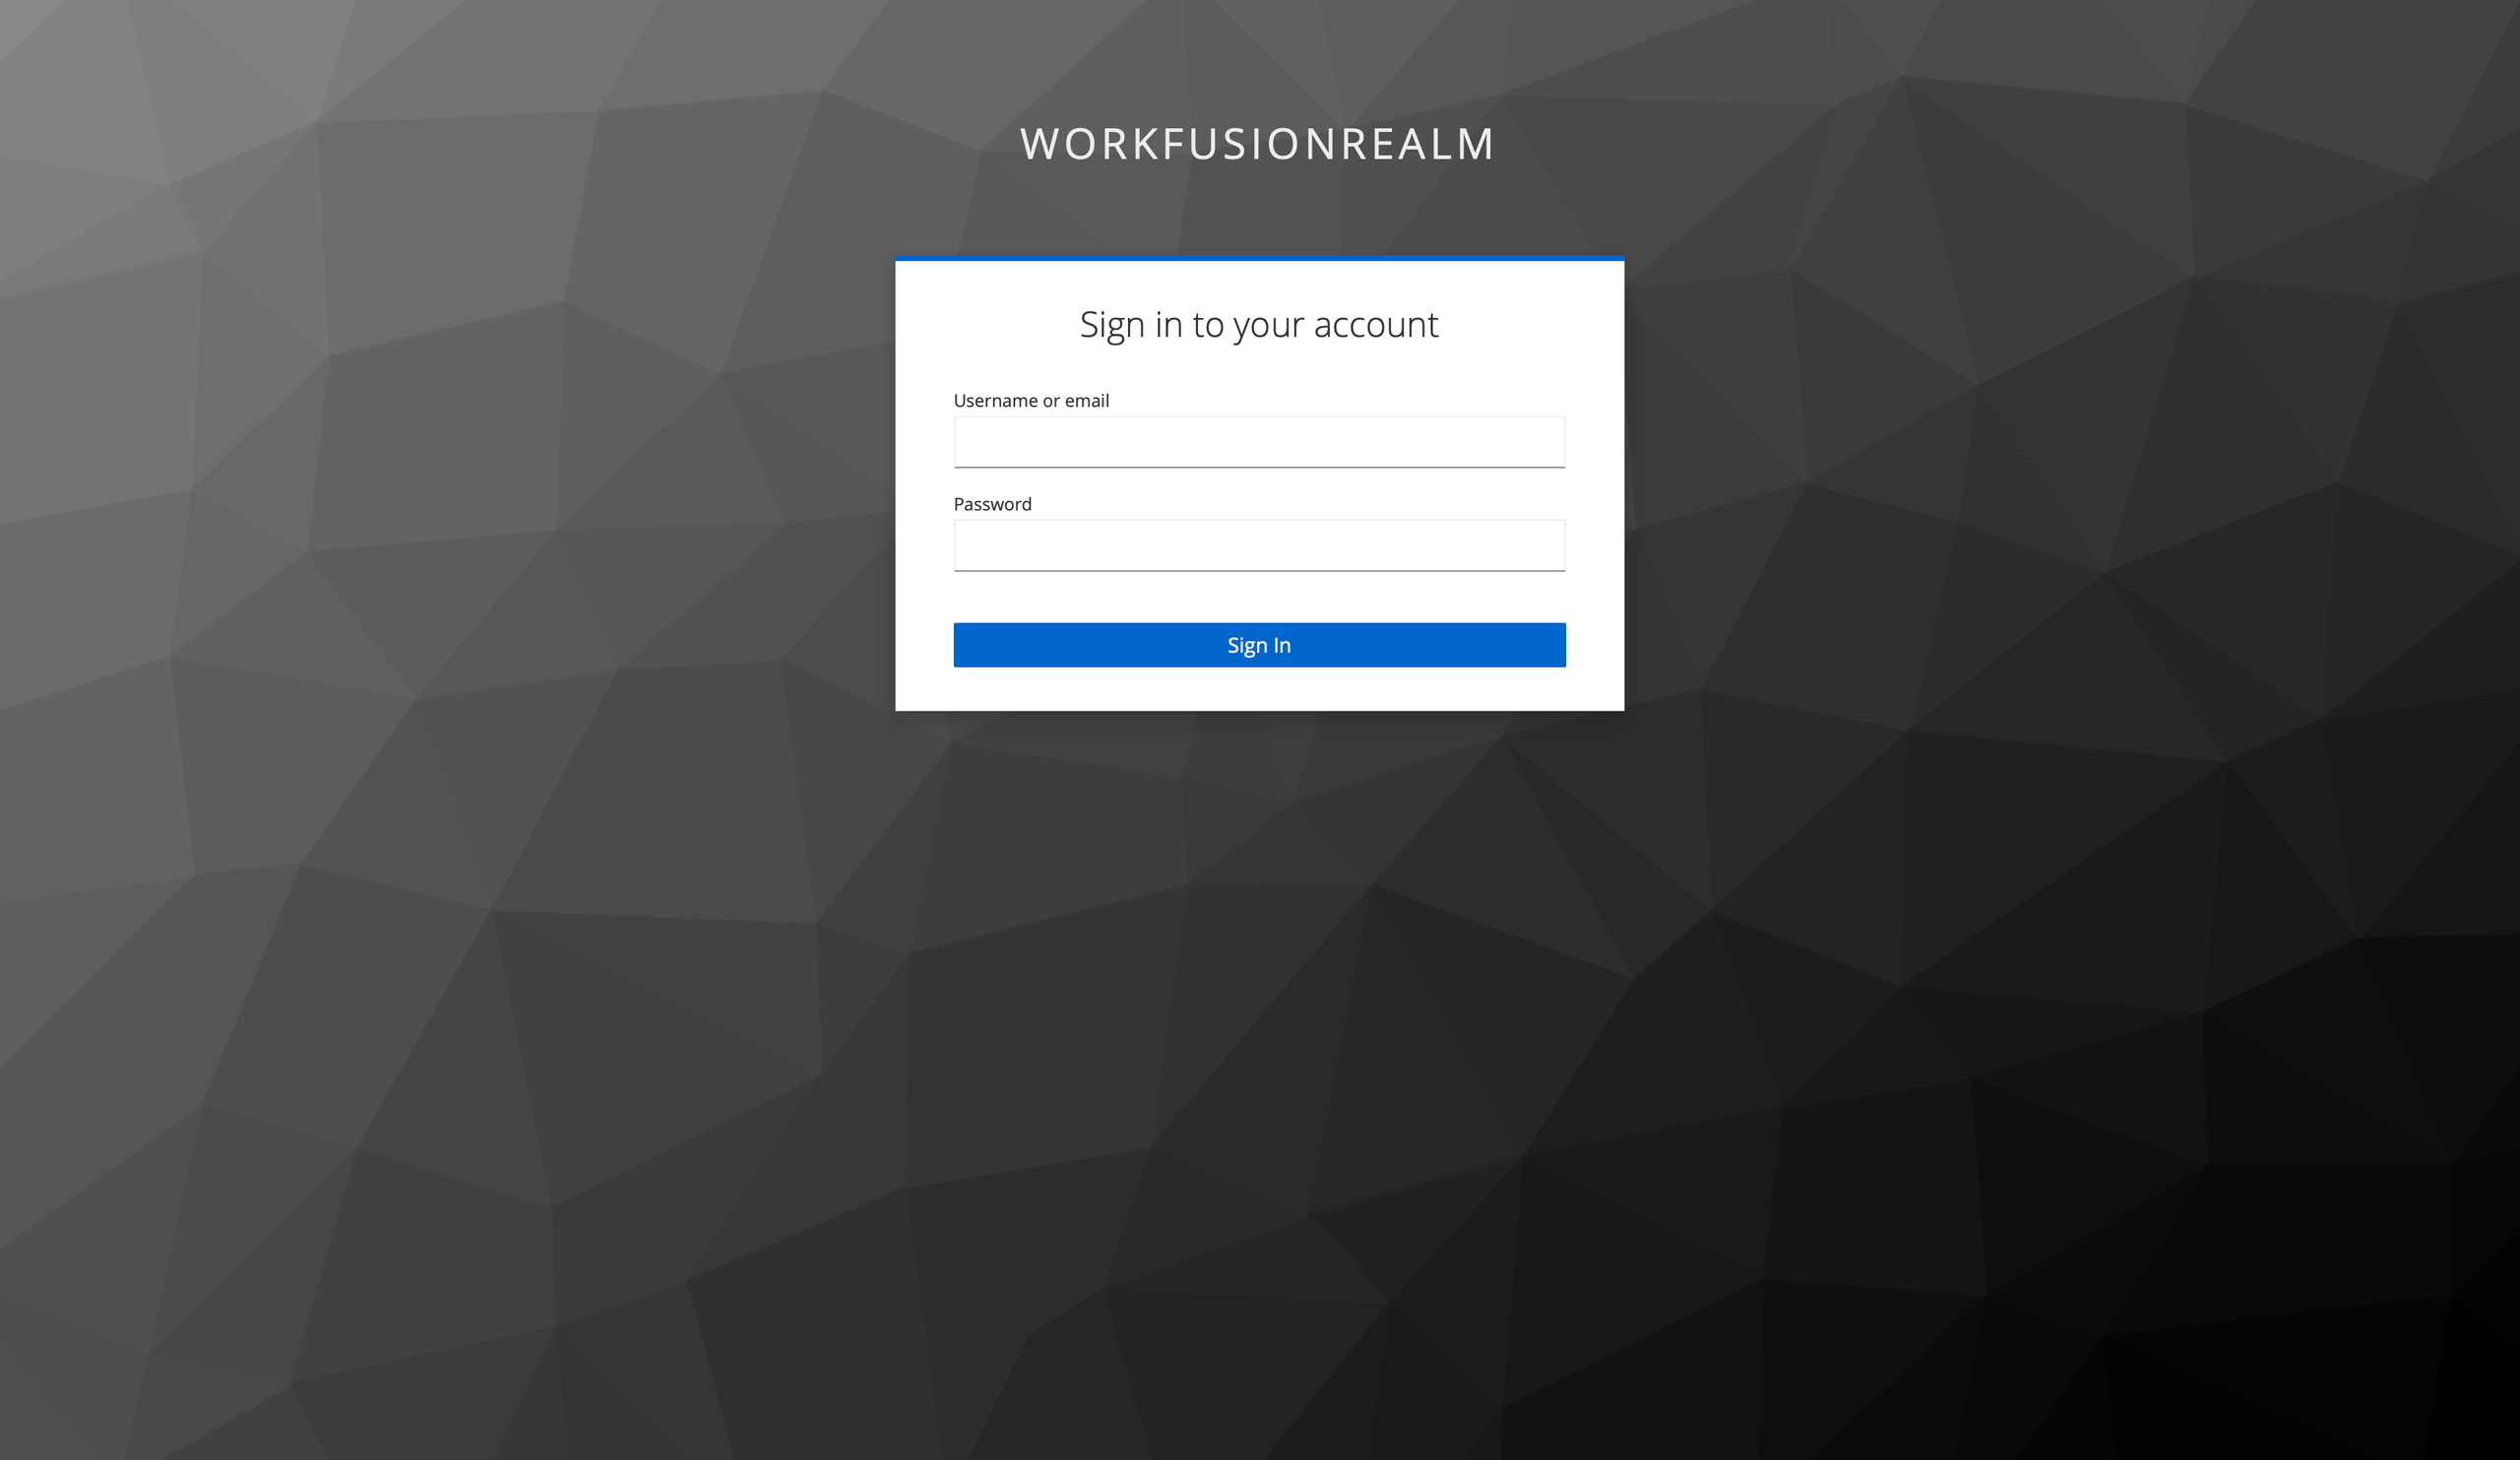
On the sign-in screen, enter mlops_username and mops_password.
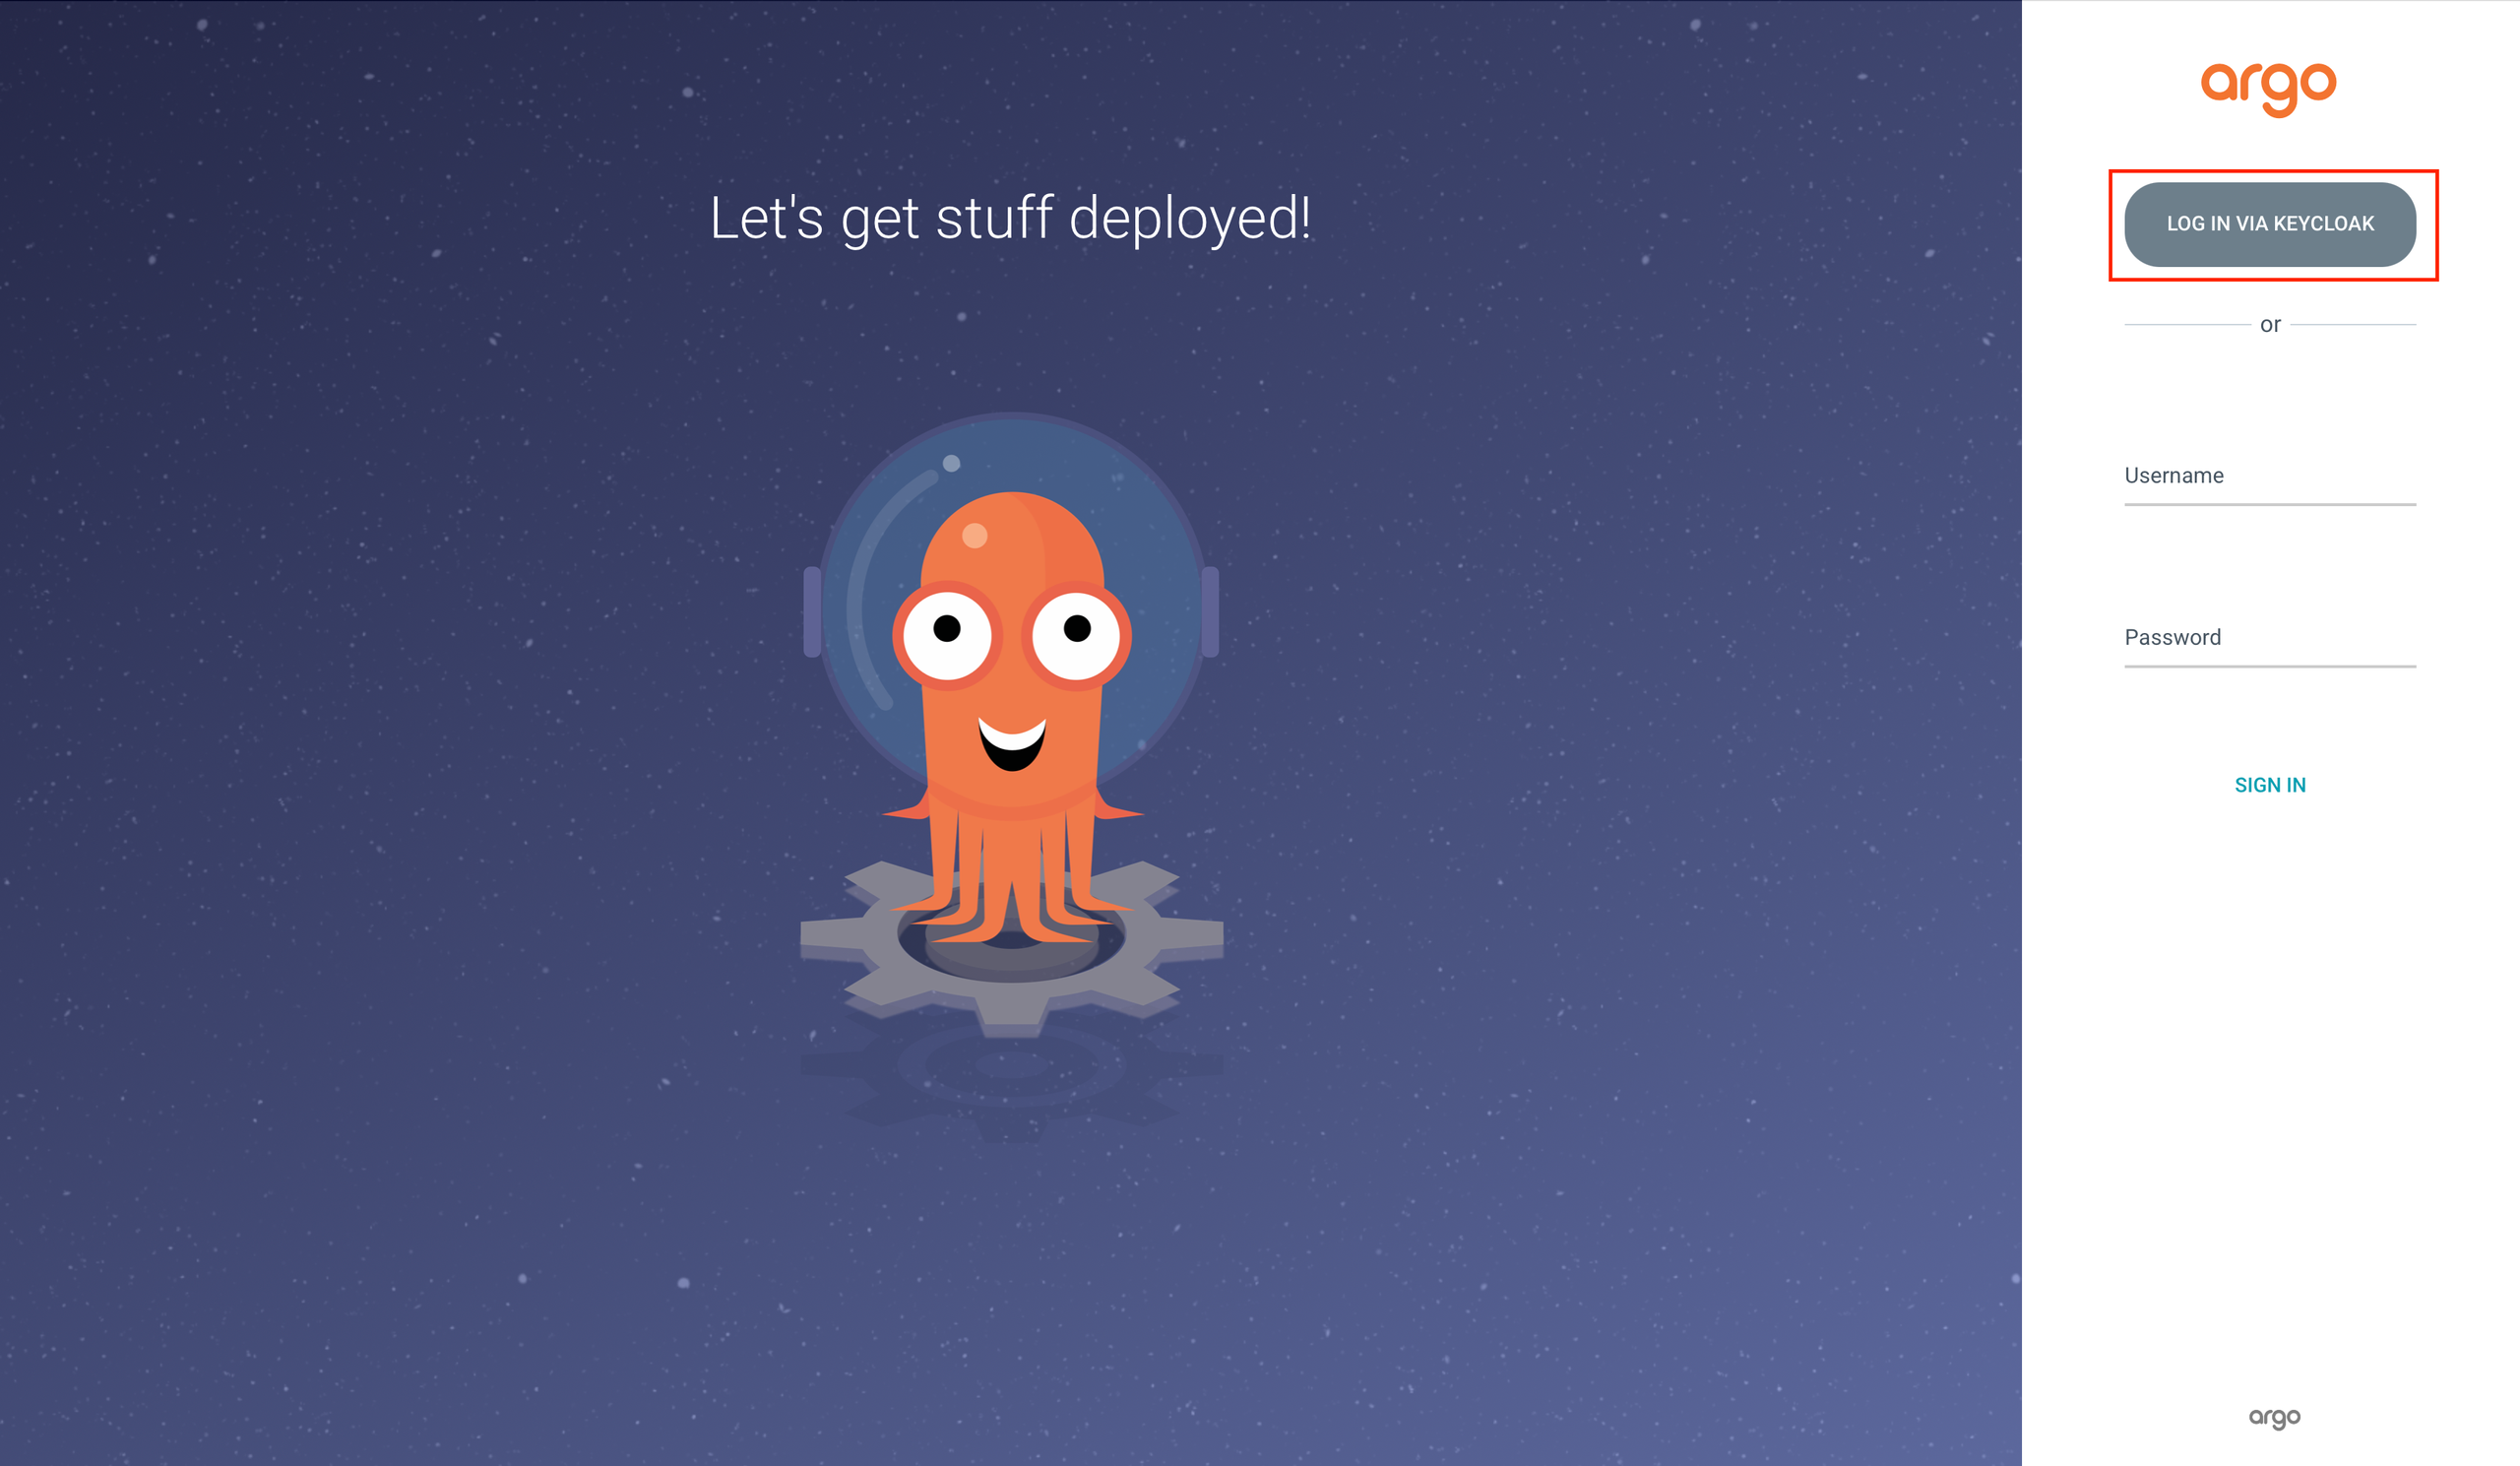
On the Argo CD sign-in screen, click LOG IN VIA KEYCLOAK.
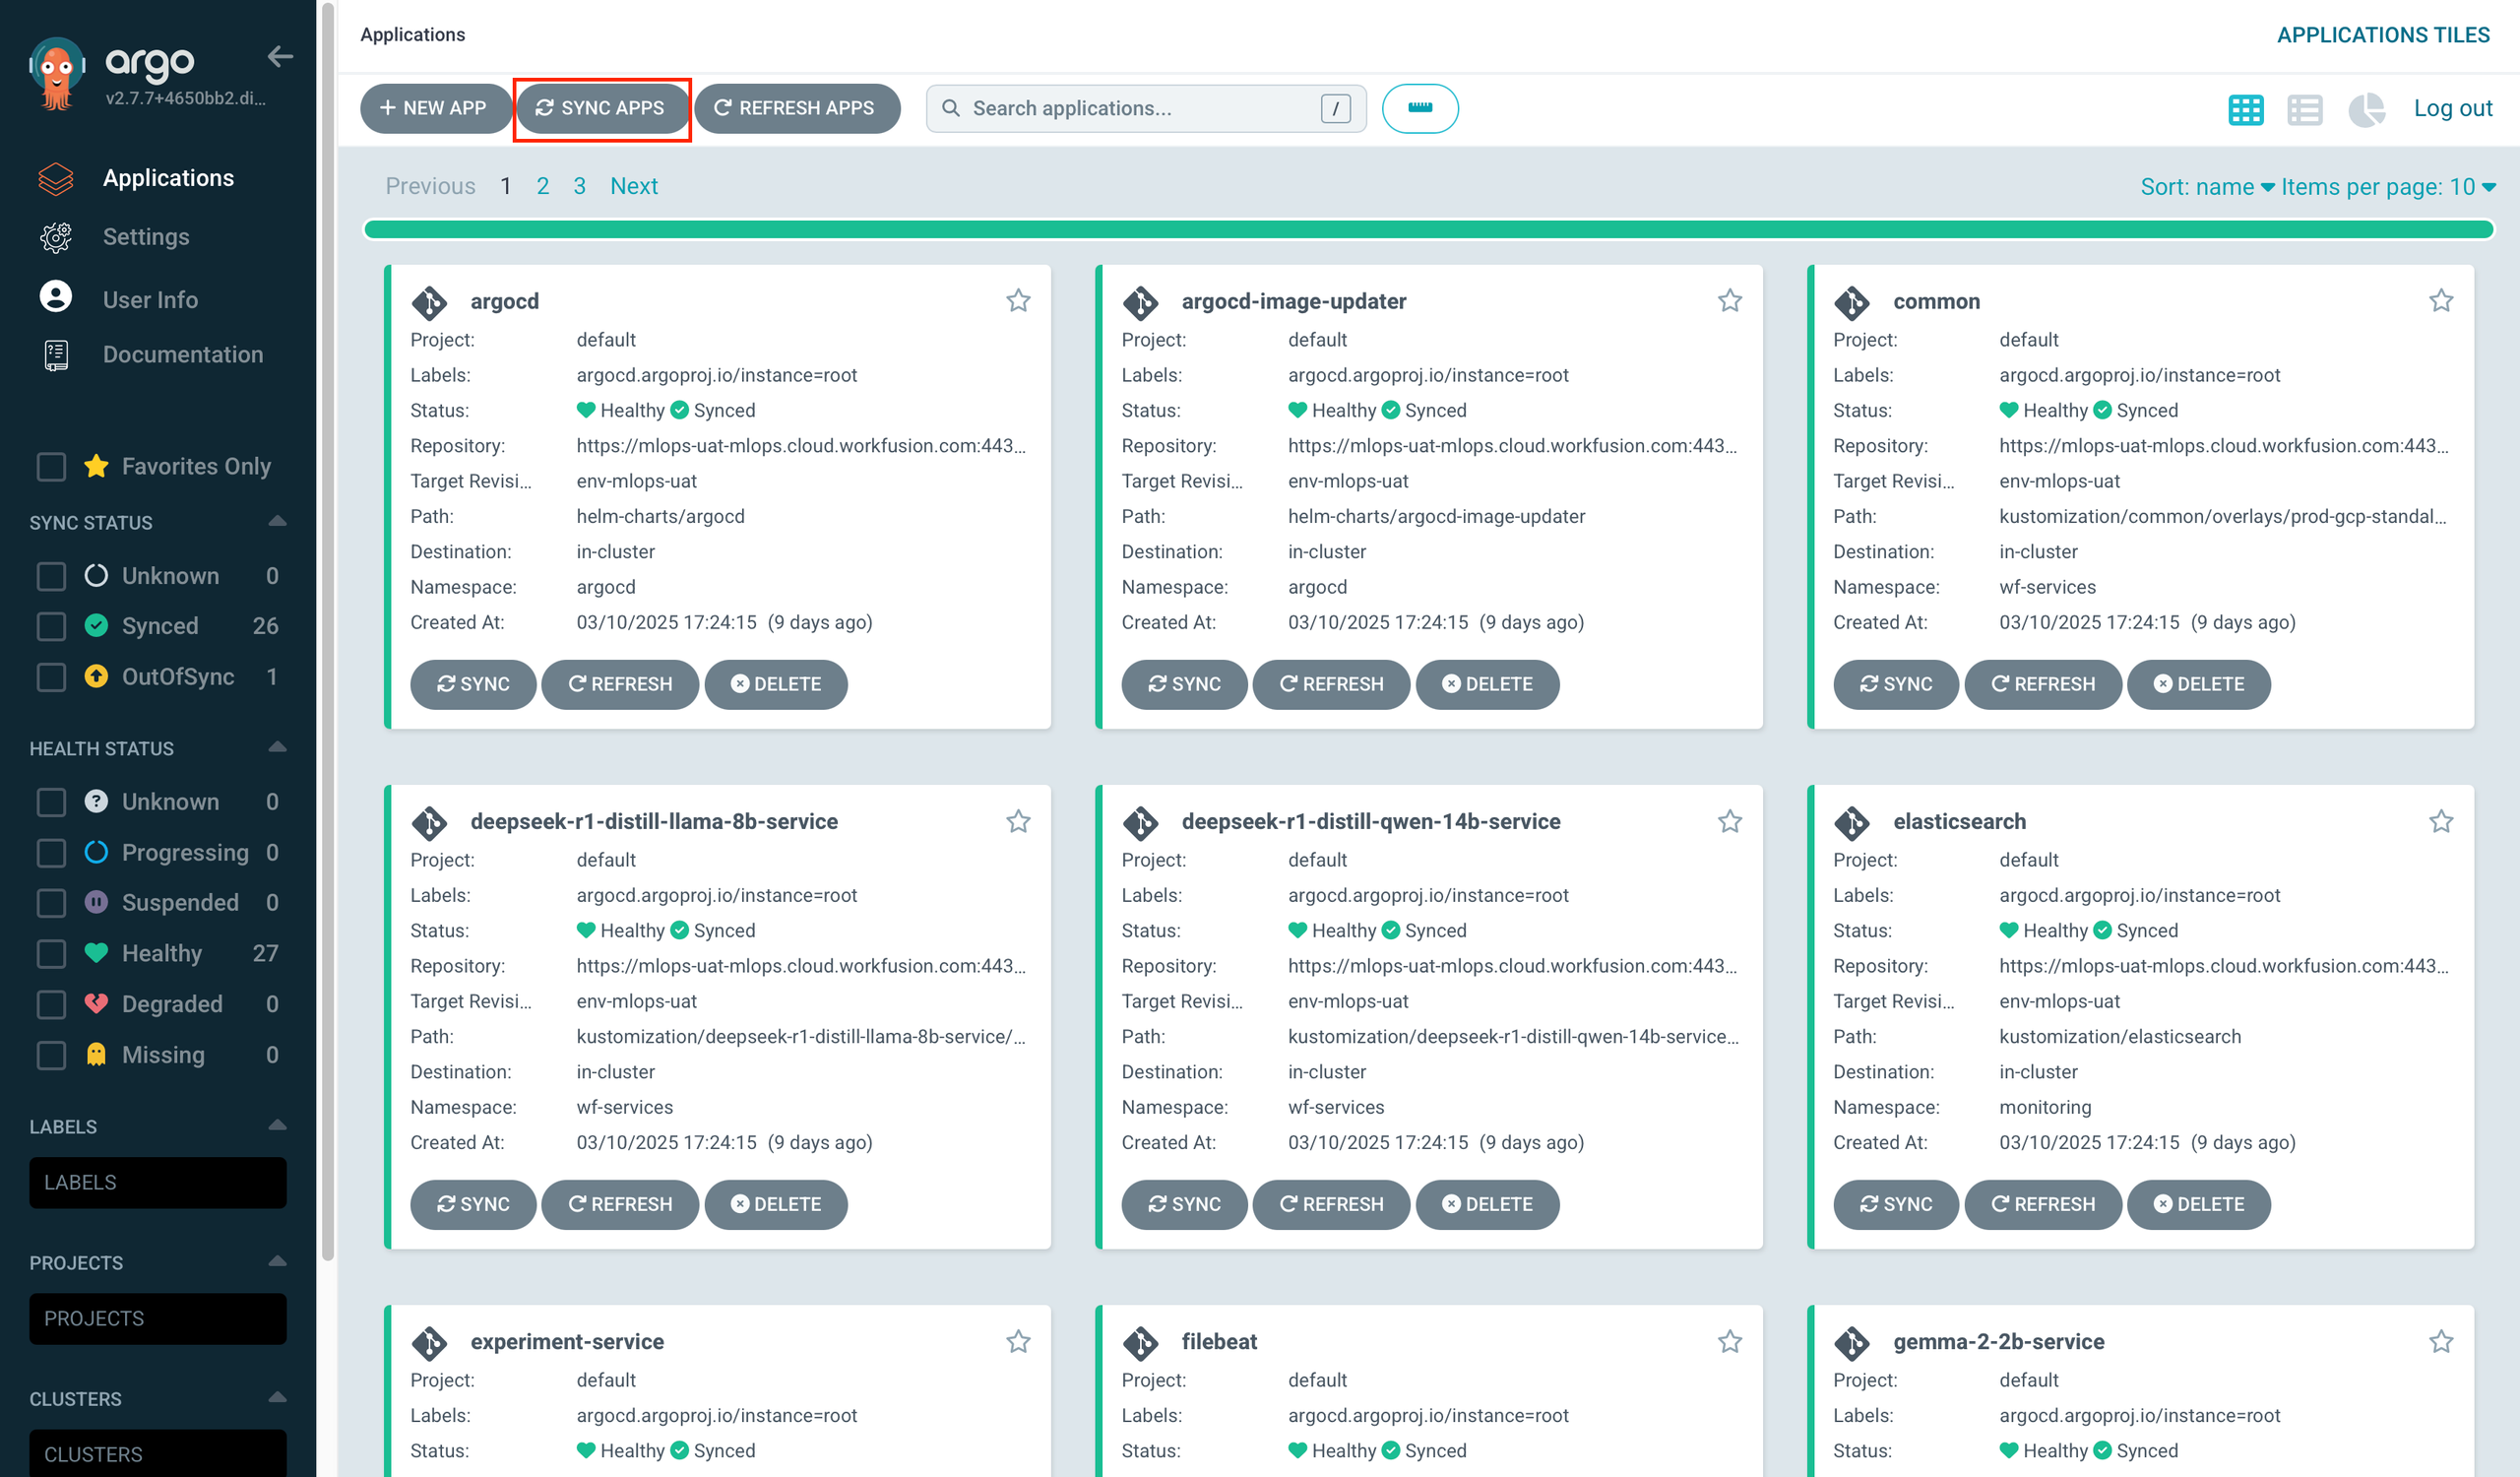
In the top left corner, click SYNC APPS.
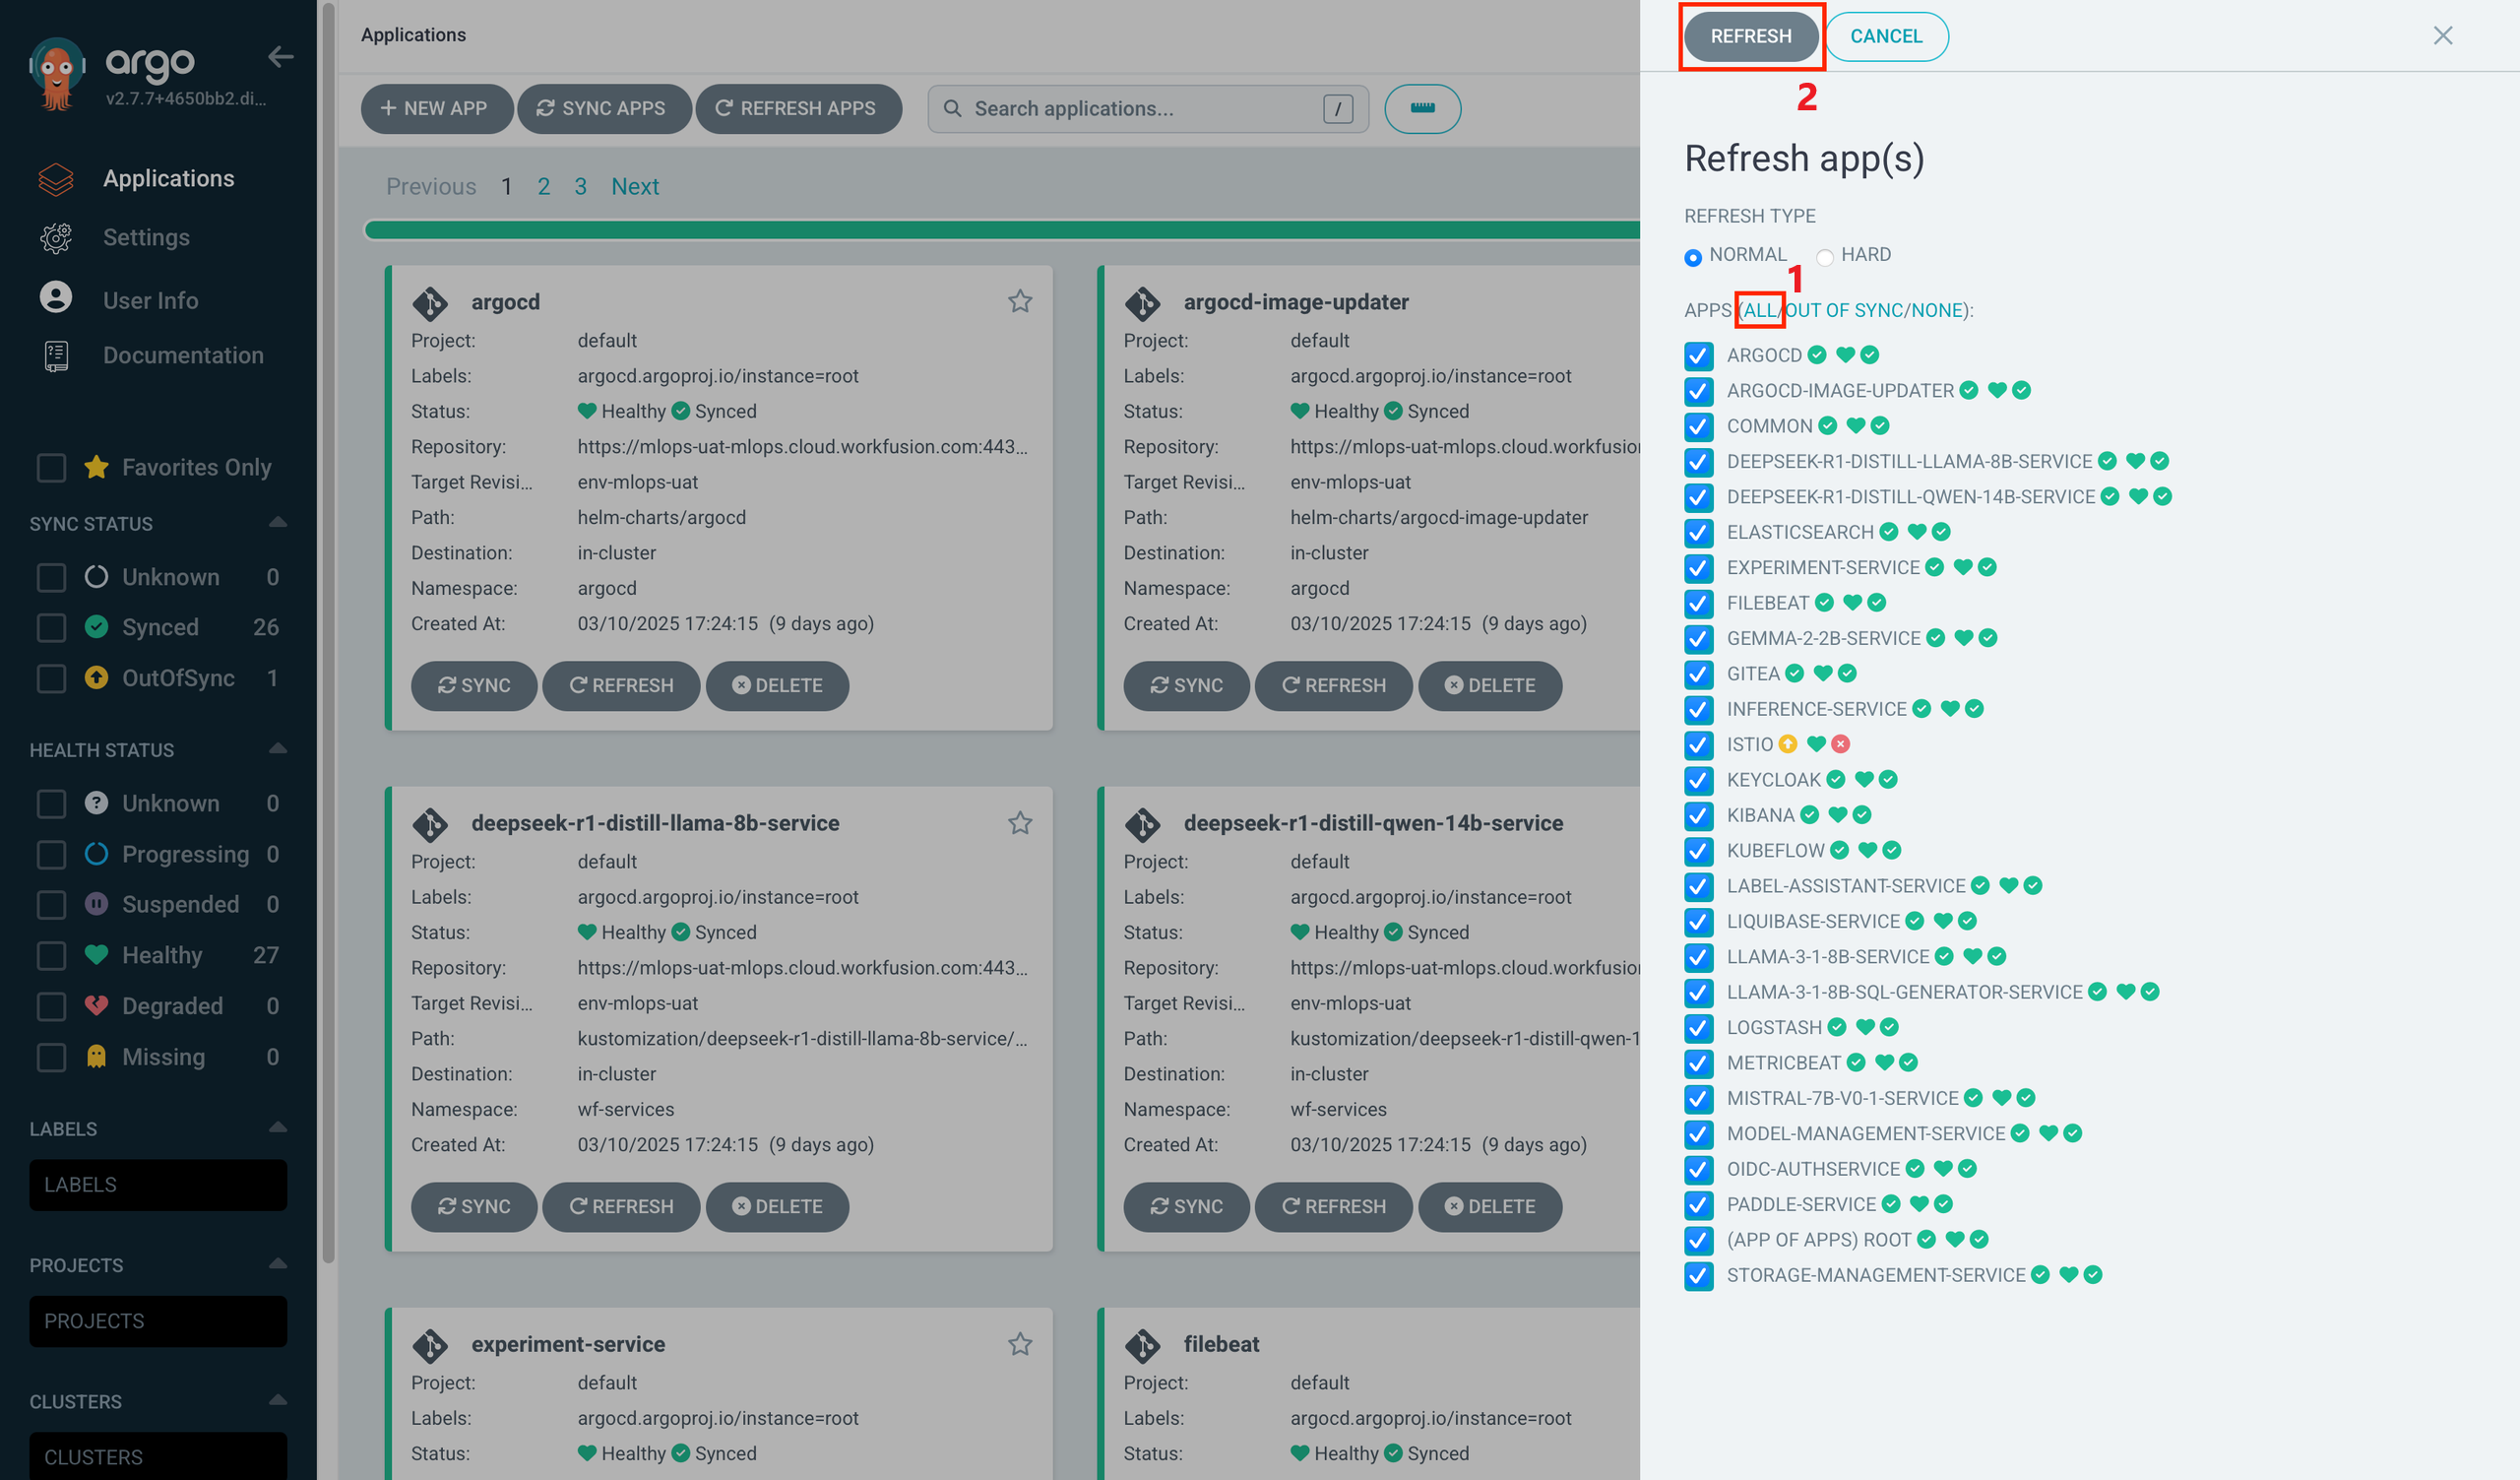
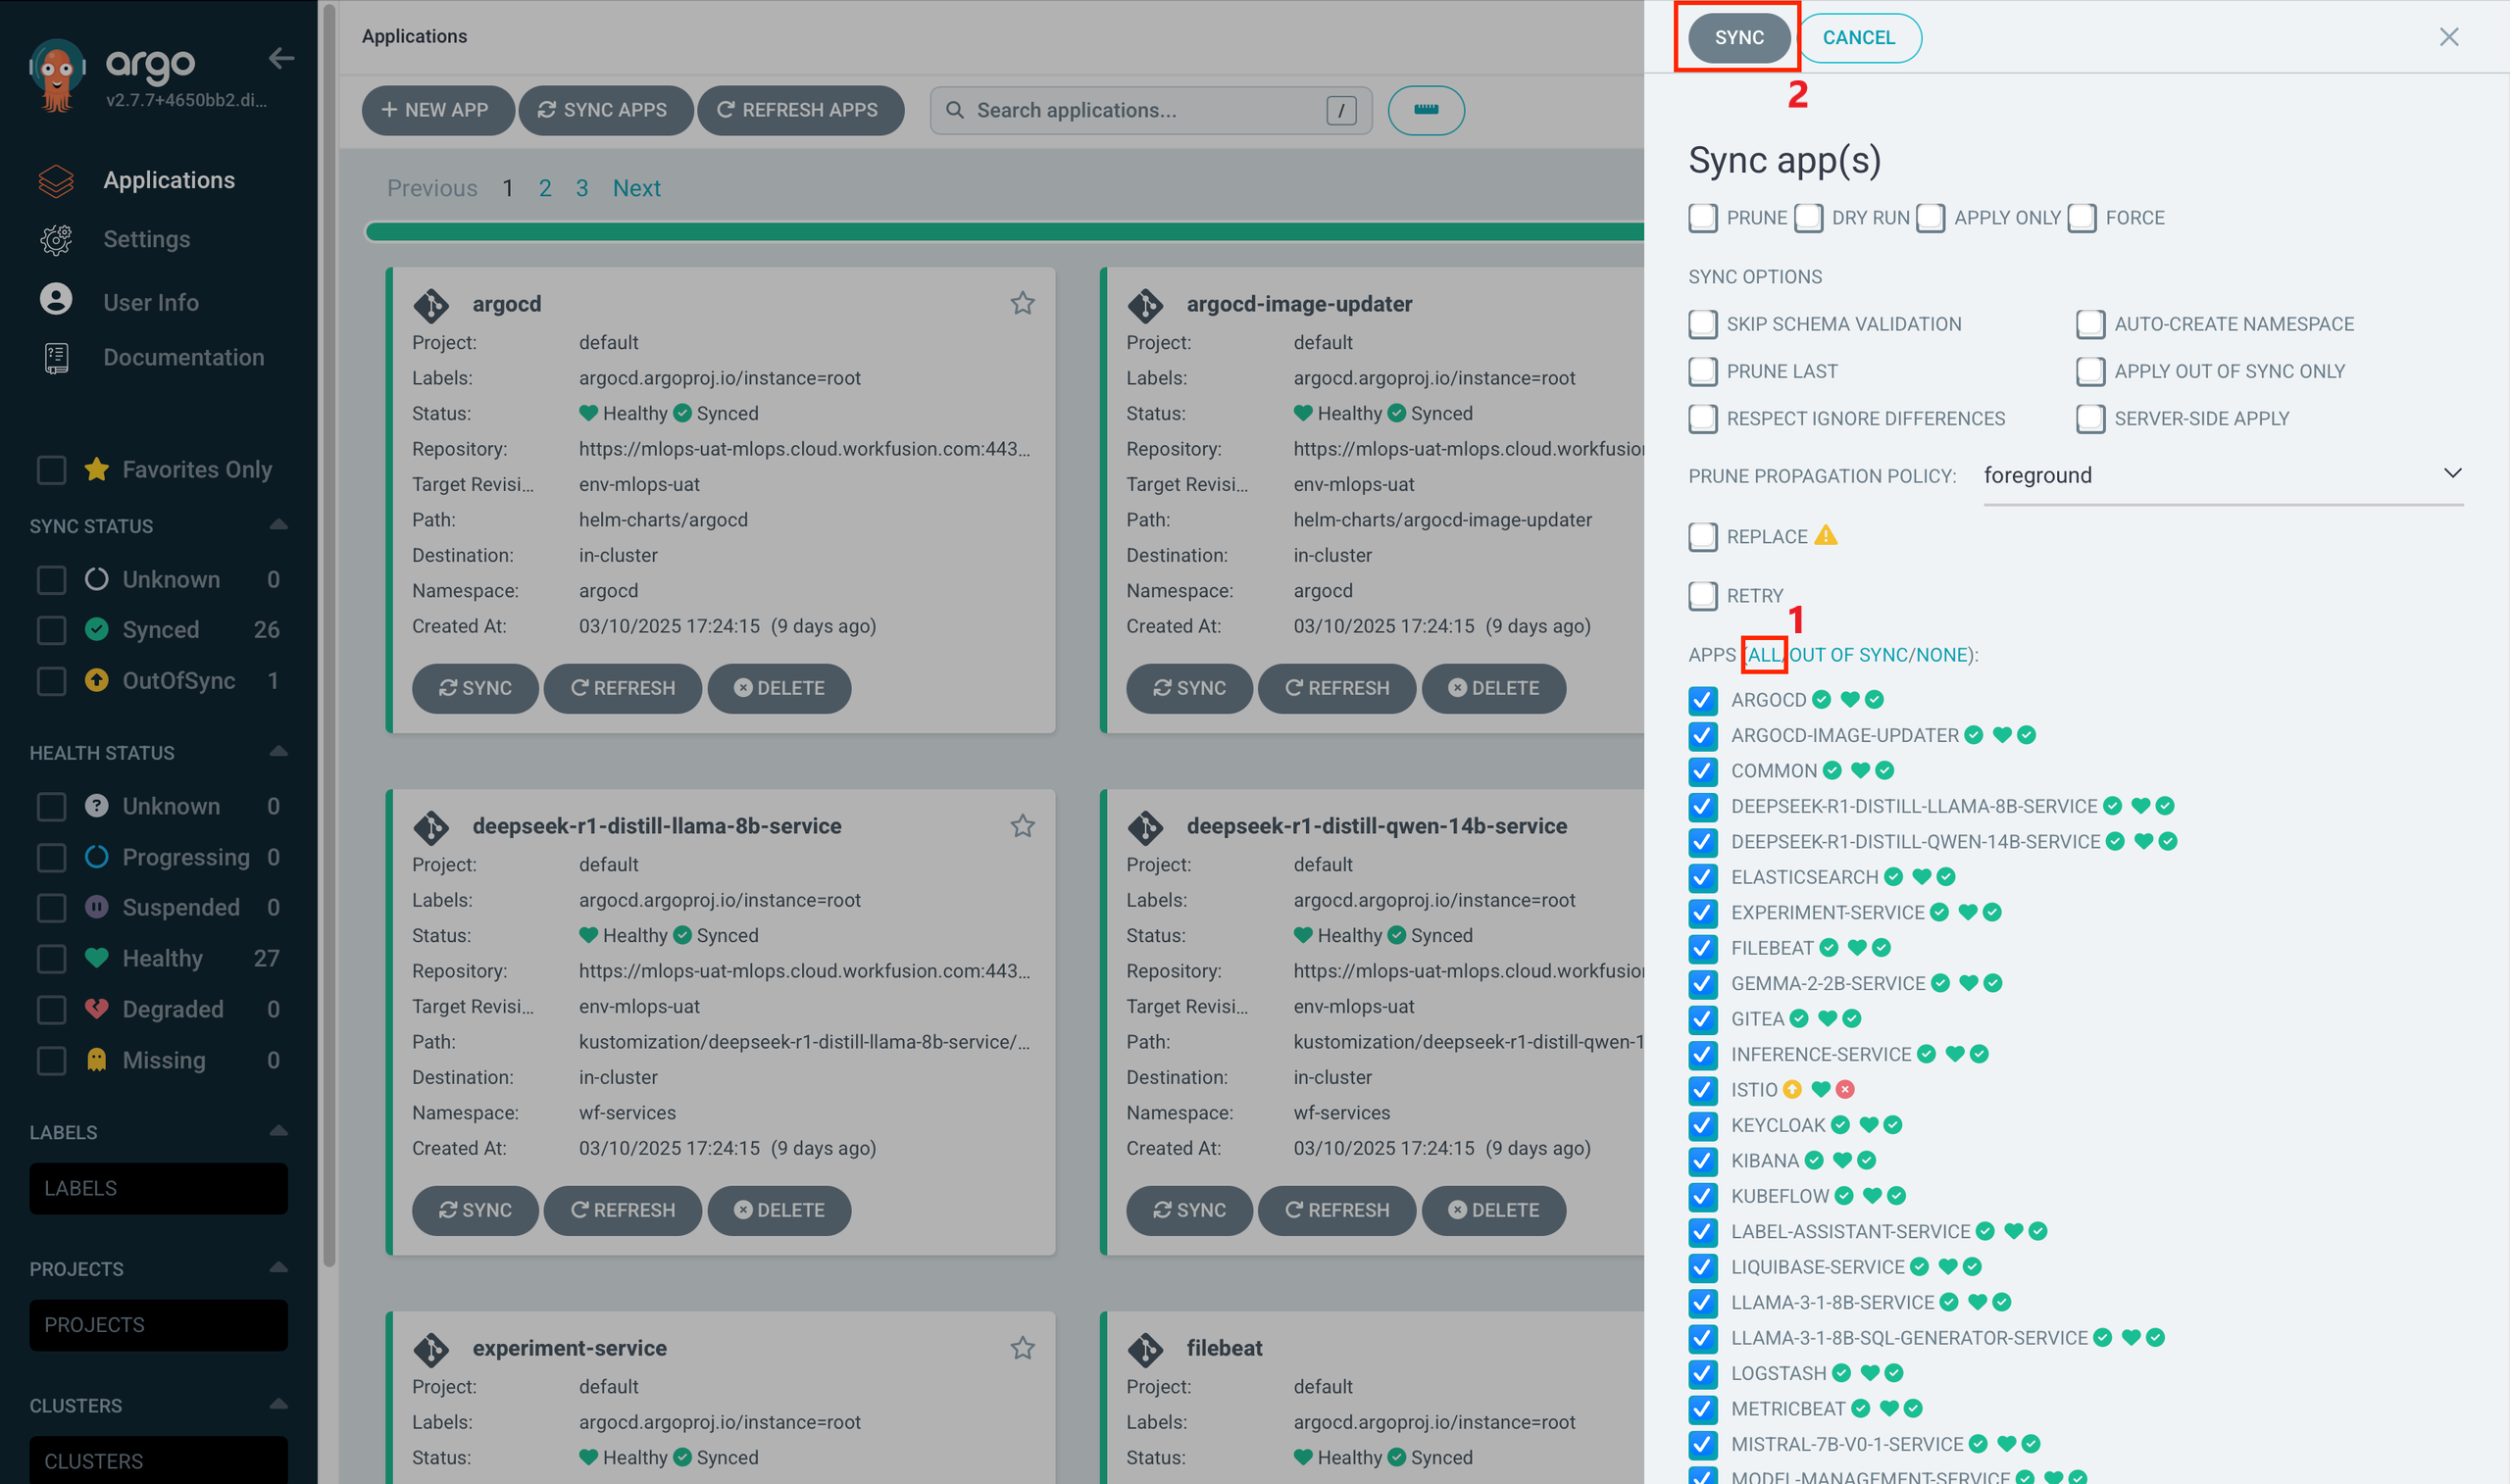
In the Sync app(s) panel, click ALL (1) and then SYNC (2).
In the top left corner, click REFRESH APPS.
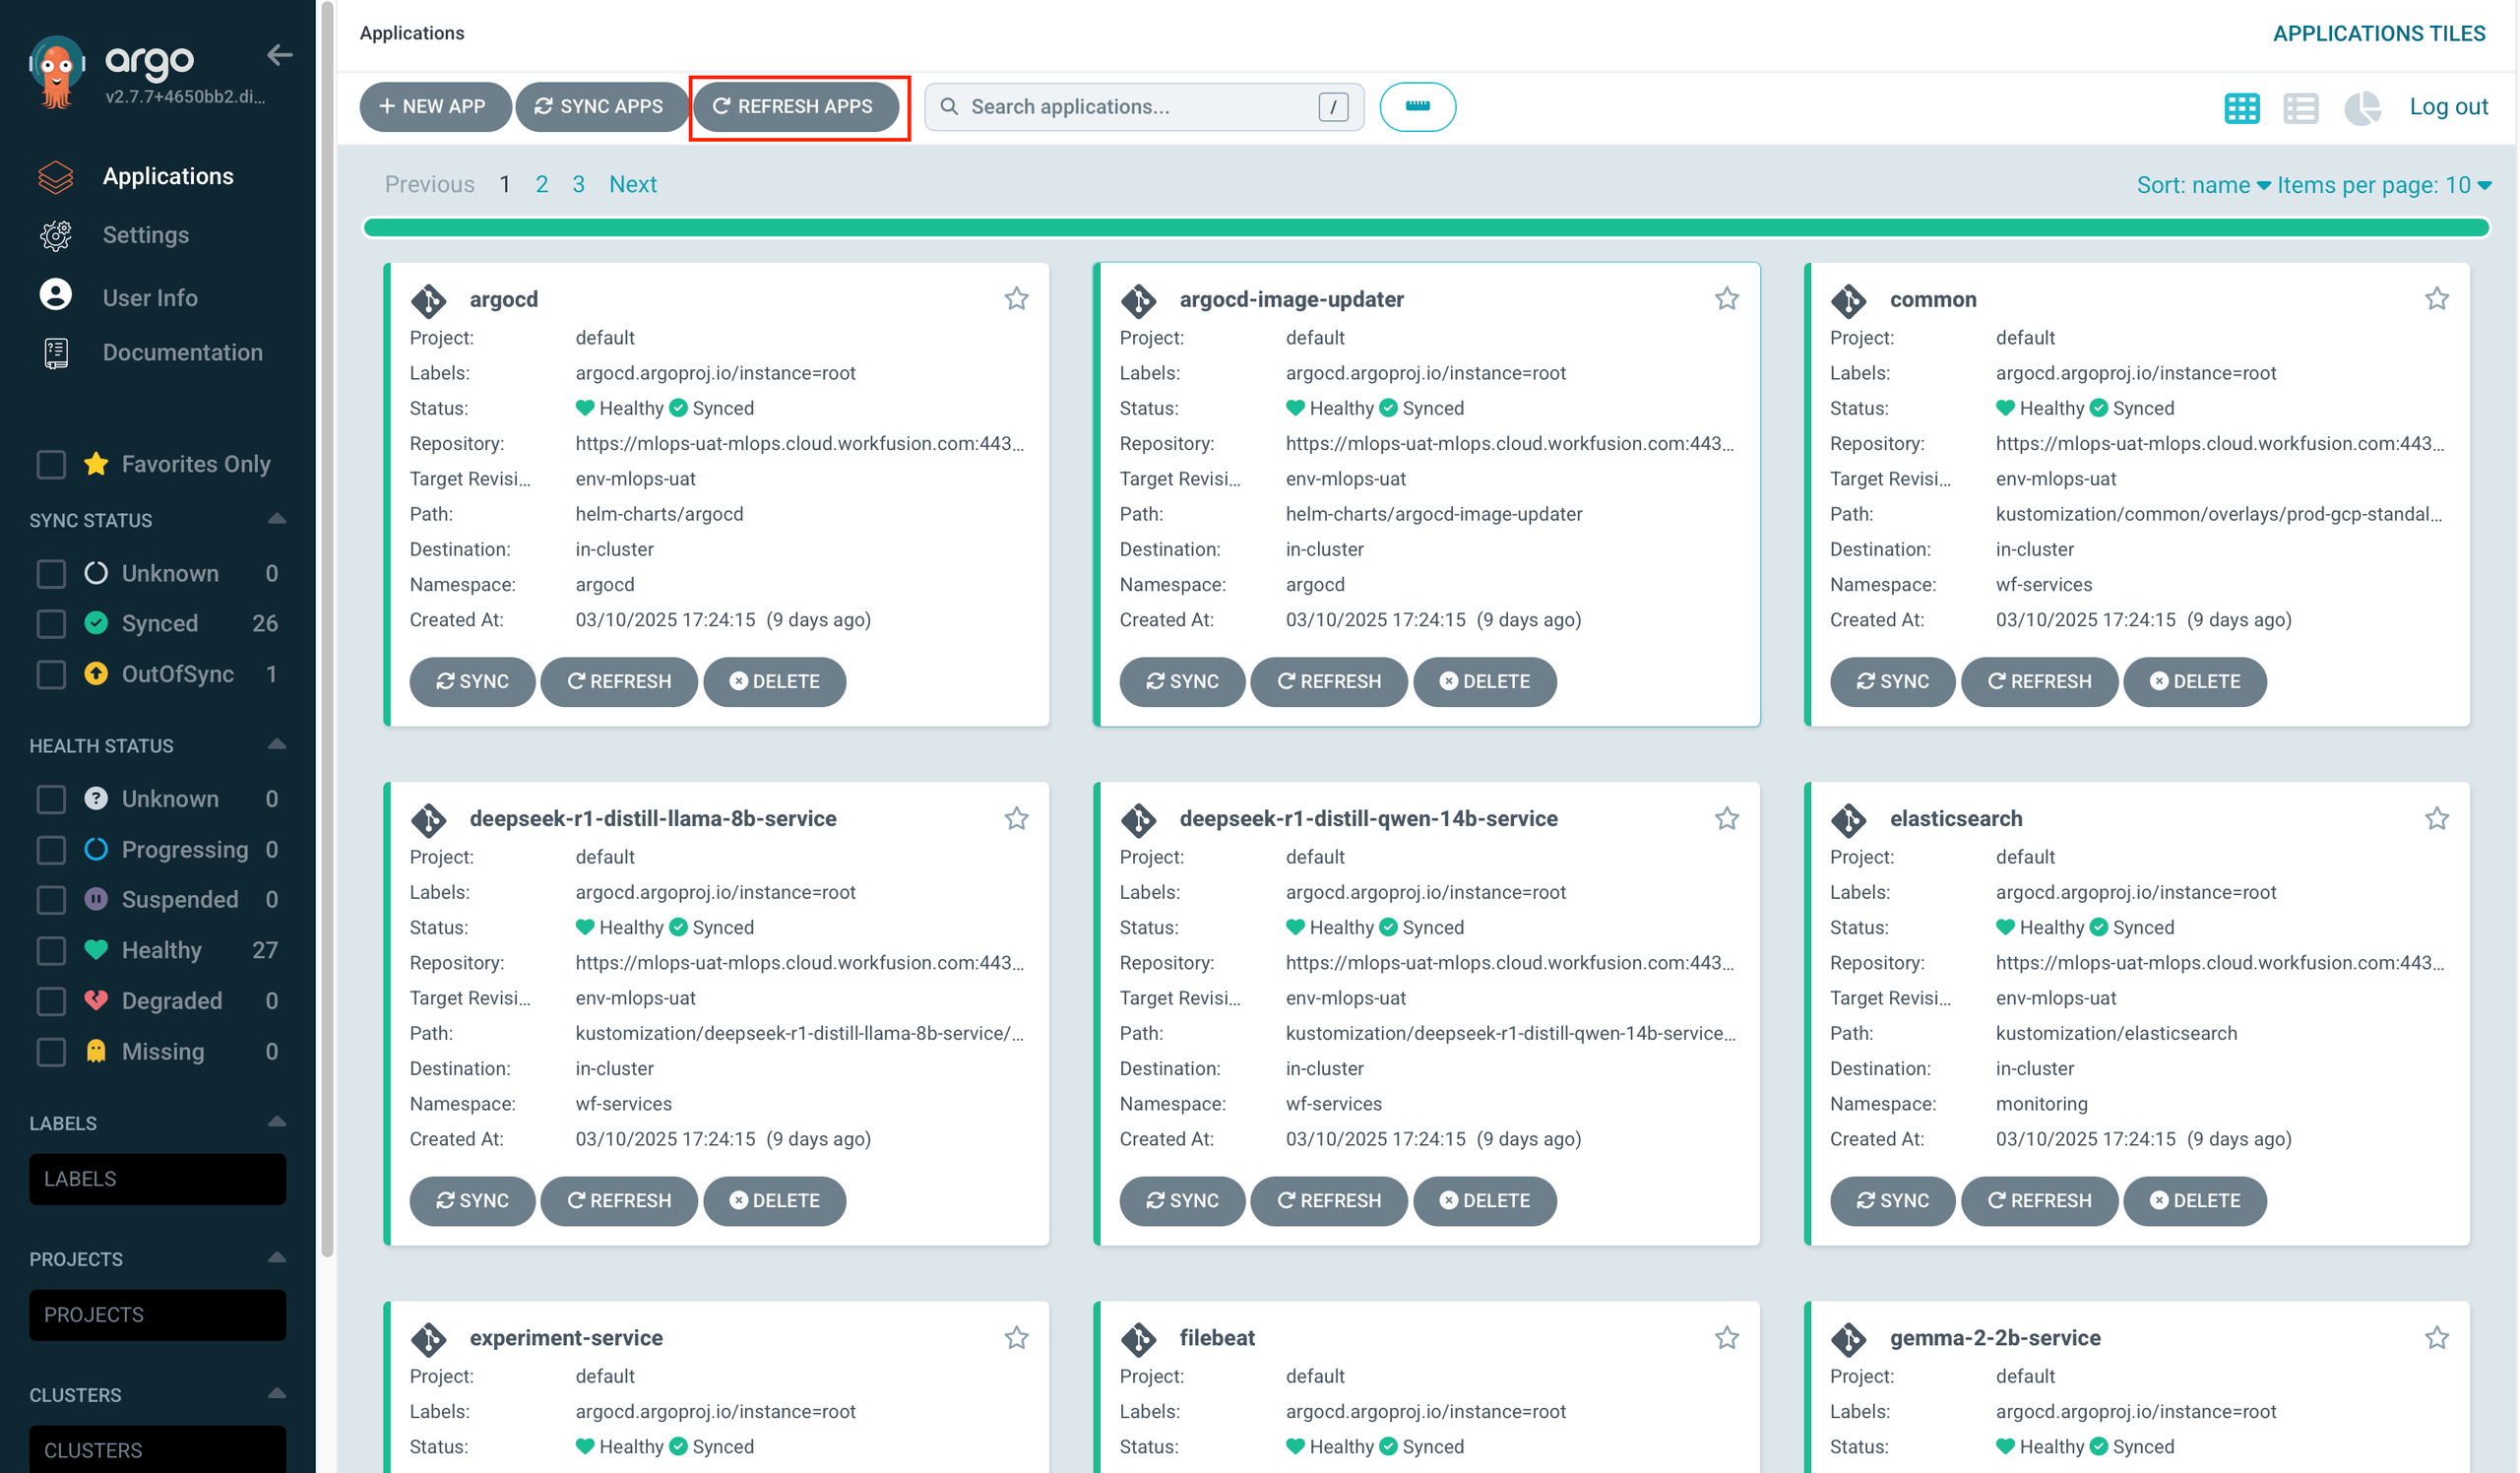
In the Refresh app(s) panel, click ALL (1) and then REFRESH (2).