
Getting started
Let's walk through several simple steps in Intelligent Automation Cloud Business, so you can start right away.
Step 1. Run Intelligent Automation Cloud Overview sample recording
In this step, you will learn how to run sample recordings WorkFusion Studio to see Business Edition in action. You will run the first sample and see execution progress and results. After that, you can run any WorkFusion Studio sample.
- Launch Intelligent Automation Cloud Business by clicking on its icon on your desktop. On launching Business Edition for the first time, you will see the Welcome page. On this page, you can find video tutorials, sample recordings, and links to training materials.
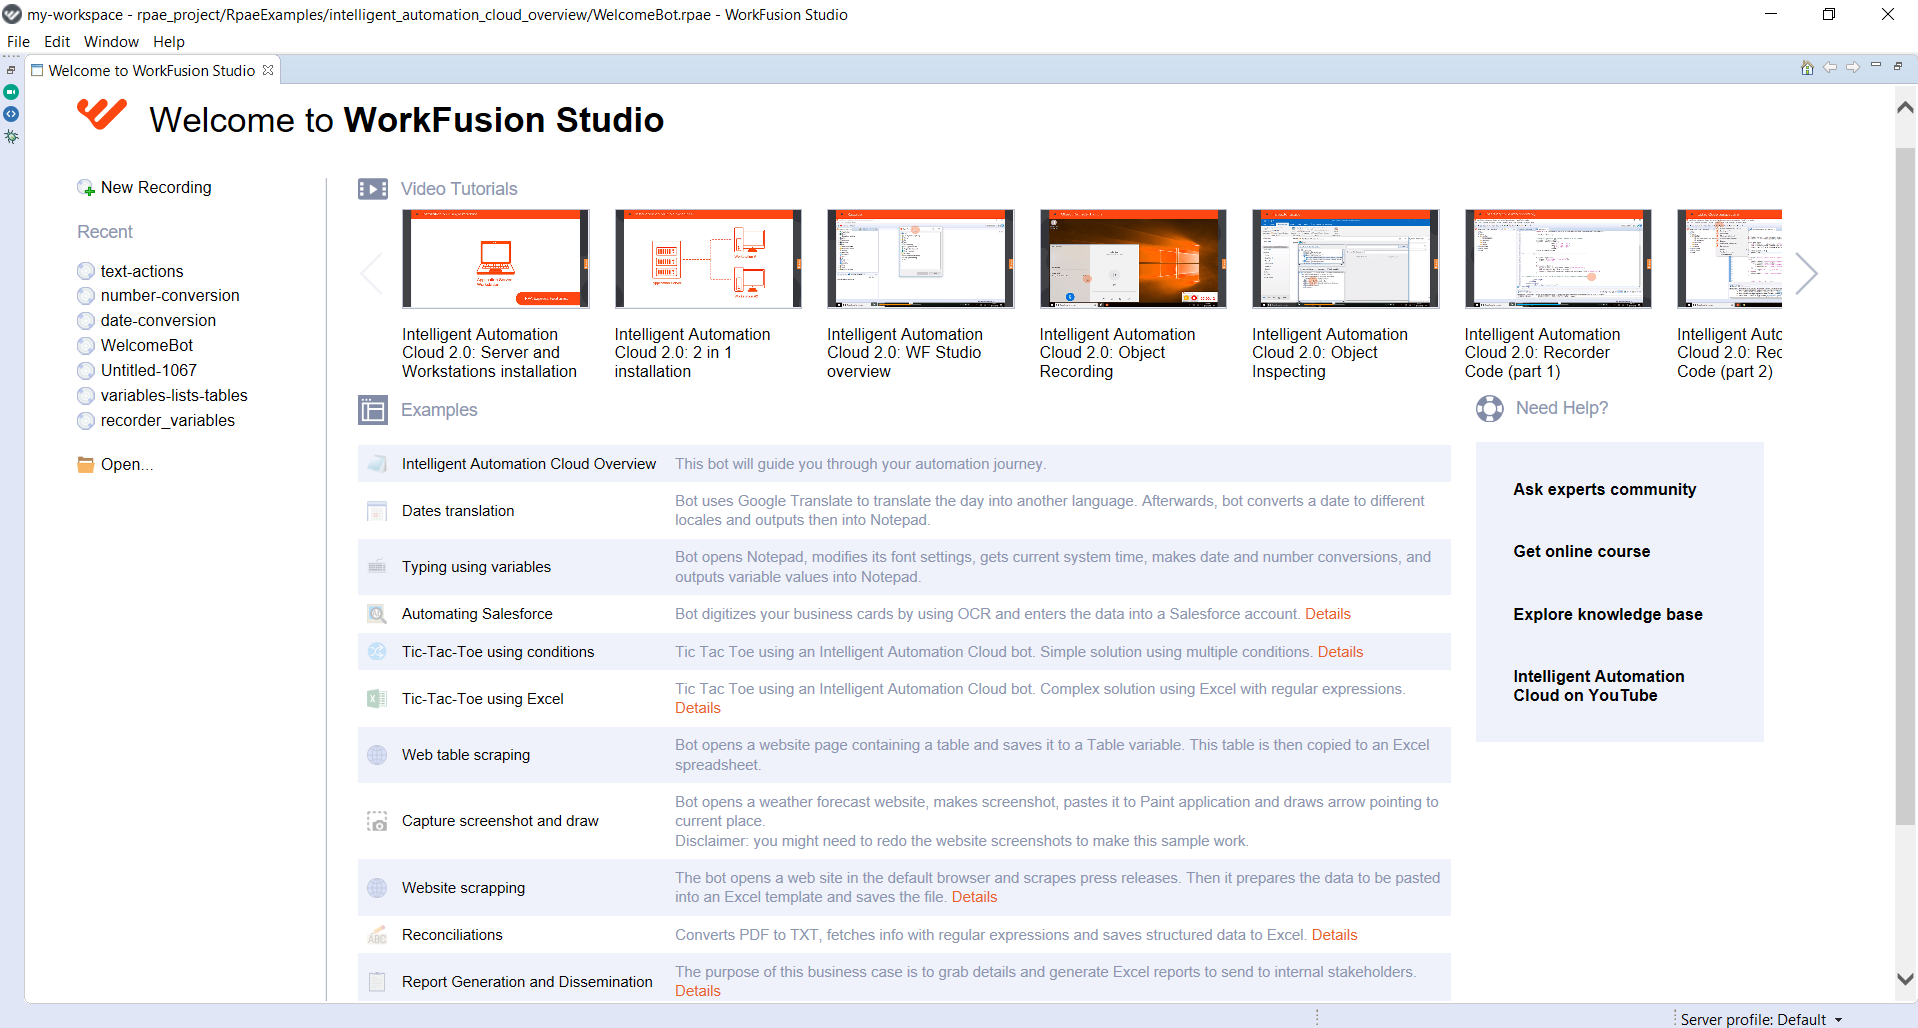
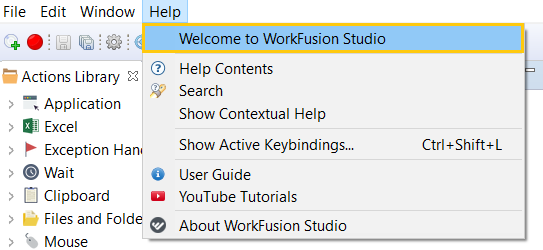
- If the Welcome page hasn't opened, you can open it from the WorkFusion Studio menu: Help > Welcome to WorkFusion Studio.
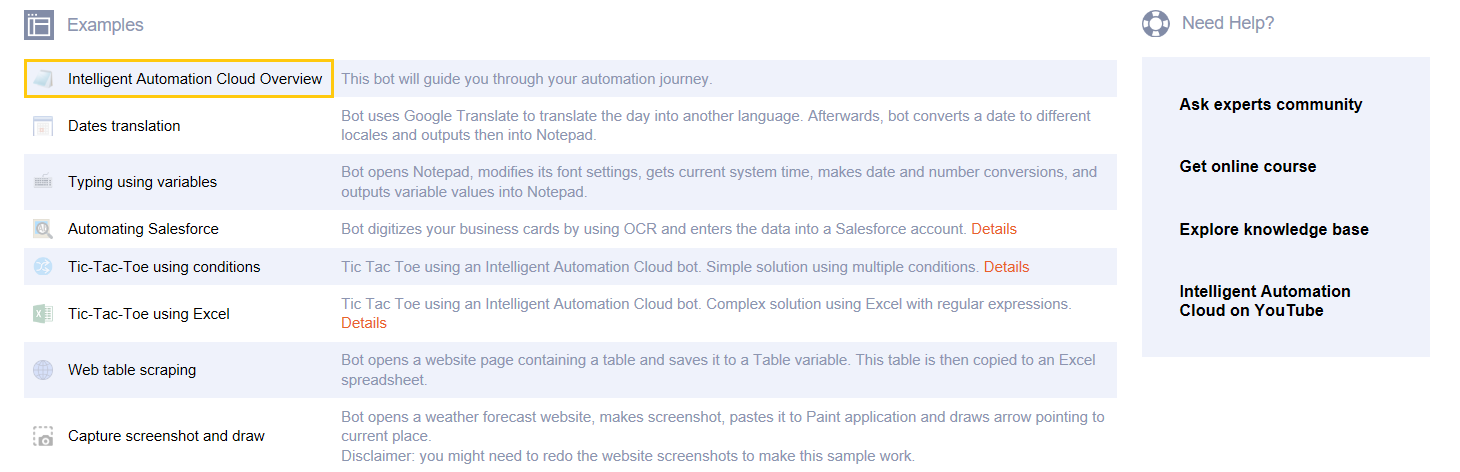
- Run the sample recording Intelligent Automation Cloud Overview - it will show you the basic capabilities of the tool. To open the sample recording from the Welcome page, click on its name.
 The recording will open in the Record Perspective (RPA Recorder).
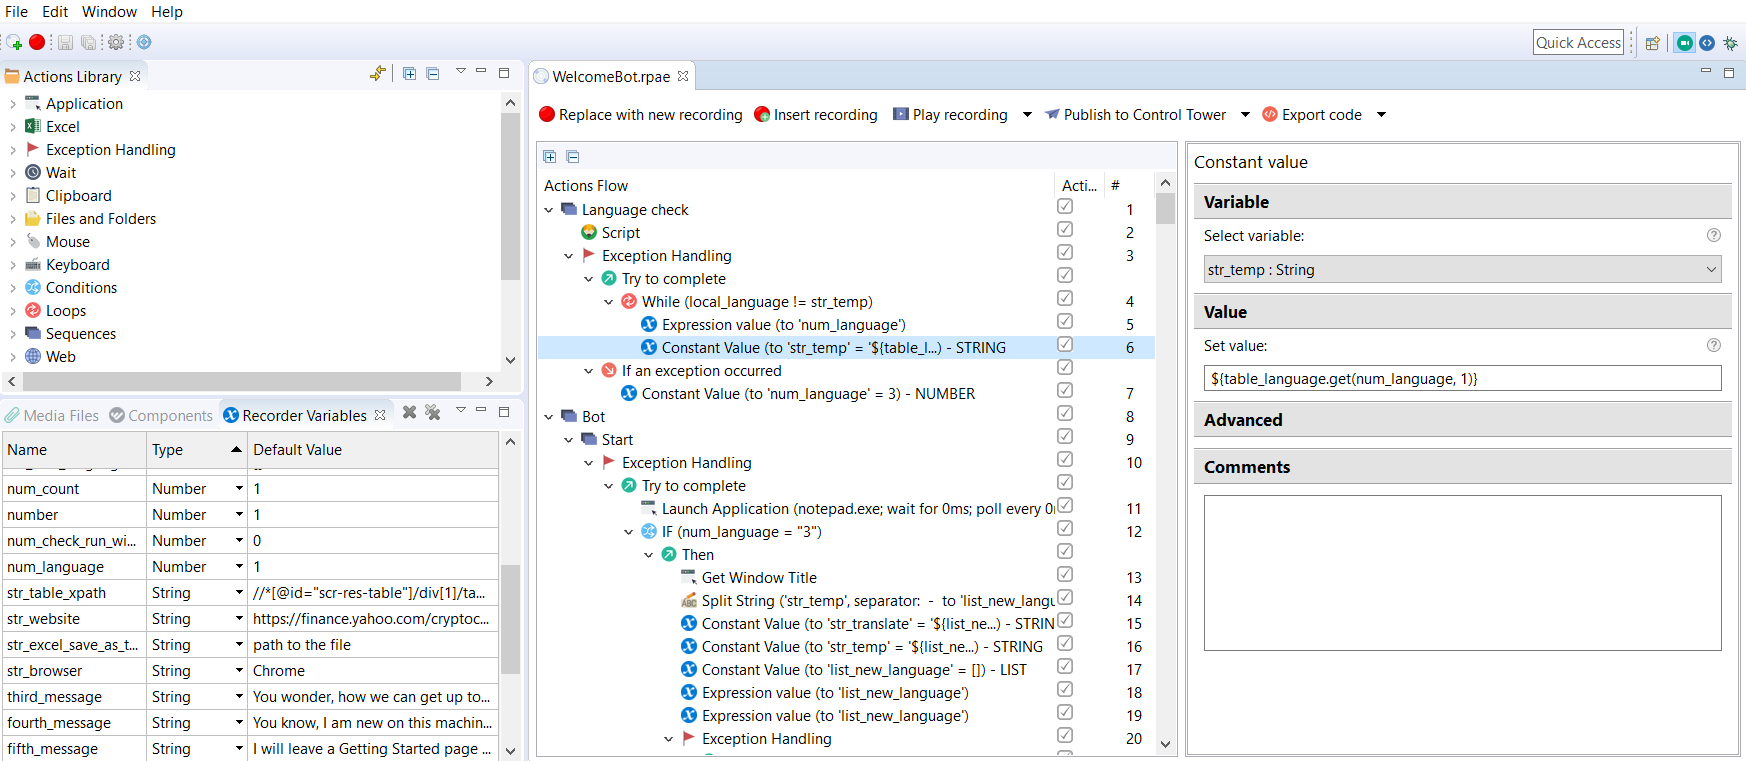
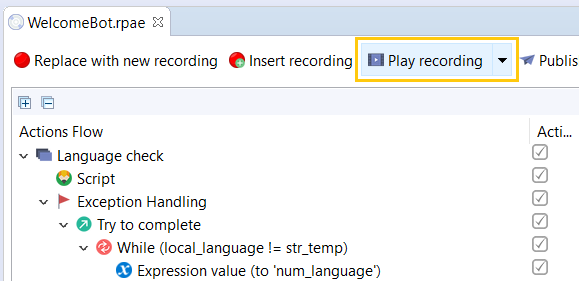
- Once the sample recording is opened, you can play it by pressing Play recording.
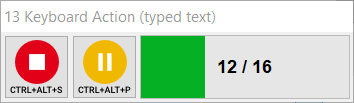
While the recording is playing, you can see its execution on the screen (opening applications and typing, etc.) and its progress on the progress bar.
caution
Pay attention to the text the bot types. At some point in the script, it will ask you to save a file in your local file system.
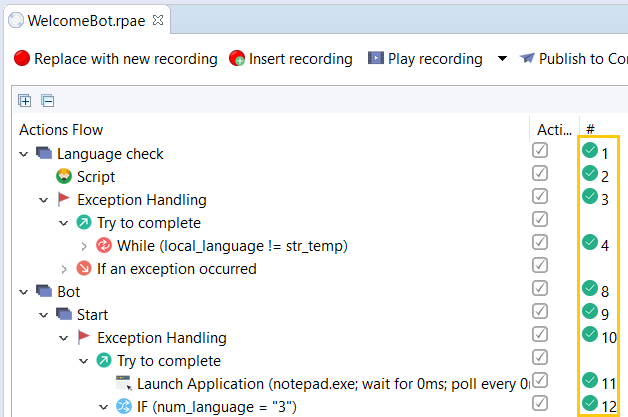
After the script's successful execution, you will see green checkmarks in front of each executed step. As a result of the script, you will have a local text file with useful links.
tip
You can run all other sample recordings from the Welcome page this way.
Step 2. Make your first recording
In this step, you will learn how to create a recording of your actions in WorkFusion Studio.
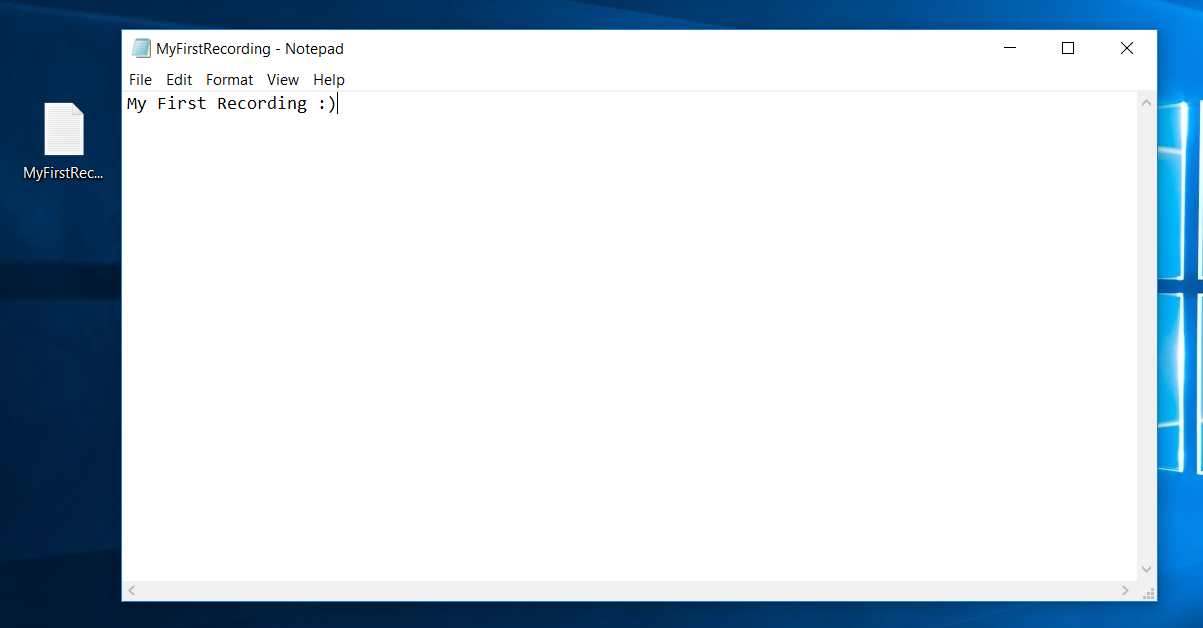
Let's make a recording which types My First Recording :) in Notepad and saves it as MyFirstRecording.txt to your desktop.
- Open WorkFusion Studio.
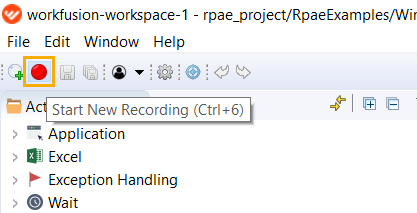
- Click Start New Recording (or use Ctrl+6).
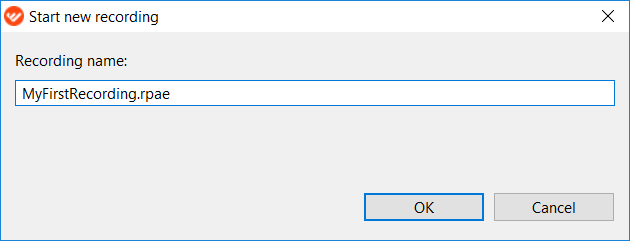
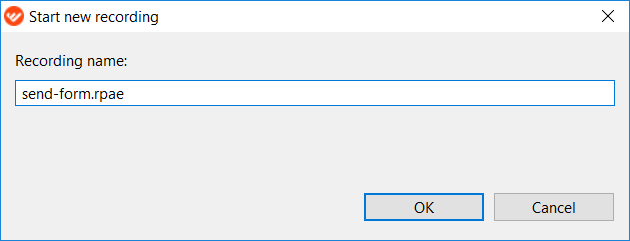
- Set a name for your recording and click OK.
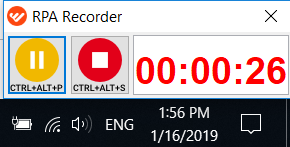
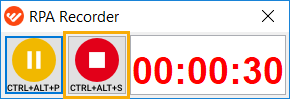
Now, the recording is started and it will capture all your actions. You should see the recorder panel with a running timer in the lower-right corner of the screen.
tip
Perform your workflow actions in a natural way, so that the bot can capture them.
Here's the order of your steps.
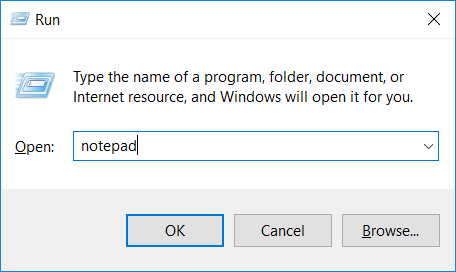
- Click Win+R to launch the Windows Run dialogue.
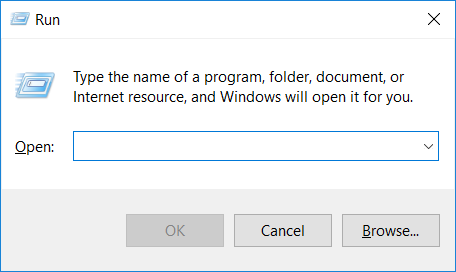
- Type notepad and click Enter in order to open Notepad.
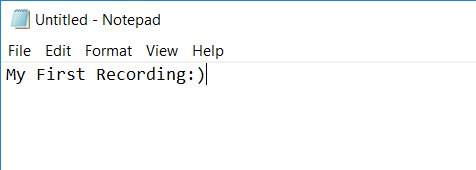
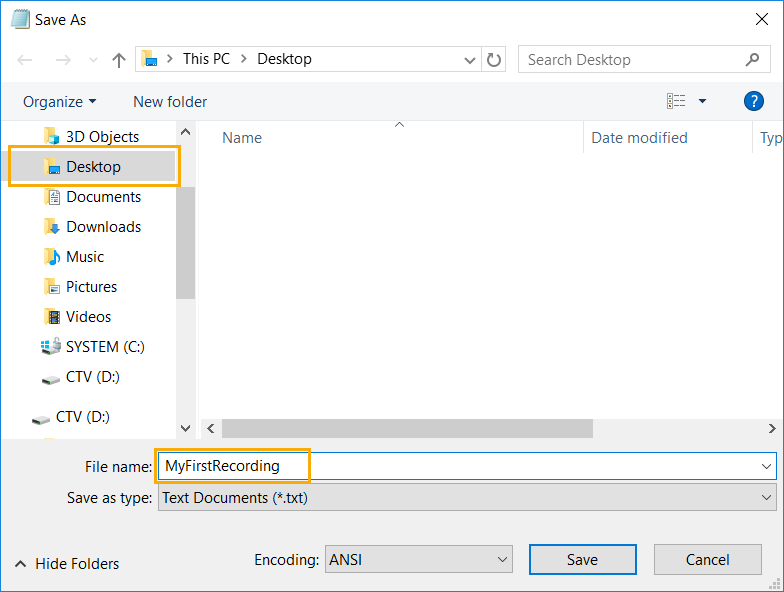
- Click File > Save as. Name your file as MyFirstRecording and save it on your Desktop.
- Click the Stop Recording button on the recorder panel. Your first recording is ready.
- Click Play recording to play your recording.
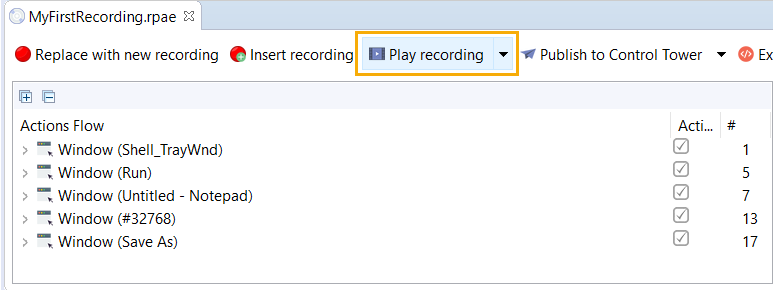 Well done!
Step 3. Import and run a ready script
note
As the next step of your introduction to Intelligent Automation Cloud Business, you will see an example of an automated case that as implemented using its functionality. You will import this script in your WorkFusion Studio and run it. You will also be able to play other ready scripts available in our Examples Library.
What the script does
The script shows how to use WorkFusion Community Forum.
- opens it in a browser
- goes to the defined category
- adds it to browser bookmarks
- shows the list of topics
- searches for topics
- opens the first link from the search results
- scrolls through the topic and clicks on the Reply button
At the end, you will see the Forum login pop-up.
tip
For proper script execution, we recommend using Google Chrome browser.
How to open and run the script
To run this sample on your machine, follow the steps below.
- Download the archive and unzip it.
- Move the folder to the default location of your workspace: C:\Users\your_username\workfusion-workspace\rpae_project, if you didn't change it during installation.
- Open WorkFusion Studio, find and expand the new folder in the Media Files tab, and double-click on the visit-forum.rpae file.
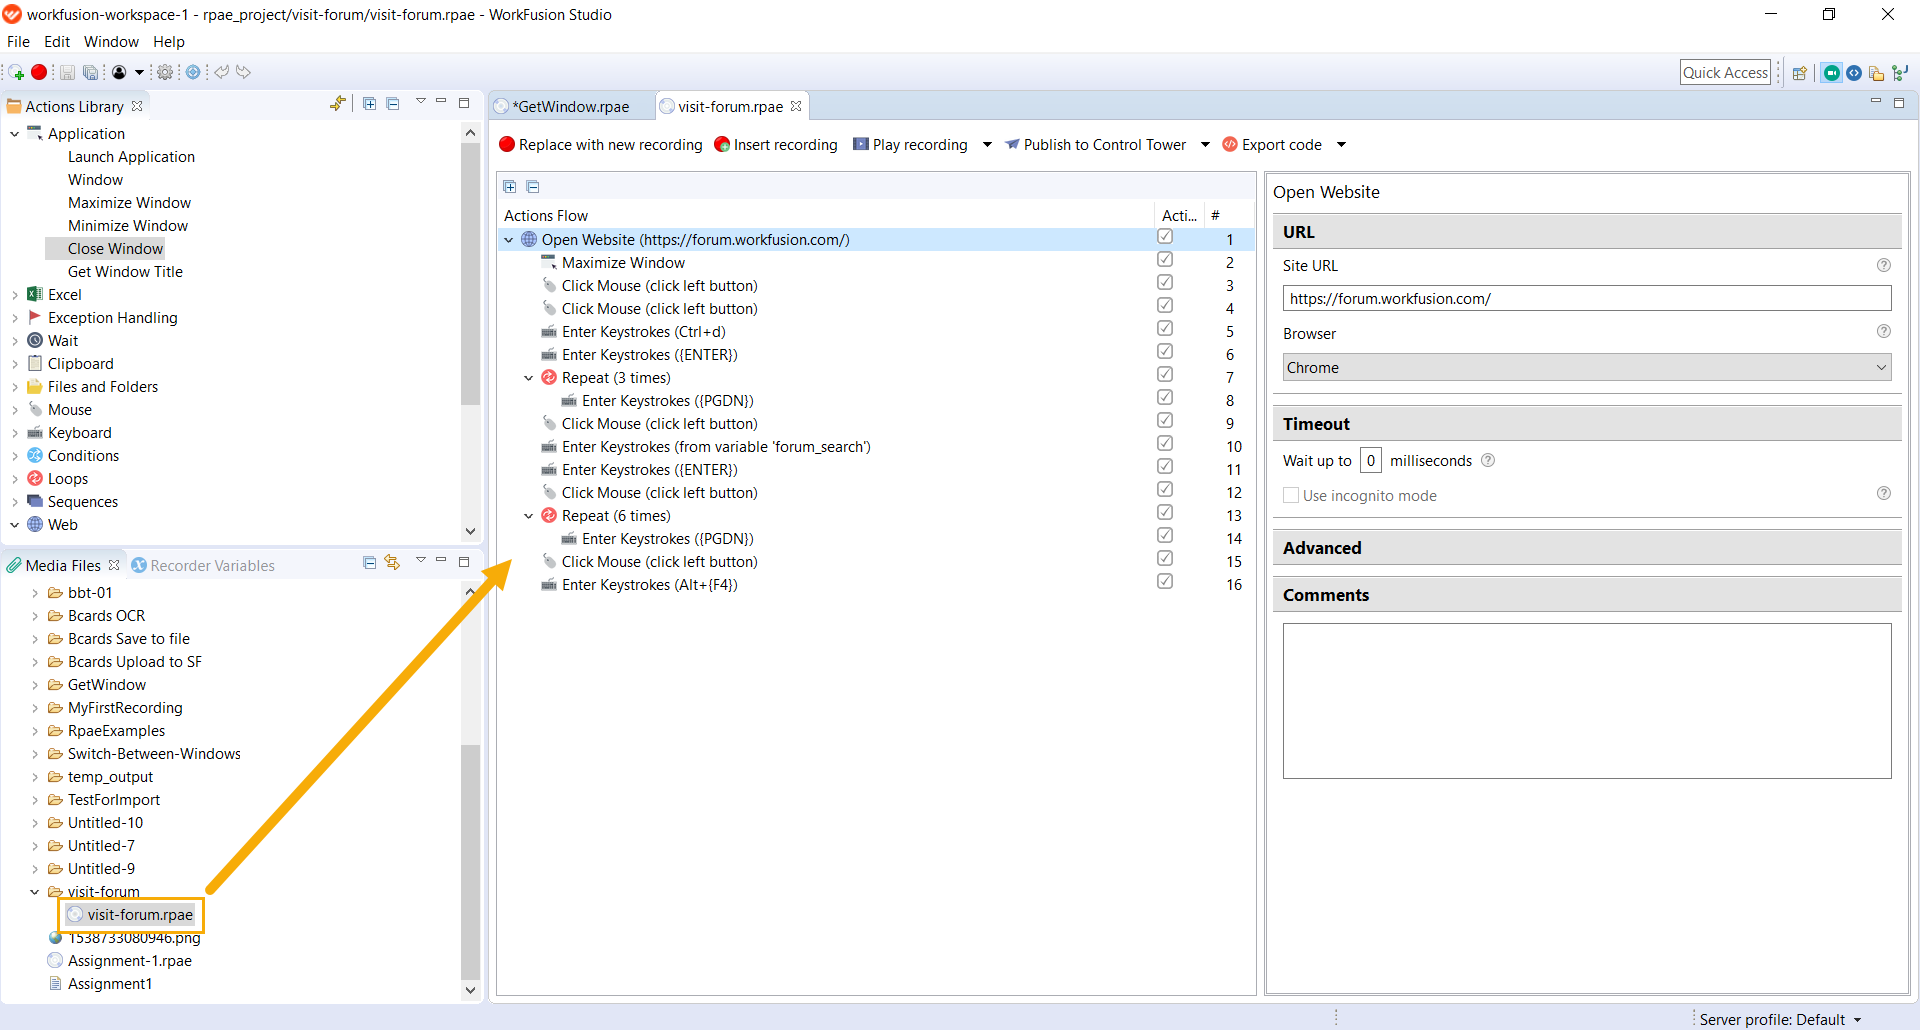
- Click Play recording and observe bot execution.
Step 4. Explore our Examples Library
note
In this step, you will find more sample scripts in our Examples Library. Follow the instructions there to download and run them. Mind that some scripts may require some edits before execution.
On the previous step, you learned a simple example of Intelligent Automation Cloud Business automated work. But we have more examples in our Examples Library. You can find scripts for different cases that demonstrate both web and desktop automation using browsers, Outlook, Excel, Adobe Reader. By the way, examples contain reusable components that you can use in your own scripts with minimal changes or even without any changes.
- On the main page of Examples Library, you will find a short description of each example with the link to the detailed information, script documentation, and download links.
- Each example contains description of a specific case and its script workflow. In the detailed script workflow, you will find links to the documentation as well.
- Reusable components are marked by REUSABLE.
- Reusable components are available on a separate page where you can download them to use in your script. See the list here.
- You will also see how you can add reusable components into your script. Refer to How to Сopy Reusable Components.
Step 5. Create your own script
note
Now, it's time to create your first script in WorkFusion Studio using the built-in Actions Library.
As the automation example, you will create your own script that will open the feedback page.
Here's what you should do.
Open WorkFusion Studio and click File > New Recording or press Ctrl+5.
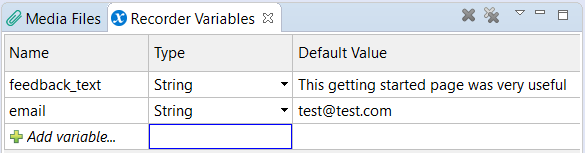
In the Recorder Variables tab, set up the following String variables containing your unique values that will populate the required fields on the page:
email- Enter your business email into the Default Value field.feedback_text- Enter text of your feedback about this Getting Started page into Default Value.
From the Actions Library, drag Open Website action to Actions Flow.
- Enter http://learn.workfusion.com/create-your-first-bot into the Site URL field.
- Specify your browser in Browser field (we recommend using Google Chrome or Mozilla Firefox).
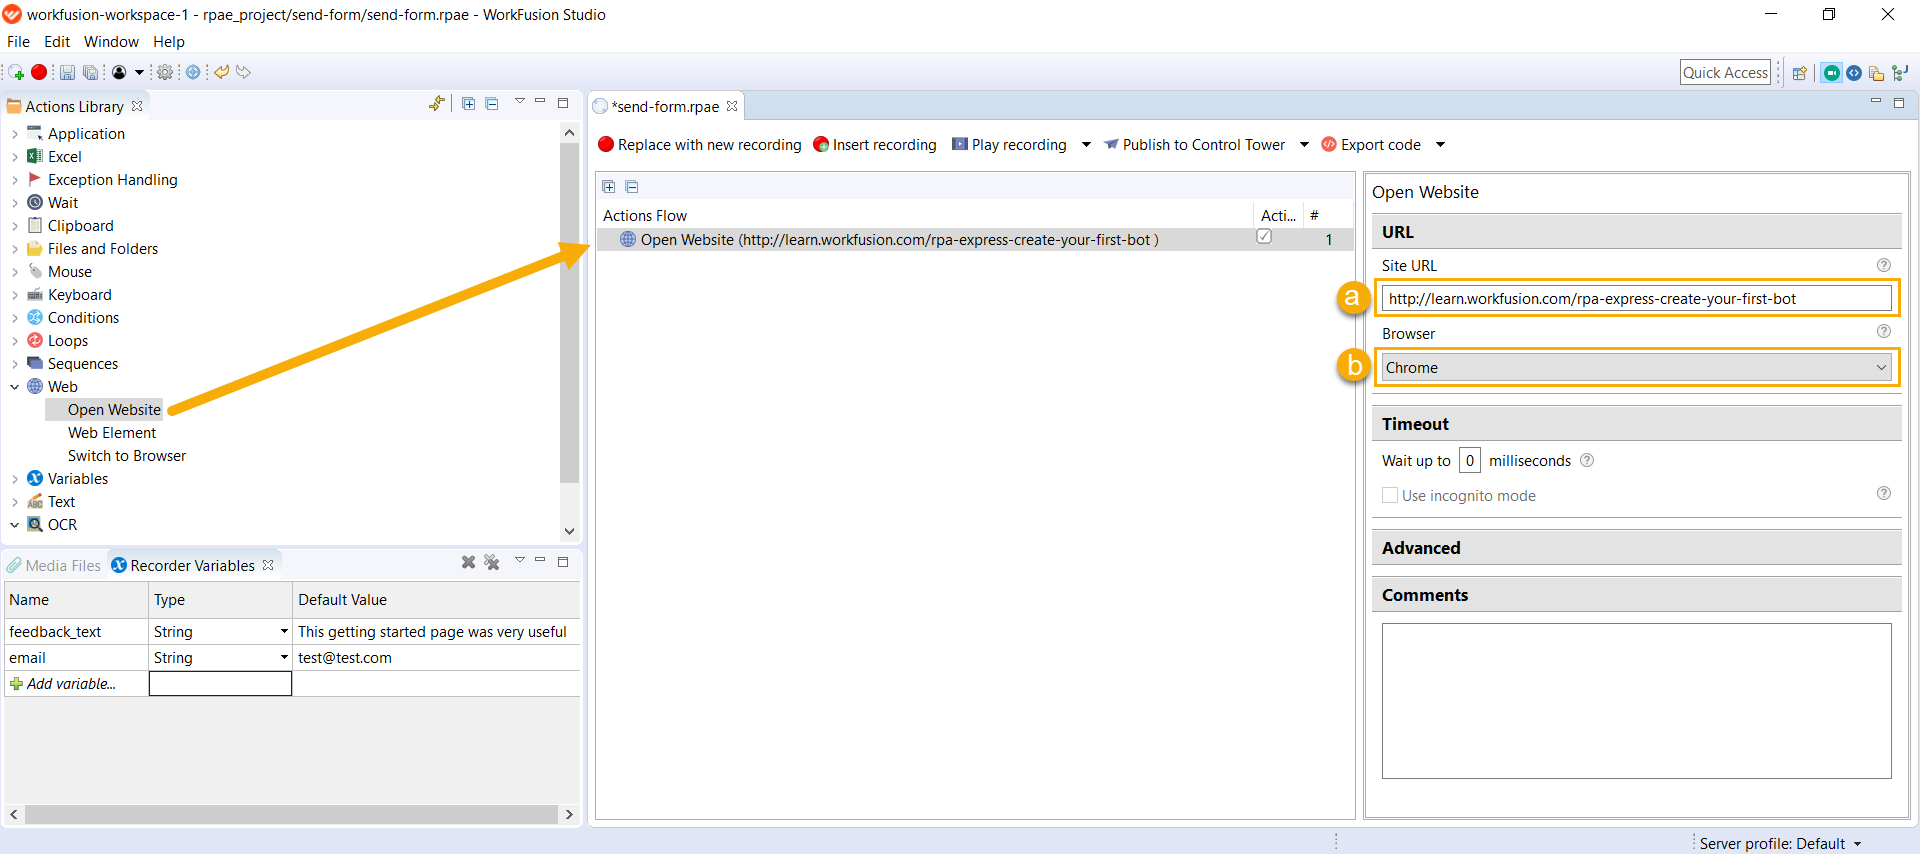
Then, your script needs to insert your email address to the Business Email address field. To do it, add the Web Element action. Drag the action inside the Open Website group.
- Select the Set value mode.
- Select the email variable for Input.
- Insert the element's XPath:
//*[@name="emailAddress"]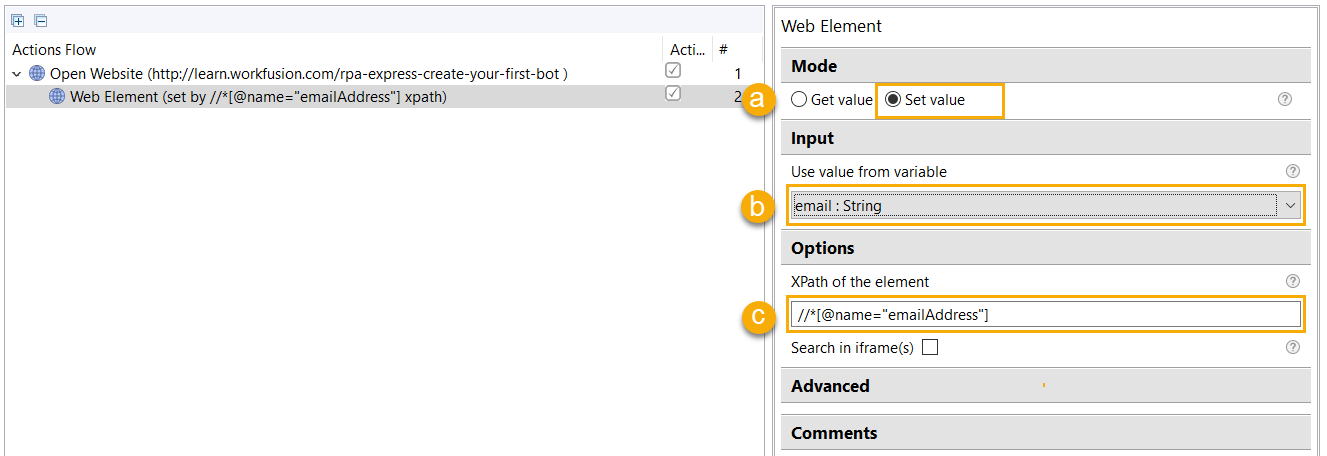
To click the required radio button, add the Mouse Click action, select Web Element, and paste one of these XPaths into the field depending on your opinion of this Getting Started page:
     //*[@value="Neutral"]
     //*[@value="Useful"]
     //*[@value="Not useful"]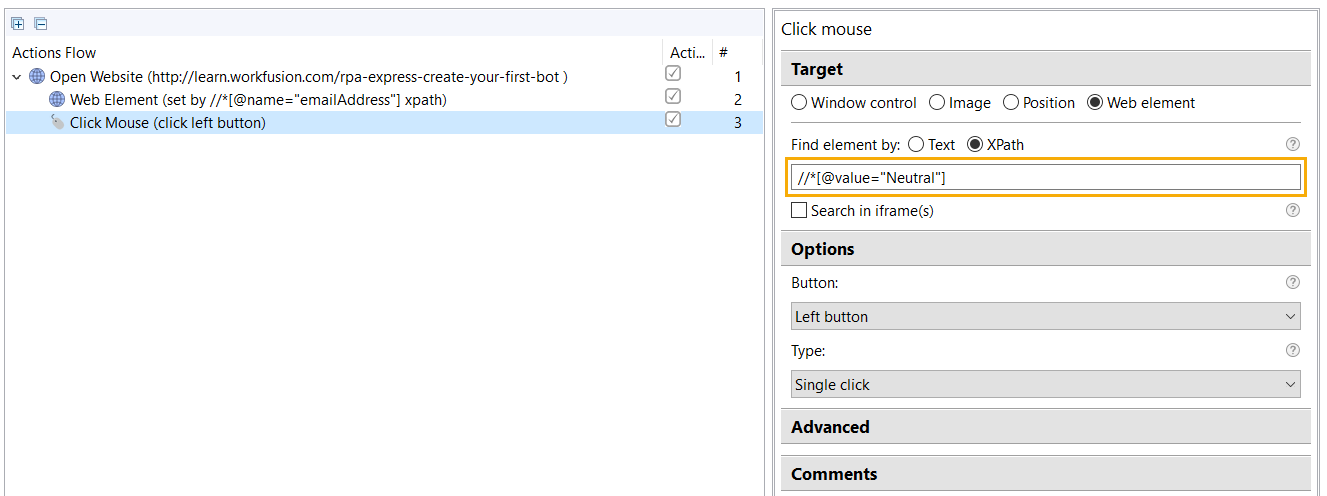
Insert your feedback text in the Any additional feedbackfield. For that, add the Web Element action.
- Select Set value mode.
- Select the
feedback_textvariable forInput. - Insert the element's XPath:
//*[@name="paragraphText"]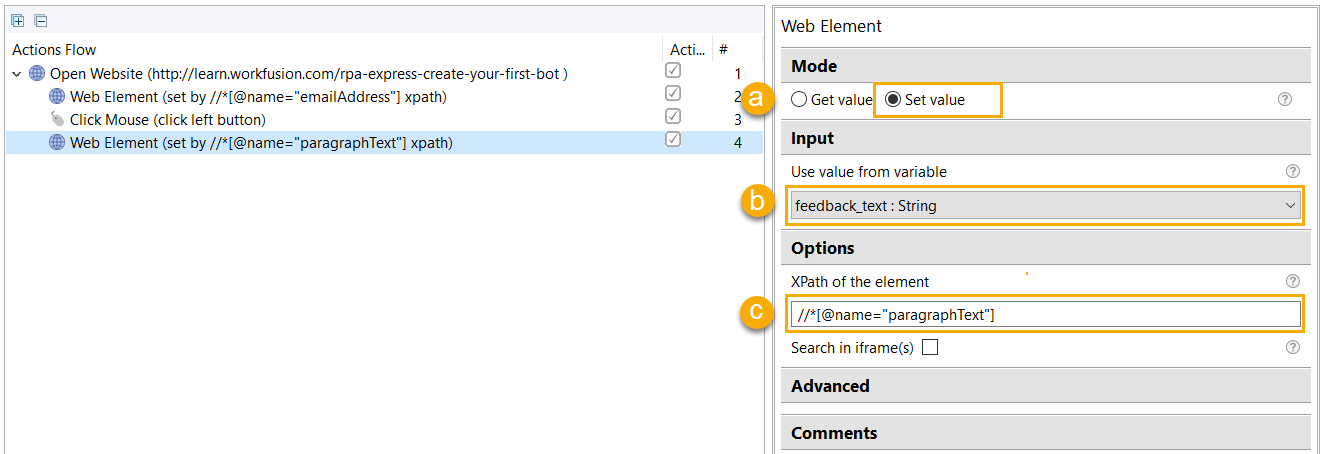
Now, you're almost finished. To press the Submit button, add a Mouse Click action, select Web Element, and paste the button Xpath in the field:
//*[@type="submit"]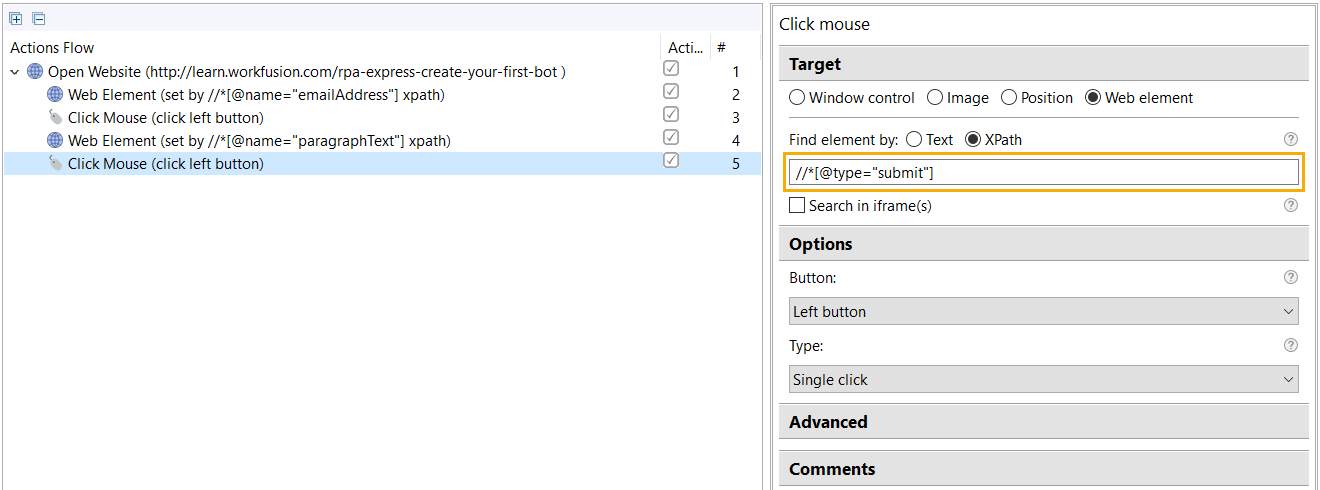
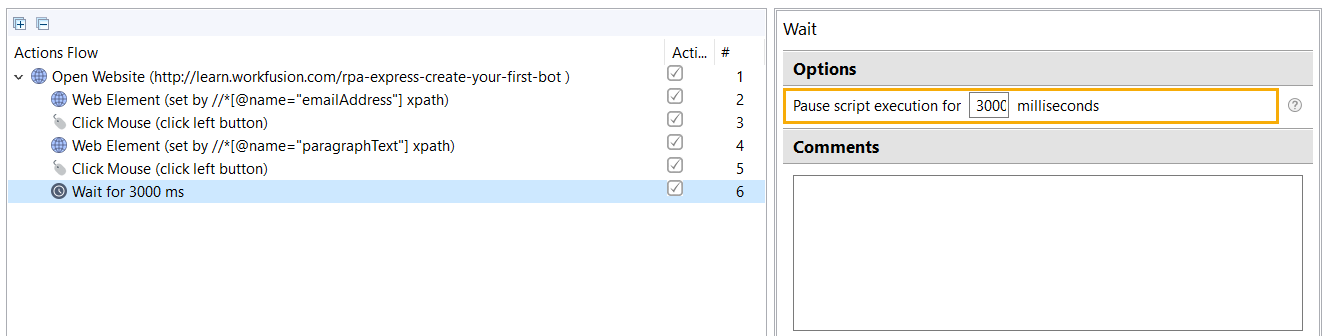
Add a Wait action (3,000 ms) to make sure the feedback is sent.
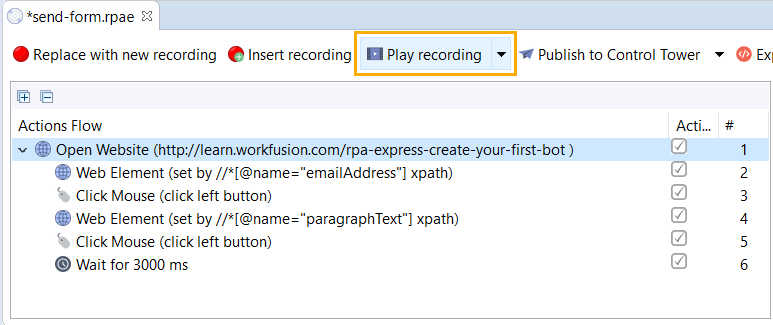
 Congratulations! Your first script is ready. You can try to run it by pressing the Play recording button.
Have more questions about Business Editions?
There are several sources where you can get help.
- Need to know more details about how Intelligent Automation Cloud Business works? Explore the rest of our Knowledge Base.
- Want to get more structured knowledge and get certificates? Explore our Automation Academy.
- Need more how-to videos? Subscribe to our YouTube channel.