Configure notifications for ELK alerts
By default, the Product is shipped with three connectors (or channels), through which alerts may be sent:
- ELK index
- Slack
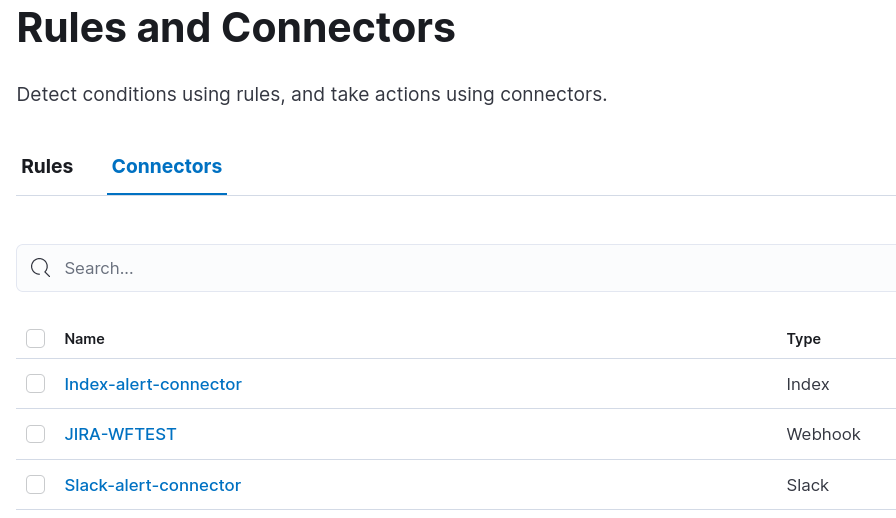
Go to Alerts and Insights > Rules and Connectors to find these connectors.
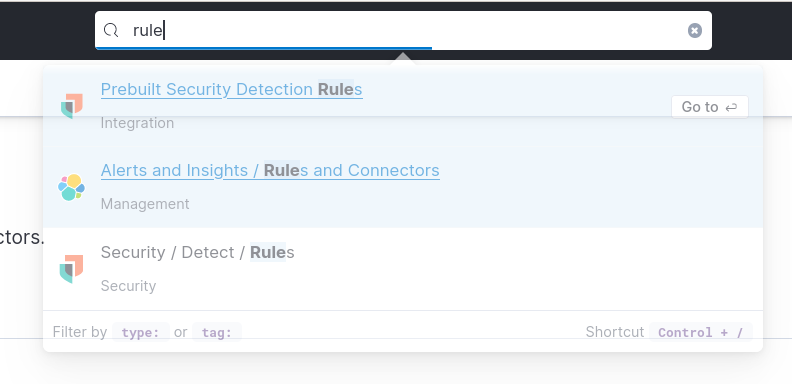
The index connector is always enabled and is used to track the history of alerts internally. You can enable the Slack end email channels in the config.yml file during the installation or Activate alerts later.
To create an additional notification channel, you have to:
- Create a new connector.
- Add a connector to selected or all existing rules.
Configure Jira notifications
There is also a separate out-of-the-box connector for Jira. A ticket with no custom fields or labels must be created in a project to use it.
If more sophisticated logic is required for ticket creation (for example, you need to specify customer name, type of environment: PROD, UAT, and so on), then the Webhook connector must be used.
To configure the Webhook, do the following:
Open the required connector's configuration and fill in all required details:
- URL
- username
- password
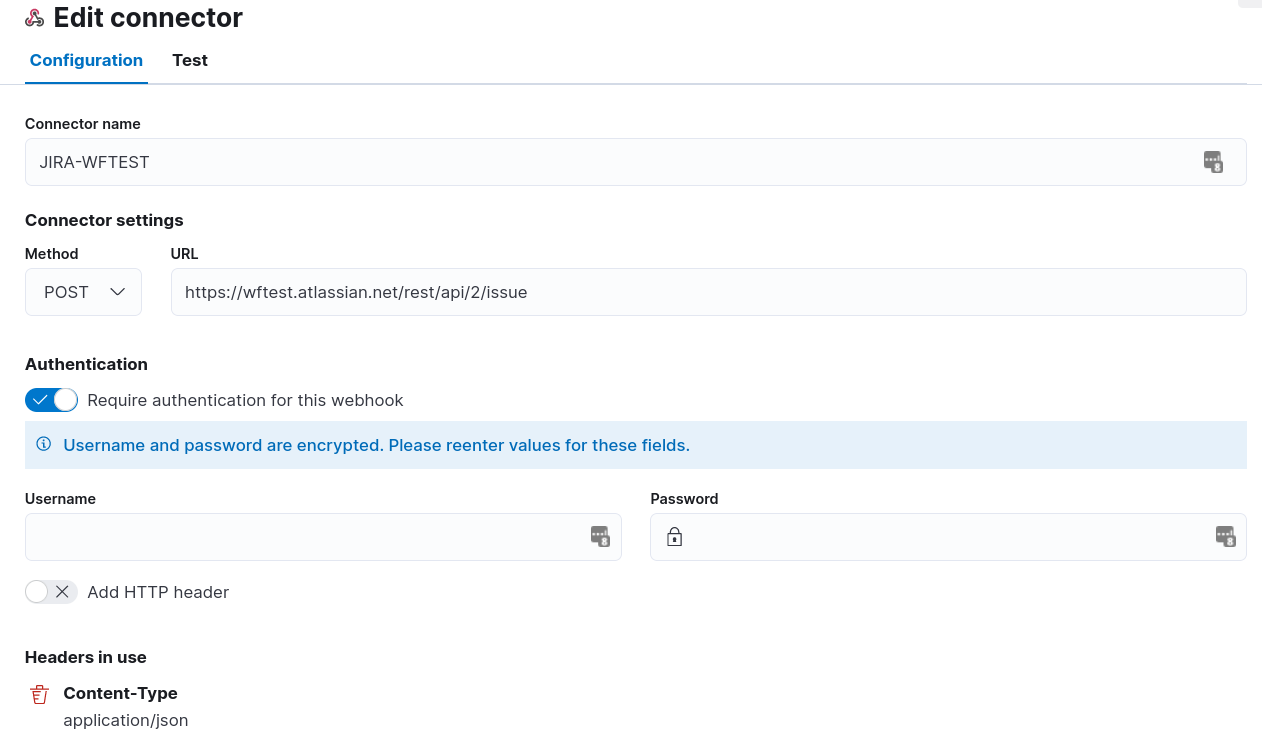
Specify the additional HTTP header. For that, toggle Add HTTP header and add the following key-value pair:
Content-Type: application/jsonIn the alert's Body, place the ticket's content. Note that you can use rule metadata as well. See the example:
{
    "fields": {
    "project":
    {
        "key": "NAME-OF-THE-PROJECT"
    },
    "summary": "Issue",
    "description": "New issue from ELK",
    "issuetype": {
        "name": "Issue"
    },
    "customfield_12612": { "value": "VERY-IMPORTANT-CUSTOMER" },
    "customfield_14312": { "value":"Something wrong happened" },
    "customfield_11812": { "value":"UAT" },
    "customfield_12311": [{ "value":"Agree" }]
}
}
Each Jira project has a unique set of mandatory and optional custom fields. That's why, before creating an alert, it is advised to perform a CLI test using curl and validate whether you filled all fields correctly, for example:
curl -X POST --user 'your-username:your-password' --header 'Content-Type: application/json' --data "@payload.json 'https://<your-jira-url>/rest/api/2/issue'"
Specify the above JSON payload in the payload.json file and run curl. Pay attention to potential errors that the command returns. For example, it can notify that the mandatory fields are not present or the type of provided value is wrong. For example, a field expects an array while a string is specified. Here are some examples of errors and potential action items:
--- "errors":{"customfield_11812":"Specify a valid value for Environment type"}} ---

most probably, the value should be chosen from a set of preconfigured options (for example, only UAT or PROD are accepted)

--- "errors":{"Support Services Terms of Use":"Specify the value for Support Services Terms of Use in an array"}} ---

most probably, you specified the wrong type, e.g., the field expects an array, and you specified json or string
As a general guide, to better understand what values can be set and in which format, you can contact your Jira administrator to clarify all these details or pull a ticket from that project and manually investigate what format is used for any particular field. See the example command to pull ticket details:
curl --user 'your-username:your-password' --header 'Content-Type: application/json' 'https://<your-jira-url>/rest/api/2/issue/<name-of-the-issue>'