Install Work.AI Developer
You can install Work.AI Developer on a developer workstation or remote VDI within your company's private network. The latter installation option is typically used to comply with security policies or when it is impossible to install the company's applications on a developer workstation.
Download Work.AI Developer
To get the installation package, click the Download Work.AI Developer button, fill in a short form, select the version you need, and click Submit. The download starts automatically.
If you cannot find the needed version in the form, refresh the page and try again. If you have any ad blocker extensions in your browser, disable them, as they may block the file from downloading.
Check prerequisites
Before moving to the installation, remember to do the following:
Stop your running programs.
Check if automatic Windows updates are not running at the moment. Otherwise, wait for them to complete or pause the process.
Check that you have no previous versions of Express/Business Edition installed. Otherwise, uninstall.
Make sure the antivirus software allows you to execute files and save data to folders required for launching and working with Work.AI Developer:
Execute all EXE and BAT files from
C:/IntelligentAutomationCloudDeveloper.Execute MS SQL Server Express from
C:/Program Files/Microsoft SQL Server.Mind that Microsoft SQL Server 2016 Express reached end of life on July 14, 2026. For instructions to update to SQL Server 2019 Express, see Security advisory on SQL Server 2016 Express end of life.
Execute ABBYY OCR from
C:/Program Files (x86)/ABBYY SDK.Allow the system to store data in:
C:/ProgramData/WorkFusionC:/Users/${user.directory}/ControlTowerC:/Users/${user.directory}/.m2C:/Users/${user.directory}/.eclipseC:/Users/${user.directory}/workfusion-workspaceand other Workspace folders you can create during work
Check that you can access the WorkFusion Nexus repository with all the latest artifacts and dependencies from your IDE (either Eclipse or IDEA). Ensure that https://repository.workfusion.com is available and Maven can work with it.
To resolve possible certificate or proxy issues if Work.AI Developer is installed on secure VDI, see Install Work.AI Developer to VDI | Troubleshoot major problems.
If access to WorkFusion Nexus is strictly prohibited by policy, ensure that corporate Nexus is available and you have the URL and credentials to add to the project's pom.xml and Maven's settings.xml.
To verify that, in Developer's Eclipse IDE, generate a project from the latest ODF 2 archetype compatible with your server version and build a project with Maven by running mvn clean install.
Install Work.AI Developer
To install Work.AI Developer:
Run
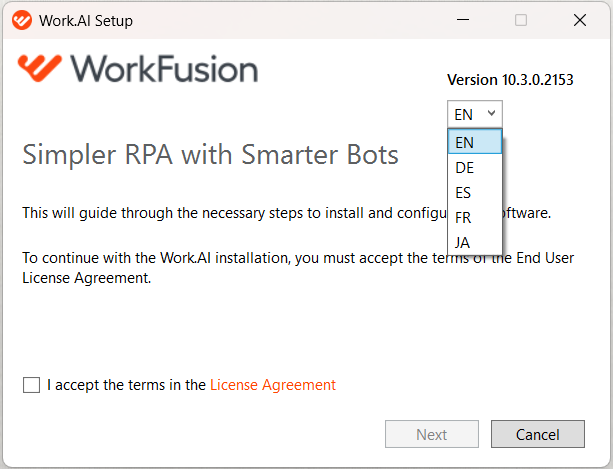
IntelligentAutomationCloudDeveloperInstaller.exeas Administrator.In the top right corner, in the drop-down list, select the user interface language. The available options include English (default), German, Spanish, French, and Japanese.
 tip
tipYou can change your user interface language later in Recorder > Window > Preferences > WorkFusion Recorder > Select Language.
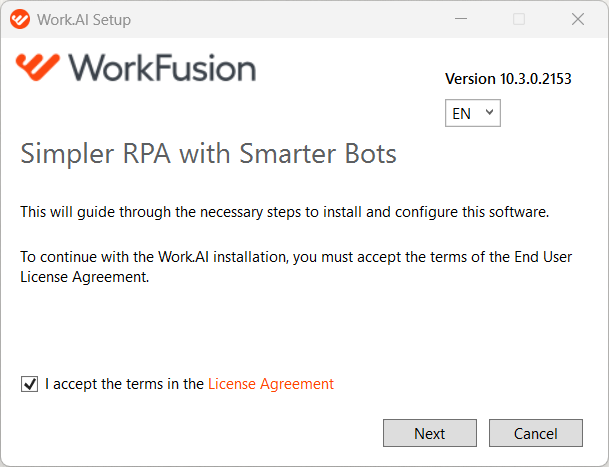
Select the I accept the terms in the License Agreement checkbox. To view the agreement, click the License Agreement link.
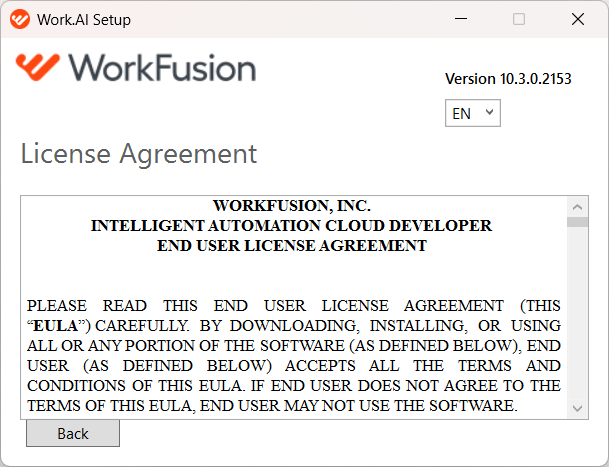
Read the License Agreement carefully. Use the scroll bar or press the page down key. Click Back to return to the installation process.
Click Next to proceed.
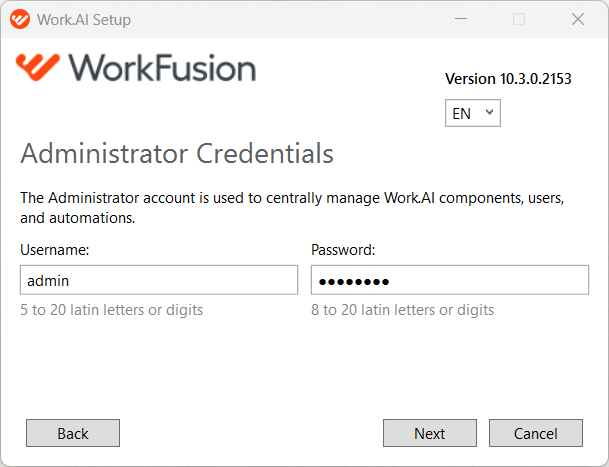
Сreate your Administrator credentials that will be valid for Work.AI Developer only. The credentials must meet the following requirements:
- For Username, 5 to 20 Latin letters or digits.
- For Password, 8 to 20 Latin letters or digits.
Click Next to proceed.
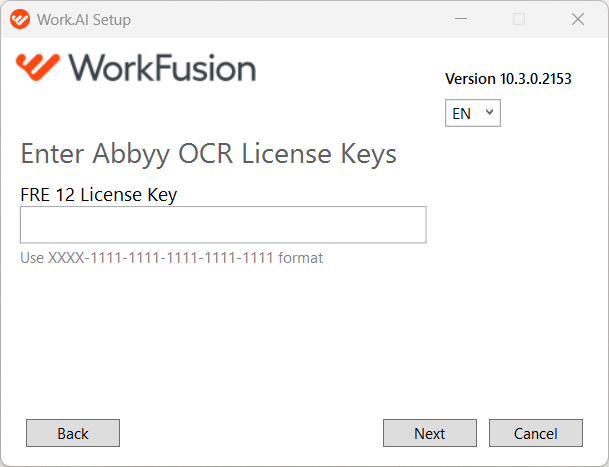
Enter your ABBYY OCR license key and click Next.
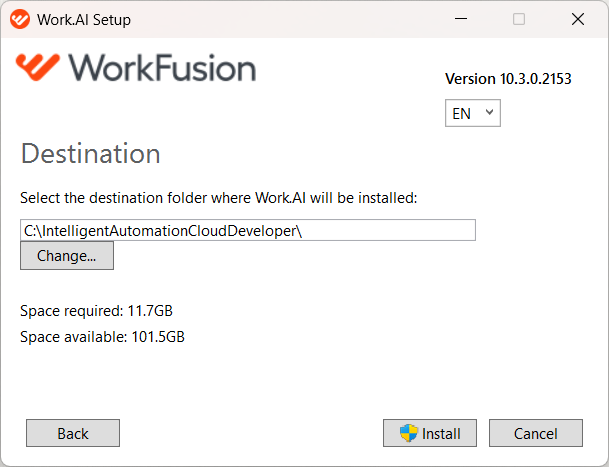
Set the destination folder for installation.
warningAvoid installing Work.AI Developer into the folder containing spaces, for example,
C:/Program Files. Instead, use the recommended default folderC:/IntelligentAutomationCloudDeveloper.Click Install.
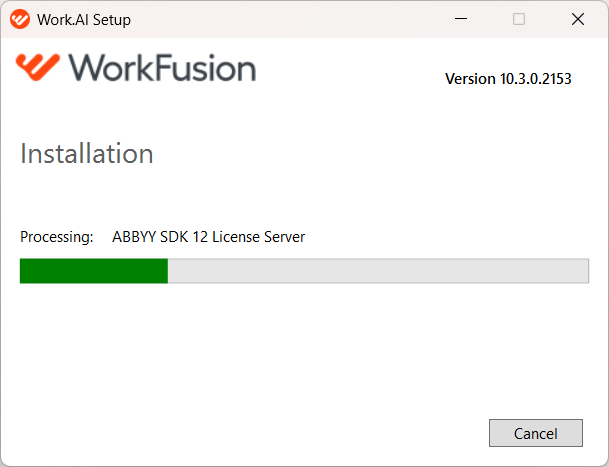
On the User Account Control screen, accept a security prompt by clicking Yes. The installation process starts.
During the installation, the
C:/Users/{username}/.m2/settings.xmlfile is backed up for you to avoid any configuration loss. The renamed original file is located in the same.m2folder. Click OK to continue the installation process.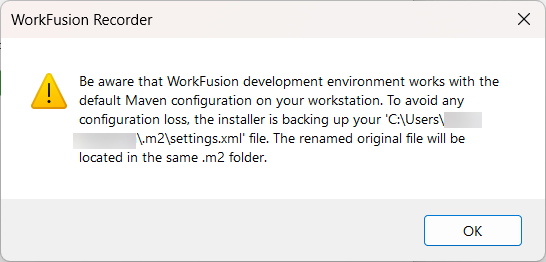
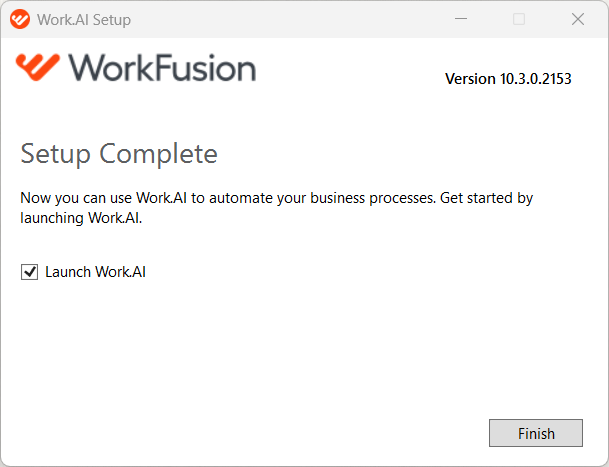
Select the option to launch Work.AI Developer and click Finish.
Resolve possible issue during installation
The Work.AI Developer installer includes a standard installation package of MS SQL Express, the desktop database server used by multiple Platform components. During the MS SQL Express installation, you can get an error that terminates the whole Developer installation process:
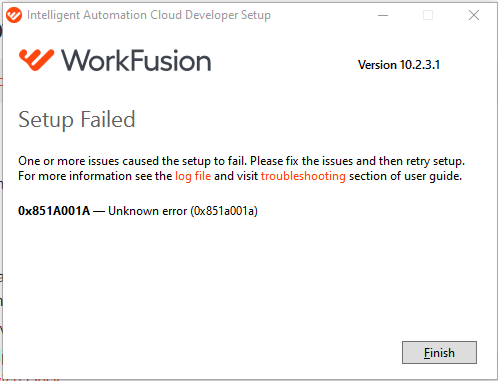
The installation log shows the following error:
[4200:3508][2022-03-16T21:14:38]e000: Error 0x851a001a: Process returned error: 0x851a001a
[4200:3508][2022-03-16T21:14:38]e000: Error 0x851a001a: Failed to execute EXE package.
[3B10:0920][2022-03-16T21:14:38]e000: Error 0x851a001a: Failed to configure per-machine EXE package.
[3B10:0920][2022-03-16T21:14:38]i319: Applied execute package: SQLEXPR2016SP2x64ENU, result: 0x851a001a, restart: None
[3B10:0920][2022-03-16T21:14:38]e000: Error 0x851a001a: Failed to execute EXE package.
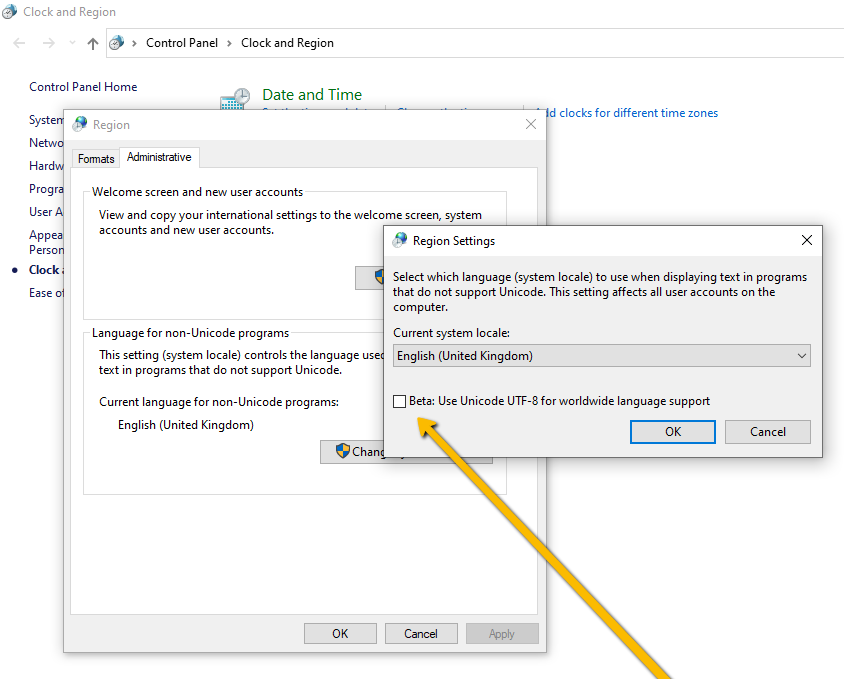
To fix, uncheck the "Beta: Use Unicode UTF-8 for worldwide language support" property in OS's Region Settings. To find this property, go to Settings > Time & Language > Region > Additional date, time & regional settings > Change date, time, or number formats > Administrative > Change system locale.
Install ImageMagick
ImageMagick is a command-line tool for image manipulations. It is used for image optimizations to achieve image characteristics that improve OCR quality. To install ImageMagick, perform the following steps:
Download the installation EXE files.
Run the
ImageMagick.exefile and accept the agreement.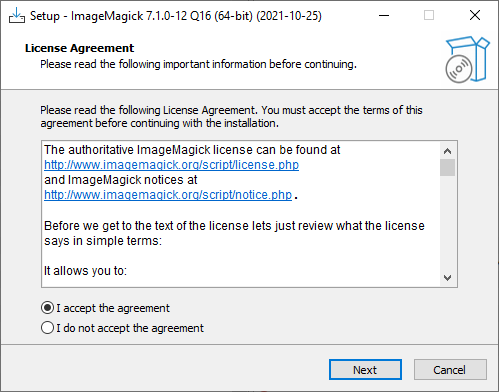
Before you continue, read the following information and click Next.
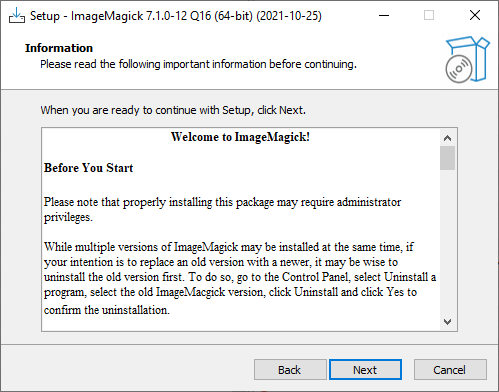
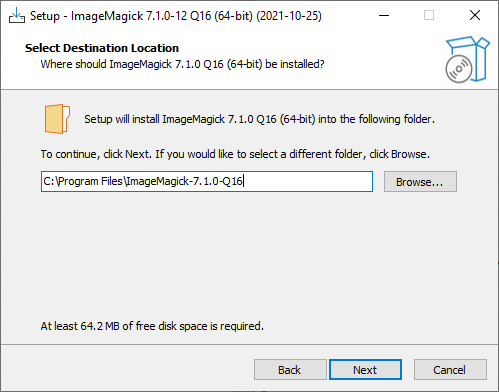
Specify the destination folder for the installation and click Next.
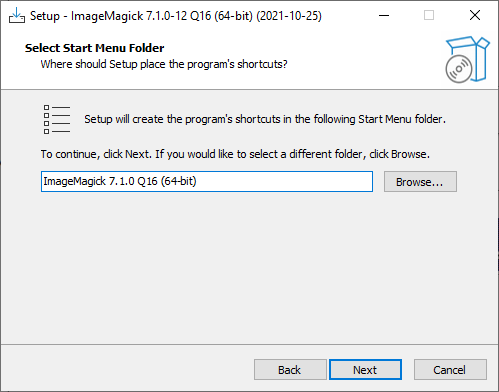
Select the Start Menu folder and click Next.
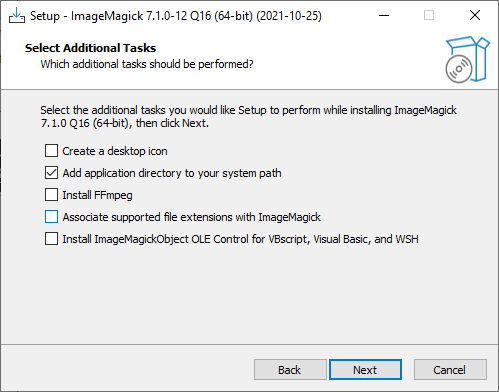
On the Select Additional Tasks screen, select the Add application directory to your system path checkbox and click Next.
Click Install to proceed.
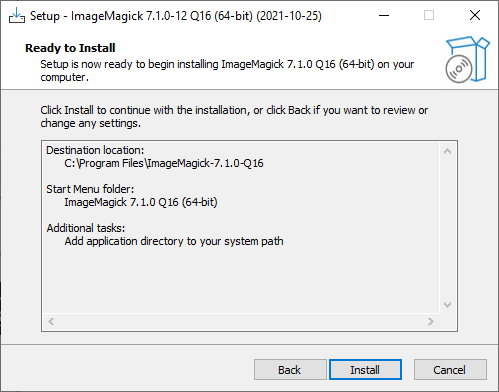
As soon as ImageMagick is installed, see the following information and click Next.
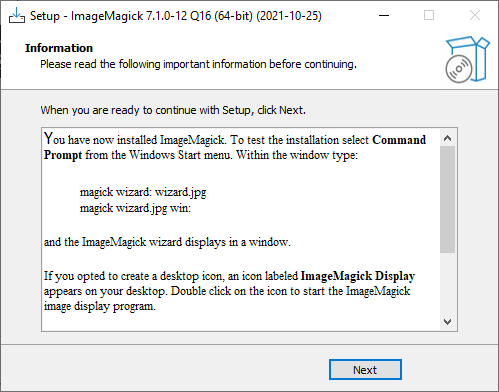
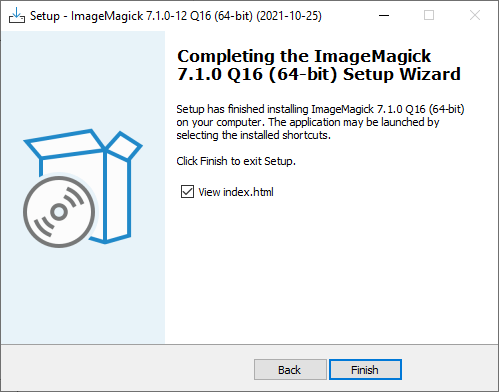
Click Finish to exit.
Browser driver potential expiration issue
RPA requires the latest Selenium drivers to support the latest browsers. The latter can be auto-updated at any time daily, so Selenium drivers included in Work.AI Developer can become outdated.
If you face exceptions in Chrome, Firefox, or Internet Explorer tests of a test Business Process, update the corresponding driver:
- Find and download the latest drivers:
- Firefox
- Chrome
- Internet Explorer
- Microsoft Edge (Chromium) (for the latest stable version, see here)
- In
C:/IntelligentAutomationCloudDeveloper/RPA/rpa-grid/drivers/windows, replace the driver file with a new version. Choose the proper bit rate for your OS: x32 or x64. - Stop and start the RPA Worker component group to get the system to use the new driver file.