Organize and access objects in S3 Manager
Starting with Work.AI v10.3, S3 Manager replaces the MinIO S3 storage.
S3 Manager is an object storage based on the open-source Ceph. It is used to organize, upload, download, and manage your data stored in S3-compatible buckets.
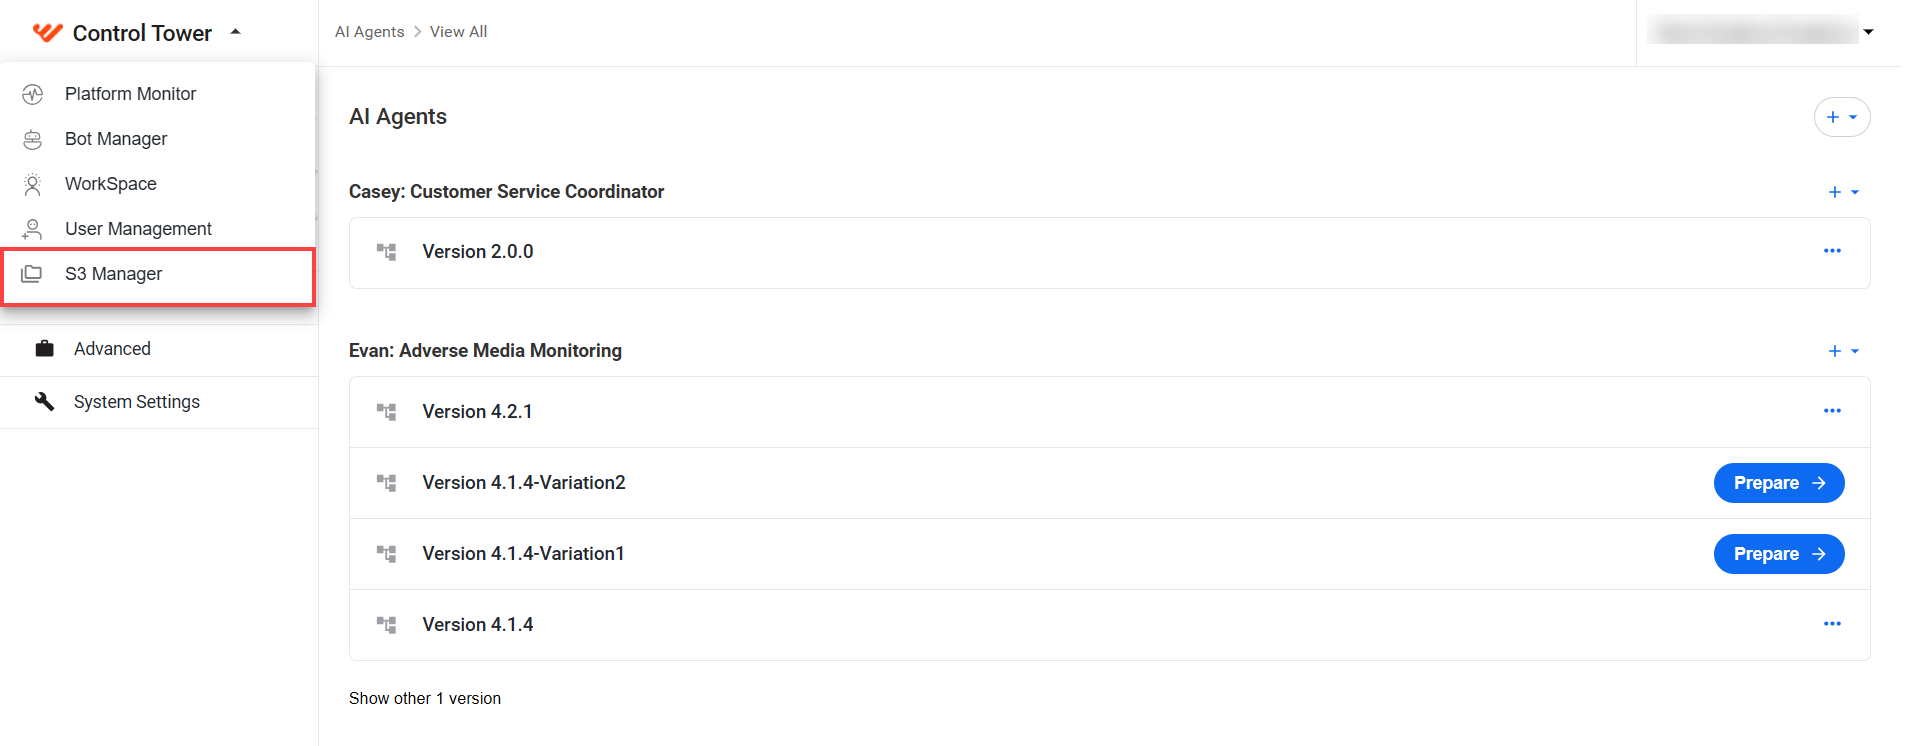
To open S3 Manager, go to Control Tower, click the dropdown menu in the upper-left corner, and select S3 Manager.
Configure role-based access
For authentication and authorization, the S3 Manager application is integrated with WorkFusion's Keycloak-based user management system. Access control is based on the client roles in Keycloak and policies in Ceph.
Set access using default roles
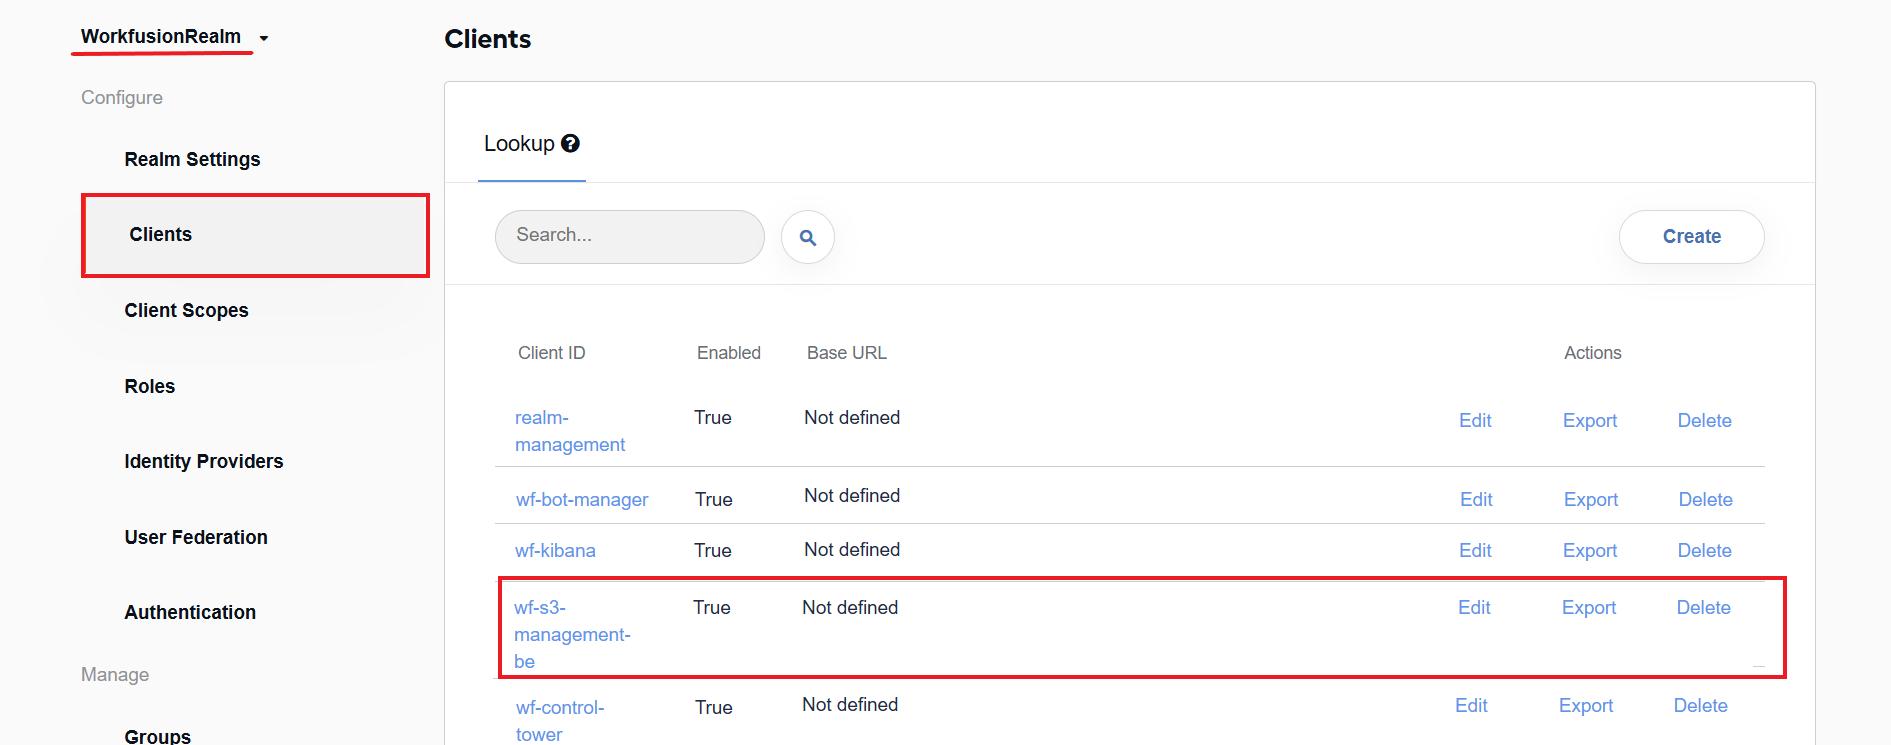
In Keycloak, S3 Manager is represented as the wf-s3-management-be client. You can find it in the Clients list.
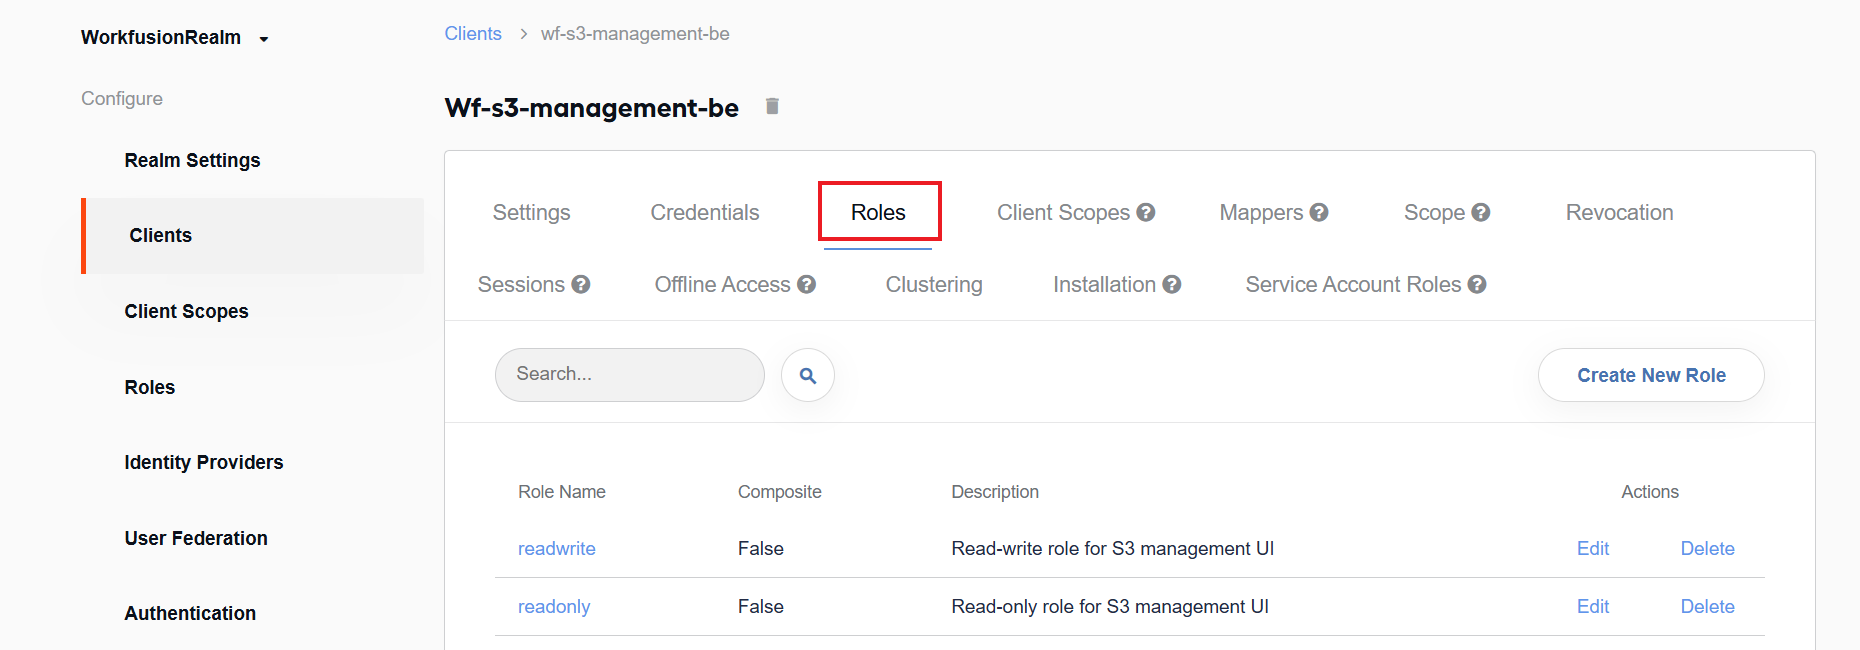
By default, the following two roles are created for the wf-s3-management-be client in Keycloak, each of them corresponding to a policy with the same name in Ceph:
readwrite gives full access to all actions on all S3 buckets.
readonly allows you to only view all S3 buckets.
To see the list of roles for the wf-s3-management-be client in Keycloak, click the client's name (or the respective Edit link) in the Clients list and navigate to the Roles tab:
To set up access, map existing users or user groups to the default Keycloak roles as described in Manage and assign realm and client roles | Role mapping.
Create custom roles
In addition to the existing default roles, you can create custom ones to fine-grain access to S3 Manager:
Add a role and a policy in Ceph:
Connect to the Master server.
Enable
radosgw-admin.export WF_PYTHON_VERSION='python-ceph'
source /opt/workfusion/environment.sh
source ceph-environment.shCreate a custom role and a policy. In the code sample below, we create a role with read and write access only to the
doc-uploadfolder.radosgw-admin role create \
--role-name=custom \
--path=/ \
--assume-role-policy-doc='{
"Version": "2012-10-17",
"Statement": [{"Effect": "Allow","Principal": { "AWS": ["arn:aws:iam:::user/s3wfuser"]},"Action": "sts:AssumeRole"}]
}'
radosgw-admin role-policy put \
--role-name=custom \
--policy-name=custom \
--policy-doc='{
"Version": "2012-10-17",
"Statement": [
{
"Effect": "Allow",
"Action": ["s3:ListAllMyBuckets"],
"Resource": [
"arn:aws:s3:::*"
]
},
{
"Effect": "Allow",
"Action": "s3:*",
"Resource": [
"arn:aws:s3:::doc-upload*"
]
}
]
}'
Create a role with the same name (in the example above,
custom) for the wf-s3-management-be client in Keycloak as described in Manage and assign realm and client roles | Add client roles.Once a custom role appears in the Roles list, map existing users or user groups to it as described in Manage and assign realm and client roles | Role mapping.
View buckets
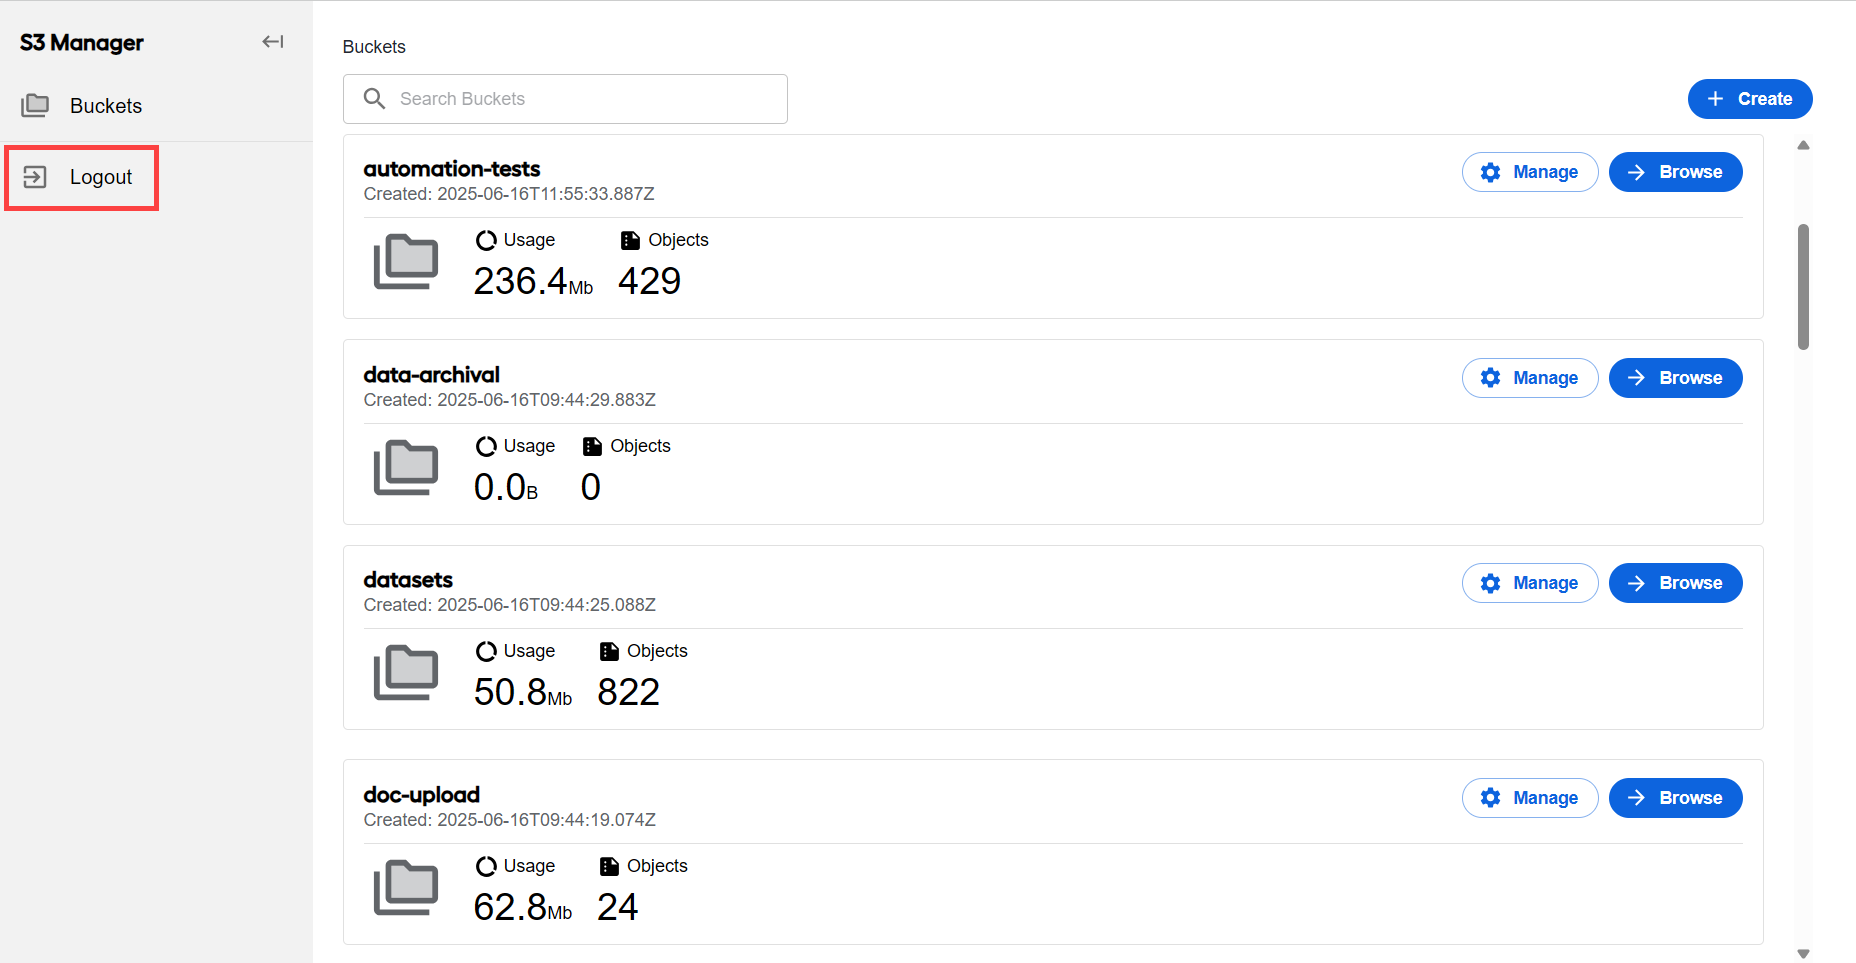
On the Buckets page, you can view and manage all your storage buckets.
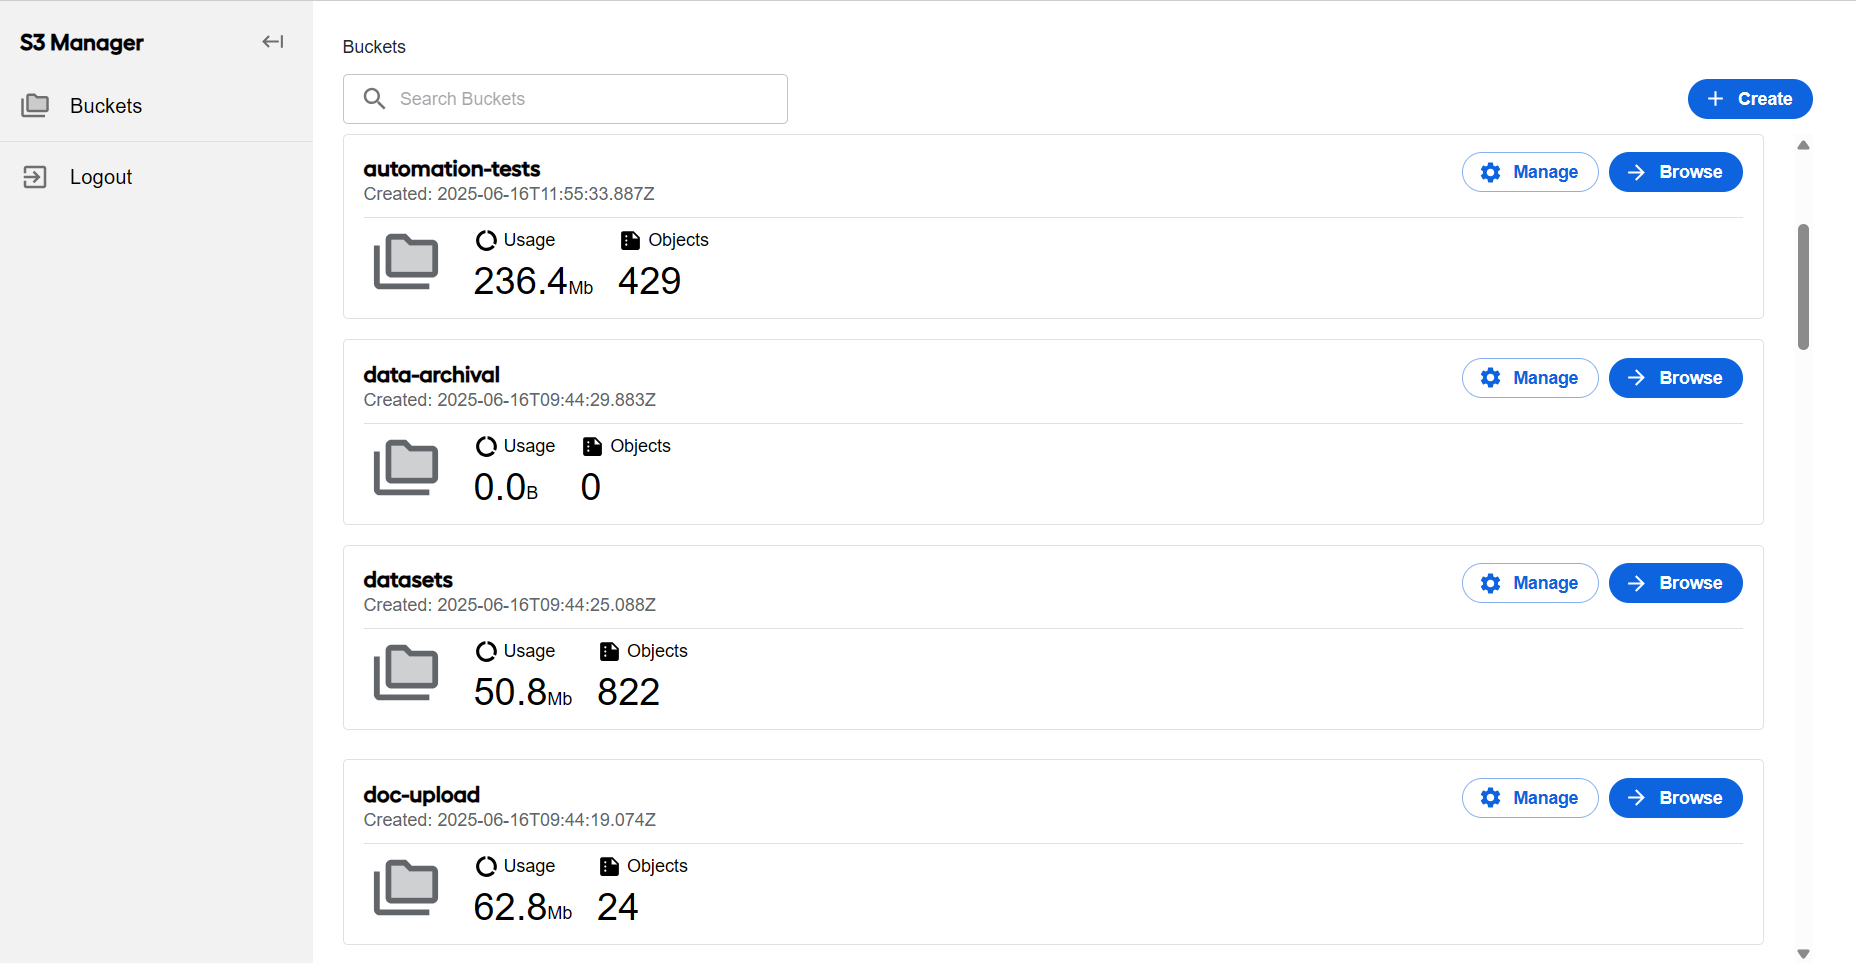
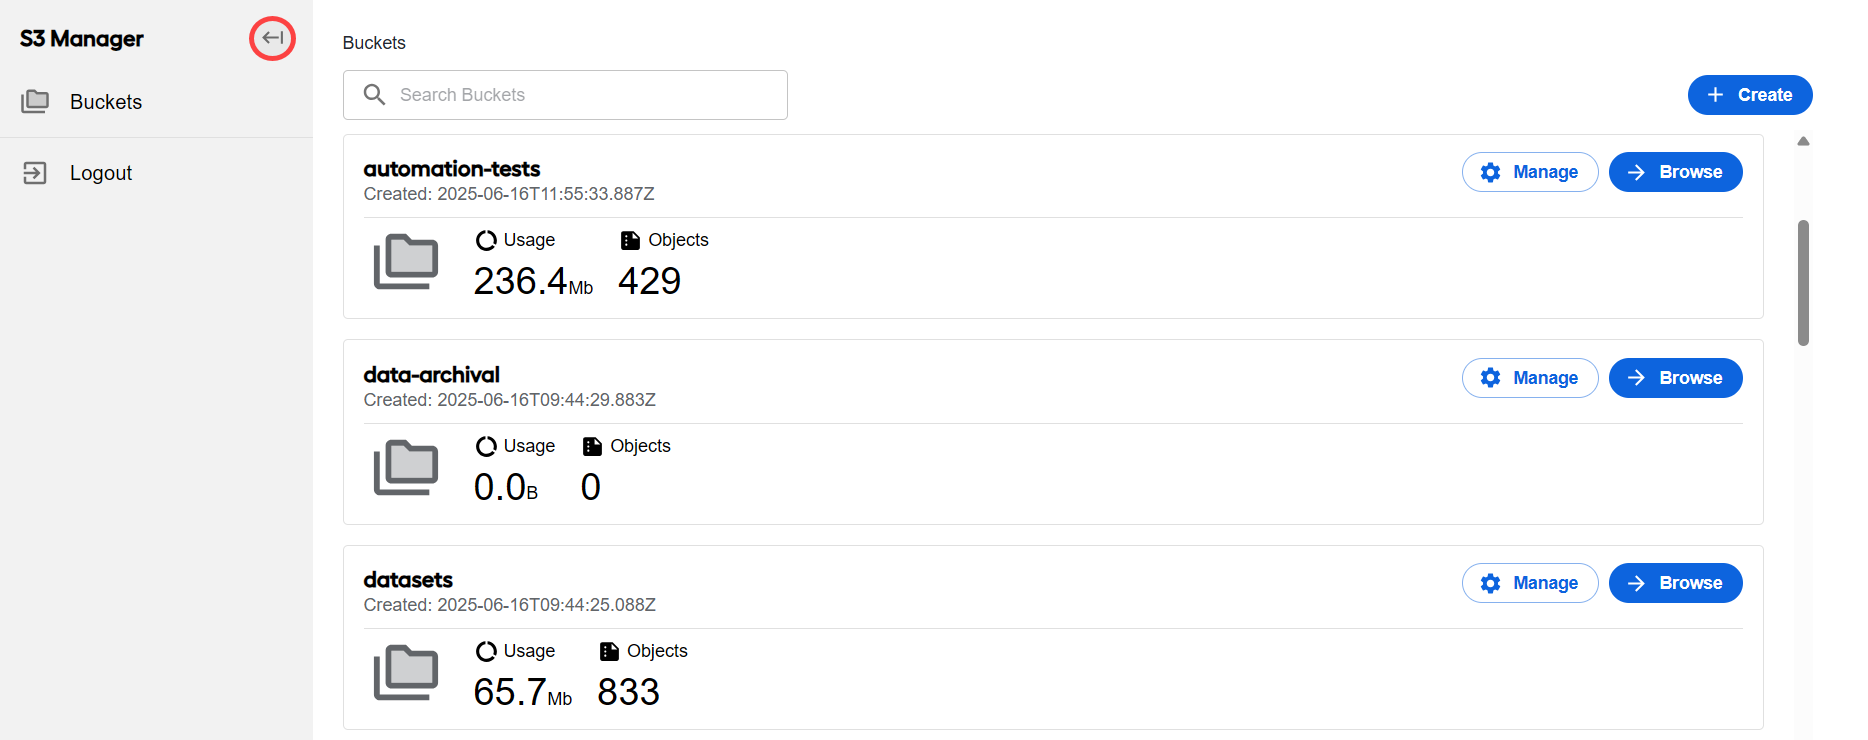
To expand the screen for a more comfortable workspace, you can hide the side panel. To do that, click the button.
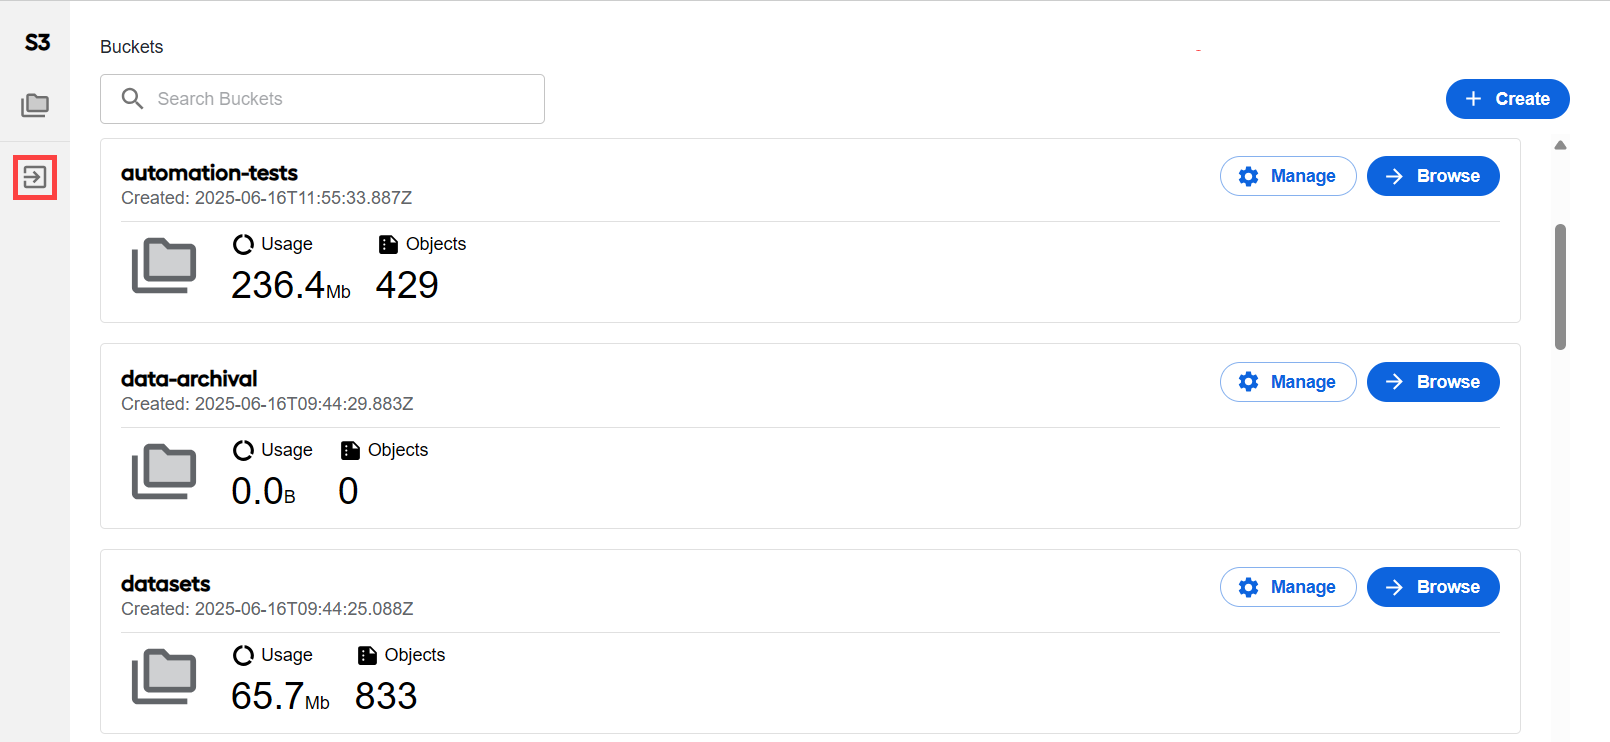
To show the side panel again, click the button.
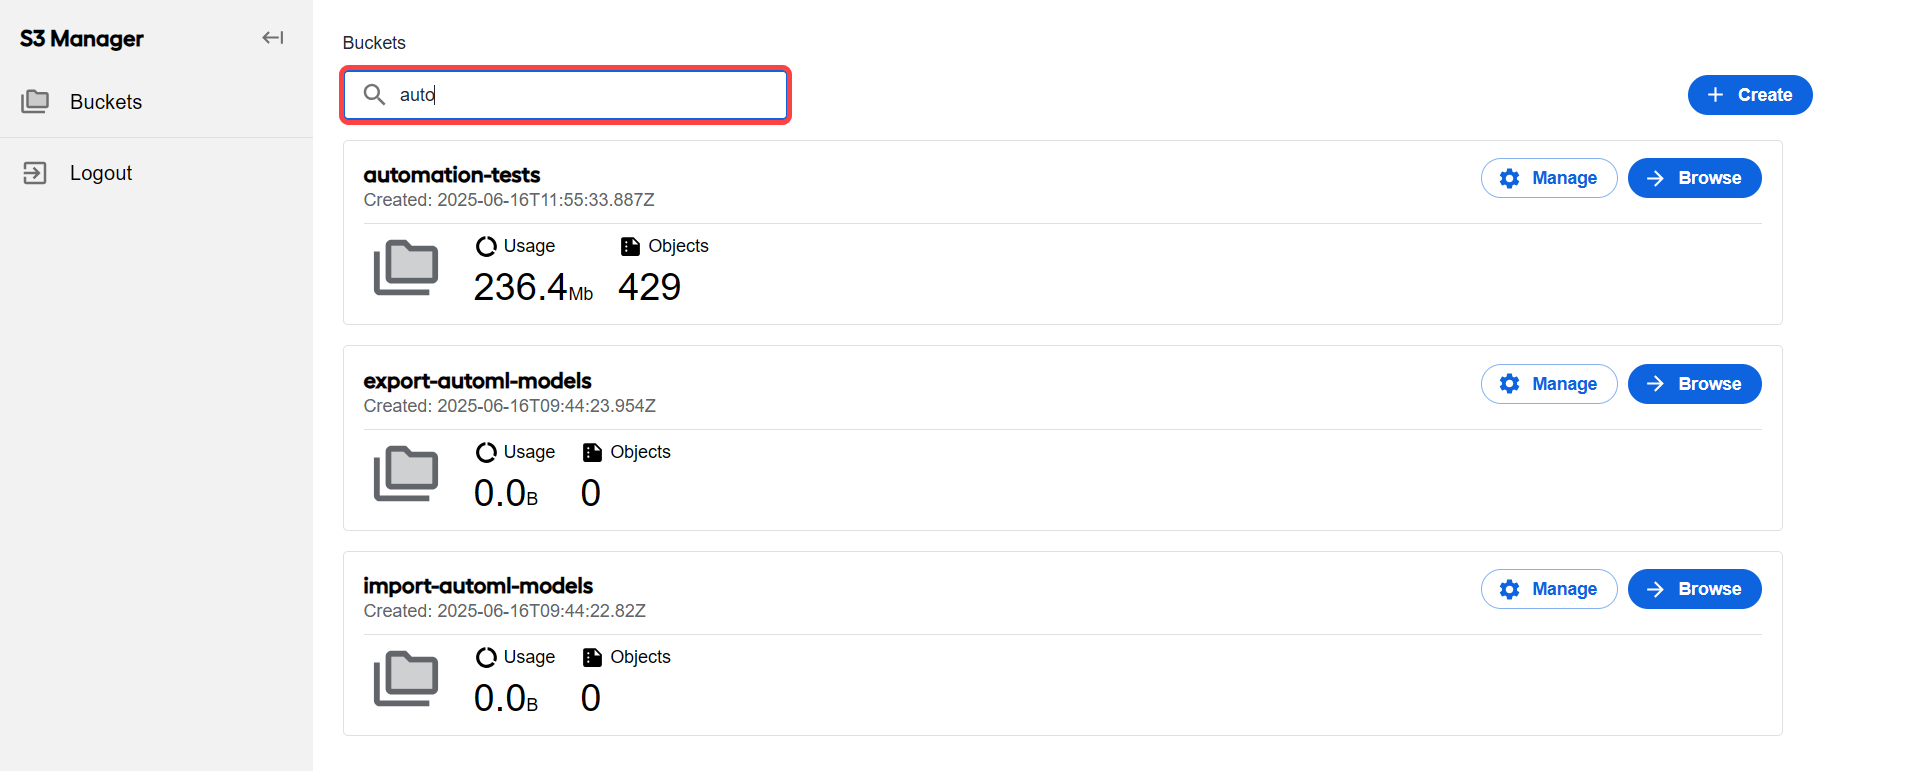
Use the search bar to quickly locate specific buckets. Start typing the bucket name, and results will automatically filter as you type.
Each bucket contains the following information:
Name: unique identifier for the bucket
Creation date: the date and time when the bucket was created
Usage: total storage consumed
Objects: number of objects (files and folders) stored in the bucket

To view a bucket's contents, click the Browse button on the selected bucket.

All available files and folders are displayed. Folders are represented by folder icons (can be empty). Files can be of various formats such as zip archives, CSV files, and others.
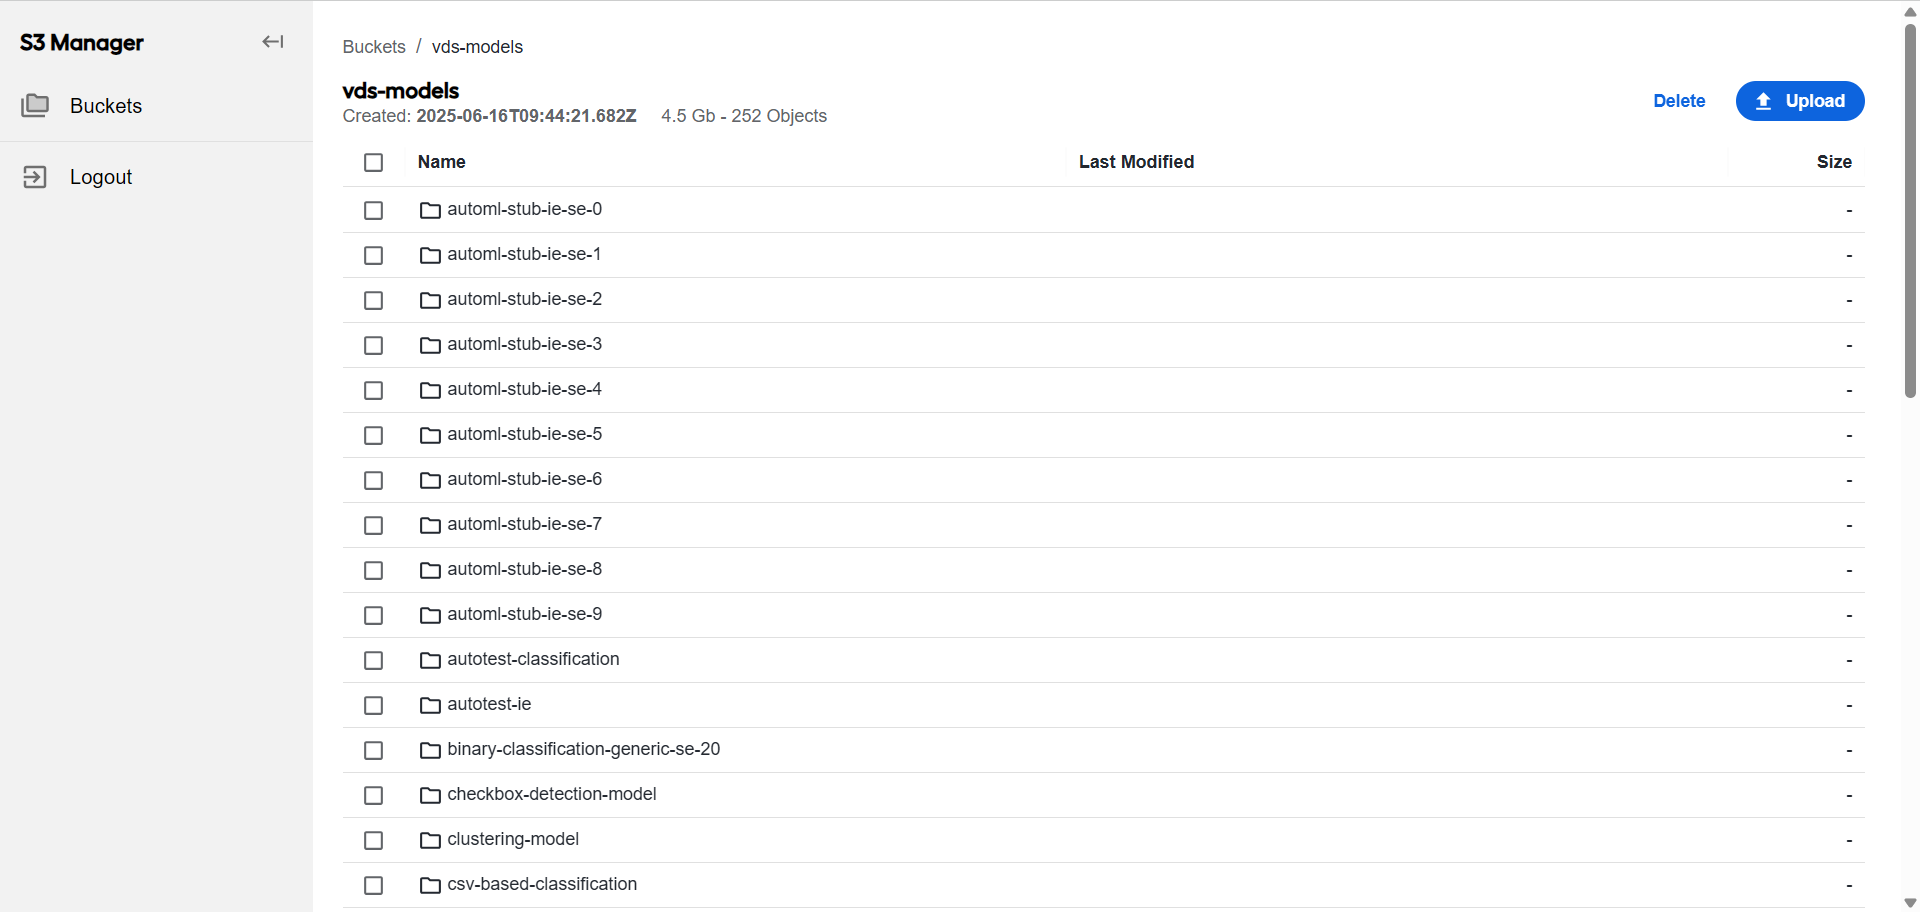
Use the breadcrumb trail to quickly navigate between folder levels.

Create bucket
To create a bucket, complete the following steps:
On the Buckets page, click the Create button in the top-right corner.
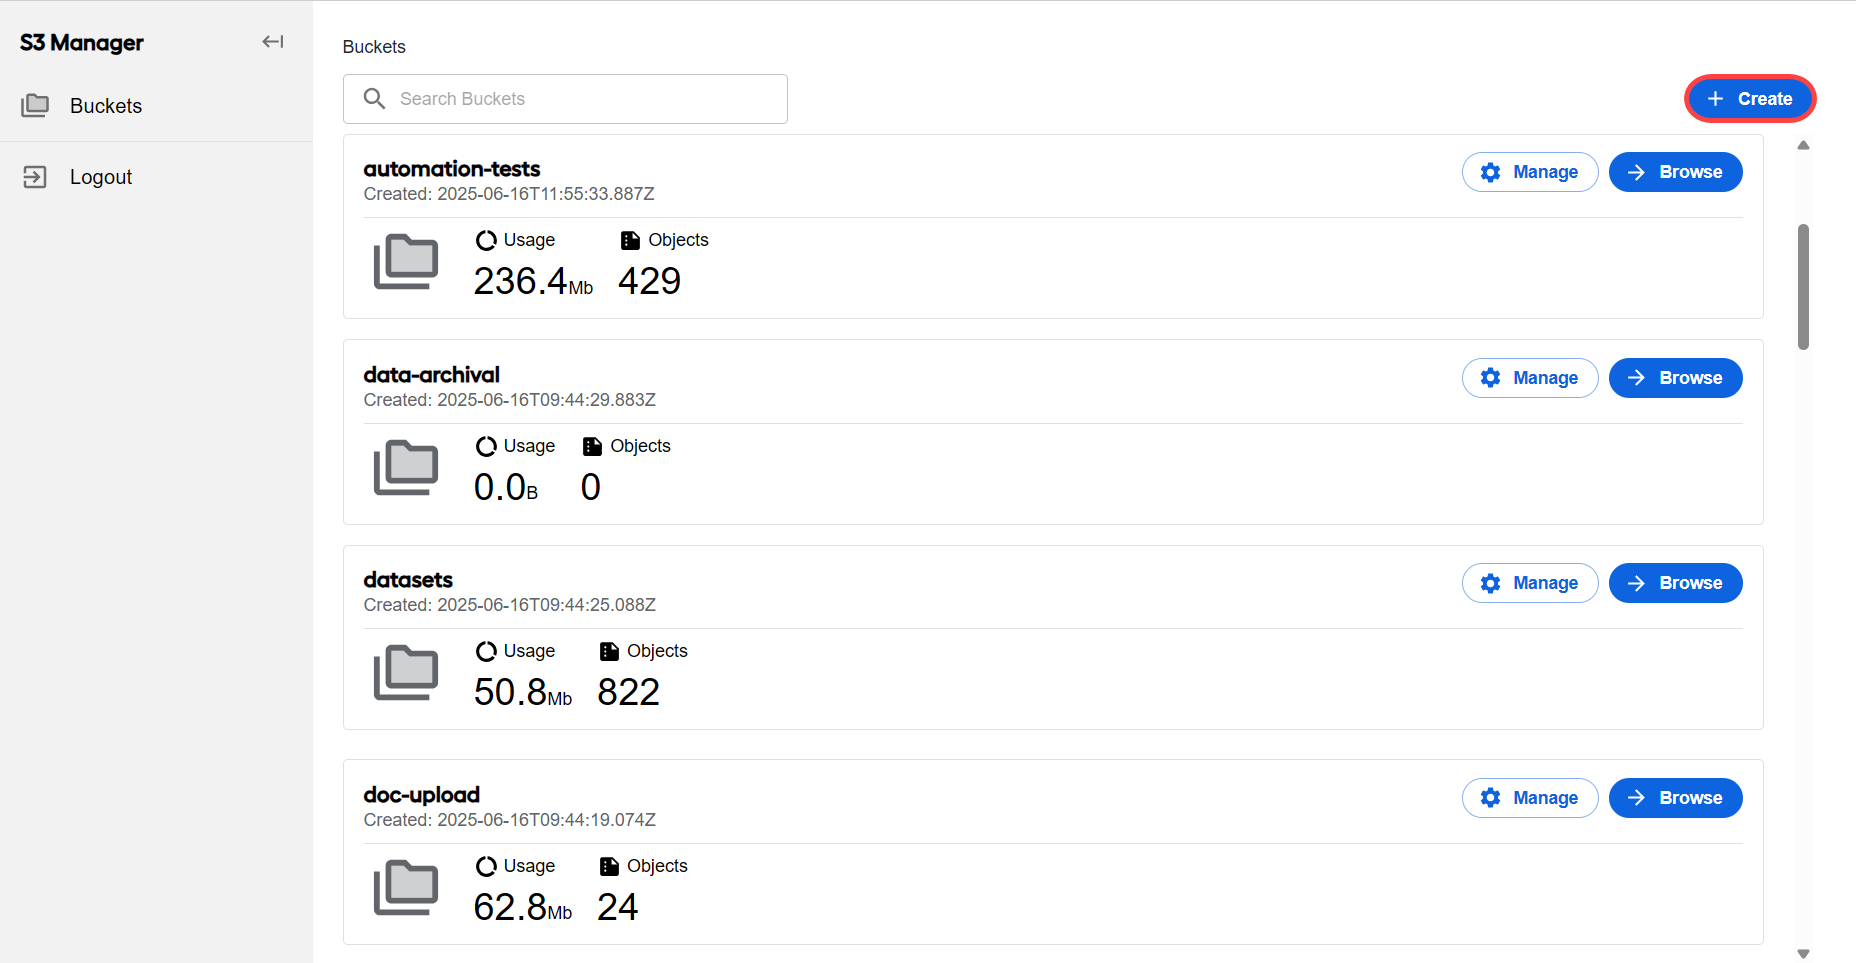
Enter a unique bucket name. Use descriptive names that reflect their purpose and follow the naming conventions:
- Bucket name must be between 3 (min) and 63 (max) characters long.
- Bucket name can include only lowercase letters, numbers, periods, and hyphens.
- Bucket name must begin and end with a letter or number.
- Bucket name cannot contain two adjacent periods.
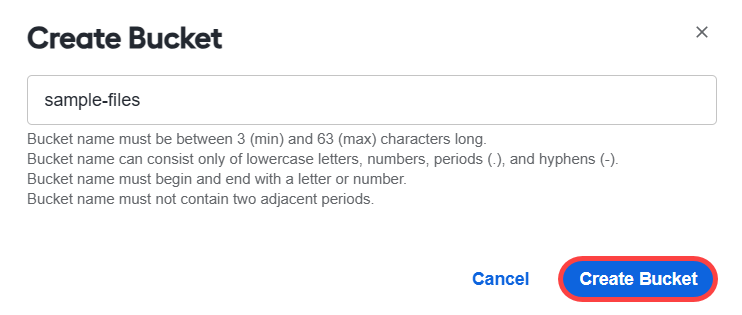
Click Create Bucket. A new bucket appears in your bucket list.
Click Browse on the newly created bucket.

In the top-right corner, click Upload and choose to upload files (Upload File) or folders (Upload Folder).
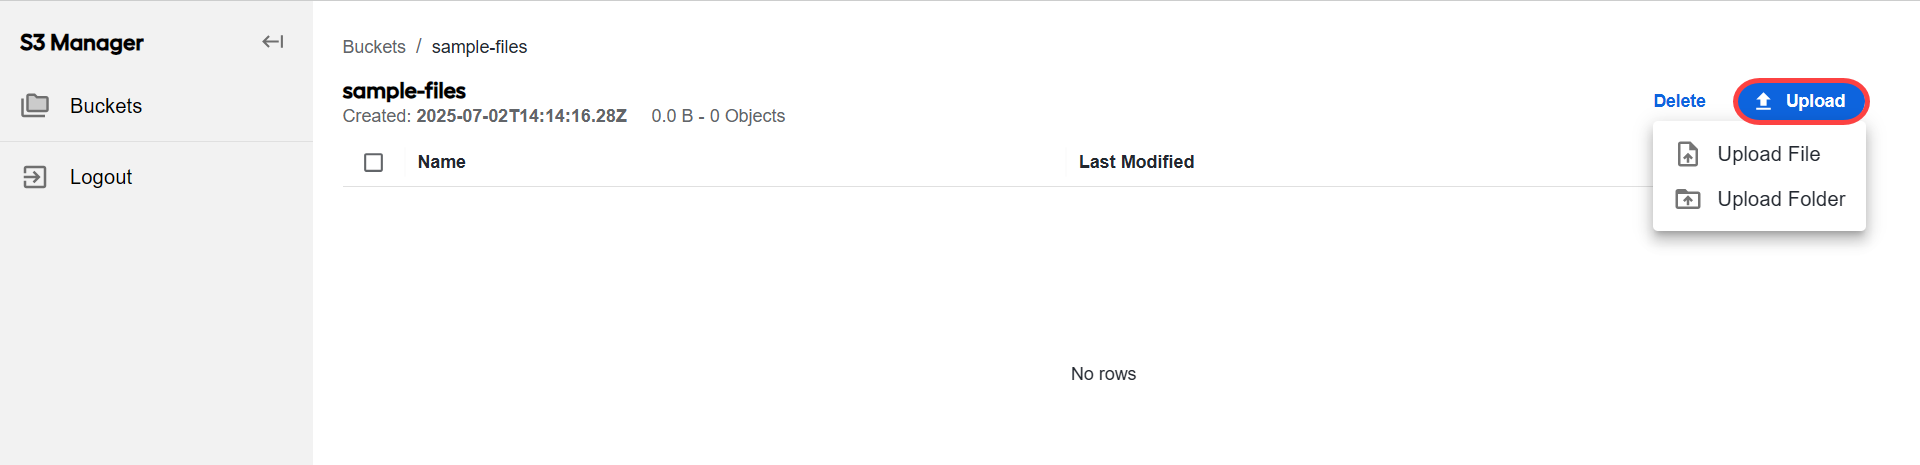
Select objects from your local computer using the file picker and click Open. Once uploaded, they will appear in the bucket.
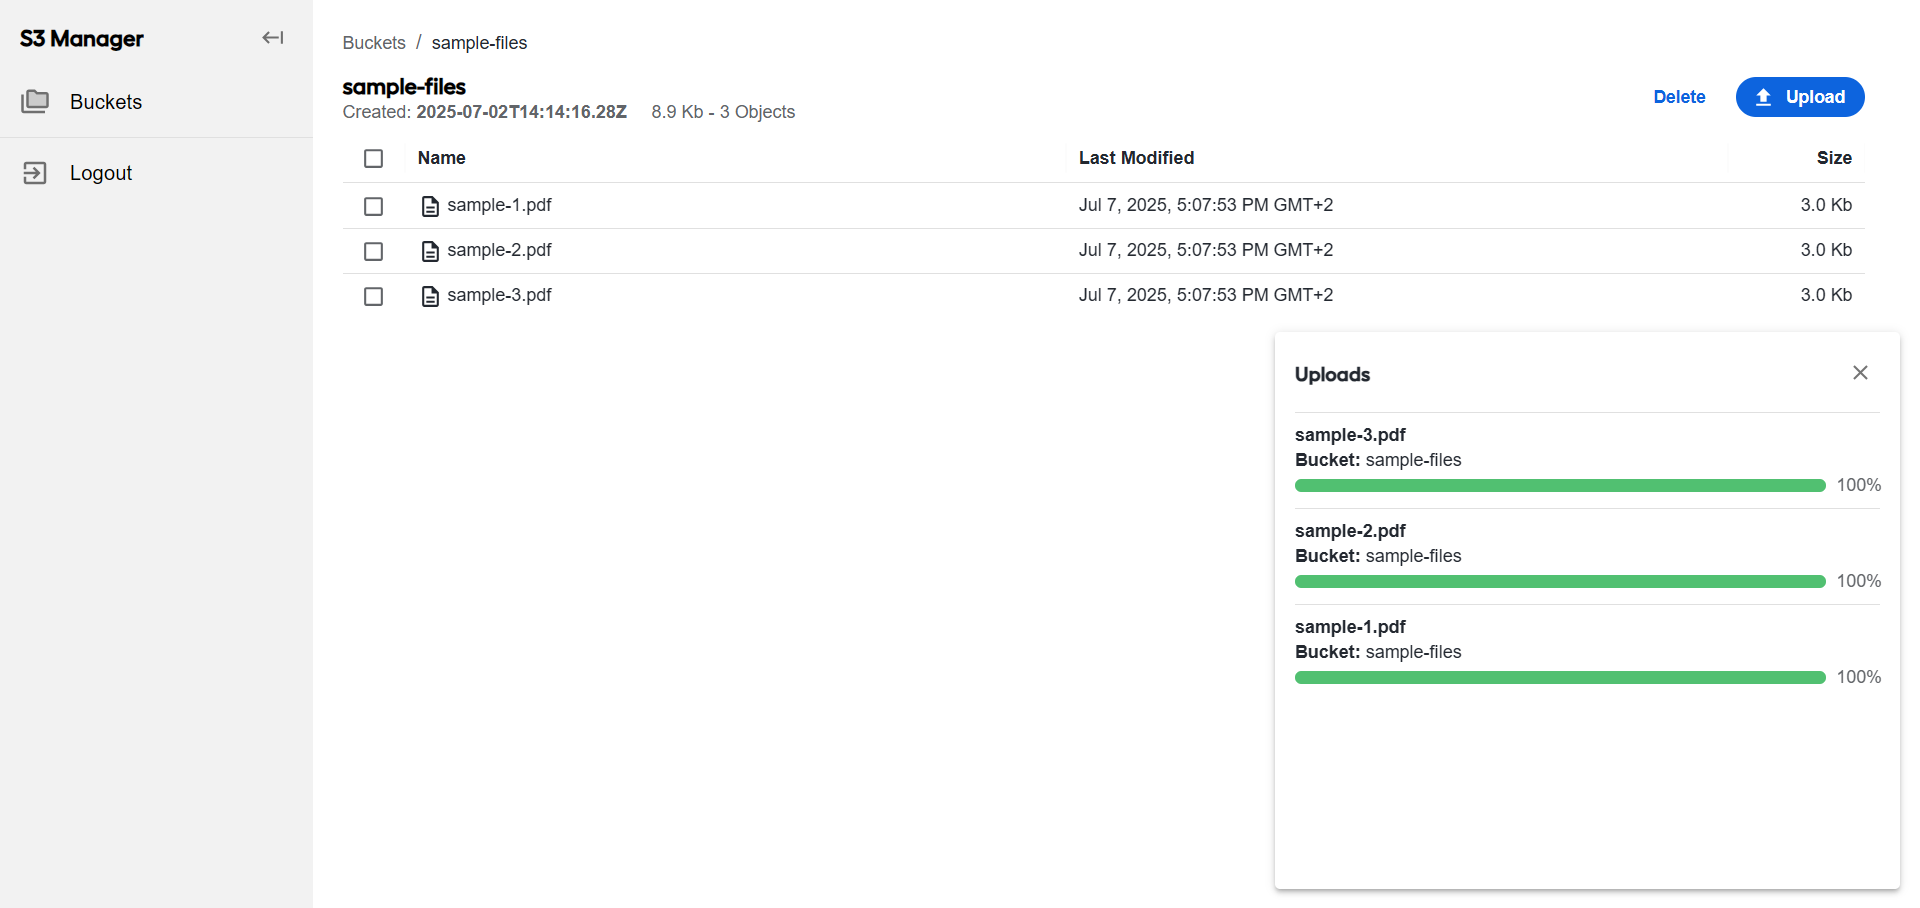
Each uploaded object displays:
- Name: file or folder name
- Last Modified: timestamp of the last modification
- Size: object size in appropriate units (KB or MB)
You can sort objects by name, last modified date, or size by hovering over the column name and clicking the arrow. Click the arrow again to reverse the sort order
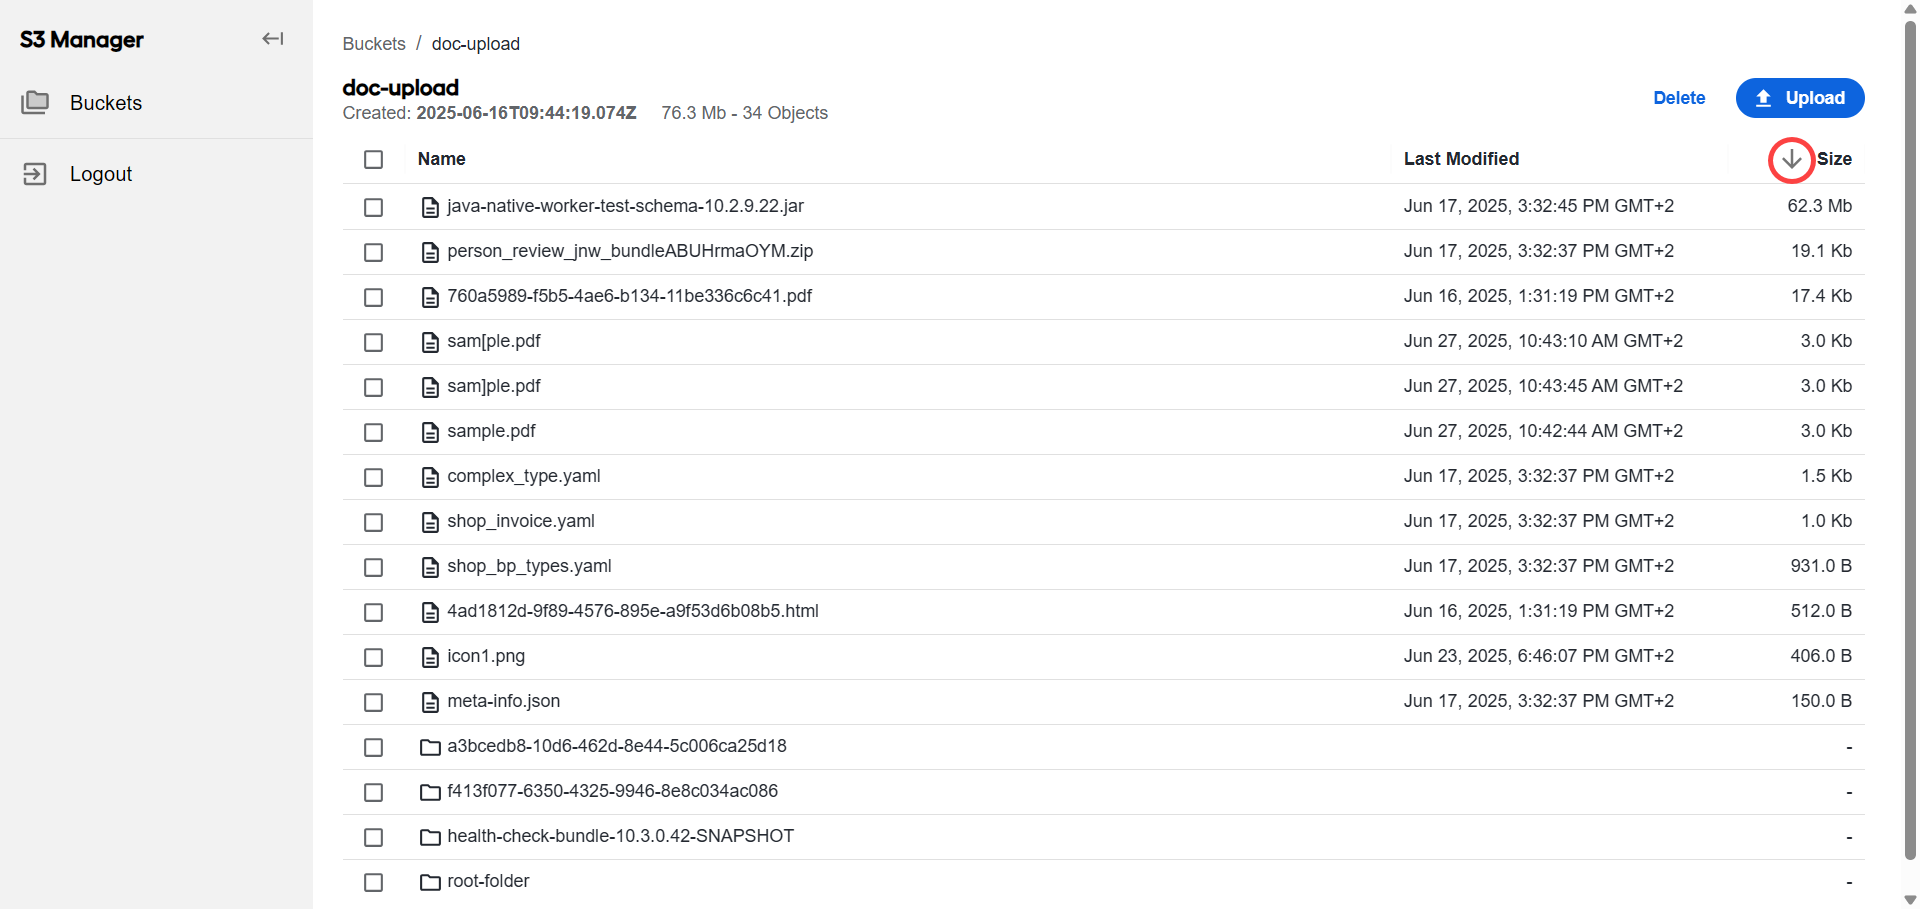
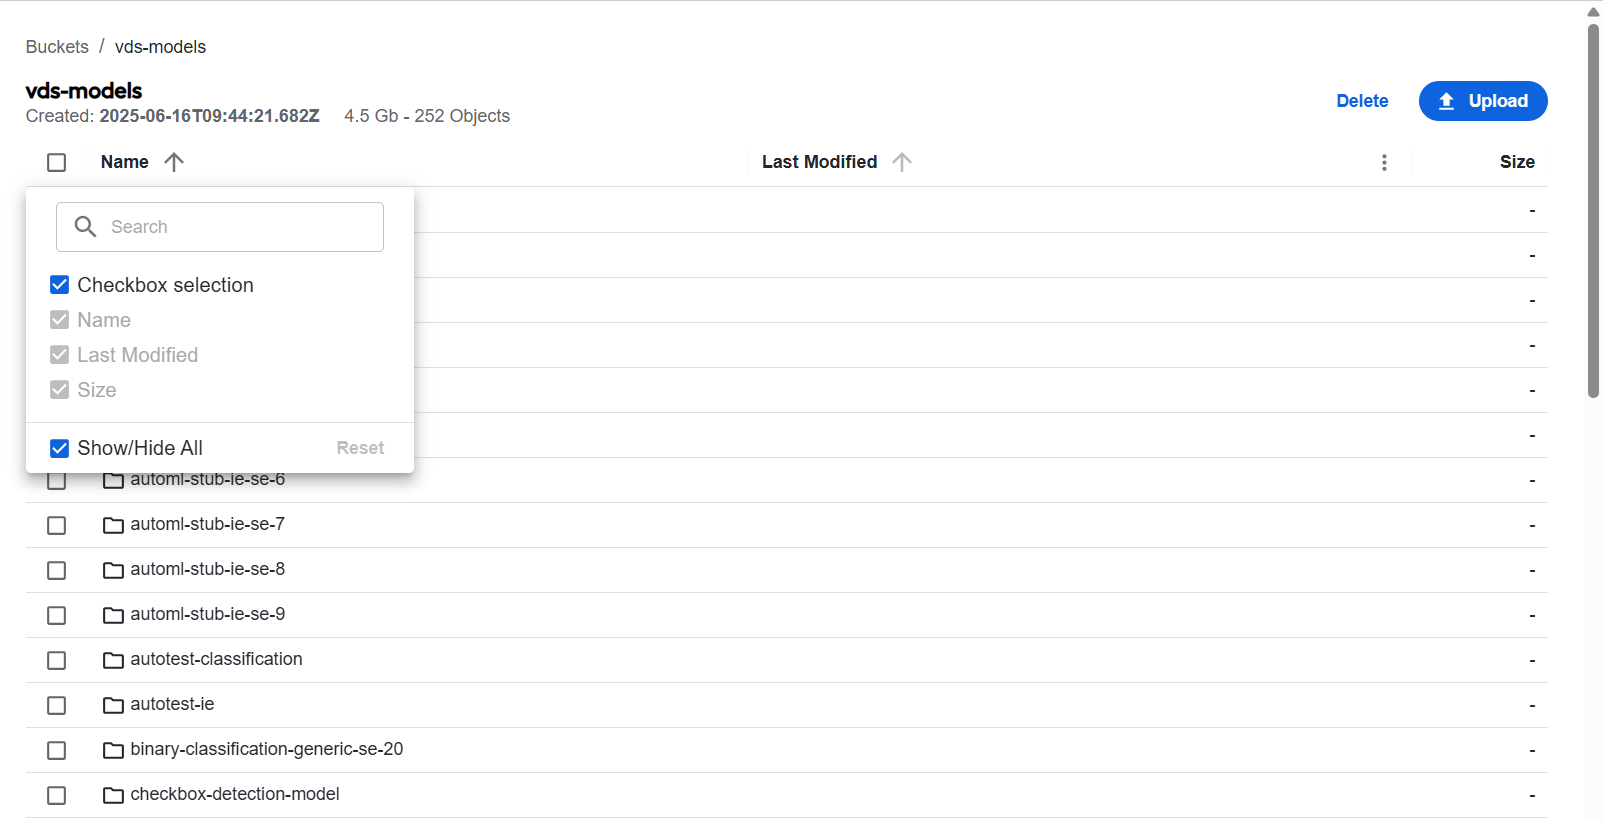
For advanced sorting, hover over the column name and click the three-dot icon. The available options are as follows:
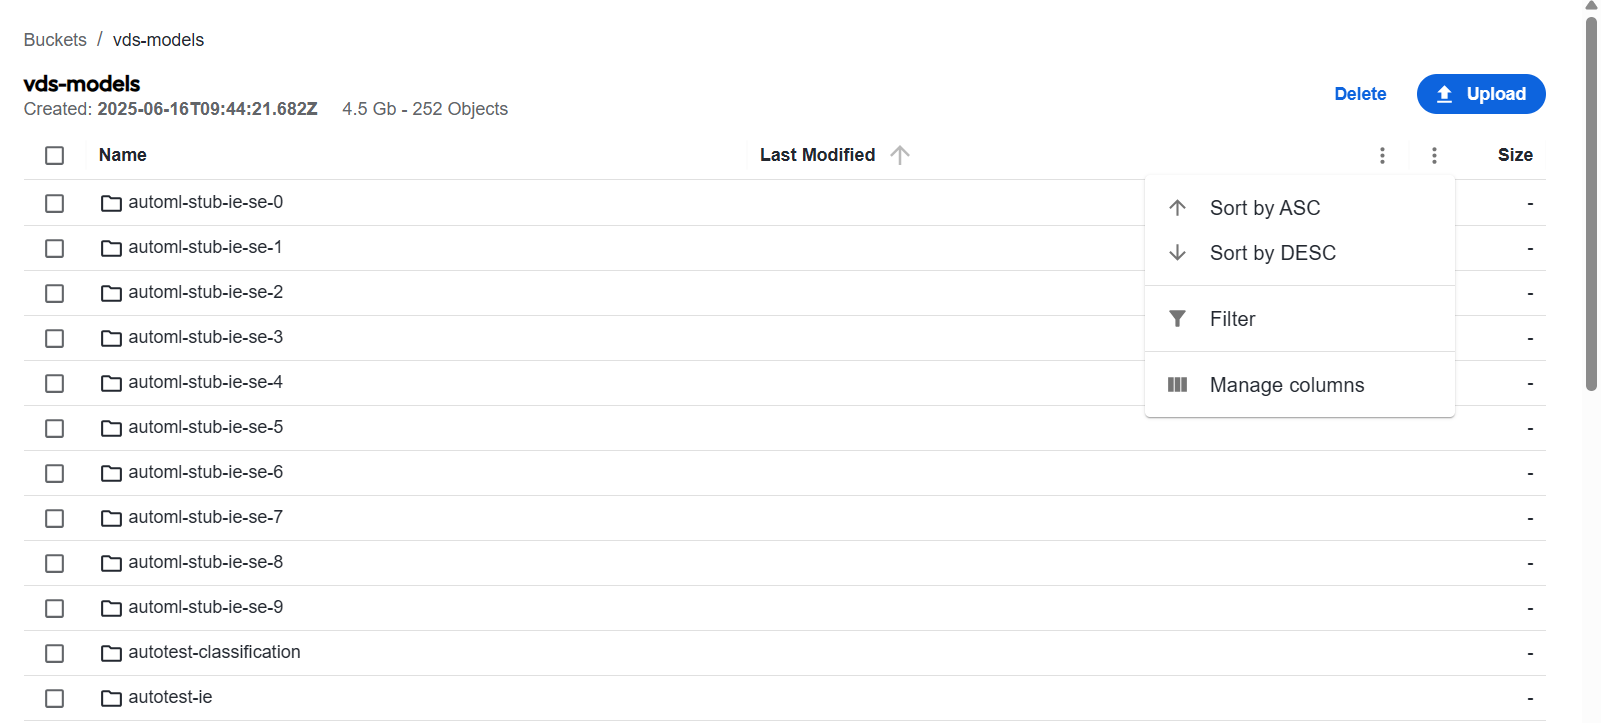
Sort by ASC. Sort in ascending order. Once sorted, you can click the three-dot icon again and select Unsort.
Sort by DESC. Sort in descending order. Once sorted, click the three-dot icon again and select Unsort.
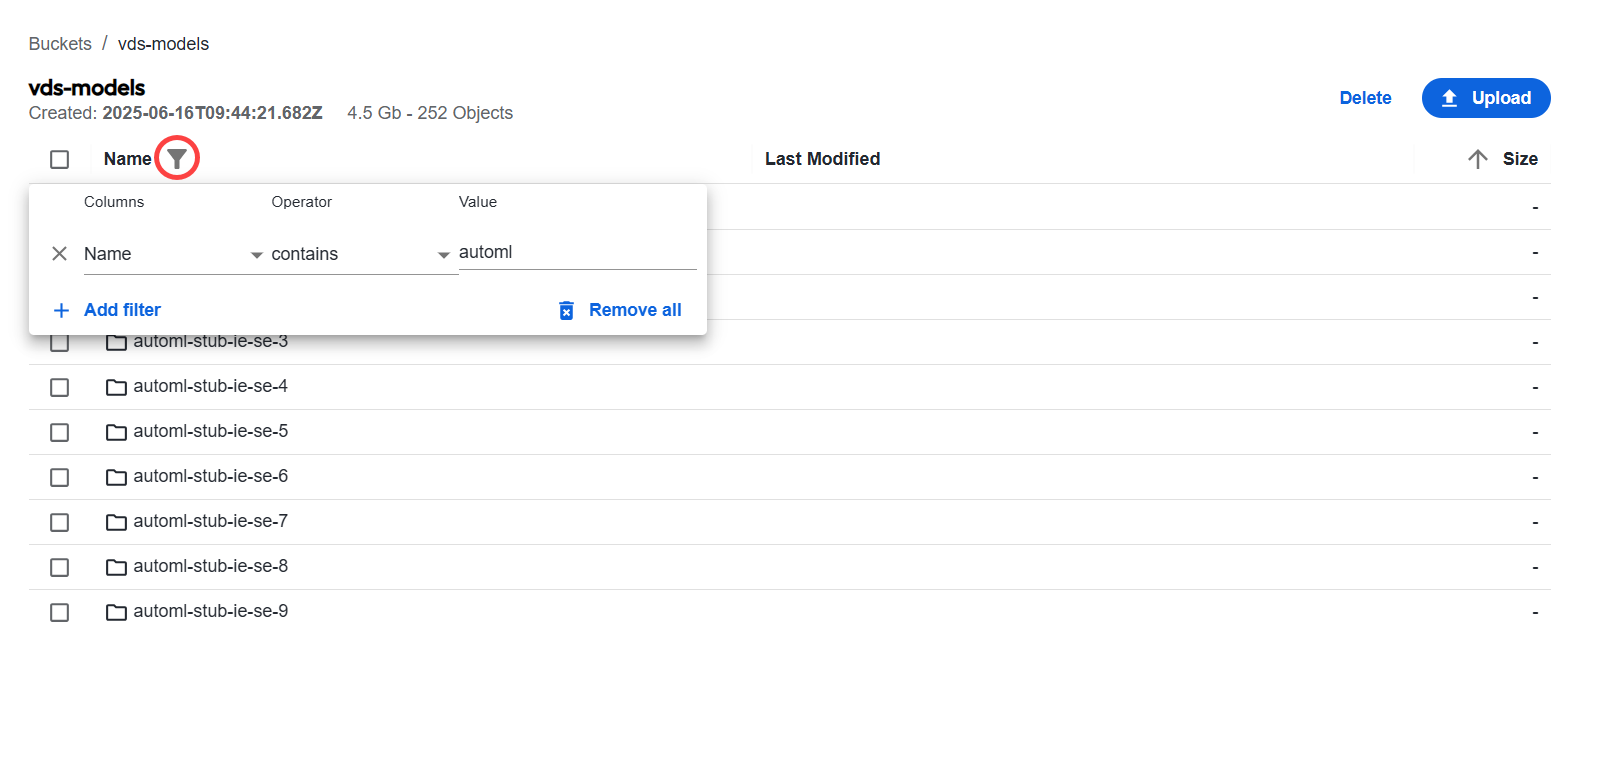
Filter. Filter objects by the available columns. Select the operator and value to filter the required objects. You can apply multiple filters if needed. To clear filters, click Remove all.
Manage columns. Show or hide checkboxes next to bucket objects.
Perform actions with objects
Within a bucket, click any object to view its metadata or manage it.
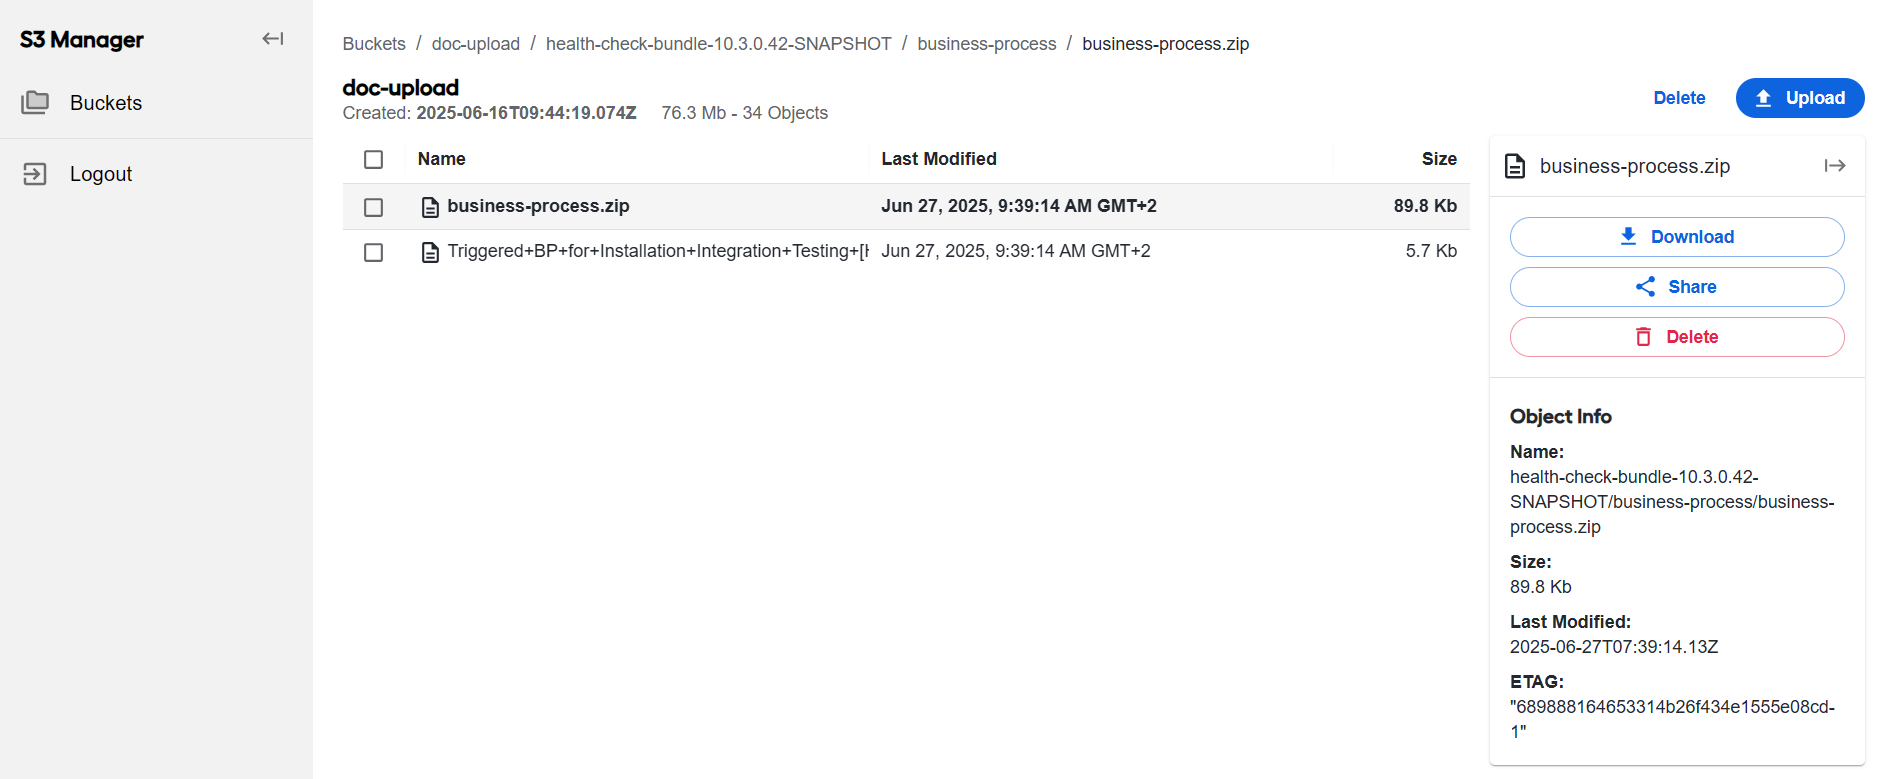
On selecting any file, you can see the following information about it:
- Name: filename and its path in S3 Manager
- Size: file size
- Last Modified: timestamp of the last modification
- ETAG: unique hash identifier
You can perform the following actions with any file once you select it:
Download. Click to download the selected file. It is automatically saved to your Downloads folder.
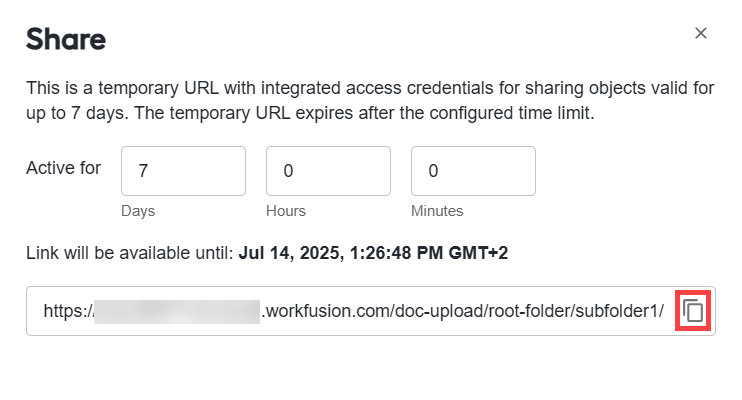
Share. Click to share the selected file. In the dialog that appears, set the link expiration time using the Active for fields (Days, Hours, and Minutes). Click the copy icon to copy the link and share it as needed. You can also use the link in other applications or scripts.
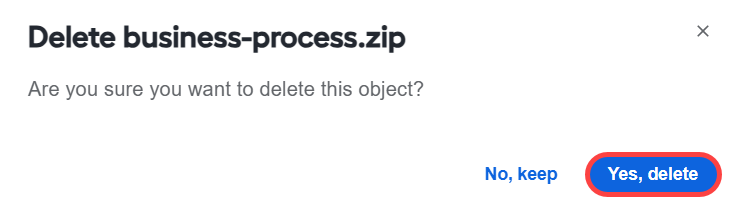
Delete. Click to delete the selected file. To confirm the deletion, click Yes, delete.
Delete bucket
To delete a bucket, do as follows:
In the bucket list, locate the bucket you want to delete.
Click the Manage button.

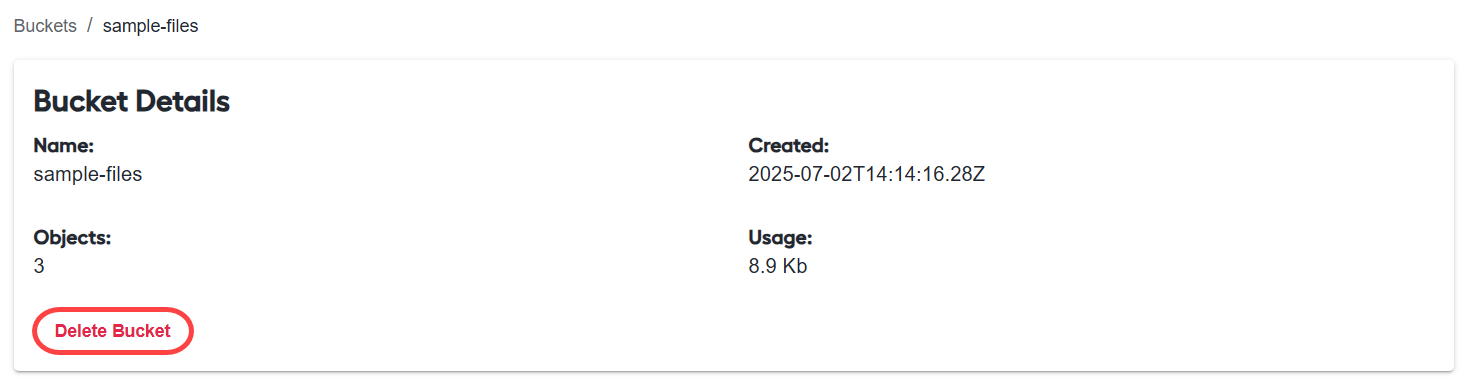
In Bucket Details, click Delete Bucket.
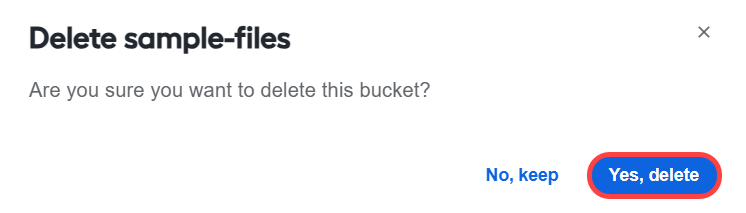
To confirm the deletion, click Yes, delete.
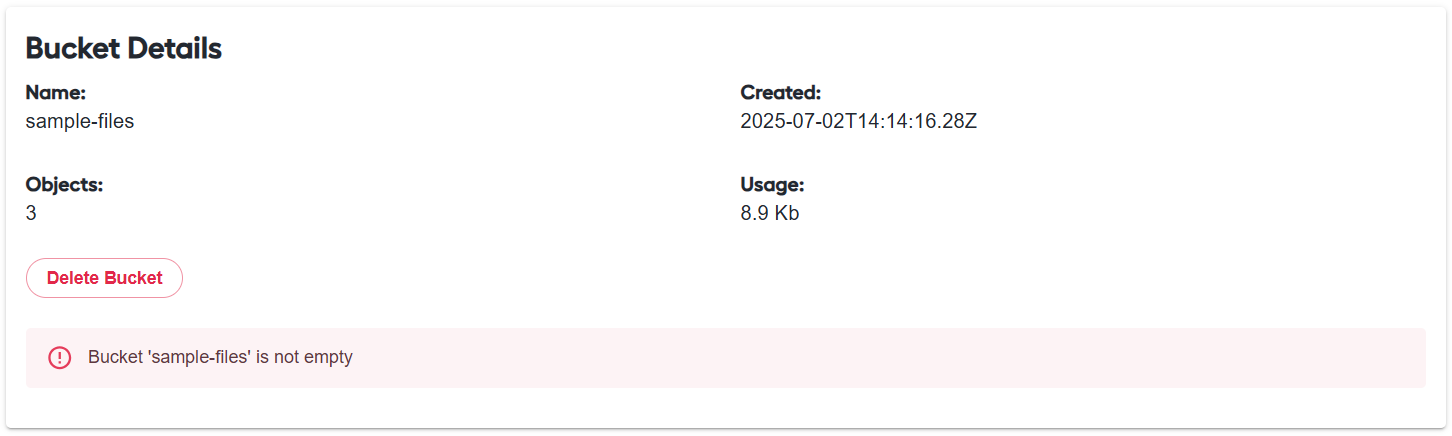
Ensure the bucket is empty before deleting it. If there are any objects in the bucket, you cannot delete a bucket. First, remove all the objects.
Log out
Click Logout to sign out of the S3 Manager interface.