
Deploy ODF components to server
Prerequisites
Before installing or updating ODF, stop all running Business Processes. Failing to do so results in the permanent deletion of the Data Stores.
Deploy ODF manually
The following guide describes the first deployment of the ODF components from a local machine to a server environment. To update the already deployed version of the ODF components, see Update ODF below.
To deploy ODF components to the server environment:
Go to http://repository.workfusion.com and log in to Workfusion Nexus. For the credentials of the odf-user, see Configure Maven.
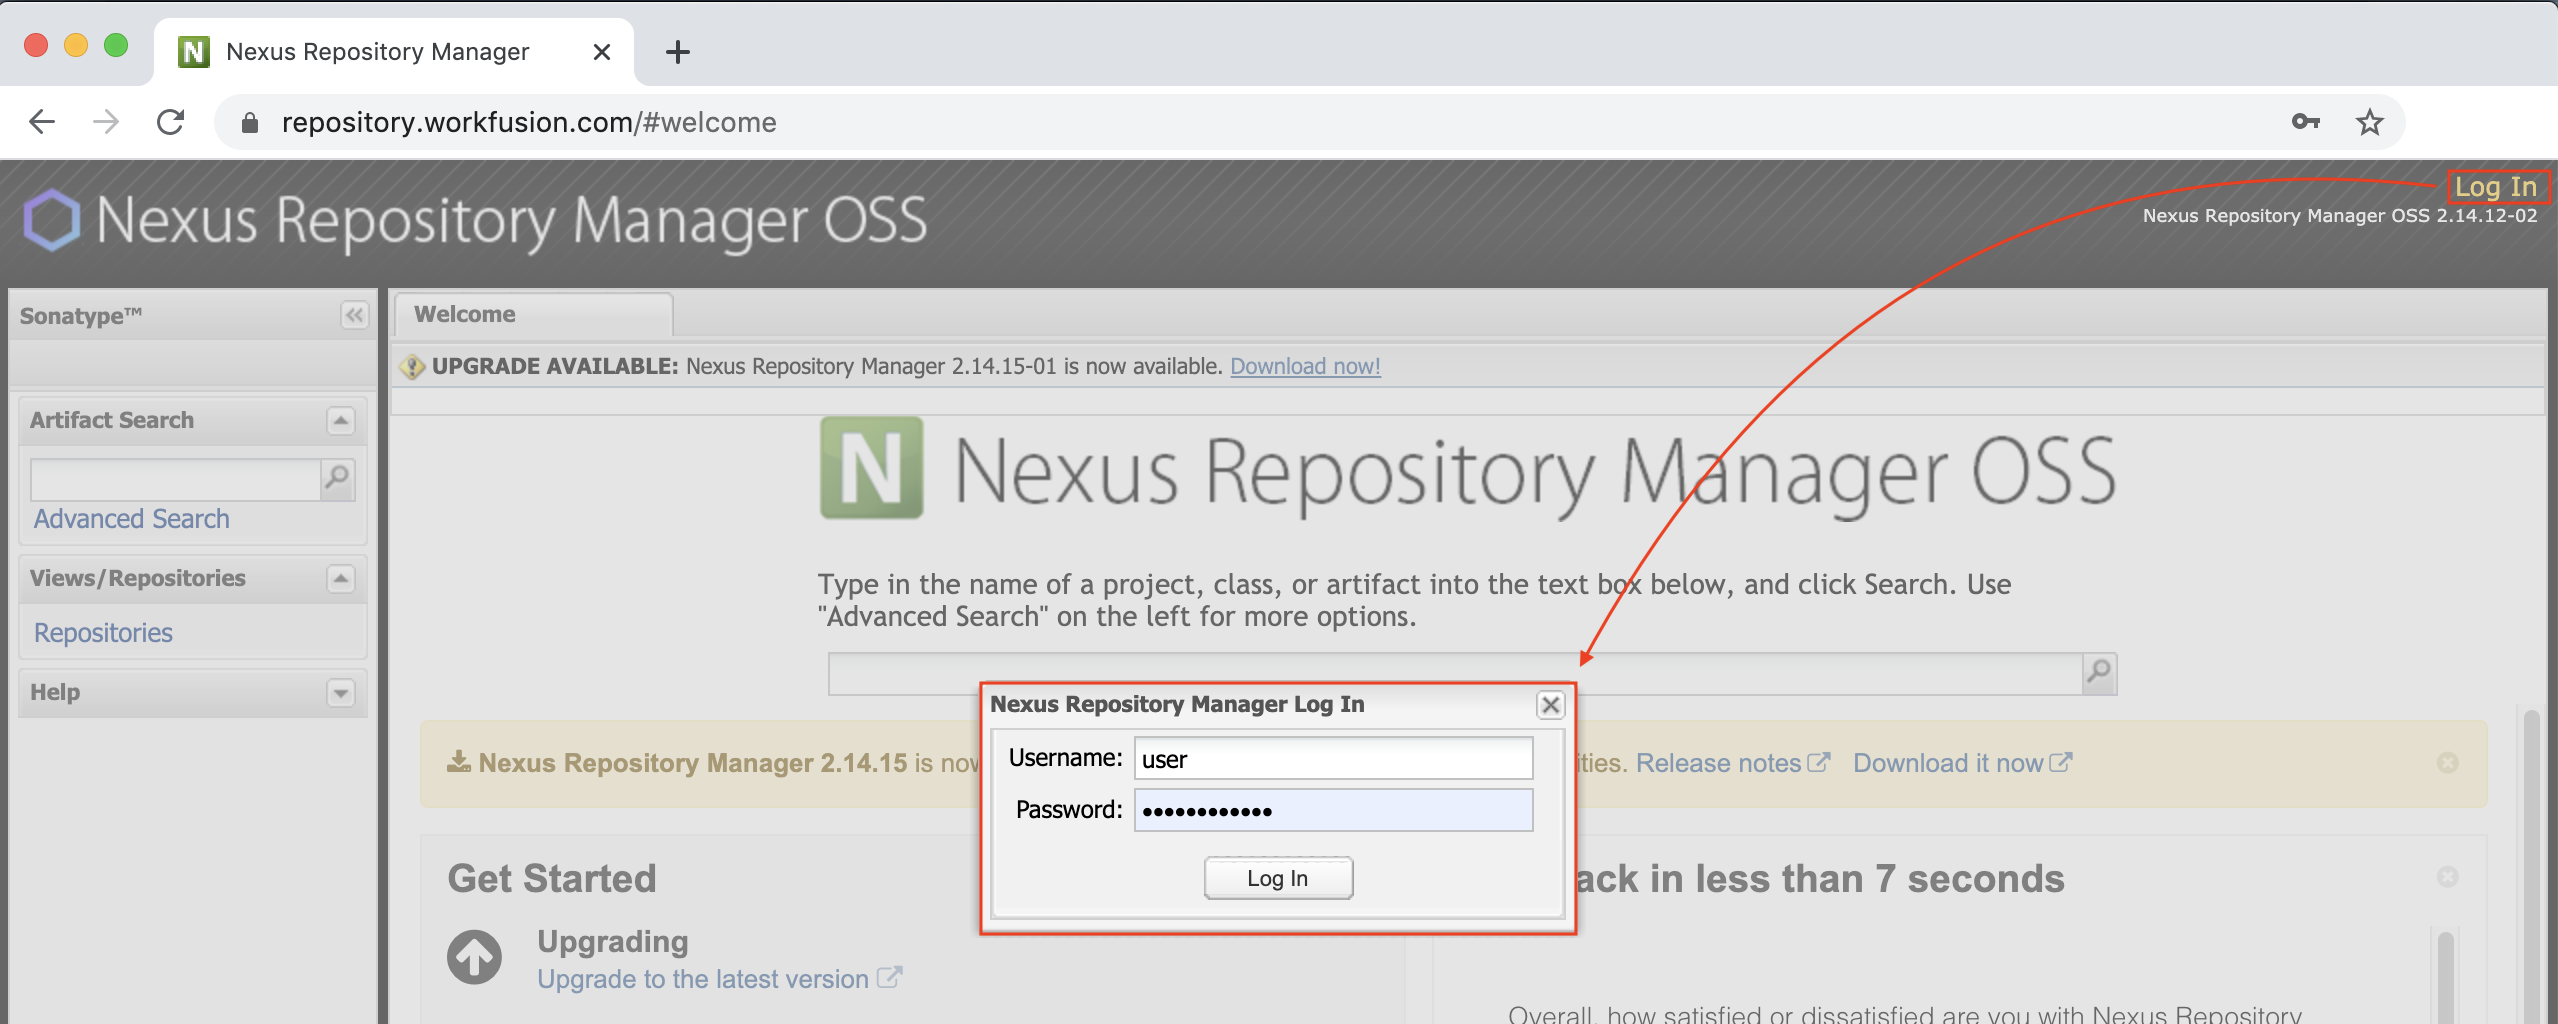
Go to Releases, then in the table, find the required ODF version, and click the corresponding Download button to download the ODF installation bundle to your local machine.
Follow the instructions for your operating system:
For Linux users:
Download the script for importing bundle assets to your local machine: Asset-Bundle-Import-Linux.sh.
On your local machine, run Terminal, and go to the directory that contains the downloaded script:
cd <path to the script directory>Run the script that you have downloaded on step "a" with the following variables:
$ ./Asset-Bundle-Import-Linux.sh '<path to Asset Package>' <Control Tower Host URL> '<ct username>' '<ct password>'Note that Control Tower Host URL must not end with '/'. See the example below:
$ ./Asset-Bundle-Import-Linux.sh 'demo-package.zip' https://demoserver.workfusion.com 'demouser' 'demopassword1!@@#'If using SSO, you will need to additionally configure credentials as the standard CT credentials won't work.
For Windows users:
Download the script for importing bundle assets to your local machine: Asset-Bundle-import-Windows.ps1.
On your local machine, run PowerShell in a mode that bypasses Script Execution Policy by executing the following command:
powershell -executionpolicy bypass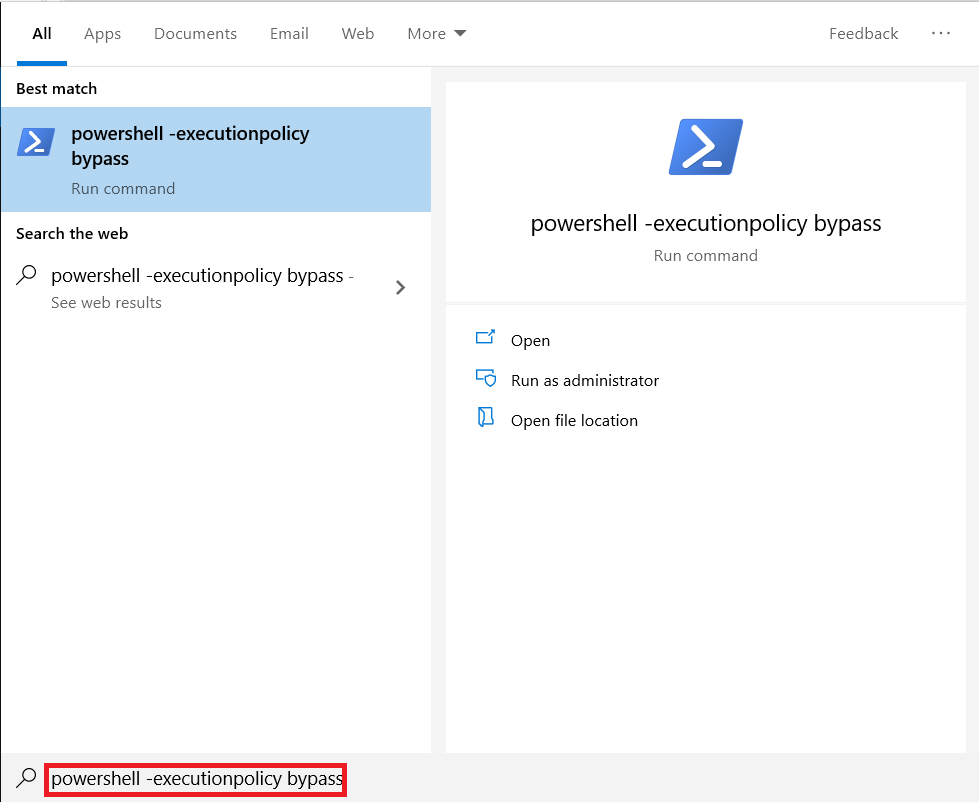
Go to the directory that contains the downloaded script:
cd <path to the script directory>Run the script that you have downloaded on step "a" with the following variables:
.\Asset-Bundle-Import-windows.ps1 -ctHost '<Control Tower Host URL>' -ctUser '<ct username>' -ctPassword '<ct password>'Note that Control Tower Host URL must not end with '/'. See the example below:
.\Asset-Bundle-Import-windows.ps1 -ctHost 'https://demoserver.workfusion.com/workfusion' -ctUser 'demouser' -ctPassword 'demopassword1!@@#'If using SSO, you will need to additionally configure credentials as the standard CT credentials won't work.
After the script starts successfully, the file selection window opens. Select the .zip file of your ODF installation bundle that you have downloaded on step 2, and click Open.
The console shows the progress of operations. In the end, you see the status of the import procedure.
Example of the command-line output on Windows:
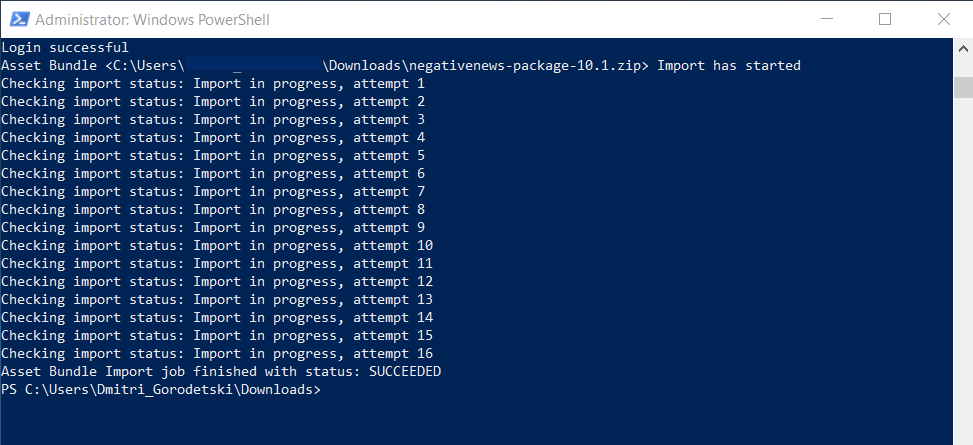
If the status is "Successful", proceed to Control Tower and check the imported assets.
If the state is "Failed":
- Open the import summary file, which is located in the script directory, and read the error messages.
- Report the bug to Workfusion.
- Wait for the corrected installation package to appear on the Releases page, and perform the earlier deployment steps once again.
You have successfully installed ODF on your server. See New Project Using ODF for preparing a local machine.
Update ODF
The following guide describes the update from an already deployed version of the ODF components to a newer one.
To update ODF:
- Update the IA Cloud to the required version, for example, from 10.1.2 to 10.1.4.
- Download the latest installation package to your local machine. See steps 1-2 of the Install ODF section earlier.
- Download the script to your local machine. See step 3(a) of the Install ODF section earlier.
- Deploy the installation package to Control Tower with the script. See step 3 (from "b" to the last one) of the Install ODF section earlier.
- If you already have Business Processes, to use them with the updated version, rebuild the ODF project and publish it to Control Tower.