
WorkSpace Preview
important
- Dynamic Task Rendering does not work with the WorkSpace Preview feature enabled.
- Use only the 1 + 0 adjudication rule.
- If a task is part of a Business Process (BP), WorkSpace Preview can be configured only inside the BP. If a Manual Task (MT) is a stand-alone one, the Data Elements list is empty.
Enable WorkSpace Preview
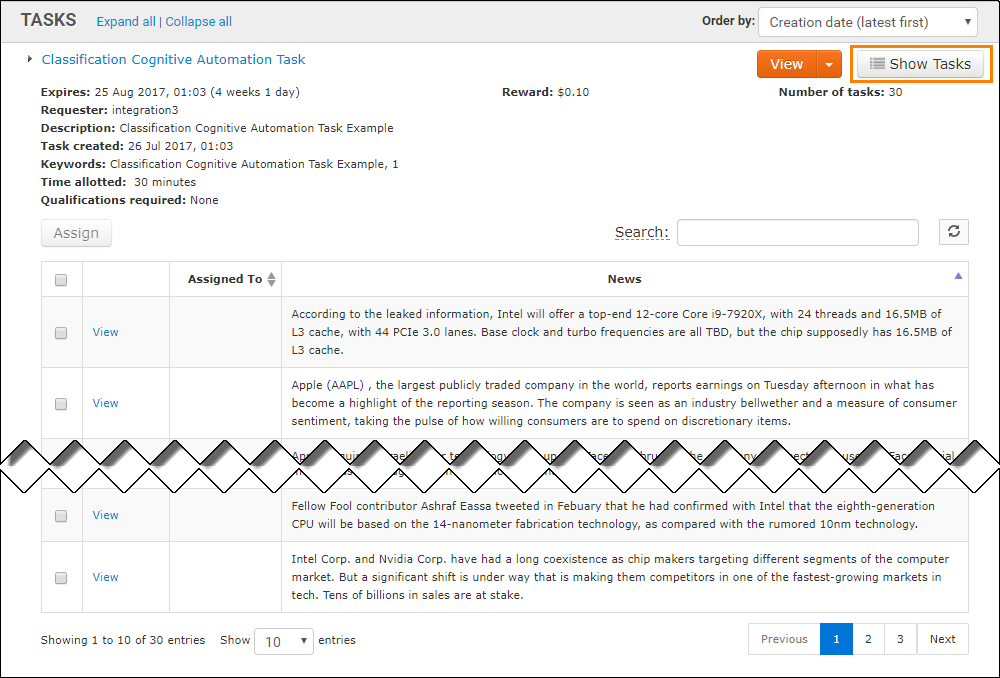
When WorkSpace Preview is enabled, a worker can click the Show Tasks button and pick a particular task from the grid:
note
The task design should be completed before enabling the WorkSpace Preview feature.
To enable WorkSpace Preview, complete the following actions:
Open an MT, go to the Run tab, click Advanced Options > WorkSpace Preview.
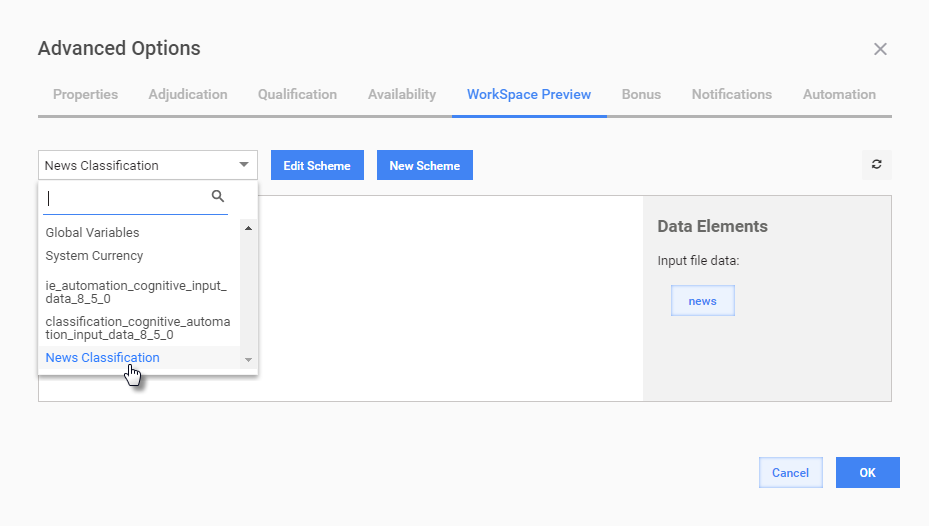
In the respective drop-down box, select a field schema or click the New Scheme button to create one. The Field Scheme defines the grid column names shown to workers in WorkSpace and their format.
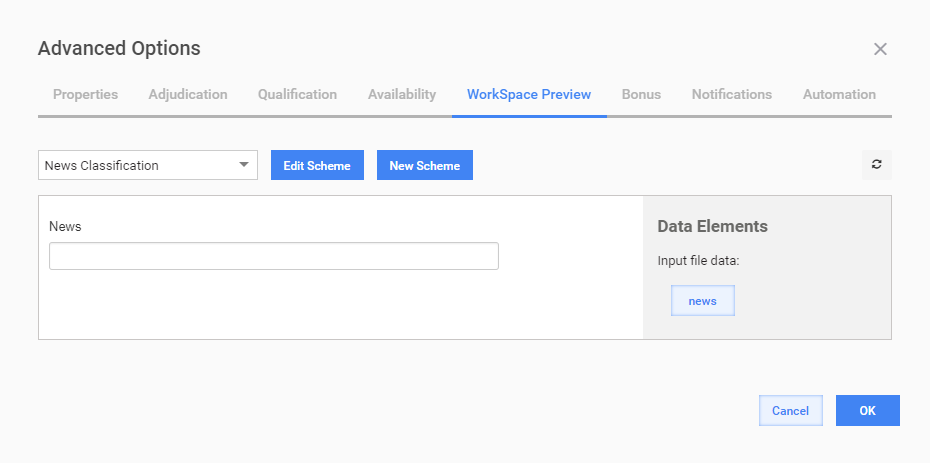
On the left panel, fill in the Field Scheme fields. On the right panel, click corresponding Data Elements. Repeat the step for all fields to map task input columns with the grid ones shown in Workspace.
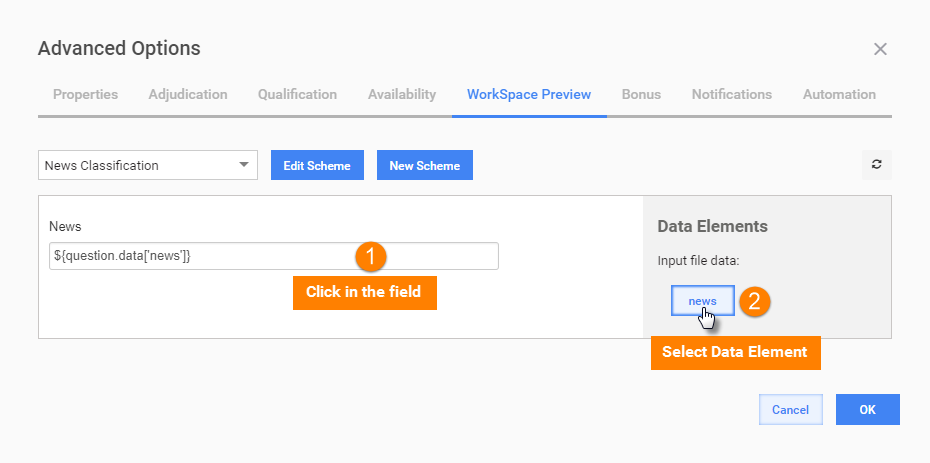
Pay attention to the Answer Types in the Field Scheme. They should correspond to the Data Elements values (for example, URL, Number, Email, and so on). The fields with the Answer Type set to URL are rendered as hyperlinks..
Click OK to save the settings.
Check result
After posting the task to WorkSpace, workers will see the following grid:
In the grid, workers can do the following:
- Expand or collapse the grid by clicking the Show Tasks button
- Sort the grid rows by clicking corresponding column headers
- Search for particular rasks by entering their values in the Search field
- Refresh the grid to display only currently available tasks.