
Create groups
Instead of mapping attributes and roles to individual users, you can create groups of users sharing common attributes and role mappings.
Groups are hierarchical: a group can have many subgroups but only one parent. Subgroups inherit the attributes and role mappings from the parent group. Each user can belong to one or more groups and inherits whatever attributes and roles are assigned to each of these groups.
To access the functionality for managing groups, make sure you are in the right realm, and select Groups on the left menu.
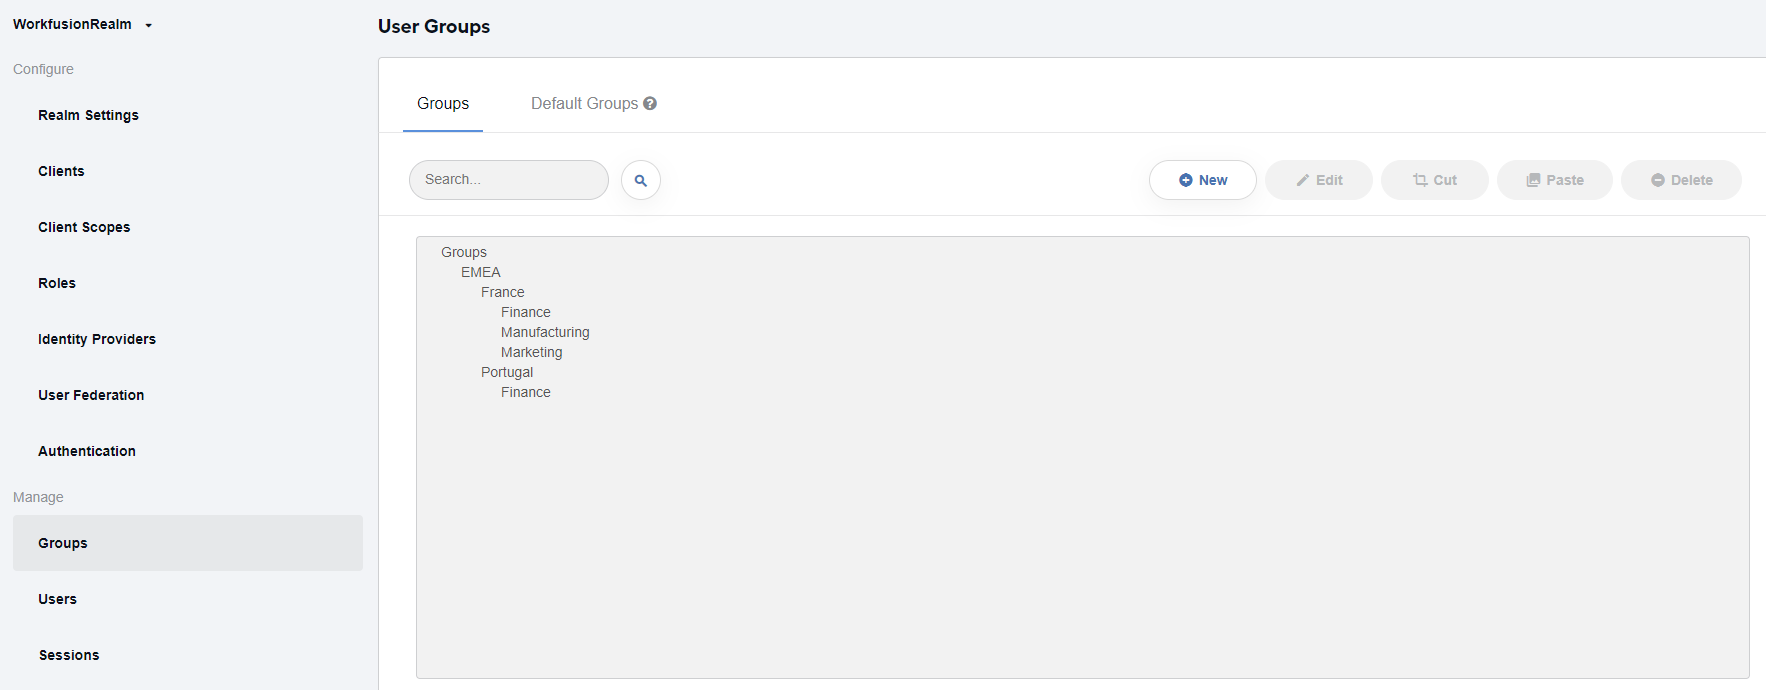
On the right, you will see a panel for managing groups together with a list of available groups. On the Default groups tab, there are preconfigured groups (if any) to be automatically assigned to any new user, whether created within a realm or imported from an external identity or storage provider.
Create group
To create a group, complete the following steps:
On the Groups tab, click the New button.

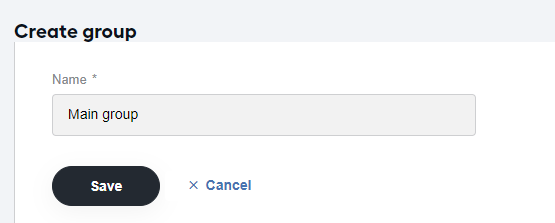
On the Create group screen, specify a group name and click Save.
Go to the Attributes tab and set the attribute name and value for the created group. If needed, click the Add button to add more fields.
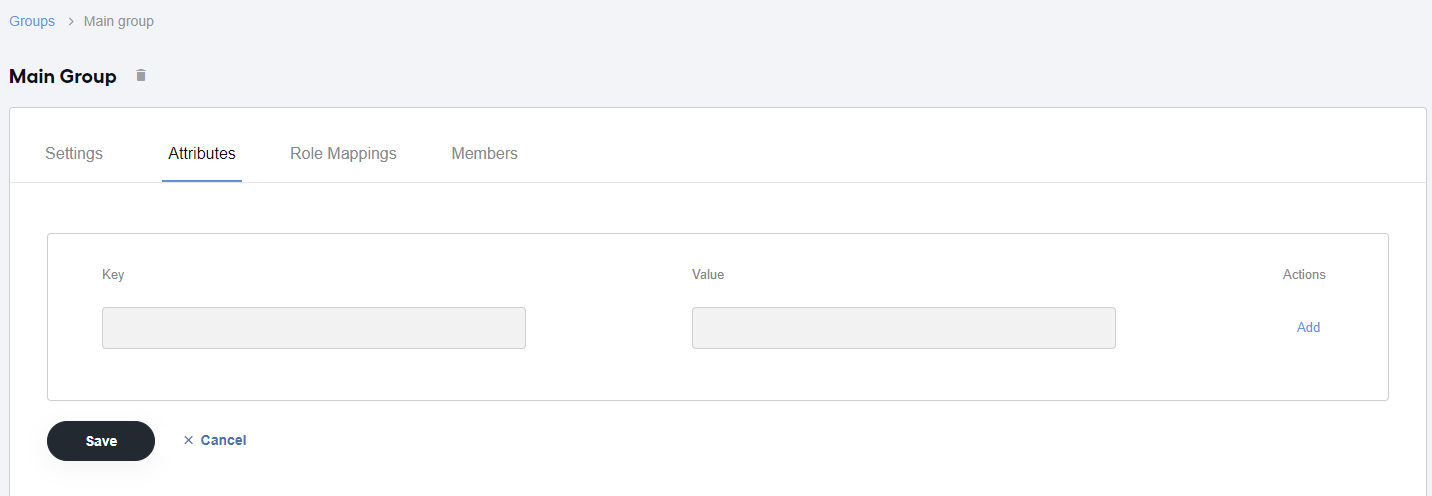
Click Save.
Go to the Role Mappings tab to set the role mappings for the created group.
Create subgroup
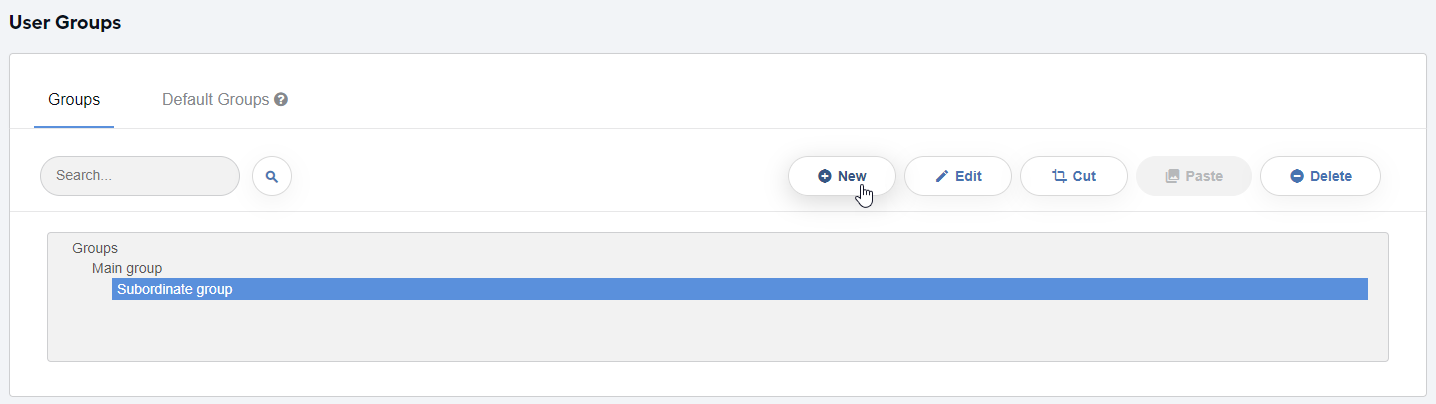
To create a subgroup under a parent group, select a parent group in the list of groups. Then, complete Steps 1 to 5 as described in the Create group subsection above.
Create default group
Go to the Default groups tab. In the Available Groups field, select a group that you want to be assigned by default to any new user within the realm.
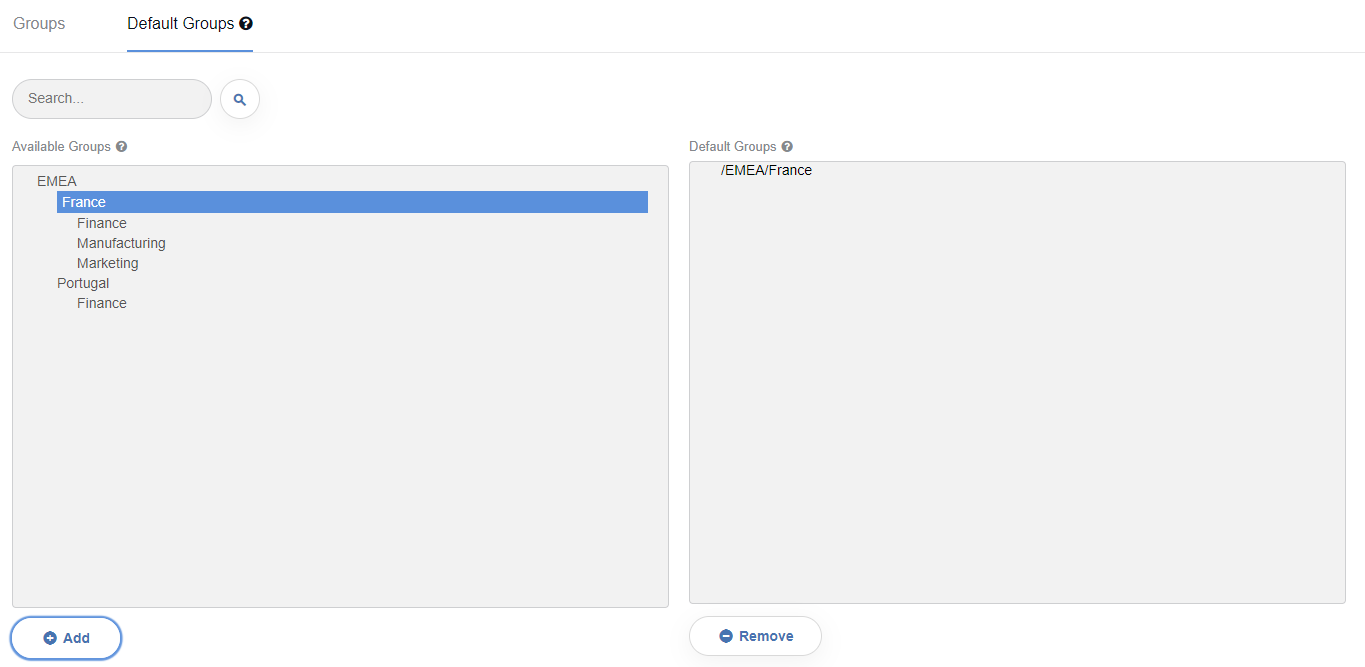
Click the Add button, and you will see the selected group in the Default Groups box.
View group members
To view users belonging to a particular group, follow the instructions below:
Select Groups on the left menu and then select a specific group in the list on the right.
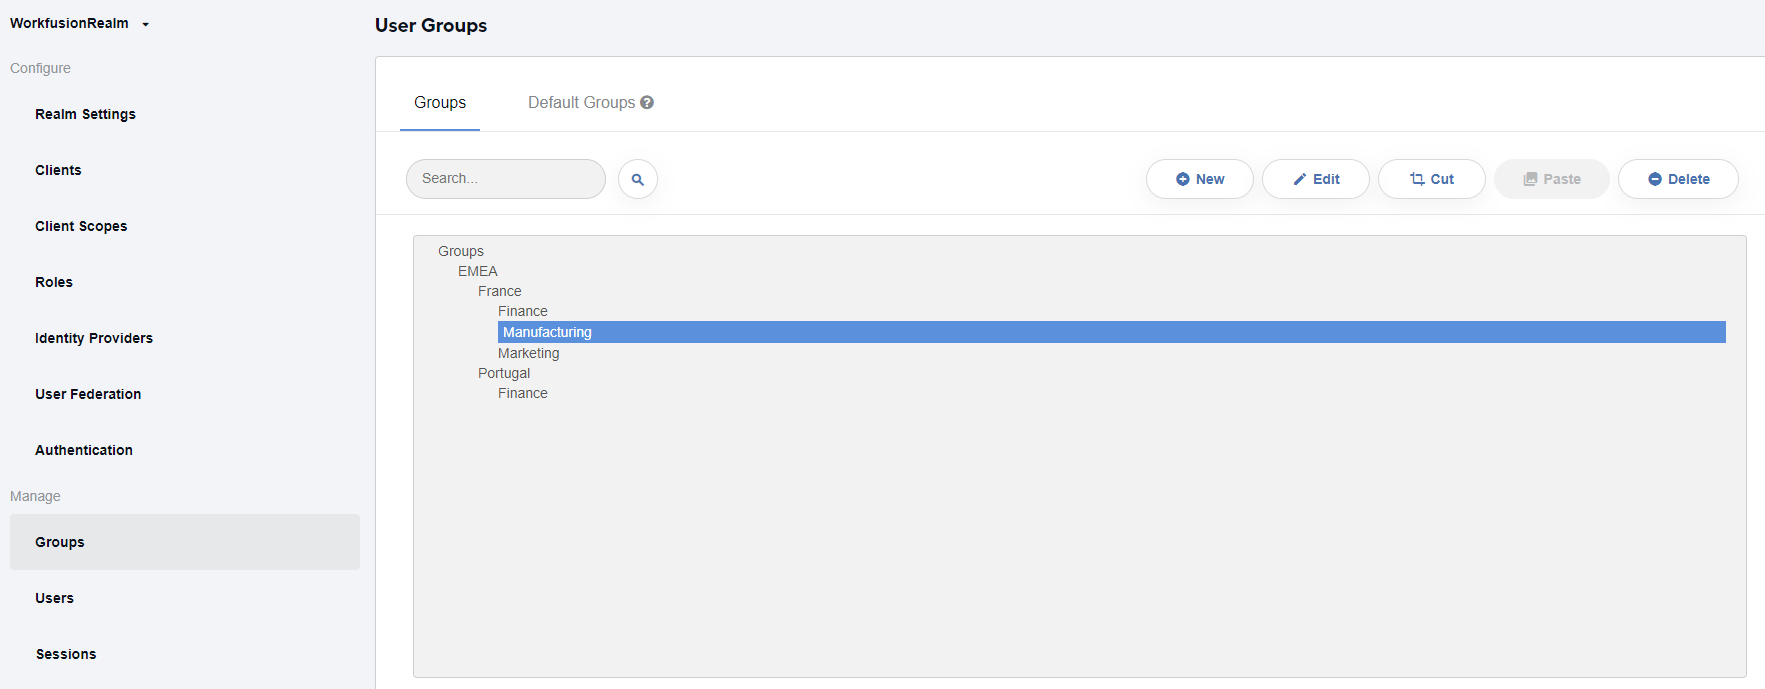
Click the Edit button.
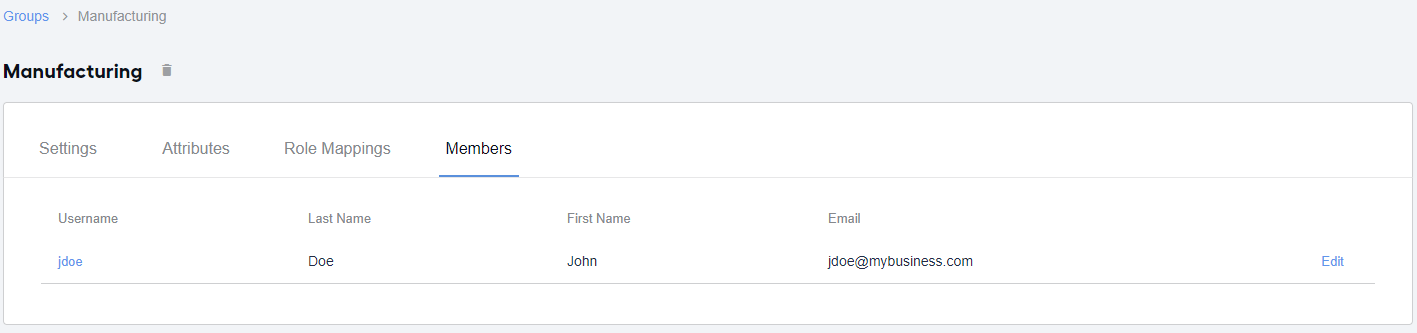
Go to the Members tab. You will see a list of users belonging to the selected group together with their attributes.
note
From the Members tab, you can edit user details. To do that, select a user and click Edit next to it. This will bring you to the User settings tabs. For more information, see the Configure users section.
Add user to group
To add a user to a group, complete the following steps:
Check that you are in the right realm.
On the left menu, select Users.

Select a user you want to add to a group from the Users list by clicking the user's ID or Edit next to the username. This brings you to the User settings page.
Go to the Groups tab. In the Group Membership field, you will see a list of groups (if any) where the user is already a member.
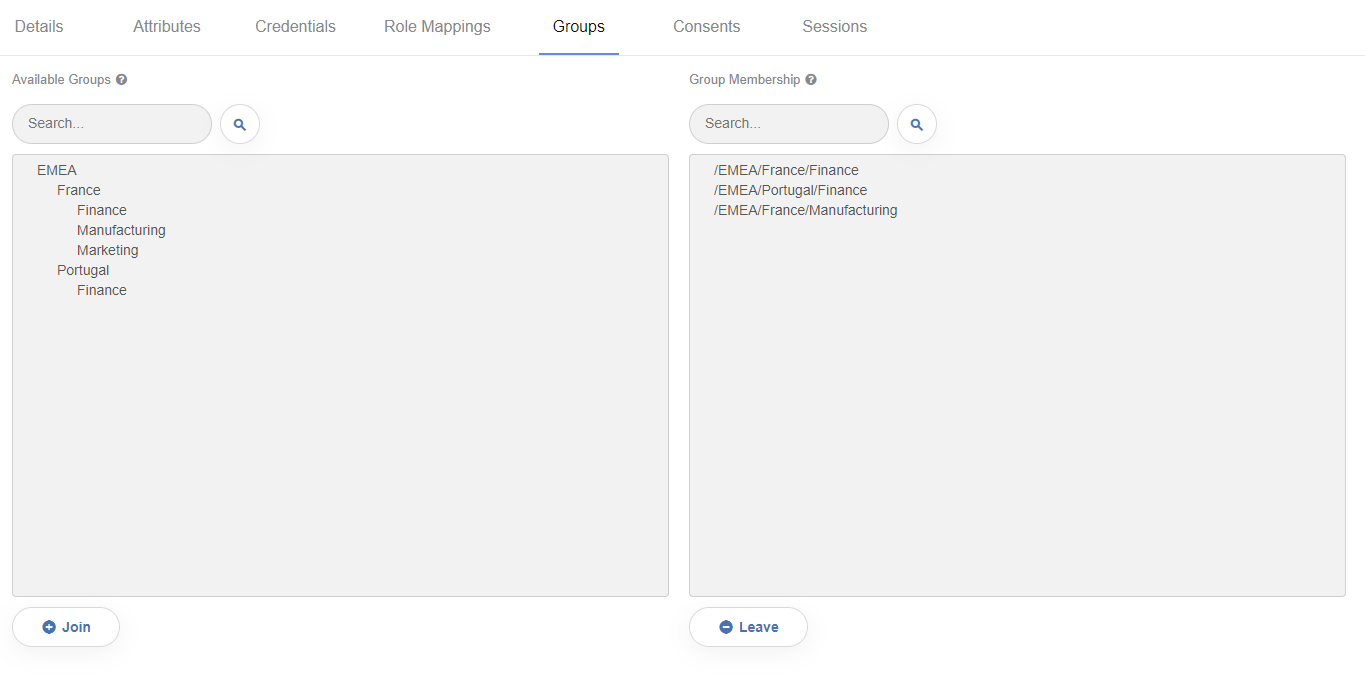
Select a group in the Available Groups field and click the Join button below. The selected group appears in the Group Membership field. The user is now considered to be a member of this group and related subgroups—that means, has the same roles and permissions as assigned to all users in the group.