
Restrict access to dashboard data
The article describes how to restrict access to dashboard data on the Analytics Server using Analytics Desktop.
note
The Overview out-of-the-box (OOTB) dashboard is used as an example.
Prerequisites
Before configuring access restrictions, make sure you have complied with the following prerequisites:
- An Admin user is created who has rights to administer the Analytics Server and provide access or rights to other users, create projects and users, and mapping those together.
- A BI developer user is created with access to Analytics Desktop.
- The Desktop license is activated.
- The Publishing dashboard rights are provided.
- Access to the database is provided for reading data.
- OOTB data sources are published by default.
- User groups are mapped to Business Processes.
important
Restrictions can be based on custom filters using data from custom Data Stores, for instance, countries, departments, and so on.
Limitations
When restricting access to Analytics dashboard data, mind the following limitations:
- Each user must have a licensed seat. By default, there are
tableau_adm,tableau_user, and three more seats. For detailed information, see Activate Analytics license. If you need more information, contact your Delivery Manager. - This solution is applied to custom dashboards with filters representing specific fields, which allows segregating data.
- Data restrictions apply only through accessing the Analytics Server, not Control Tower.
Users, groups, and rights on Analytics Server
An admin must understand clearly which users and rights are needed. It is recommended to create several groups on the Analytics server and set their rights. Then, you can add any user to one of these groups.
In this example, the following hierarchy is built: project > group > user. Projects contain filtered dashboards, while groups with users have access to specific projects only.
For simplification, the example includes two projects for two groups of users, and each group contains one user.
Add groups and users
To add groups and users, do as follows:
Launch the Analytics Server using the admin account. The site name must be the same as the name of the instance where all data sources are already published.
Go to the Groups menu.

In the Groups list, click New Group.
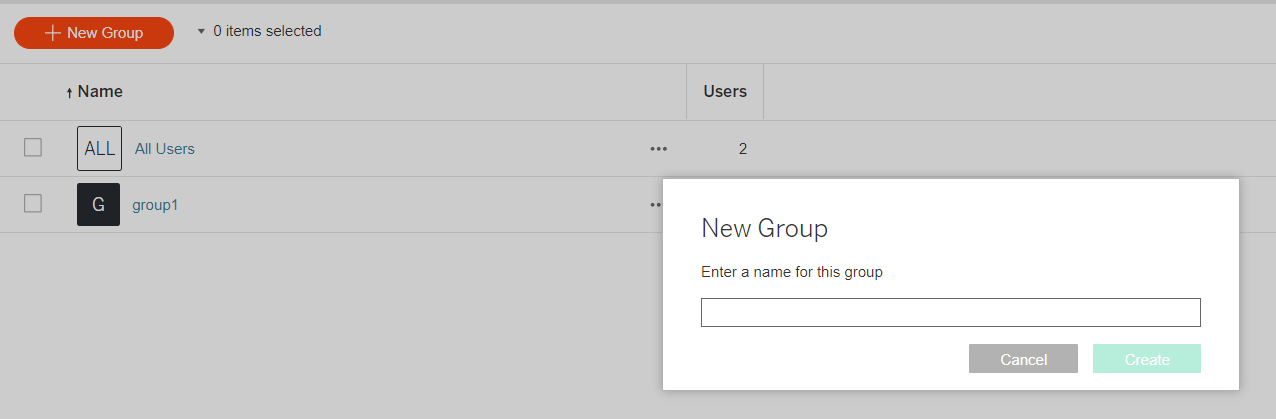
Create as many groups as needed to restrict data access. This example contains two groups (group1, group2) with one user in each (user1 and user2 accordingly).
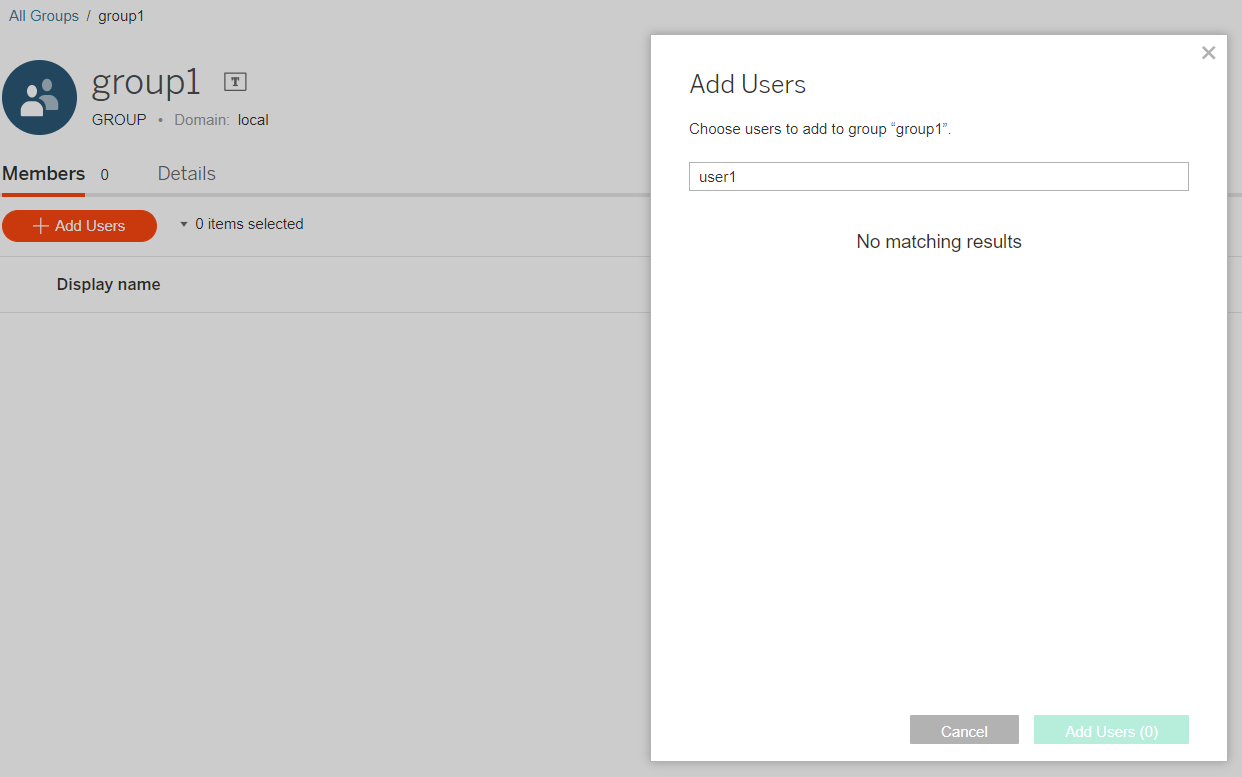
To add a user to the group, in the Groups menu, open the group and click Add Users.
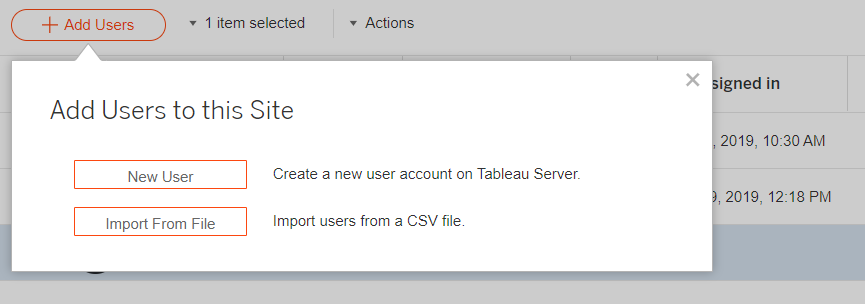
Set the Viewer site role for both users.
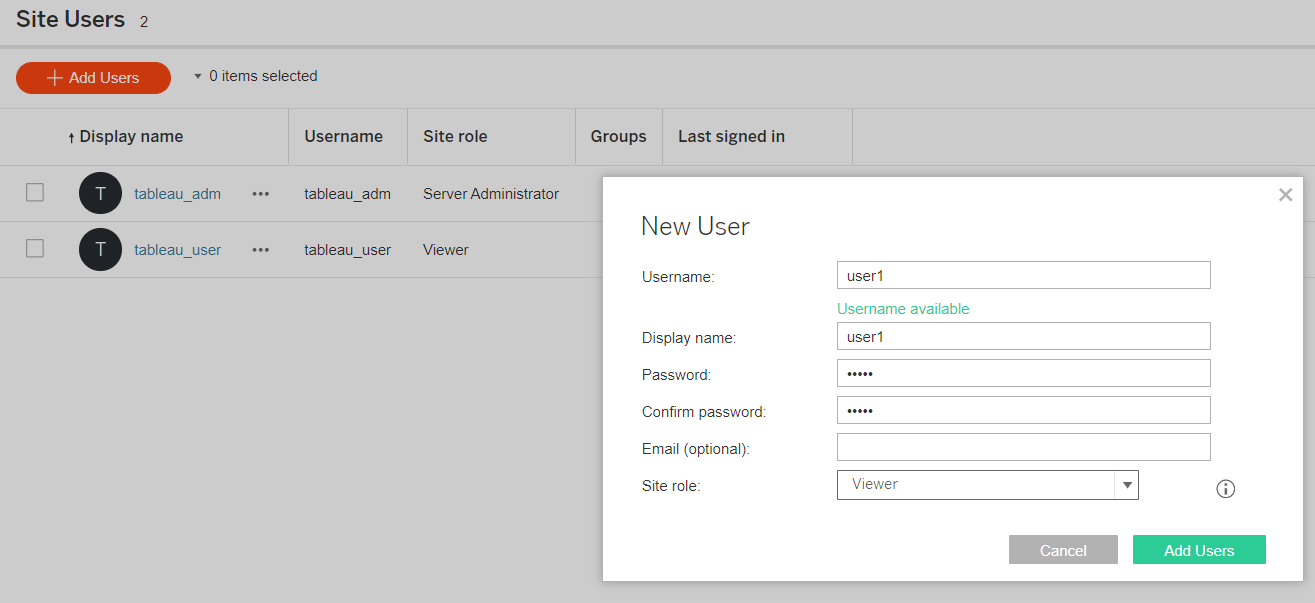
As a result, user1 will be in group1 and user2 in group2 accordingly.
Add projects and permissions
By default, four projects besides the default one are already created on the Analytics Server.
For restricting access, additional projects are required where dashboards are published manually through Analytics Desktop. This example uses project1 and project2.
To restrict access, perform the following steps.
Create as many projects as there are groups that are required based on different restrictions. Note that one group must be associated with one project.
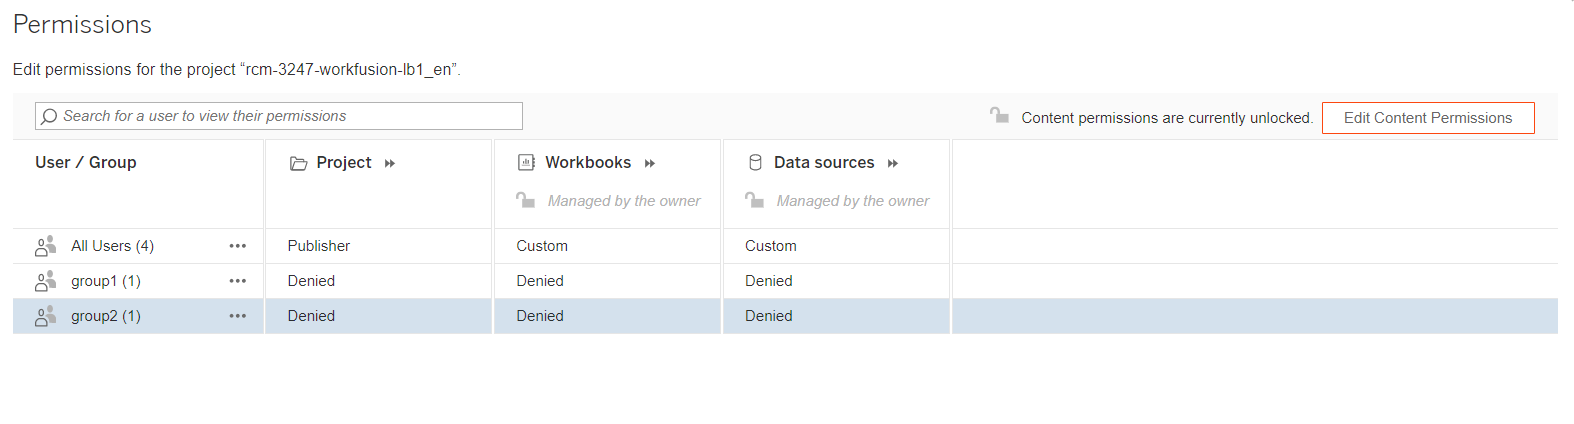
To restrict access, each project permission must be changed and implemented according to the new groups created. To do this, go to the Project list, expand the project1 options by clicking More(...) > Permissions.
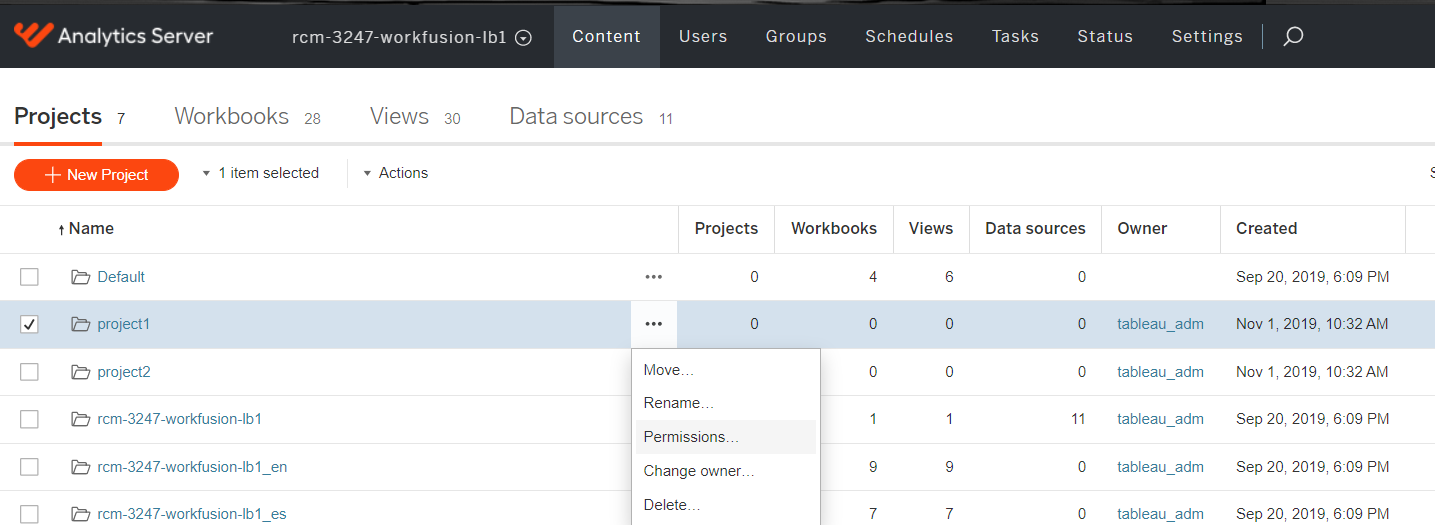
The Permissions window appears.
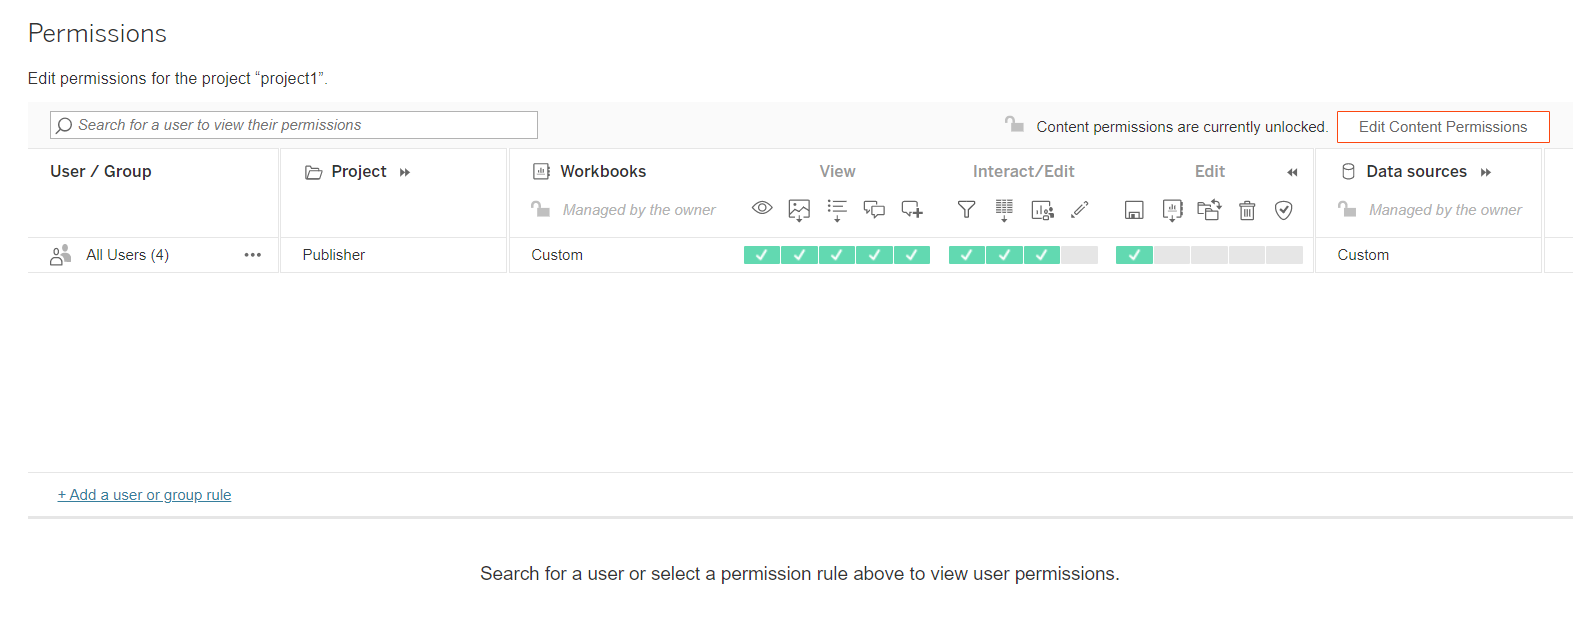
Click the Add a user or group rule link at the bottom and choose group1.
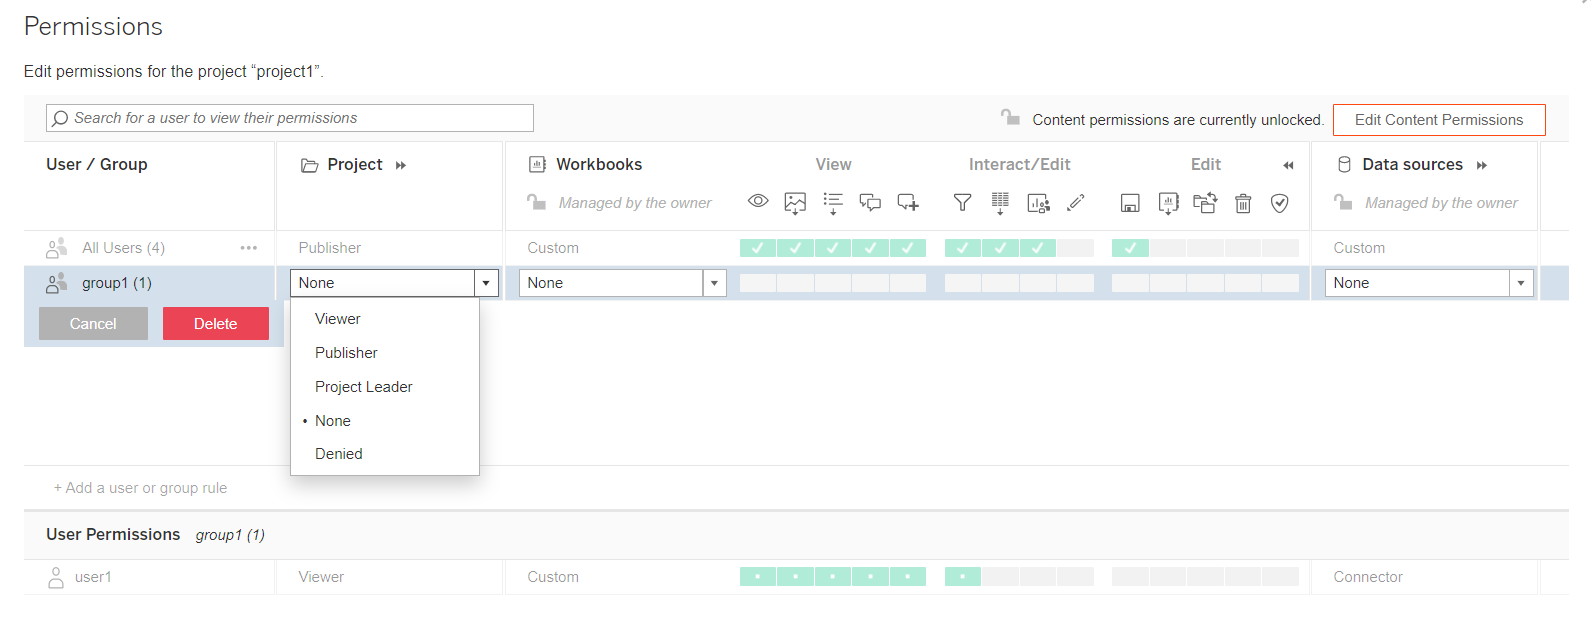
For group1, set the Viewer rights for Project and Workbooks and the None rights for Data sources.

Since project1 can only be accessible for group1, the access for all other groups (group2) must be denied.
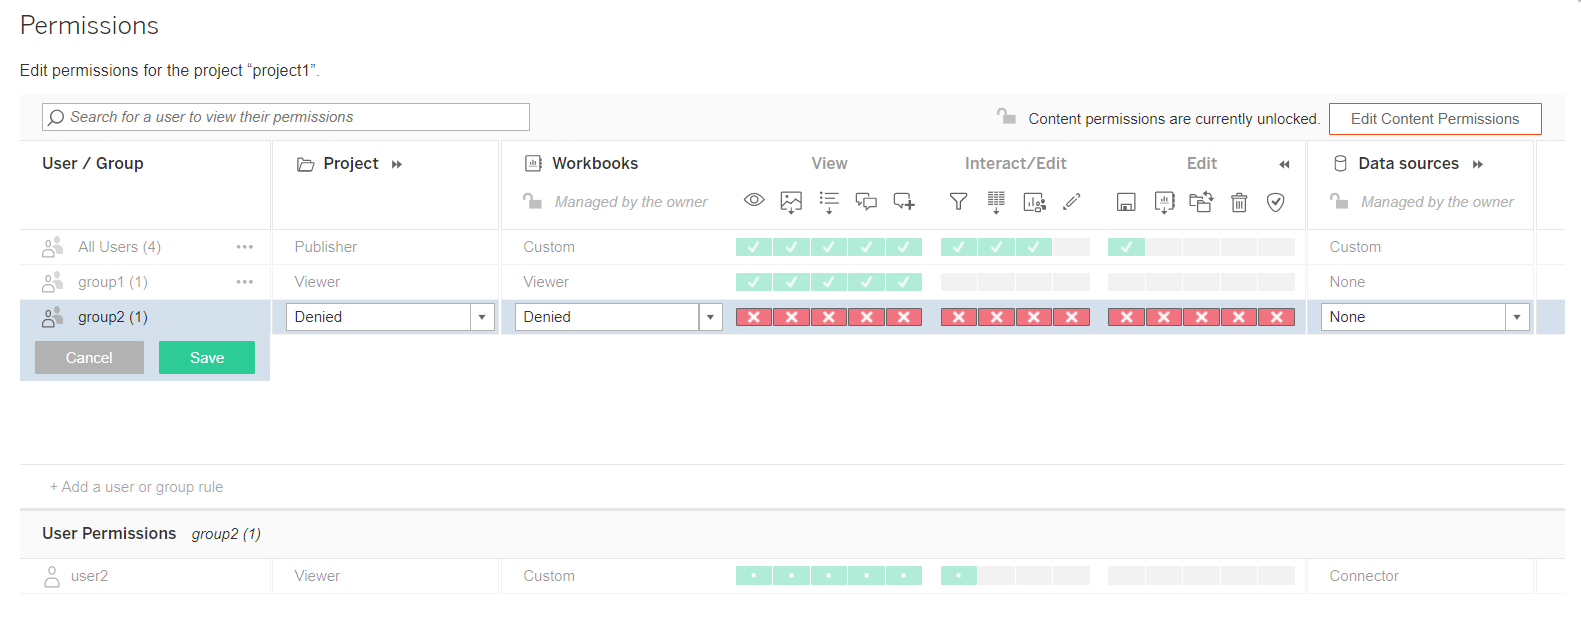
Repeat the previous step for project2 so that group2 has the View access to it and its workbooks only.

Permissions for all projects that are created before are to be managed as shown.
Change and publish Workbook
The Overview workbook is taken as an example. To make the following changes, download it from the Analytics Server.
For a data source connection, match the following users to dashboards as shown below:
- OOTB: dm
- Custom: rapi
Restrict access via workbook
You may want to restrict access to any available dimensions in the workbook. This example contains a restriction on Process Name.
To restrict access, do as follows:
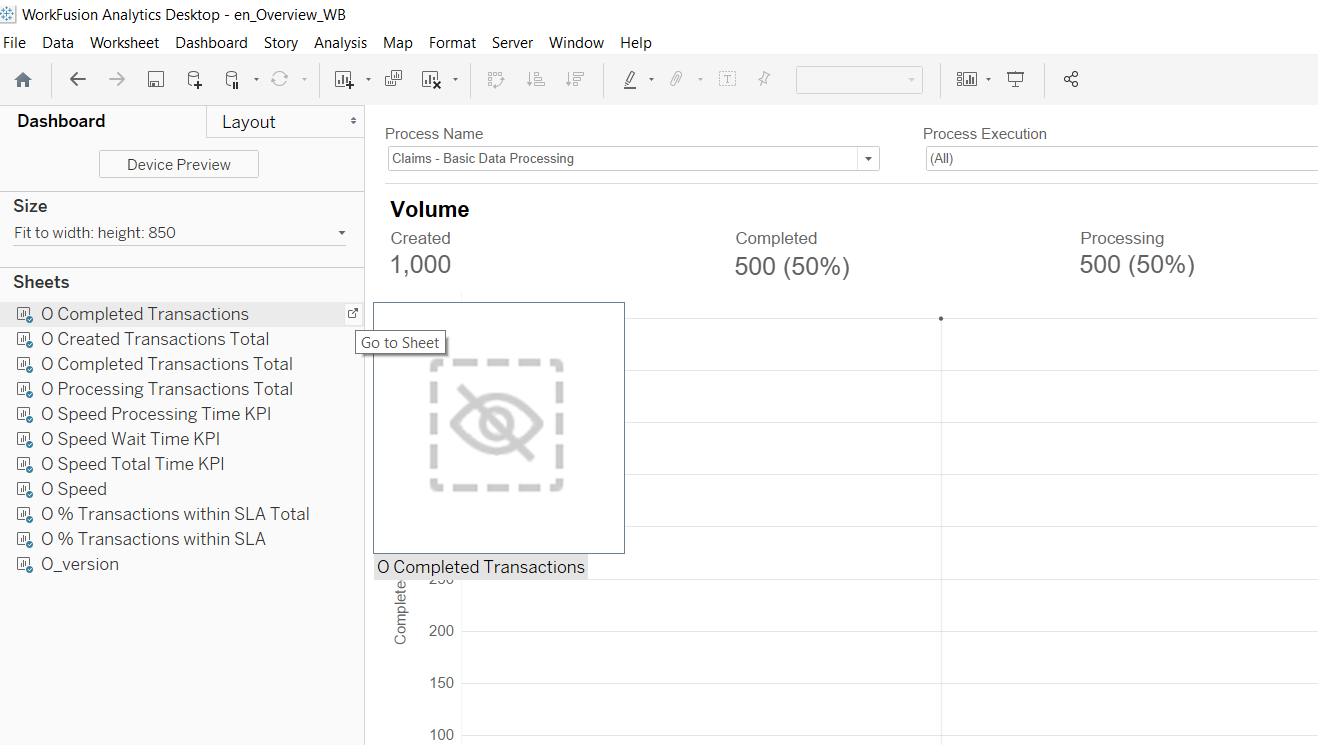
Go to any sheet of the workbook.
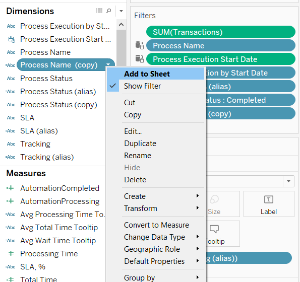
In the Dimensions list on the left, click the arrow next to Process Name > Duplicate. The new Process Name (copy) dimension is created.
Click Add to Sheet. The dimension is displayed among Filters on the tab.
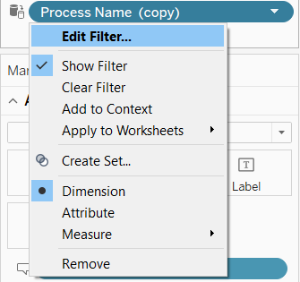
On the Filters tab, click the arrow next to Process Name (copy) and select Edit Filter.
Go to the Wildcard tab and type the part of all process names as a filter for user1.
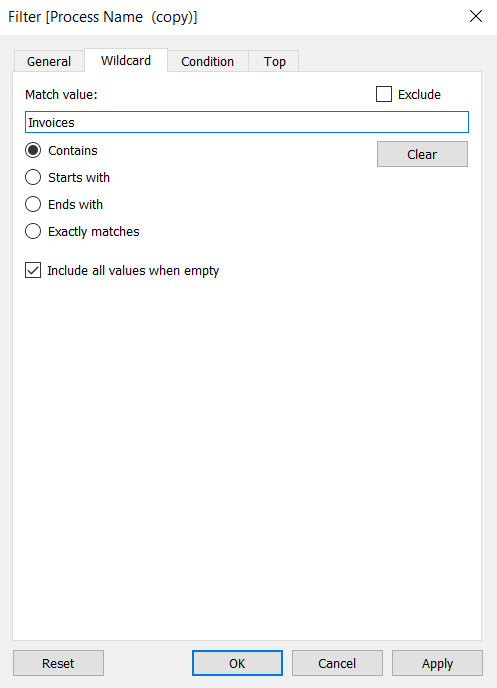
Click Apply > OK.
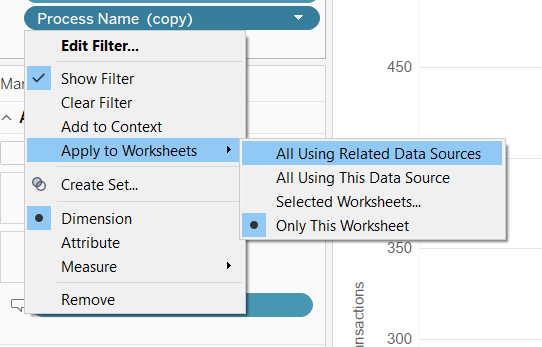
Click Process name (copy) >Apply to Worksheets > All Using Related Data Sources to apply the filter to all Data Sources.
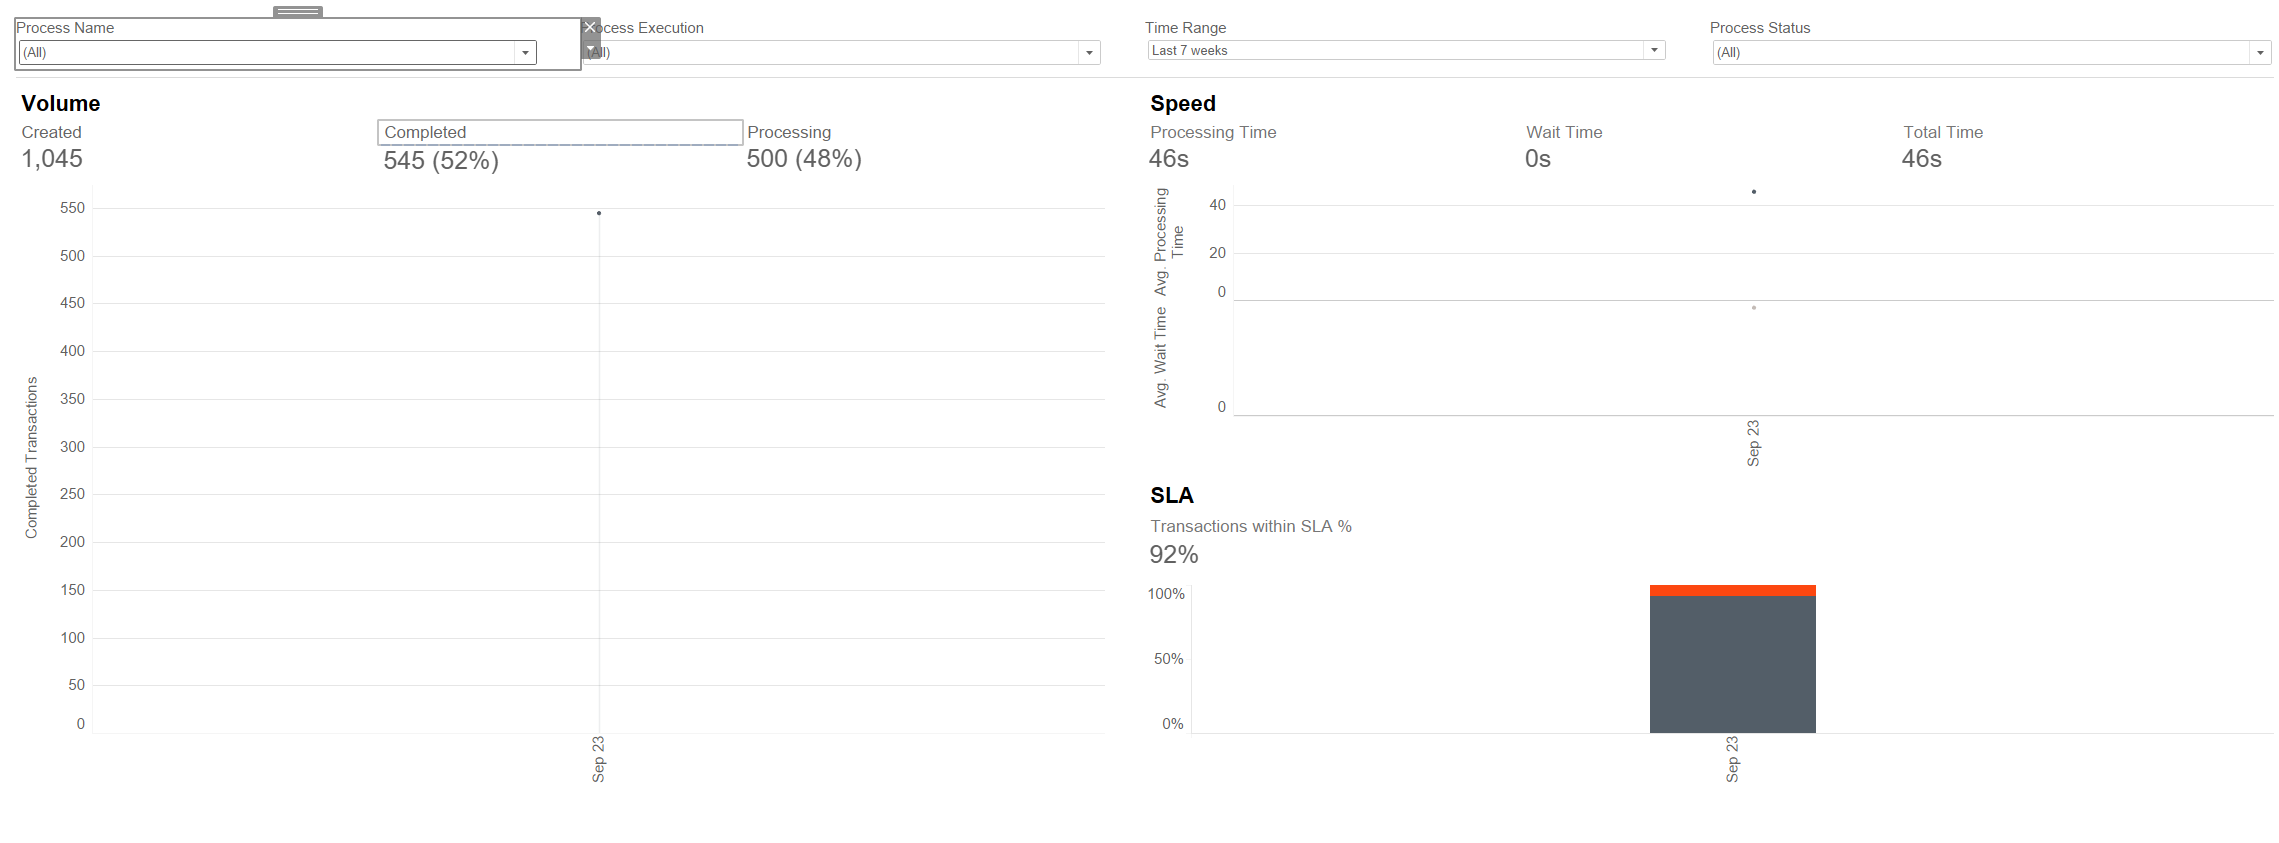
After this action, the filter is applied, and the workbook displays less data.
Publish workbook
For workbook publishing, a user must have the Publish rights.
To publish a workbook manually, do as follows:
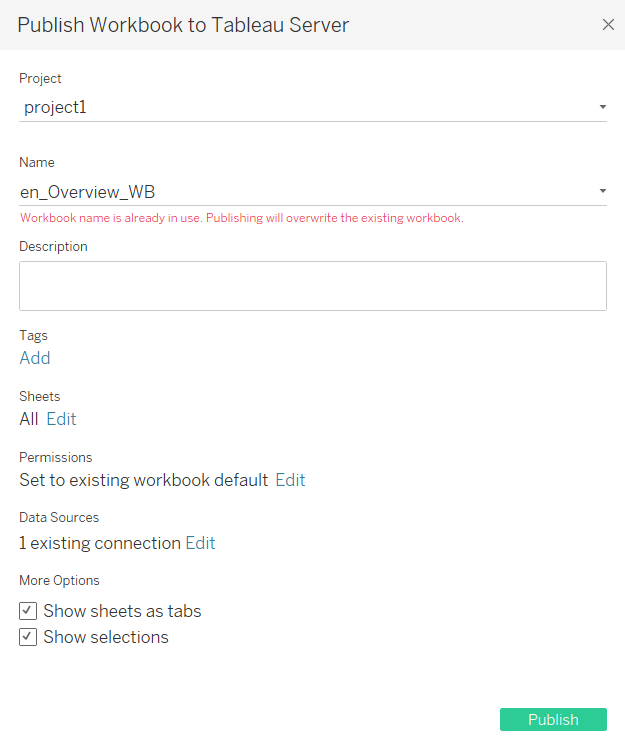
In the menu, select Server > Publish Workbook.
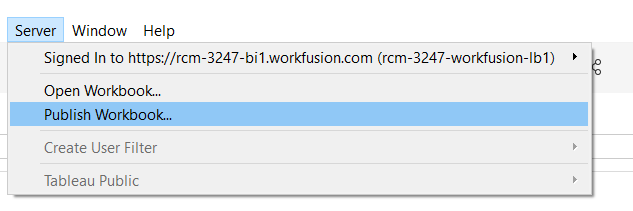
Select project1 and click Publish.
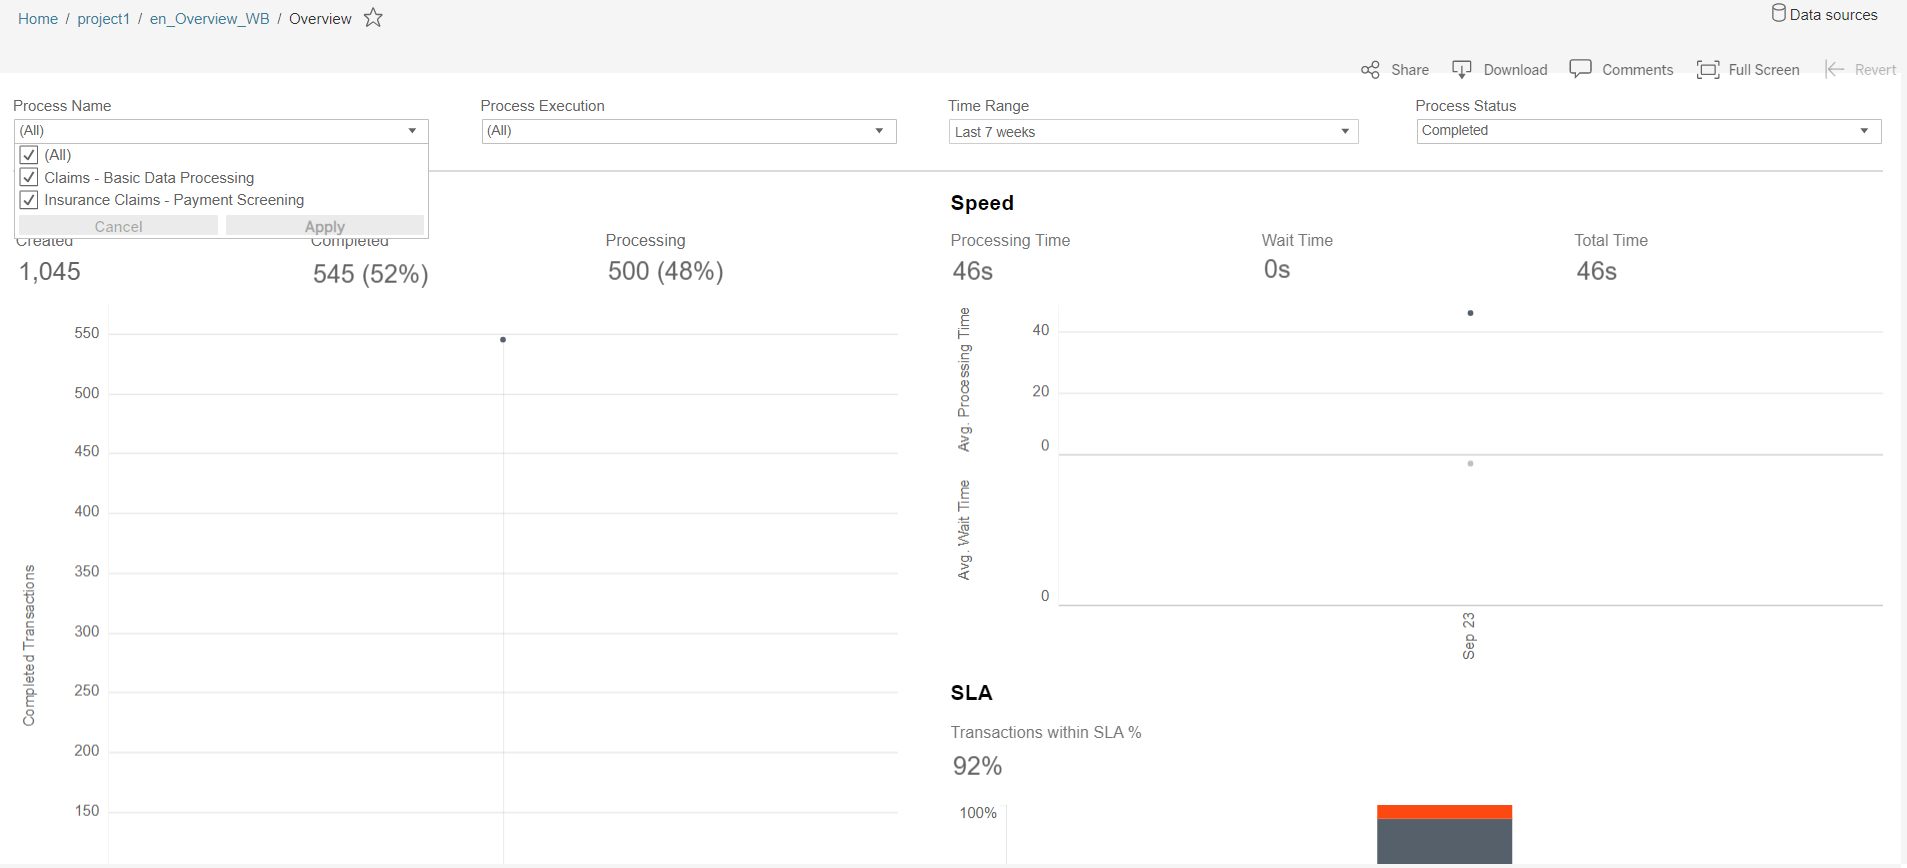
On the Analytics Server, the result looks as follows.
Repeat the same steps with the original workbook and create a filter with the required values once again for another group. In this example, user2 in group2 will have access to Process Name that contains claims.
Publish the result to project2 manually. For that, repeat steps 1-2.
Log in to the Analytics Server as user1.
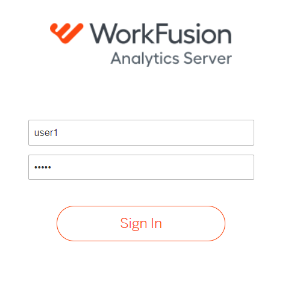
User1 now sees only project1 as the View permissions are set up for the project.

In project1, the Overview dashboard contains the filtered Process Name parameter. User2 will see project2 accordingly. The Overview dashboard inside will have the Process Name parameter with Invoices in the name.
note
The example in this article uses the Process Name filter, but you can use more filters if needed.
caution
The solution must be updated manually every time there are changes in role access. Migration is not supported by default.