Start Business Process with no-code Trigger element
To start a Business Process (BP) based on external events or scheduled polling of a source system, you can apply the no-code Trigger element.
For technical details on the Trigger Worker archetype, see also Trigger Connector.
Add Trigger to Business Process
The no-code Trigger element can only be the start element of a BP:
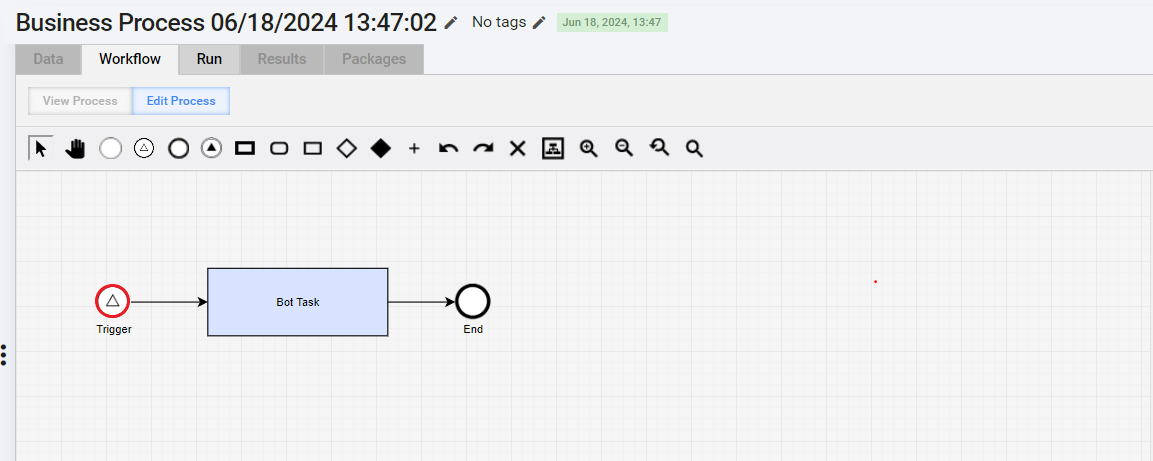
To add a Trigger element to your BP, navigate to the Workflow tab and proceed in one of the following ways.
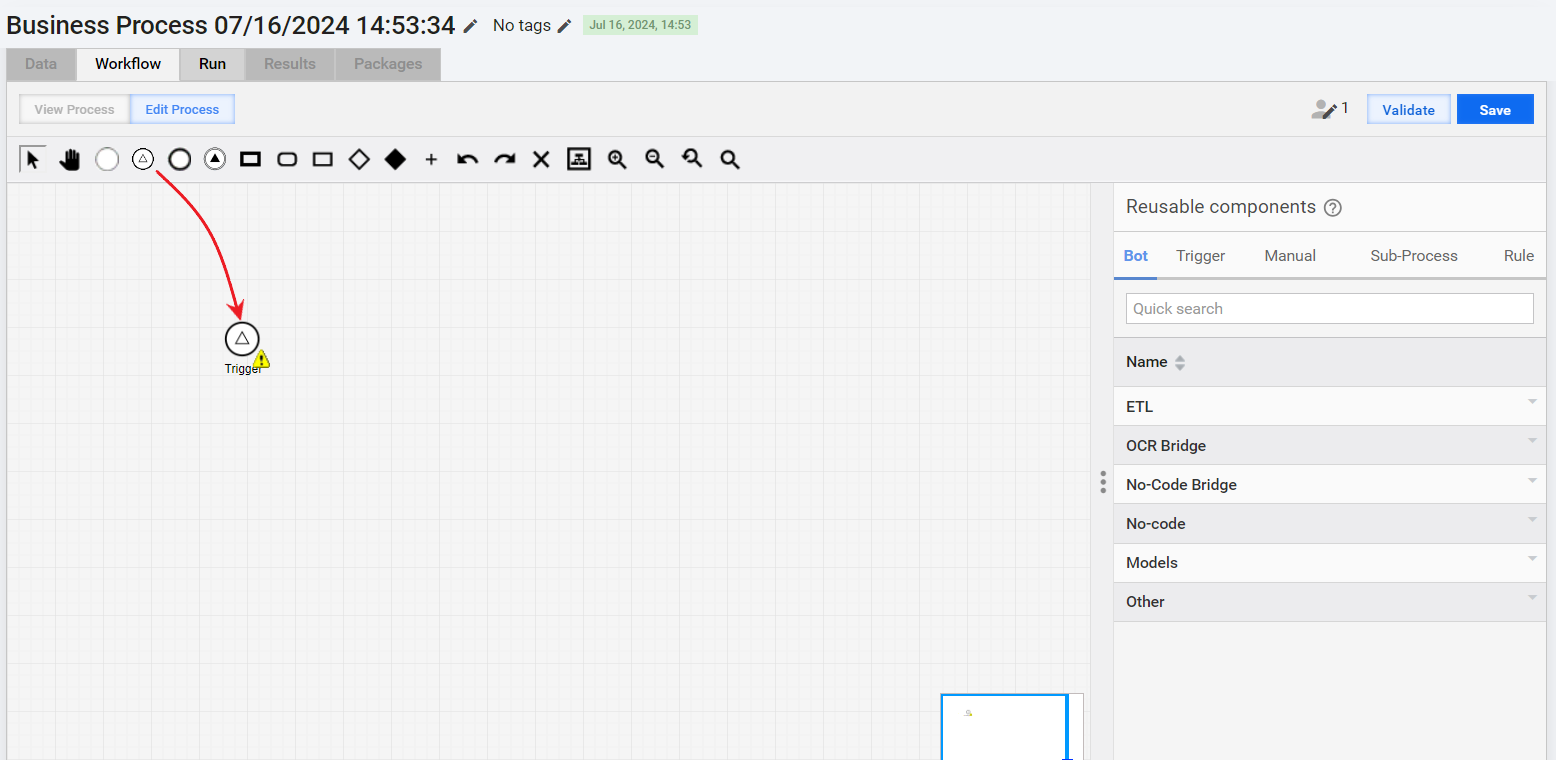
Drag from toolbar
Select the Trigger element in the toolbar above the canvas and put it as the first step of your BP.
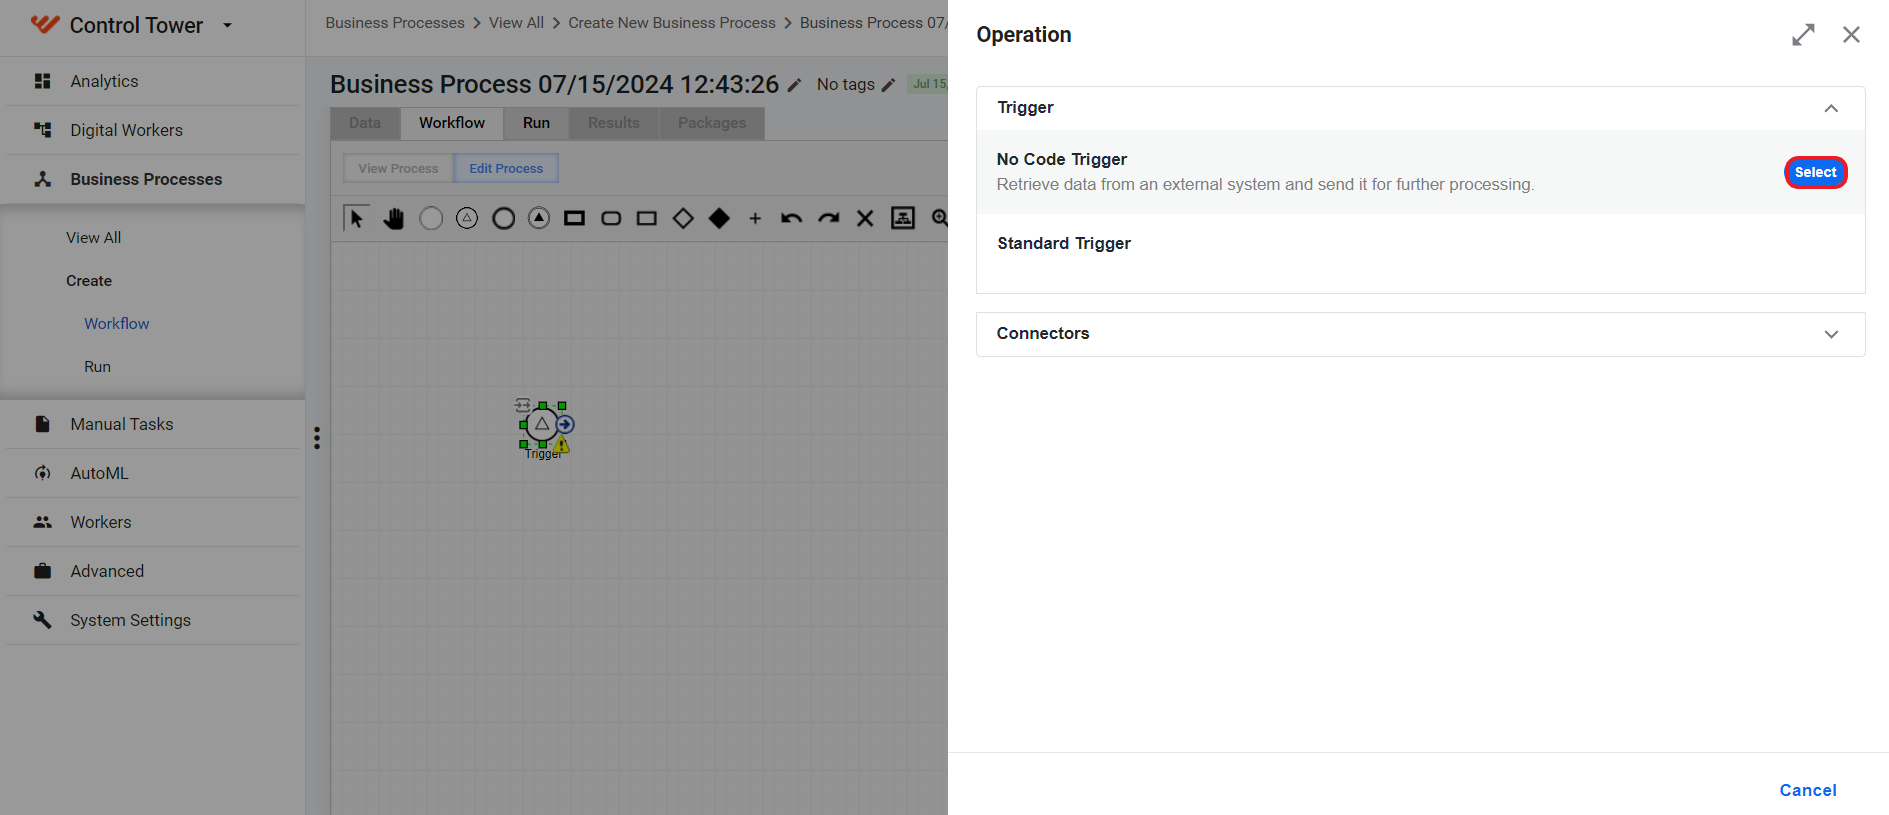
Double-click the Trigger element.
In the Operation window, choose a trigger type and click Select. The following trigger types are available:
No Code Trigger for setting up a trigger to work with an external data provider intergated with Work.AI. For details, see Set no-code trigger.
Standard Trigger if you want to set up a custom trigger algorithm to start your BP. For details, see Set standard trigger.
Apply reusable components
Import a trigger artifact as part of an Asset Bundle. The artifact should contain a bot configuration.
On the Workflow tab, go to the Reusable components panel and then to the Trigger tab.
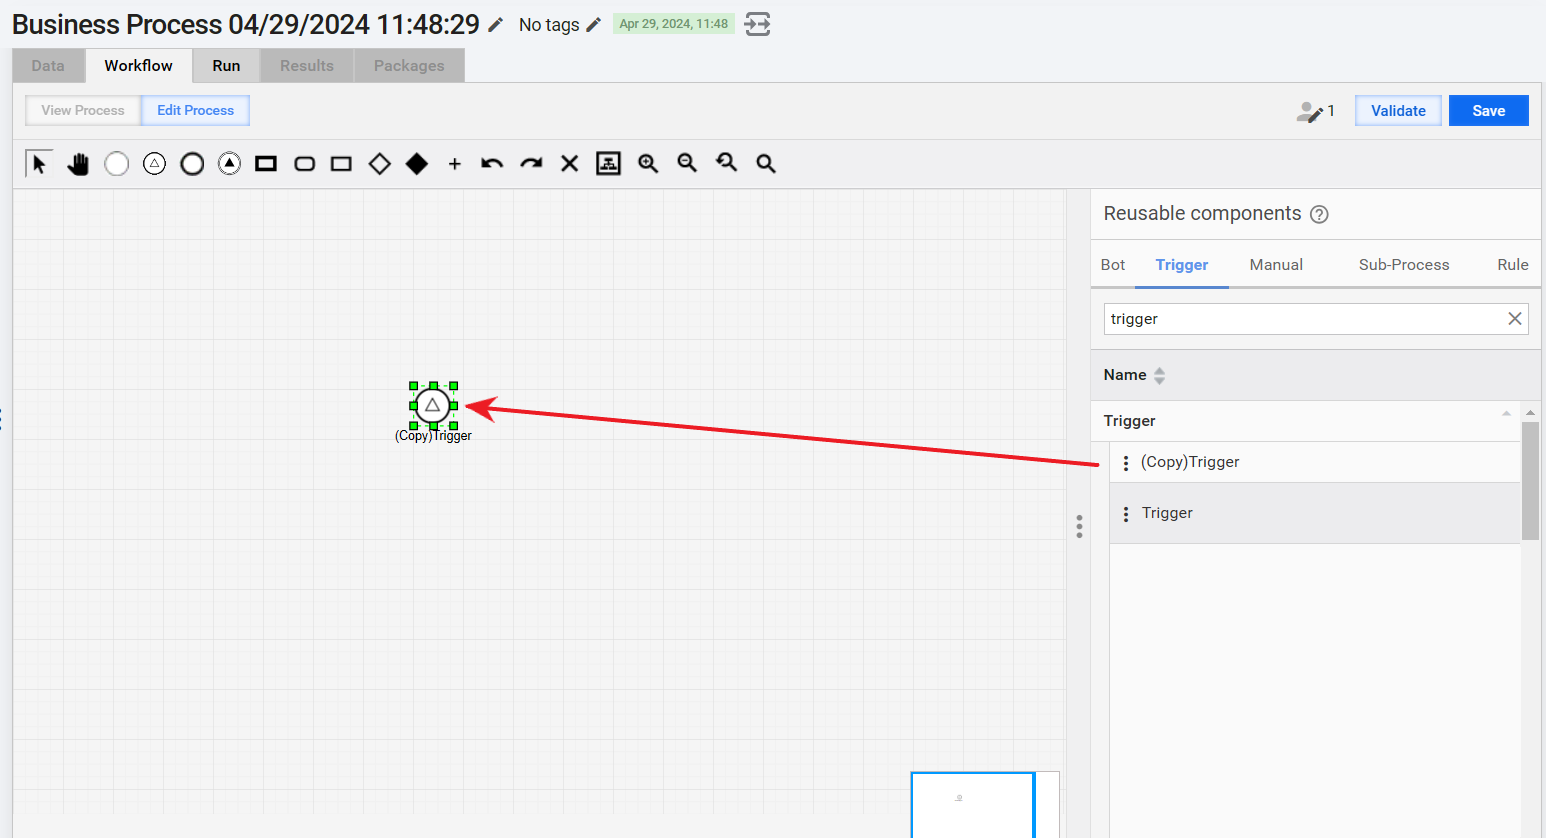
In the list of available components, find the imported step and add it as the first step of your BP in one of the following ways:
Drag it from the Trigger tab. In this case, any changes that you make to the reusable component are propagated across all BP instances where it is or will be included.
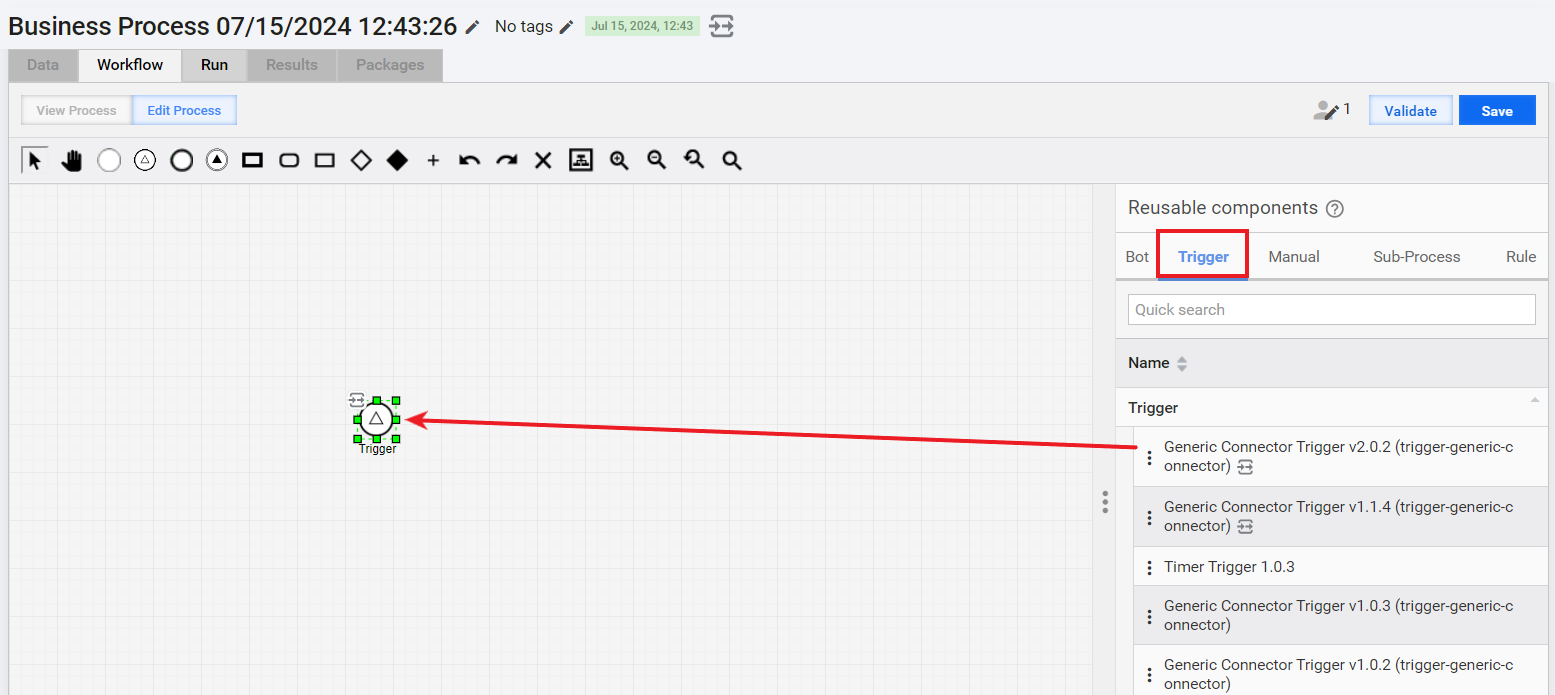
Move the pointer over the imported Trigger step, copy it, and drag the copy to the canvas. As a result, you create an independent step instance. The changes you make in the copy are not synchronized with the source.
Set no-code trigger
To set the No Code Trigger type, configure the following on the Design tab:
In the Bot step display name field, enter a unique descriptive name.
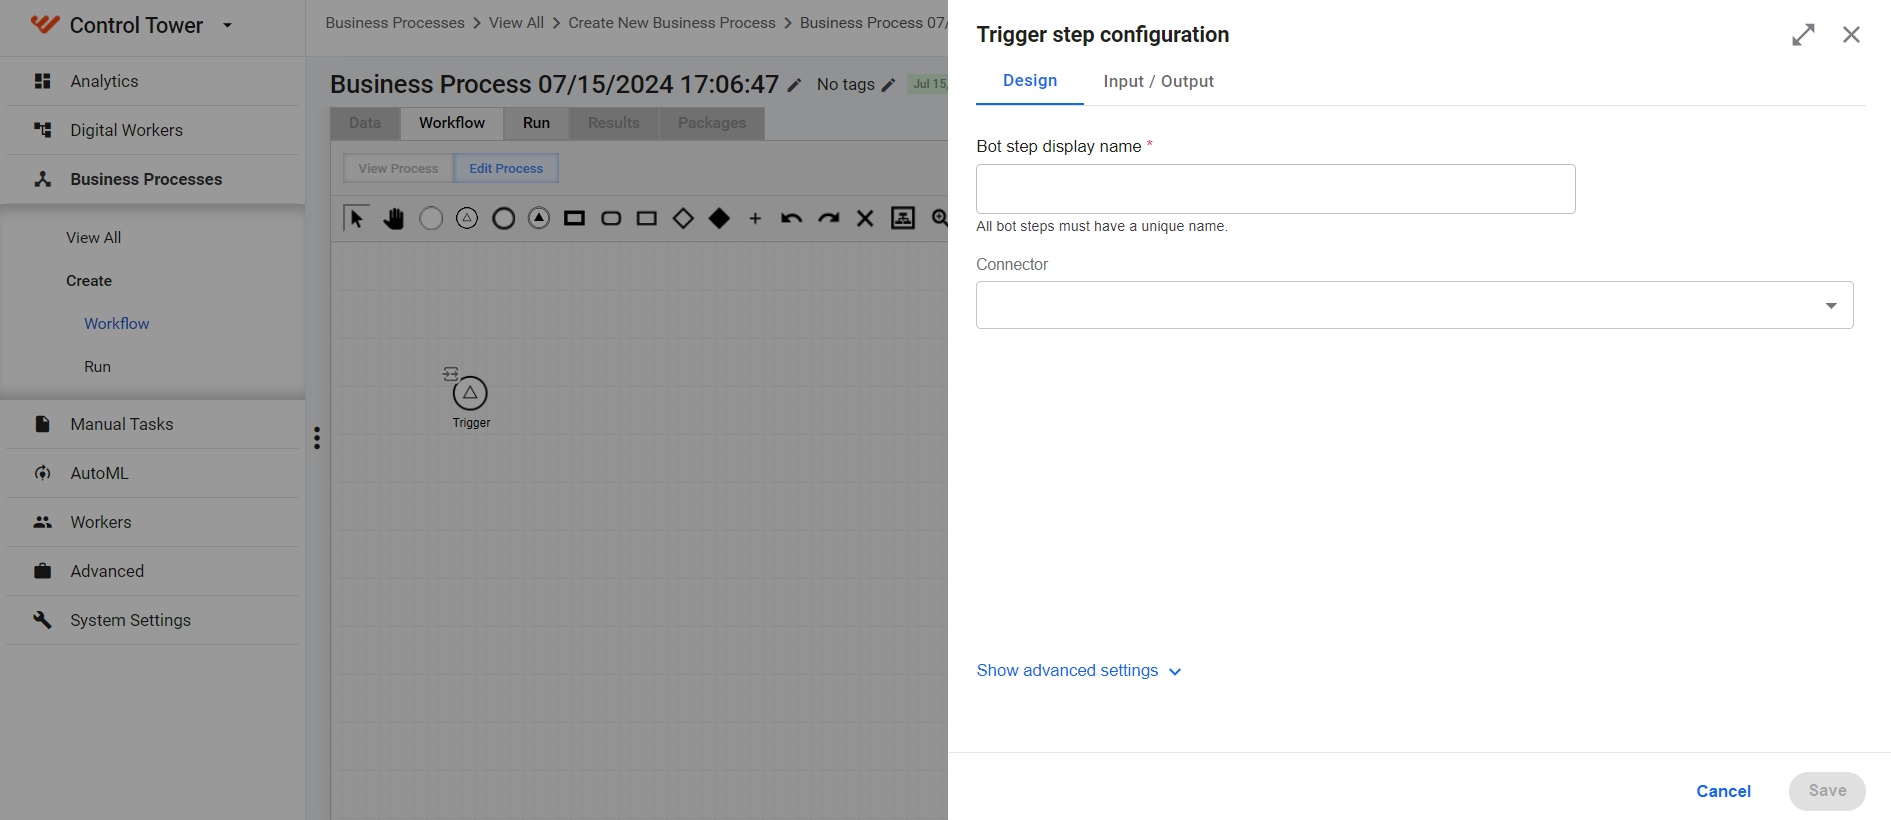
In the Connector drop-down box, choose an external data provider the trigger will work with. Out of the box, Work.AI features the following integrations:
ActiveMQ Consumer
IBM MQ Consumer
Kafka Consumer
Rest Server (starting from Work.AI v10.2.9.1)
Simple Timer
Configure the provider-specific settings. For detailed instructions, see the Configure no-code Generic Connector topic.
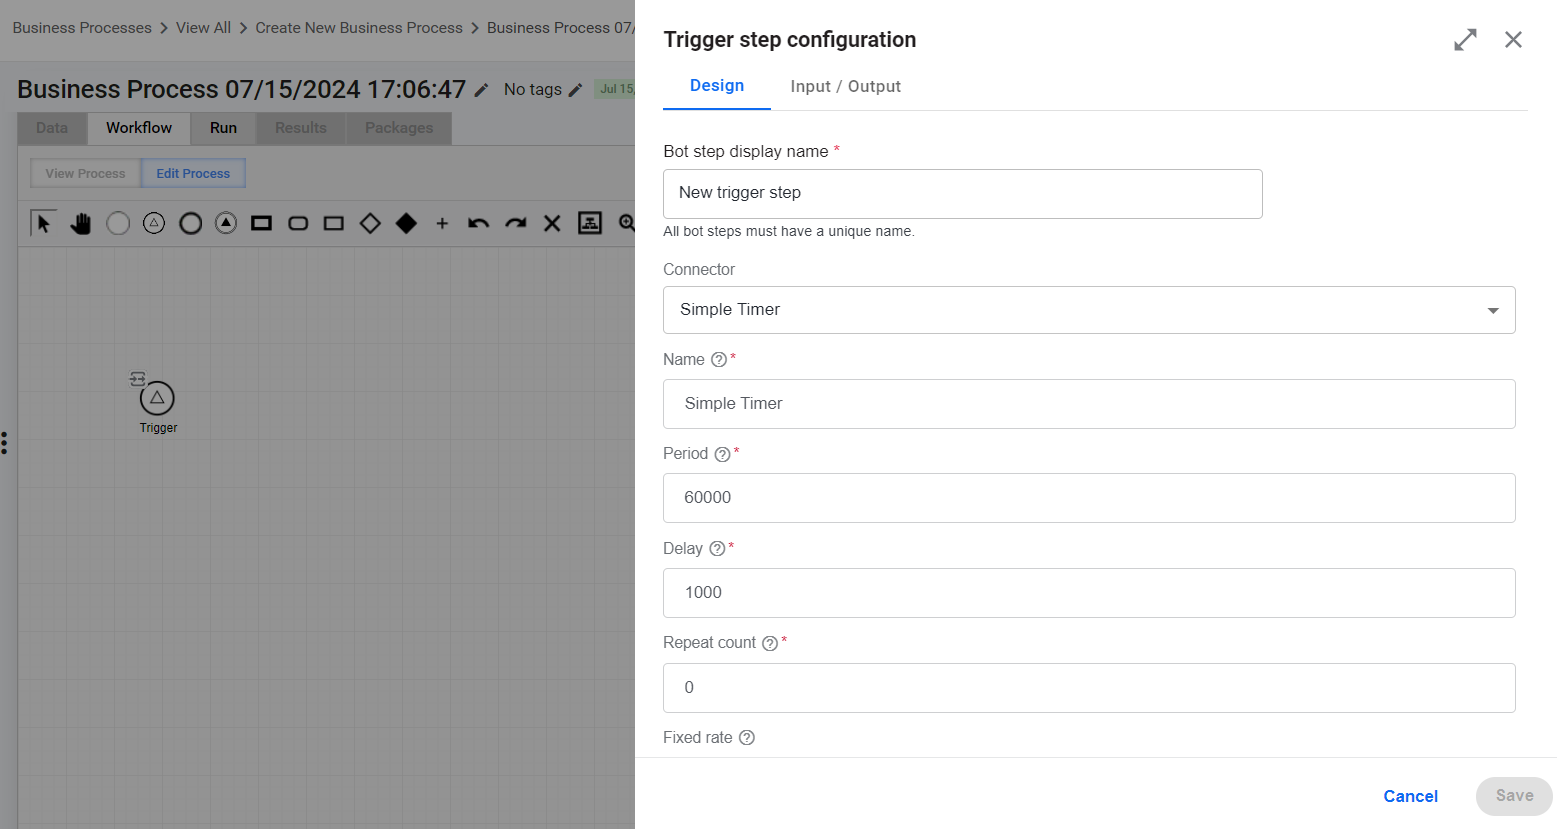
Click Save.
Set standard trigger
To set the Standard trigger type, configure the following on the Design tab:
In the Bot step display name field, enter a unique descriptive name.
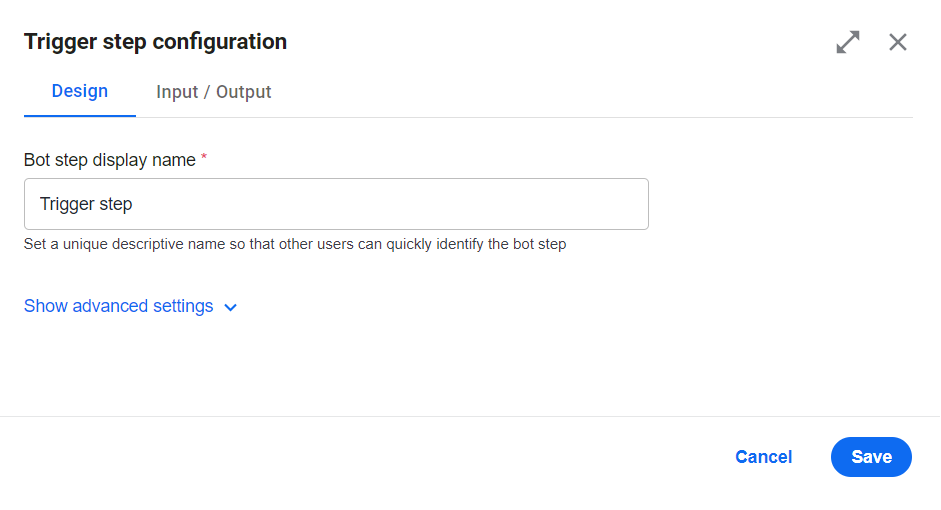
Click Show advanced settings and specify the required settings:
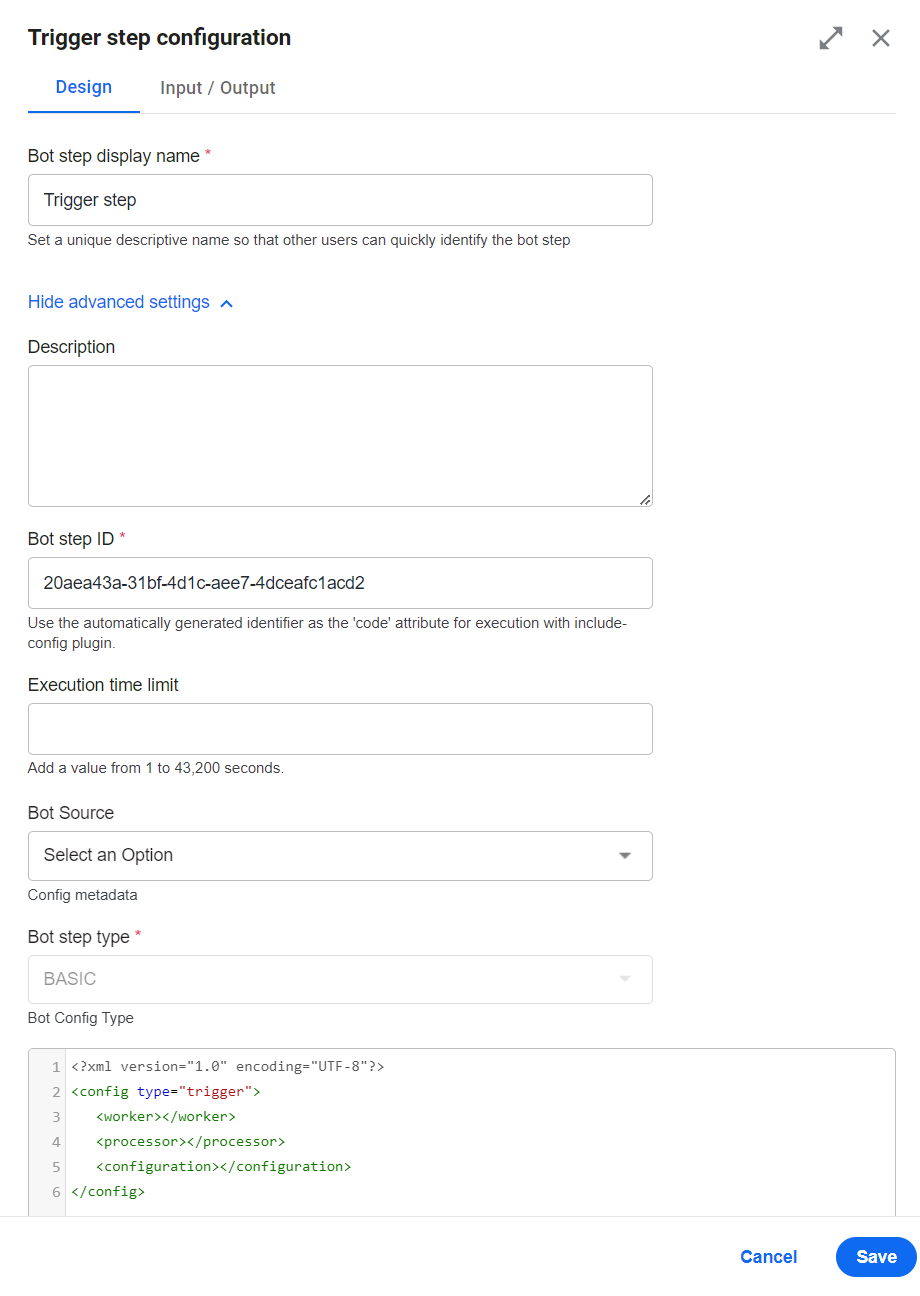
In the Description field, add the step description if needed.
The Bot step ID field is filled in automatically. You might need the step identifier for advanced coding, for example, to enable execution with the include-config plugin.
In the Execution time limit field, specify a value within the range from 1 to 43,200 seconds. Mind that the value should be equal or less than the RabbitMQ delivery acknowledgment timeout. Also, see Configure Bot Task alerts and forced stop.
In the Bot Source drop-down box, select a Bot Source if needed. Once you select the Bot Source, proceed to its settings by clicking Edit.
In the Bot step type drop-down box, select the Bot Operation type underlying the bot step configuration.
tipIn the code area, you can enter the configuration settings as XML code.
Click Save.
You cannot change the BP input type to or from a trigger-based one while there are active BPs, for example, during the bundle import with overwrite or BP workflow modifications. A corresponding error message is shown.