Configure no-code Transformation step
The Transformation step is a no-code bot step that allows you to implement complex scenarios with rule conditions.
For sample use cases, see Rule Builder REST API.
Add Transformation step to Business Process
To build a BP with a Transformation step, follow the steps:
Create a BP as described in the guide.
Navigate to the Workflow tab.
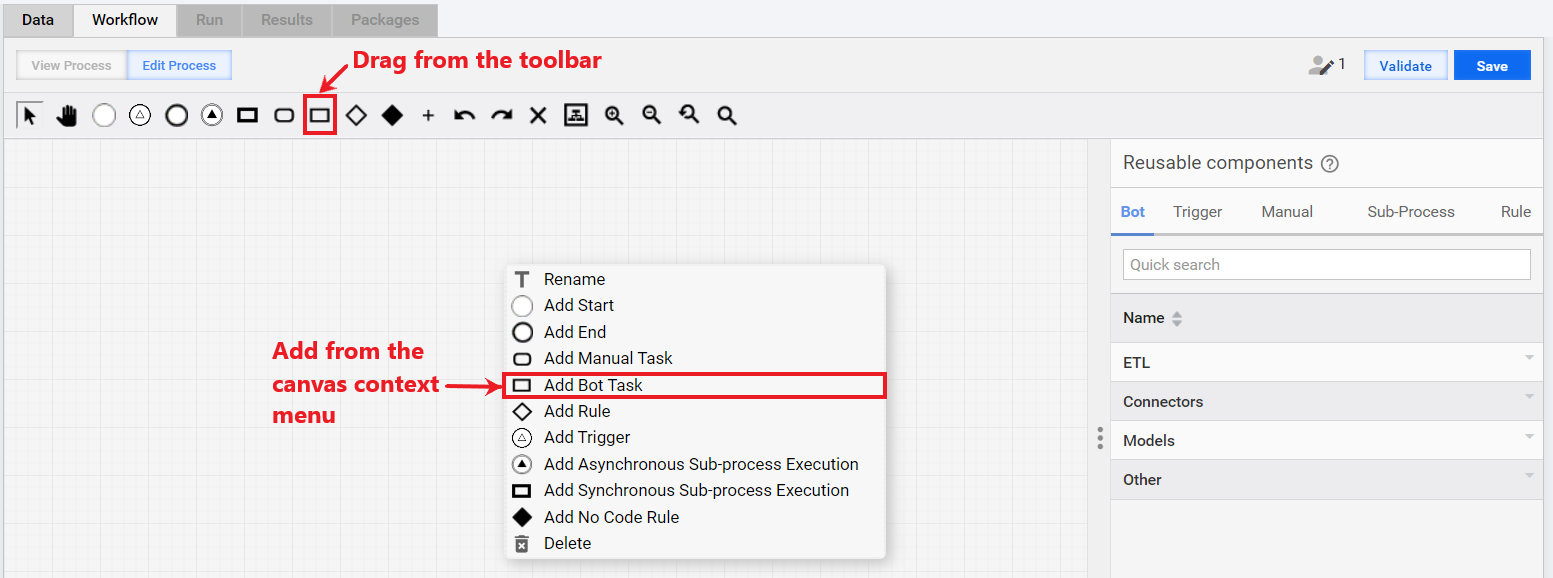
Drag the Bot Task element to the canvas from the toolbar, or click the canvas and, in the context menu, choose Add Bot Task. A blank task is created.
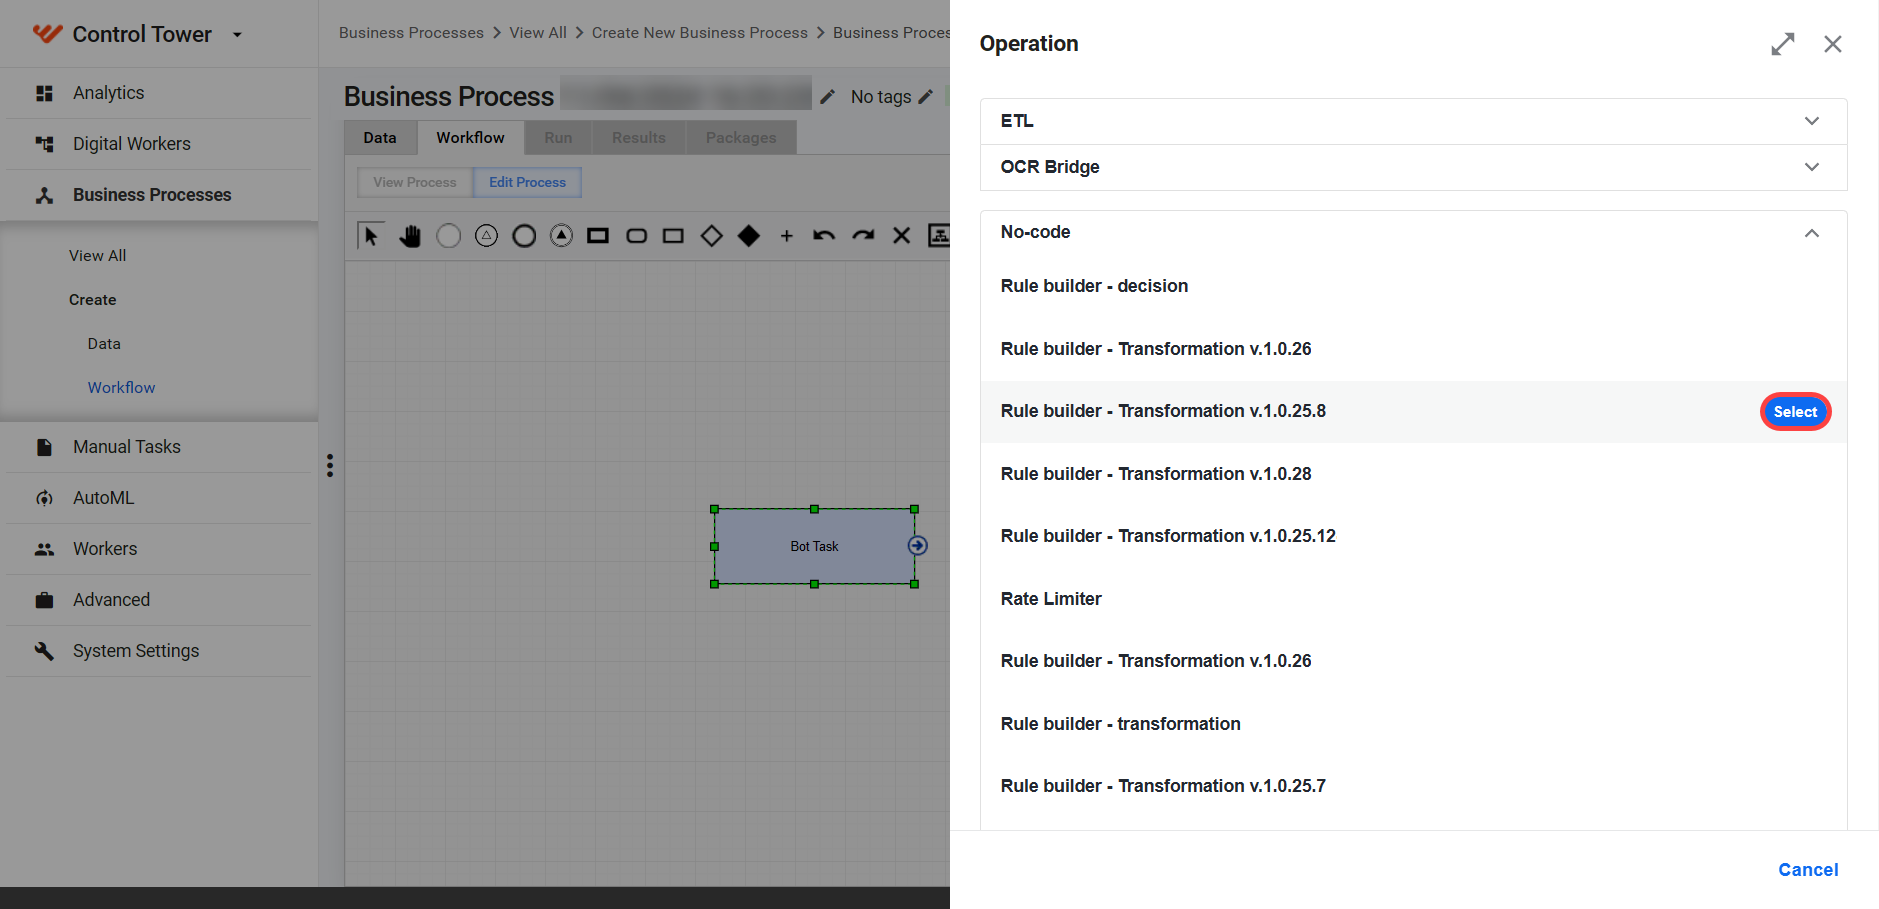
Double-click the bot step. On the Operation side panel, expand No-code and click Select next to the Rule Builder - Transformation operation.
Connect the Transformation step with the previous step to get input data.

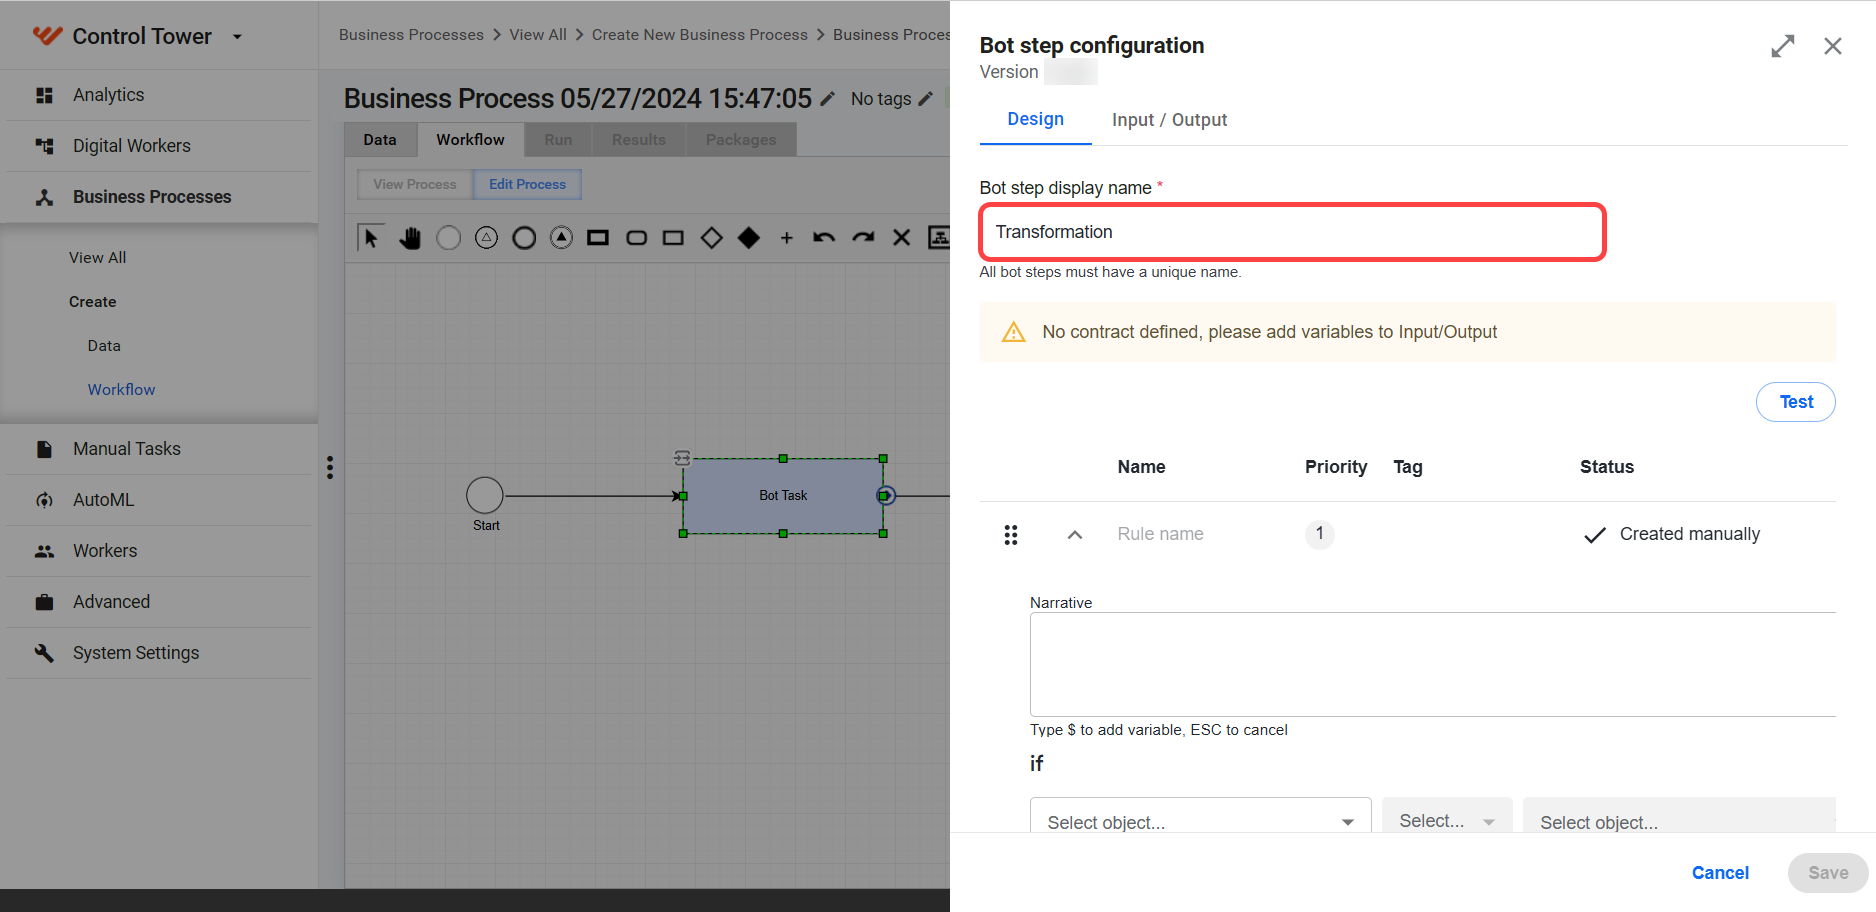
Double-click the step. On the Design tab, enter the step name in the Bot step display name field.
On the Input / Output tab, set up the input and output contracts.
Click Save to save the bot step configuration.
When you finish designing your BP, save and test it.
On the Design tab, you can perform the following actions with rules:
Add rule
For more convenient work, switch to the fullscreen mode by clicking the Open in fullscreen option  next to the Close icon.
To add a rule, complete the following steps:
Click the Rule button.
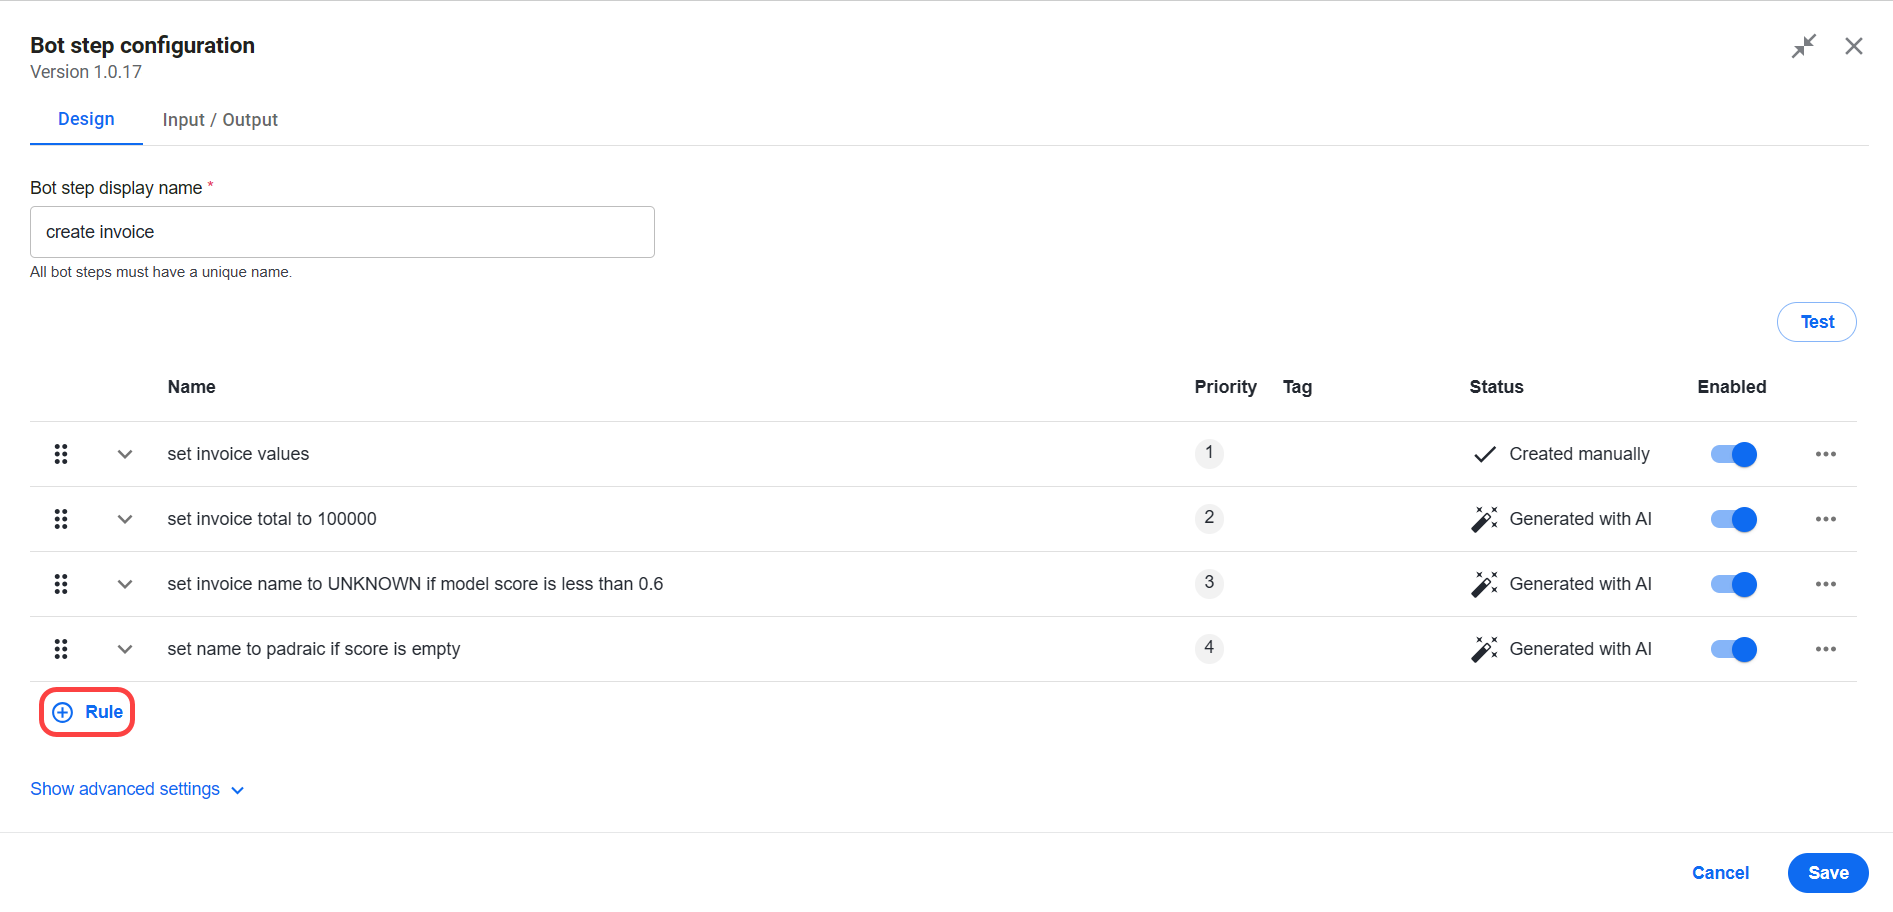
In the Name field, enter a name for the rule.
In the Tag field, enter the rule tag.
Make sure the rule is enabled: the Enabled toggle is on.
To disable a rule, switch the Enabled toggle off. The disabled rule appears as grayed out in the list of rules.
Create a rule. Select one of the ways:
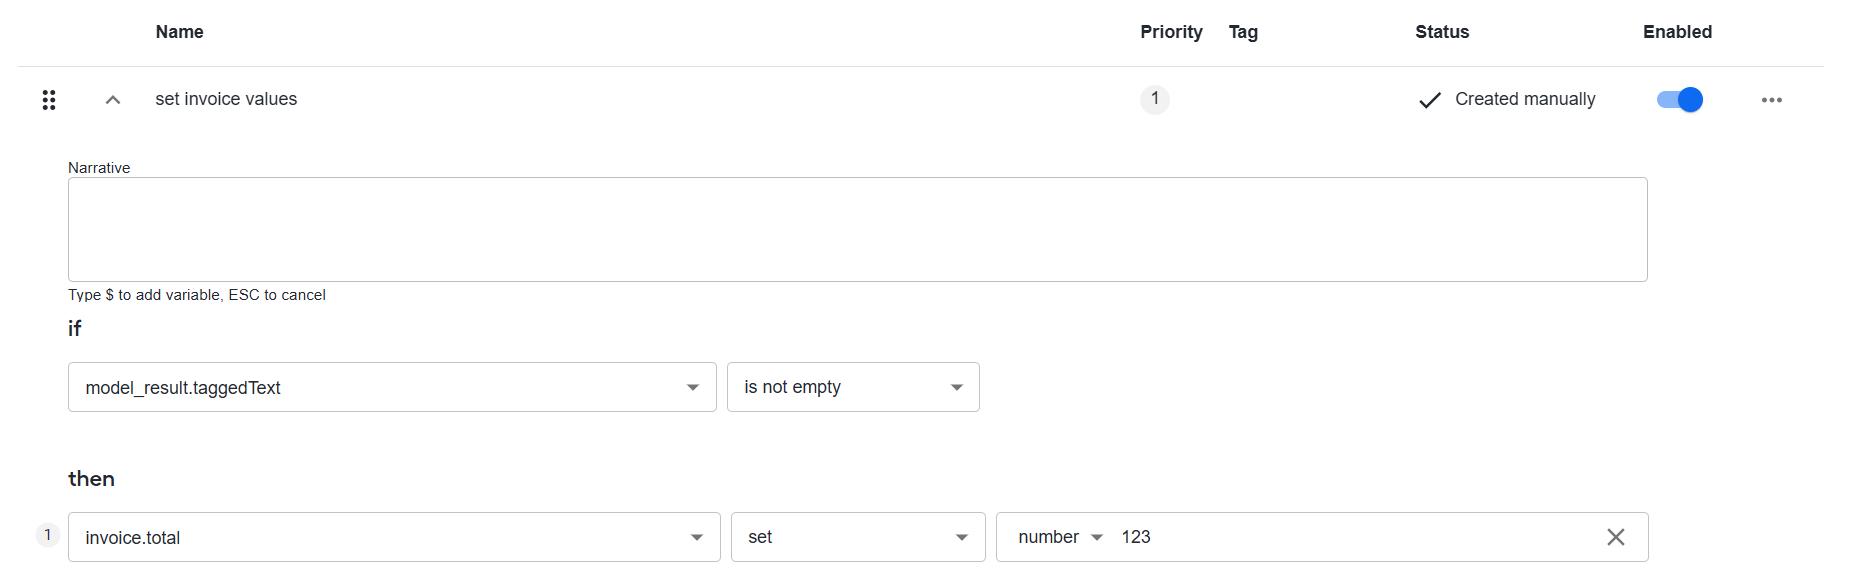
Manually.
In the Narrative area, enter further information about the decision. Type
$to add a variable and select it from the list of schema variables available in the step. To cancel the selection, click the ESC button.Set up a condition. Define variables in the right and left fields and select an operator.
In the Status column, Created manually is displayed.
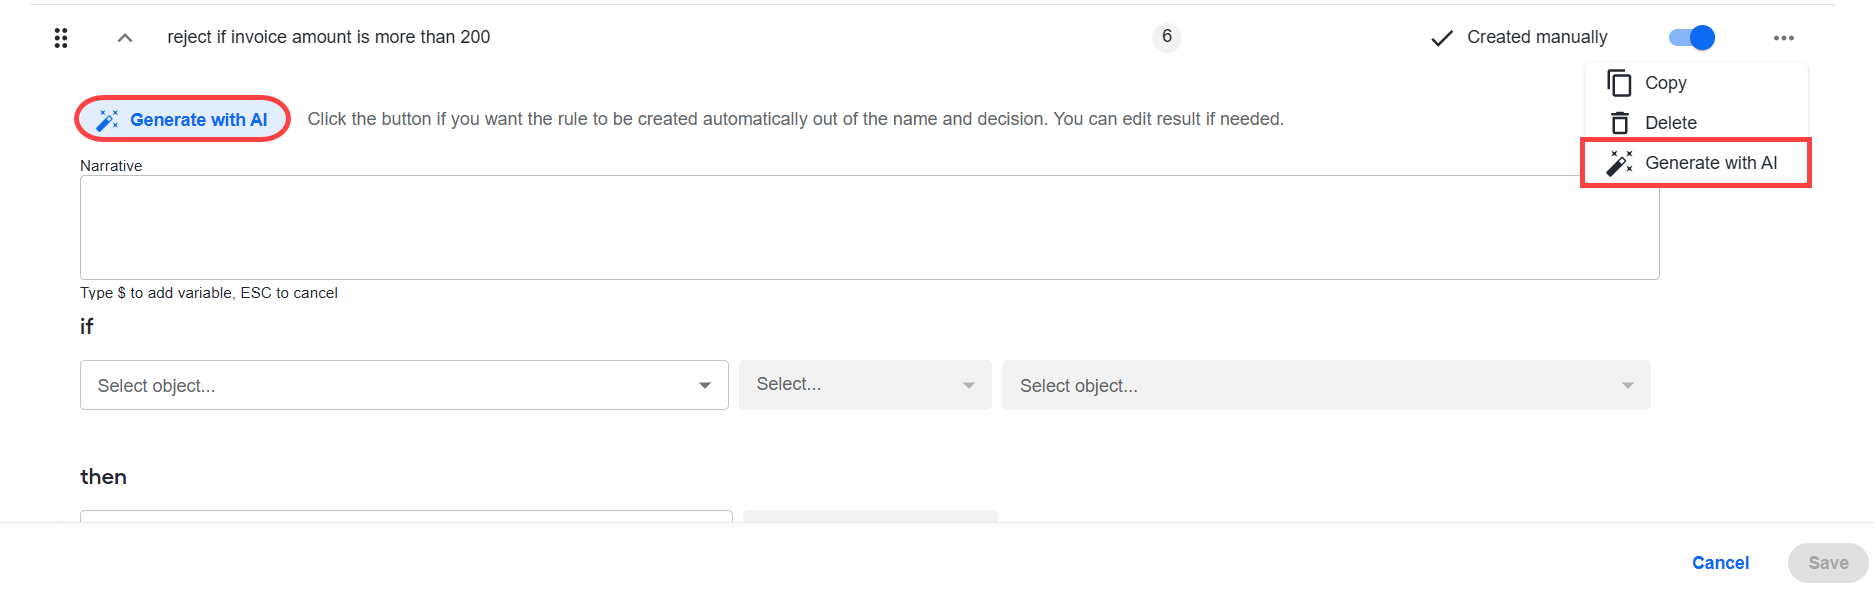
Automatically. To create a rule automatically out of the name, click the Generate with AI button. Alternatively, click the Options menu and select Generate with AI.
While the rule is being generated, Generating is displayed in the Status column. You can go to another screen and then return to view the results.

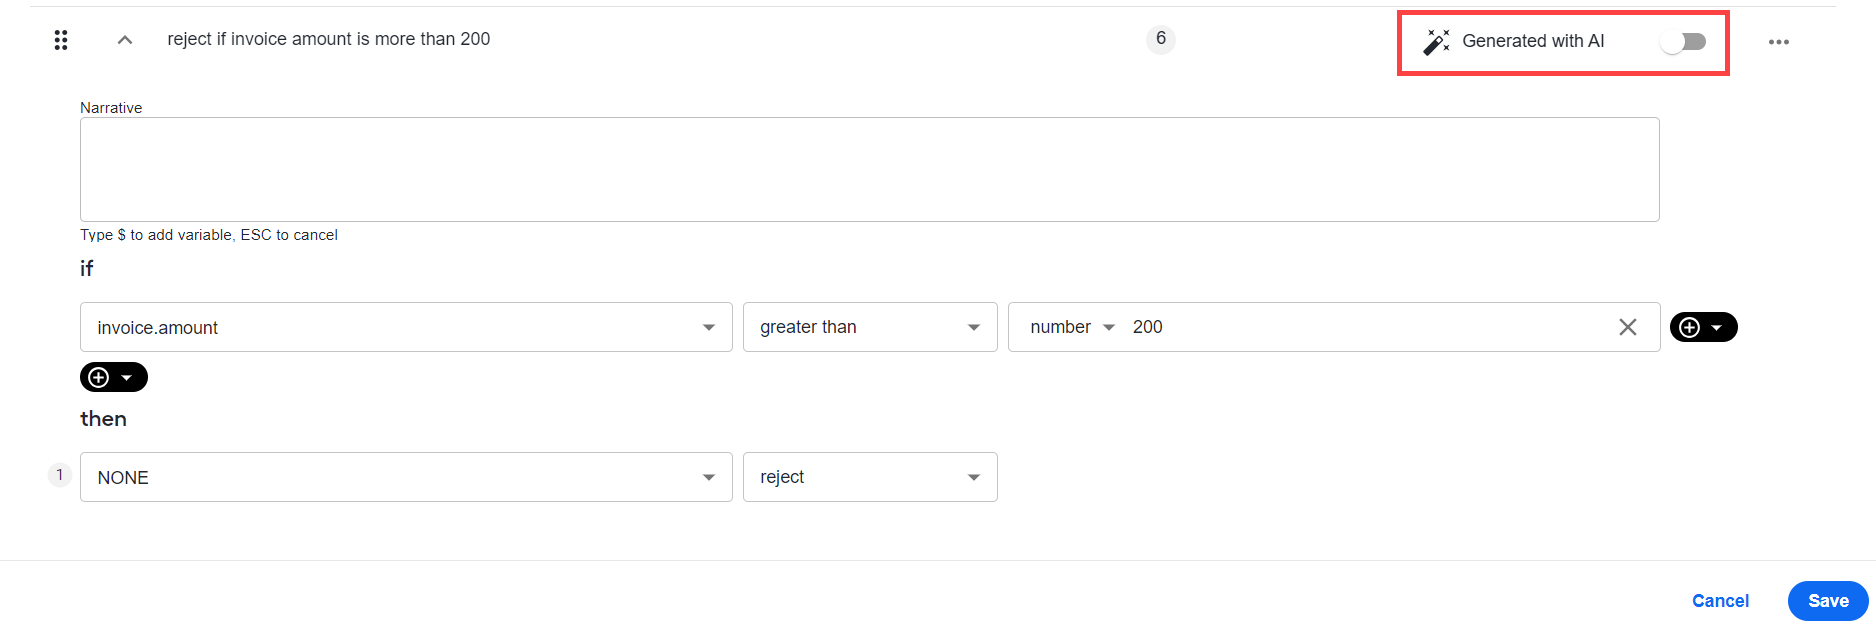
Once the rule is generated, Generated with AI is displayed in the Status column. The status is disabled. Switch on the Enabled toggle to use the rule in the step.
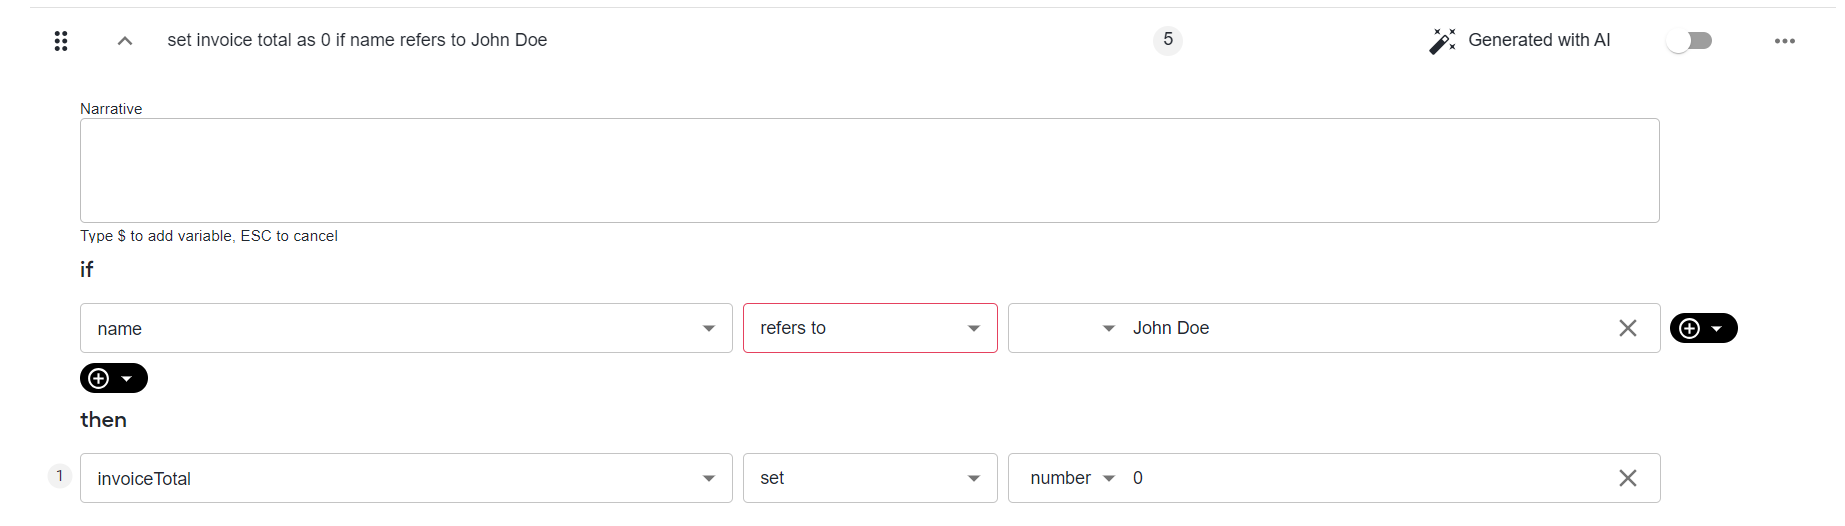
If a wrong rule is generated, for example, a non-existing operator is used, the invalid part is highlighted in red. The resulting rule is highlighted in red in the list of the rules.
Edit the rule and save your changes. In the Status column, Generated with AI changes to Created manually.
tipFor the API documentation, refer to GenAI rules REST API.
Click Save.
If needed, you can create a copy of any rule for further editing. Click the Options menu and select Copy. Then, click Save to save the changes.

Once you complete configuring rules, you can drag them by the grey icon on the left to arrange them in a preferred order. The priority values in the Priority column change accordingly.
Set up condition
For any Transformation rule, configure a condition with the if and then sections. To define variables, follow the same flow as when setting up a condition for a Decision rules step. However, mind the following restrictions:
In the if section, you can only define variables from input contracts.
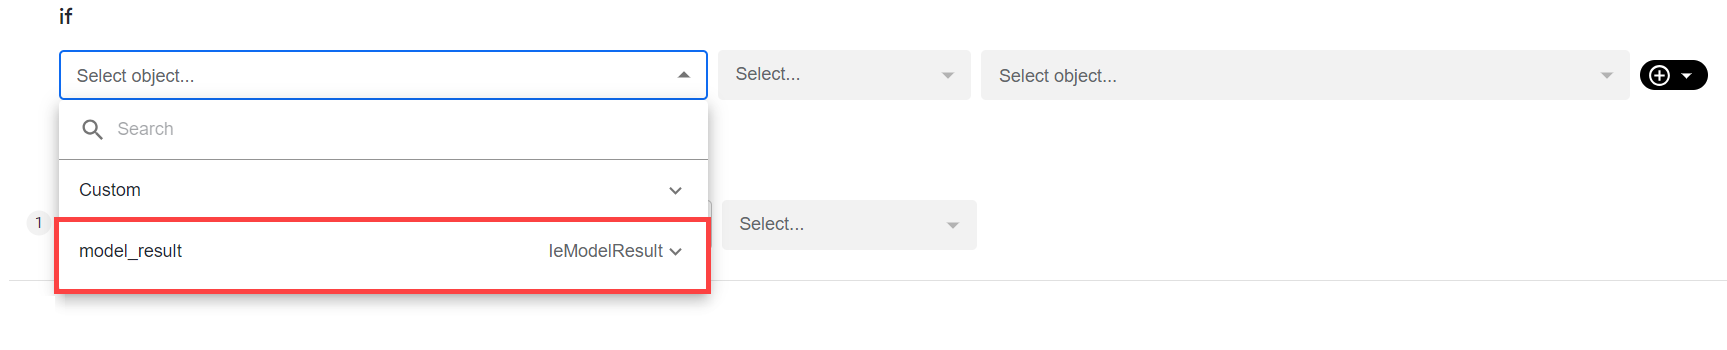
In the then section, you can define variables from both input and output contracts.
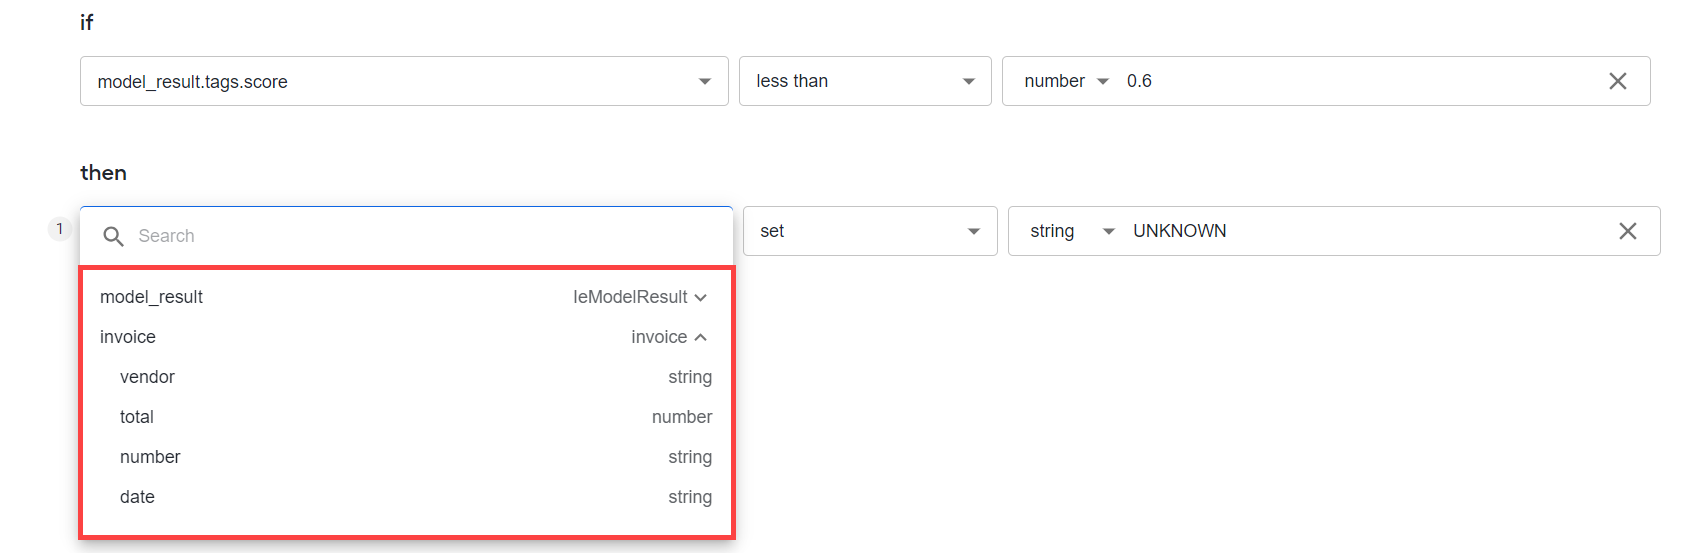
For more details on contracts, refer to the Configure input and output contracts in Business Process steps topic.
The right side of a transformation can have multiple fields required in different ways. Once you select a function, you see labeled input parameters you must populate. The number of parameters can vary:
No parameters. For some rebuilt functions, such as clear, clean, rest, or switch a boolean, you do not need to select a variable on the right.
One parameter. Functions to update a field, perform a mathematical operation, or remove an item from a list require one input on the left.

The input types are as follows:
A schema-selected item
A custom value, for example, a string or a list of varying sizes
A custom dropdown, for example,
<document.output> <Change Case> <lower>, where the dropdown containslowerandupperAn expression
Two parameters. You can apply two-parameter inputs to change strings, for example, reformat a date or clean up messy text output.

The input types are as follows:
A schema-selected item
A custom value, for example, a string or a list of varying sizes
A custom dropdown, for example,
<document.output> <reformat> <“MM-DD-YYY> TO <“DD/MM/YY>, where there is a list of supported date formatsAn expression
Three parameters. For three-parameter use cases, you can apply the functions to fetch data from Data Stores or perform some complex prebuilt functions, such as geocoding.
The input types are as follows:
A schema-selected item
A custom value, for example, a string or a list of varying sizes
A custom dropdown, for example,
<customer.address> <find> <“CURRENT”> from <addressStatus> In <fenergo.Addresslist>, where there is an array ofaddressobjects that have theaddressStatusfieldAn expression
If you create a list-based transformation, mind the following:
- You can apply a function with a list of complex actions on the left side, for example,
List[Hits]. - The functions can each have their own conditions and actions.
- You can remove some objects from the list.
For lists of available operators, see Operators supported for Transformation step and Operators supported for list-based transformations.
Group rules
For instructions on grouping rules, see Configure no-code Decision rules step | Group rules.
Test rules
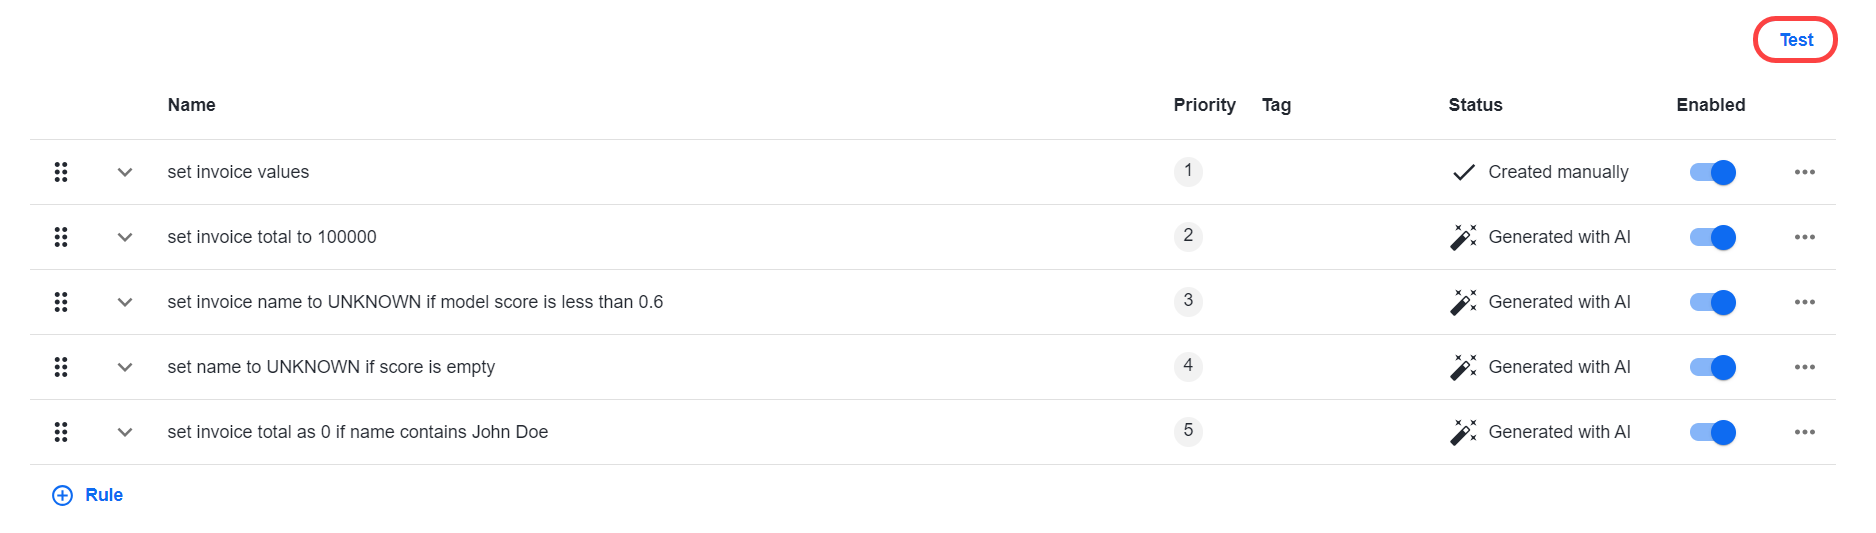
To test the design logic you create while adding or modifying rules, click the Test button. To test the Transformation step in isolation from the BP, complete the following steps:
Click the Test button.
Upload a CSV file with test data. Create it yourself or download the data file from the Results tab of your BP if you have previously run the BP. To make sure you prepared the test data correctly, download the template by clicking Template and compare it against your data.
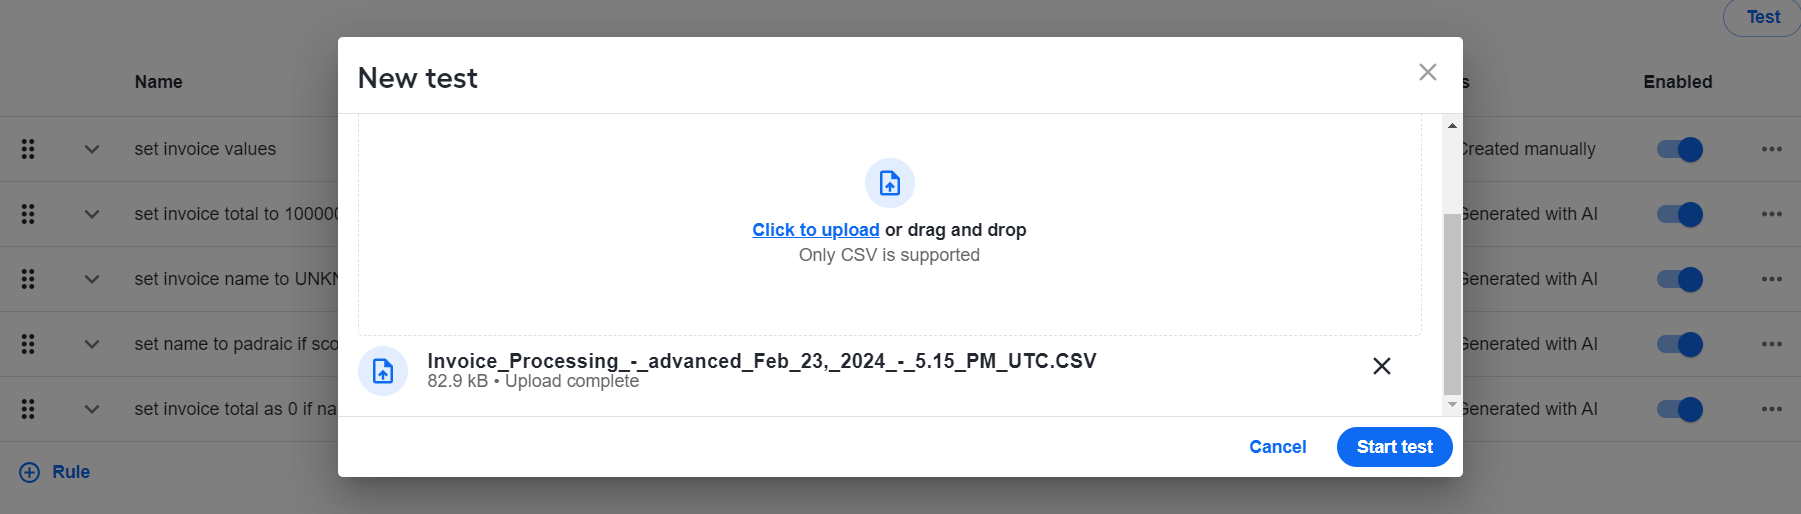
Once the test data is uploaded, click Start test. Tests run asynchronously, so you can return and view results for larger files.
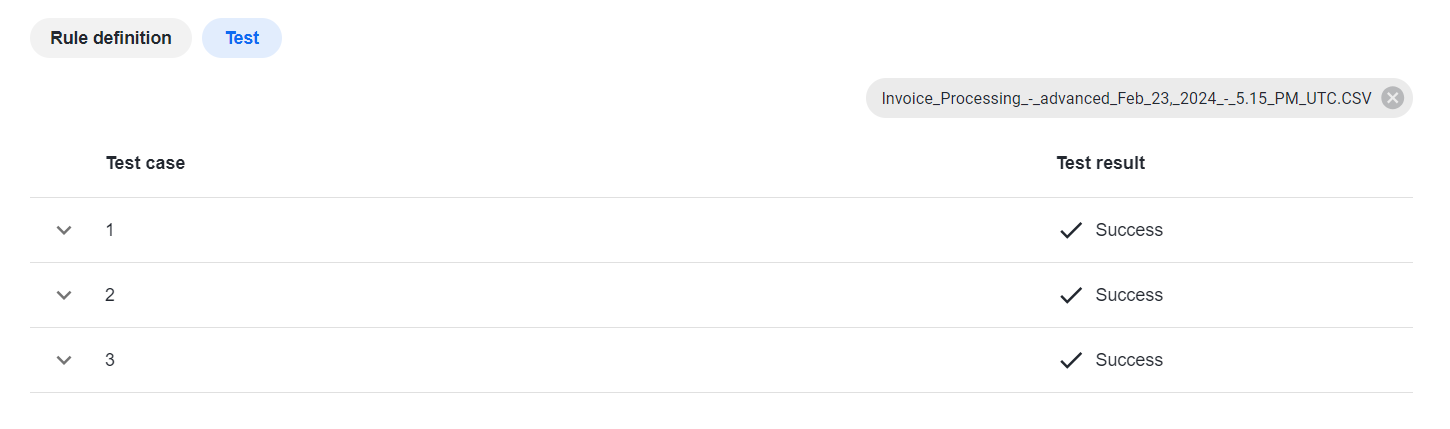
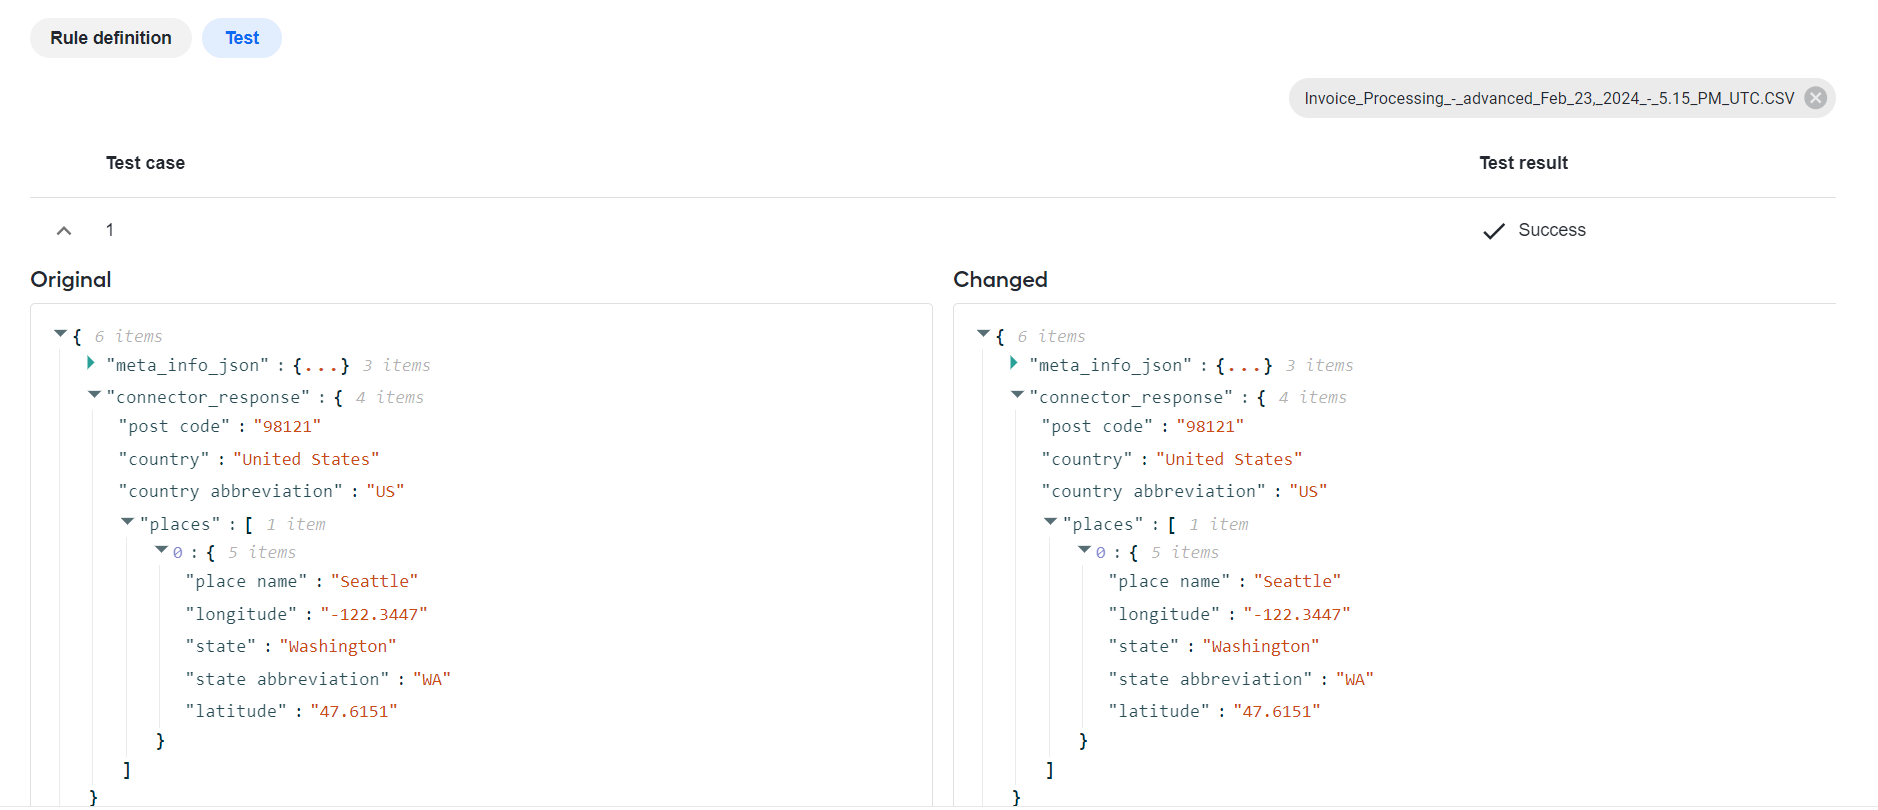
After tests are completed, expand a test case to see the results.
The results are available in the JSON format. You can compare the previous state of data (Original) with the changed data (Changed).
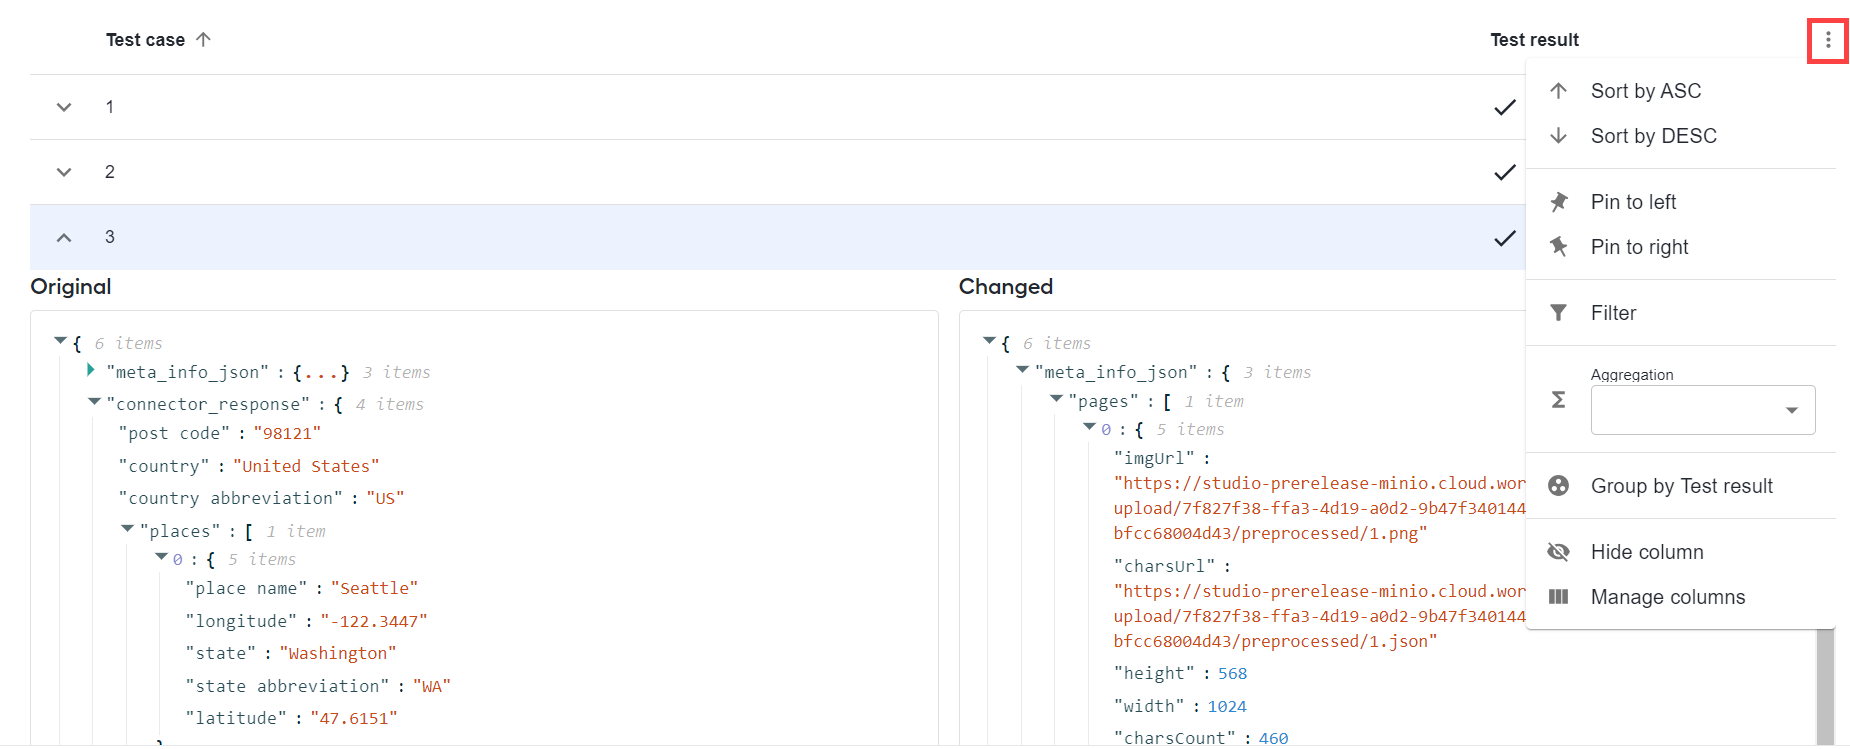
To sort test cases in the ascending or descending order, click the column name. The arrow next to the column name defines the sorting order.

To view other sorting options, move the pointer over the column name and click the Options menu. For instructions on using sorting options, refer to the Group rules section.
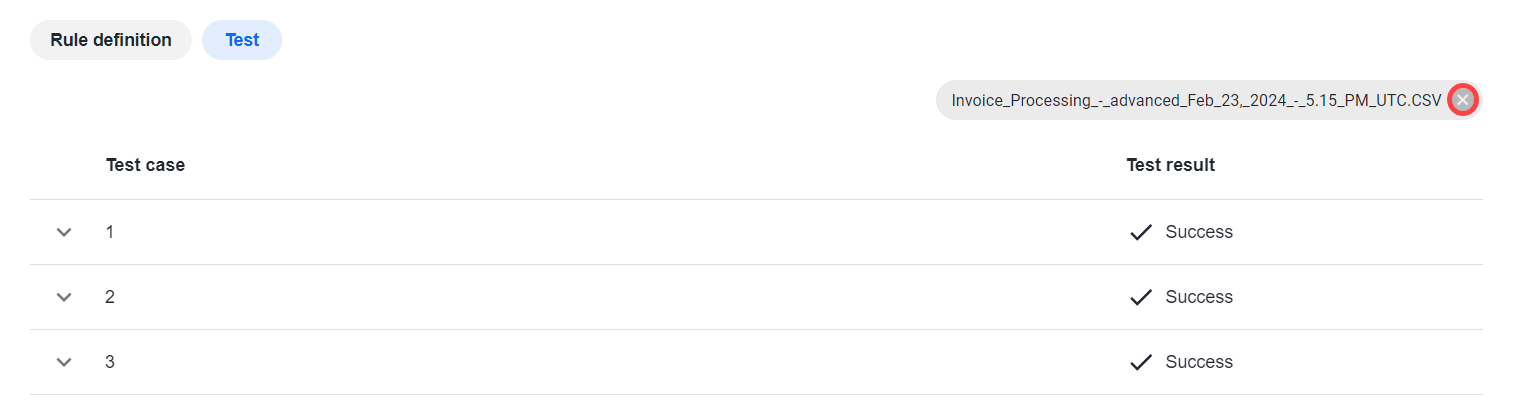
To test your rules on another file, remove the data file by clicking the Close option and repeat the above steps.
To return to the list of rules, click Rule definition.
Delete rule
To delete a rule, do as follows:
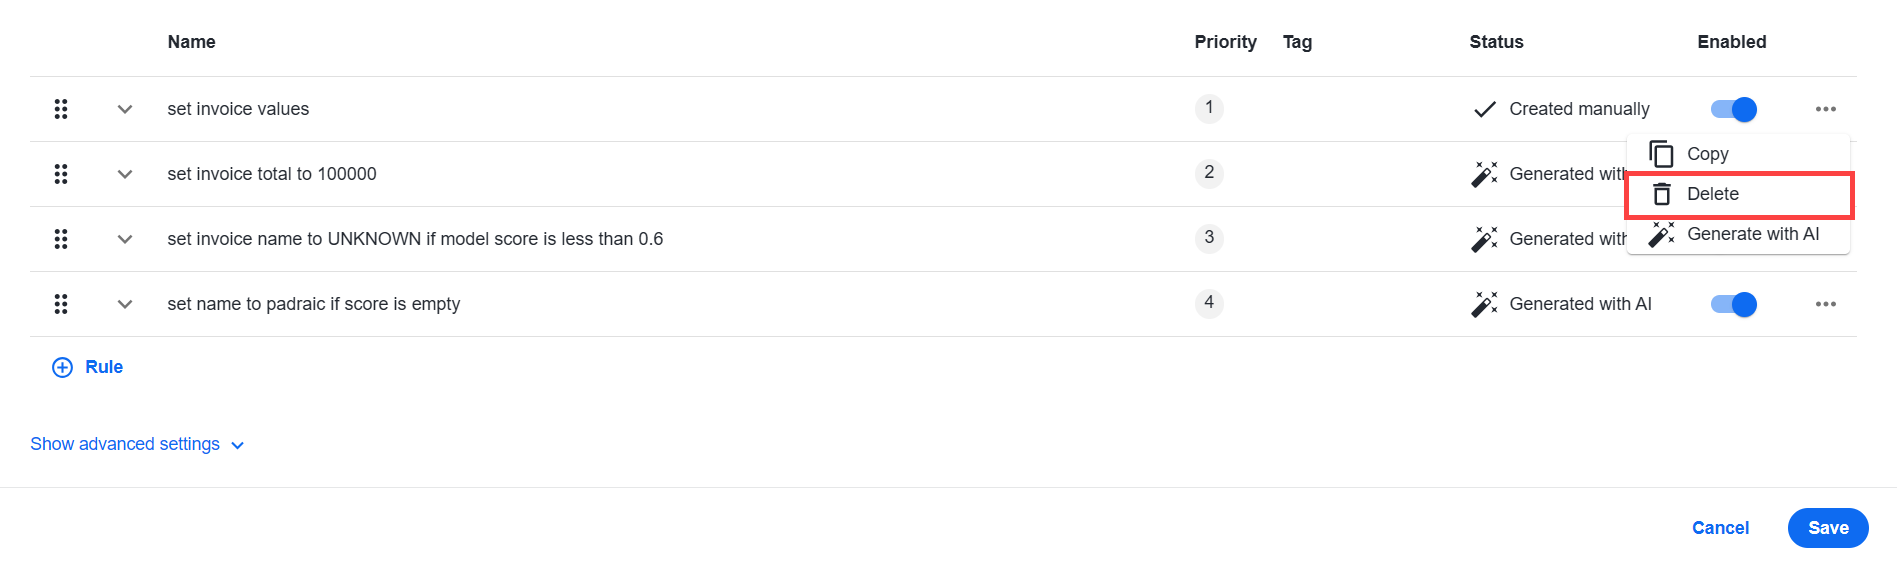
Click the Options menu next to the rule you want to delete and select Delete.
Click Save to save the changes.