
Automate Java desktop applications
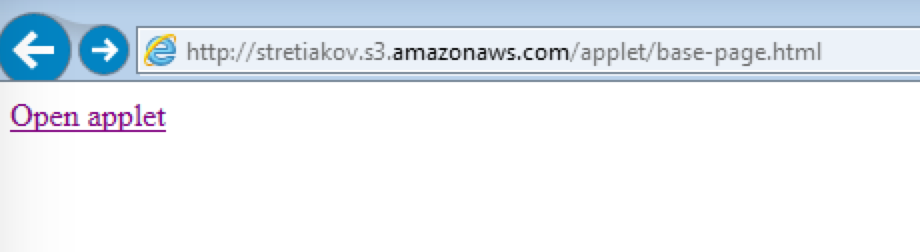
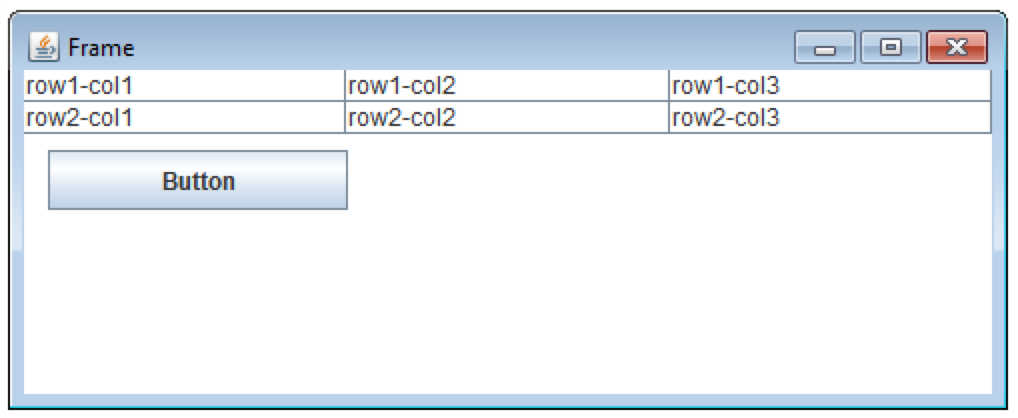
Launch applet and insert and extract data
The example shows how to automate a simple applet. The preconditions are as follows:
- Configure Internet Explorer for applets. For more details, refer to Configure Java applets.
- Use
sendKeys('{TAB 3}'). For the syntax, see Simulate keystrokes.
Example
<?xml version="1.0" encoding="UTF-8"?>
<config xmlns="http://web-harvest.sourceforge.net/schema/1.0/config" scriptlang="groovy">
<robotics-flow>
<robot name="ie" driver="internet explorer" close-on-completion="false">
<script></script>
</robot>
<robot name="bb8" driver="desktop" close-on-completion="true">
<capability name="SEARCH_ALL_WINDOWS" value="true" />
<script></script>
</robot>
<robot name="ie" driver="internet explorer" close-on-completion="true"/>
</robotics-flow>
<export include-original-data="false"/>
</config>
Automate SwingSet application
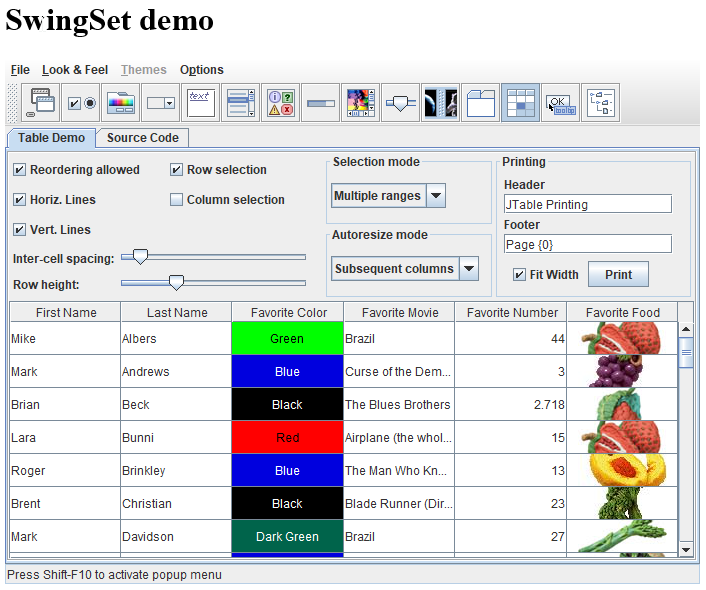
The following examples automate the SwingSet2 application using three options:
SwingSet2.jarfile- Applet opening inside a browser tab: For details, see the SwingSet demo.
- Applet opening in a new window: For details, see the SwingSet demo.
tip
- To enable applets in your browser, refer to Configure Java applets.
- To understand selectors for desktop applications, see Use inspecting tools for desktop automation.
Tables
The example automates the SwingSet application as a JAR file using only one Desktop driver:
JAR file example
<?xml version="1.0" encoding="UTF-8"?>
<config xmlns="http://web-harvest.sourceforge.net/schema/1.0/config" scriptlang="groovy">

    <robotics-flow>
        <robot name="bb8" driver="desktop" close-on-completion="true">
            <capability name="SEARCH_ALL_WINDOWS" value="true" />
            <script> <![CDATA[

                def appletUrl = 'https://rpa-tutorial.s3.amazonaws.com/demo/jfc/SwingSet2/SwingSet2.jar'
                timeouts(40 * 1000)

                def localPath = downloadFileOnAgent(appletUrl)
                open("..\\java\\bin\\java -jar ${localPath}")

                switchTo().window('[CLASS:SunAwtFrame; TITLE:SwingSet2]')

                $('[CLASS: JToggleButton; TOOLTIP: JTable demo]').click()

                // Change some values inside table.
                $('[CLASS: JTable; CELLTEXT:Mike]').sendKeys(" text value").pressEnter()
                sleep(500)
                $('[CLASS: JTable; CELL:1,1]').sendKeys(" append{ENTER}")
                sleep(500)

                // Clear cell values
                $('[CLASS: JTable; CELLTEXT:Jeff]').clear()
                sleep(500)
                $('[CLASS: JTable; CELL:6,0]').clear()
                sleep(500)

                // Work with text.
                def text = $('[CLASS: JTable; CELL:0,0]').getText()
                $('[CLASS: JTable; CELL:2,1]').sendKeys(text)
                sleep(3000)

            ]]></script>
        </robot>
    </robotics-flow>
    <export include-original-data="false"/>
</config>
Combo boxes
The example automates the SwingSet application as a Java applet in the current browser tab using two drivers: Browser and Desktop.
note
- The first driver is not closed on completion but only after the desktop.
- The applet window is located using the
[CLASS:SunAwtCanvas]selector.
Applet in the current browser tab
<?xml version="1.0" encoding="UTF-8"?>
<config xmlns="http://web-harvest.sourceforge.net/schema/1.0/config" scriptlang="groovy">
<robotics-flow>
<robot name="ie" driver="internet explorer" close-on-completion="false">
<script></script>
</robot>
<robot name="bb8" driver="desktop" close-on-completion="true">
<capability name="SEARCH_ALL_WINDOWS" value="true" />
<script> <![CDATA[
timeouts(40 * 1000)
switchTo().window('[CLASS:SunAwtCanvas]')
$('[CLASS: JToggleButton; TOOLTIP: JComboBox demo]').click()
$(byXpath("//*[@text='Hair:']/following-sibling::*"))
.singleClick()
.sendKeys('Brent{ENTER}')
$(byXpath("//*[@text='Eyes & Nose:']/following-sibling::*"))
.singleClick()
sendKeys('Brent{ENTER}')
$(byXpath("//*[@text='Mouth:']/following-sibling::*"))
.singleClick()
.sendKeys('Brent')
.pressEnter()
sleep(3000)
]]></script>
</robot>
<robot name="ie" driver="internet explorer" close-on-completion="true"/>
</robotics-flow>
<export include-original-data="false"/>
</config>
Trees
The example automates the SwingSet app as a Java applet in a new window using the universal driver.
The workflow is as follows:
- The universal RPA driver is used. You can also use the browser and desktop combination as in the previous example.
- The applet window is located using the
[CLASS:SunAwtFrame; TITLE:SwingSet2]selector. - You can use regexps in CSS selectors:
[CLASS:JTree; PATH: Music|Clas.*cal|Br.*ms|Conc.*tos]. For more details, see Use inspecting tools for desktop automation.
Tree example
<?xml version="1.0" encoding="UTF-8"?>
<config xmlns="http://web-harvest.sourceforge.net/schema/1.0/config" scriptlang="groovy">

    <robotics-flow>
        <robot name="bb8" driver="universal" close-on-completion="true">
            <capability name="SEARCH_ALL_WINDOWS" value="true" />
            <script> <![CDATA[

                rpaVariables = new HashMap()
                def appletUrl = 'https://rpa-tutorial.s3.amazonaws.com/demo/jfc/SwingSet2/custom/SwingSet2.html'
                timeouts(40 * 1000)

                openIE(appletUrl)
                sleep(7000)

                switchTo().window('[CLASS:SunAwtFrame; TITLE:SwingSet2]')

                $('[CLASS: JToggleButton; TOOLTIP:JTree demo]').click()
                sleep(1000)

                // getting tree node attributes
                rpaVariables.put('get_width', $('[CLASS:JTree]').getAttribute('getWidth'))
                rpaVariables.put('get_height', $('[CLASS:JTree]').getAttribute('getHeight'))

                $('[CLASS:JTree; TEXT:Rock; LEVEL:1]').sendKeys('{RIGHT}')
                sleep(1000)
                $('[CLASS:JTree; TEXT:Komeda]').sendKeys('{RIGHT}')
                sleep(1000)
                $('[CLASS:JTree; TEXT:Genius Of; LEVEL:3]').sendKeys('{RIGHT}')
                sleep(1000)

                rpaVariables.put('level', $('[CLASS:JTree; TEXT:More Is More; LEVEL:4]').getAttribute('LEVEL'))

                $('[CLASS:JTree; TEXT:More Is More; LEVEL:4]').sendKeys('{RIGHT}')
                sleep(1000)
                $('[CLASS:JTree; PATH: Music|Classical|Beethoven|Quartets]').sendKeys('{RIGHT}')
                sleep(1000)
                $('[CLASS:JTree; PATH: Music|Classical|Beethoven|Quartets|Six String Quartets]').sendKeys('{RIGHT}')
                sleep(1000)

                // using regexp in selectors
                $('[CLASS:JTree; PATH: Music|Clas.*cal|Br.*ms|Conc.*tos]').sendKeys('{RIGHT}')
                sleep(3000)

            ]]></script>
        </robot>
    </robotics-flow>
    <export include-original-data="false">
        <loop item="rpaVar">
            <list>
                <script return="keys">
                    keys = new ArrayList(rpaVariables.keySet())
                </script>
            </list>
            <body>
                <single-column name="${rpaVar}">
                    <template>${rpaVariables.get(rpaVar.toString())}</template>
                </single-column>
            </body>
        </loop>
    </export>
</config>