Launcher
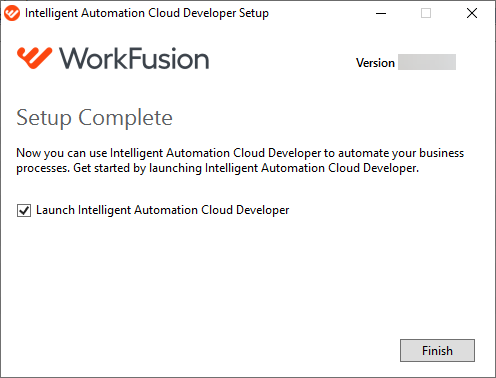
After successful installation, you can launch Work.AI Developer from the installer.
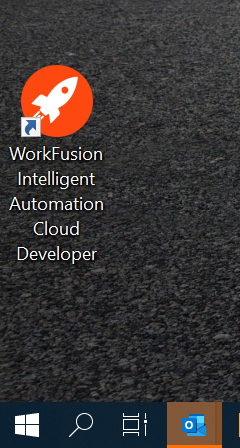
Alternatively, click the desktop shortcut to start it:
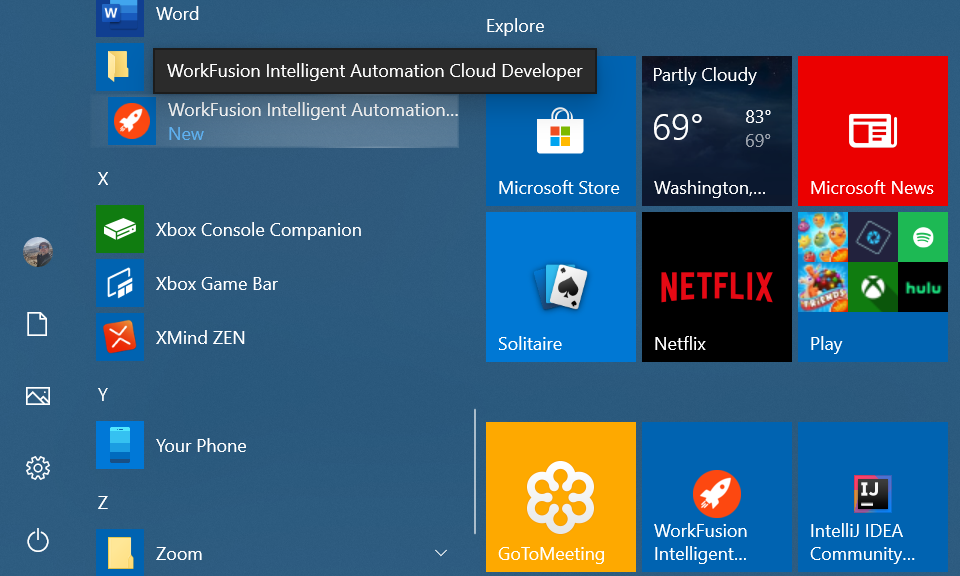
You can also select Developer from the Windows Start menu:
Upon the Developer launch, the Launcher application starts. It allows you to activate or turn off local server components, access their logs, and search through them. You don't need Launcher if you debug a Bot Task that doesn't have OCR or RPA or if you don't deploy your project to the local Control Tower. In this case, the Worker in Eclipse is enough for a Bot Task to execute successfully.
Access components
Work.AI Developer provides several applications and their components to manage the environment:
You can access them as described below:
- Click the needed link in the Launcher application.
- Select in the menu in the system tray.
- Open related URLs directly in a browser.
All components require you to log in. Use the Administrator username and password specified during the Work.AI Developer installation.
View component groups
The Launcher window shows component processes combined into four main groups, each available on a separate tab. This segregation saves RAM and capacity on local machines as much as possible and makes the start of components faster. The groups are as follows:
- RPA Worker with the RabbitMQ and Secrets Vault dependencies
- OCR with the OCR Worker, OCR REST API, RabbitMQ, File Storage, and Secrets Vault dependencies
- Control Tower with the Control Tower, Manual Task renderer, Input connector REST, RabbitMQ, File Storage, Nexus, Keycloak, Nginx, and Secrets Vault dependencies
- Workspace with the Workspace, Keycloak, and Secrets Vault dependencies
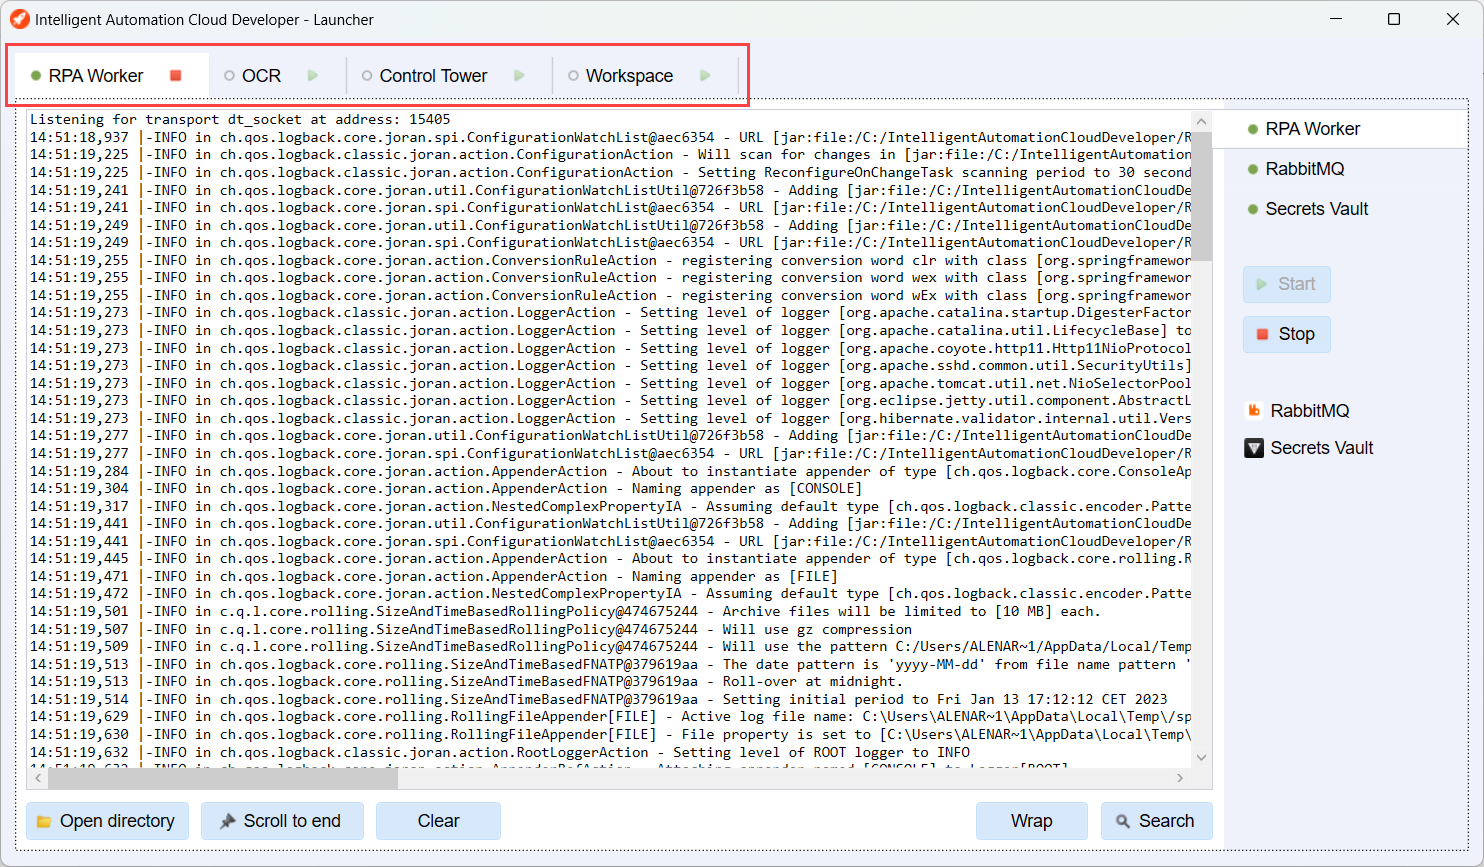
To navigate to the UI of the components, on the right side of the screen, under the Stop button, click the related direct links. Each process group contains its own set of links:
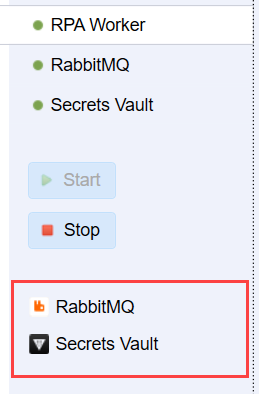
Access from tray menu
Upon running Launcher, you can also access the most frequently used options. To open the quick access menu, in the tray, right-click the Launcher icon.
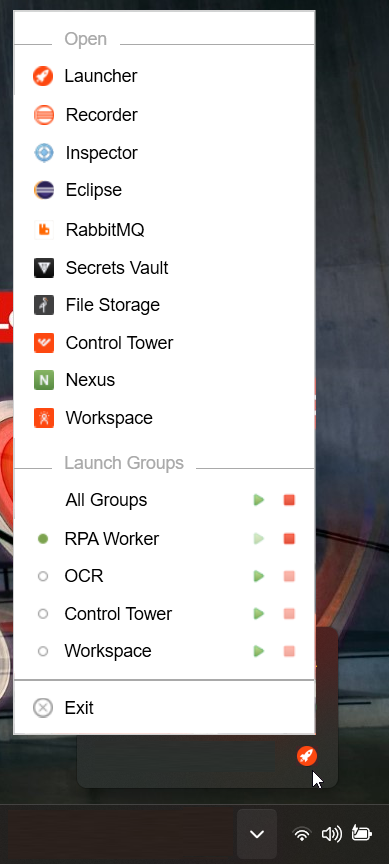
Apply the following options:
The Open section contains direct links to the corresponding server components. Click any component to access its UI.
The Launch Groups section enables you to view the statuses of components and manage them:
- To launch a group of components, click the Start button next to the group.
- To stop a running group, click the Stop button.
- To launch or stop all the groups, click the Start or Stop buttons next to All Groups.
The Exit option closes Launcher.
Access from browser
The components also have a web interface you can access directly in the browser.
| Component | Running condition | URL | Login |
|---|---|---|---|
| Control Tower application | Must be running so you can access it. | http://localhost:15280/workfusion | Username and password. Upon login, you have the Administrator role with all privileges. |
| File Storage MinIO web browser | Must be running so you can access it. | http://localhost:15110 | Username and password. |
| Nexus repository web manager | Always running when Work.AI Developer starts. | http://localhost:8081/nexus | Username and password to log in as Administrator. |
| RabbitMQ management web interface | Always running when Work.AI Developer starts. | http://localhost:16772/ | Username and password to log in as Administrator. |
| Secrets Vault HashiCorp web interface | Always running when Work.AI Developer starts. | https://localhost:18280/ui | Username and password to log in as Administrator. |
| Workspace application | Must be running so you can access it. | http://localhost:15280/workspace |
Manage components
When Launcher starts, all server components are off by default.
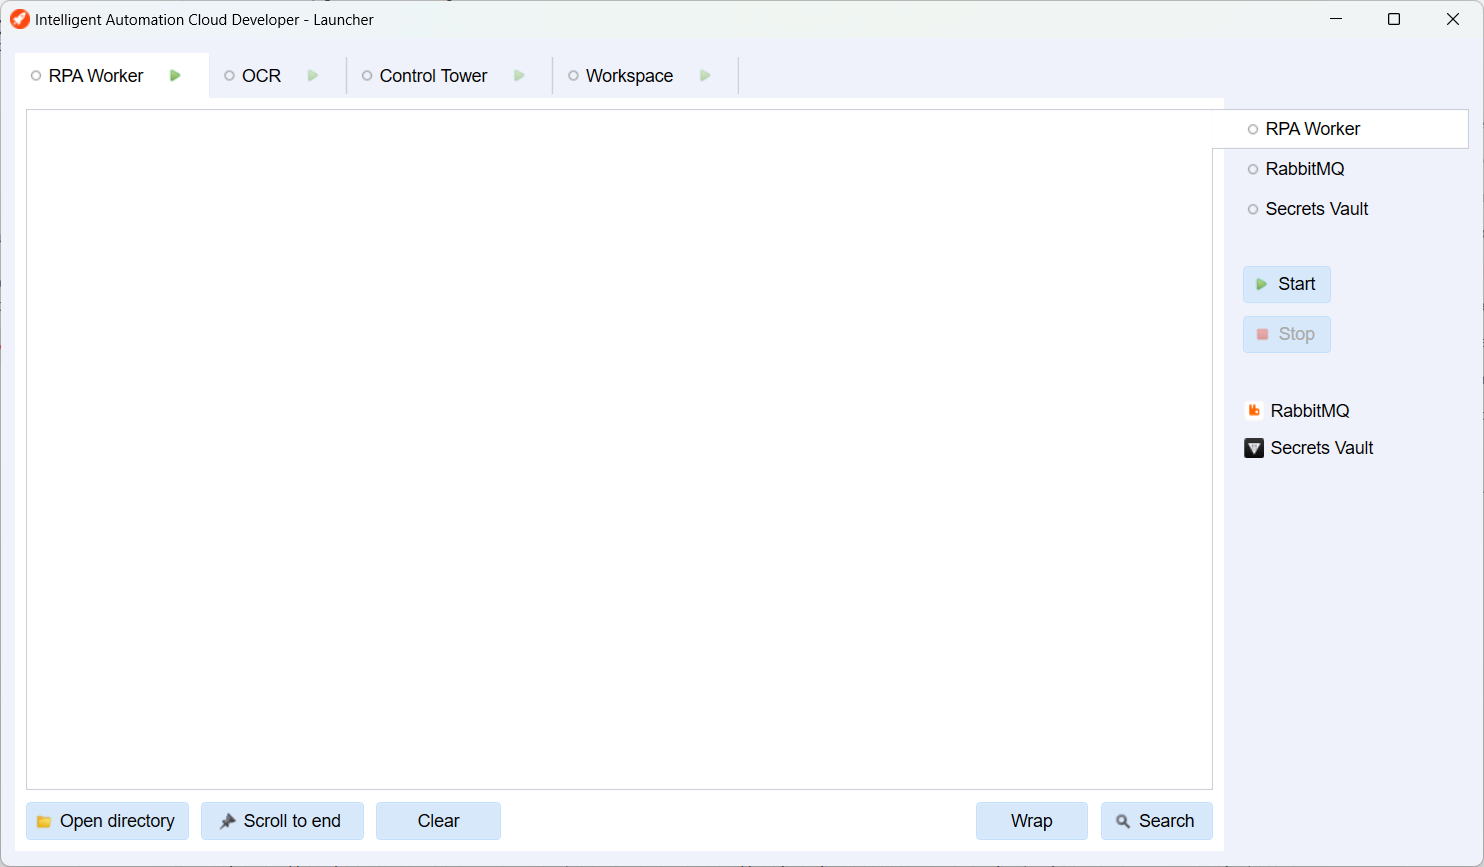
Start components
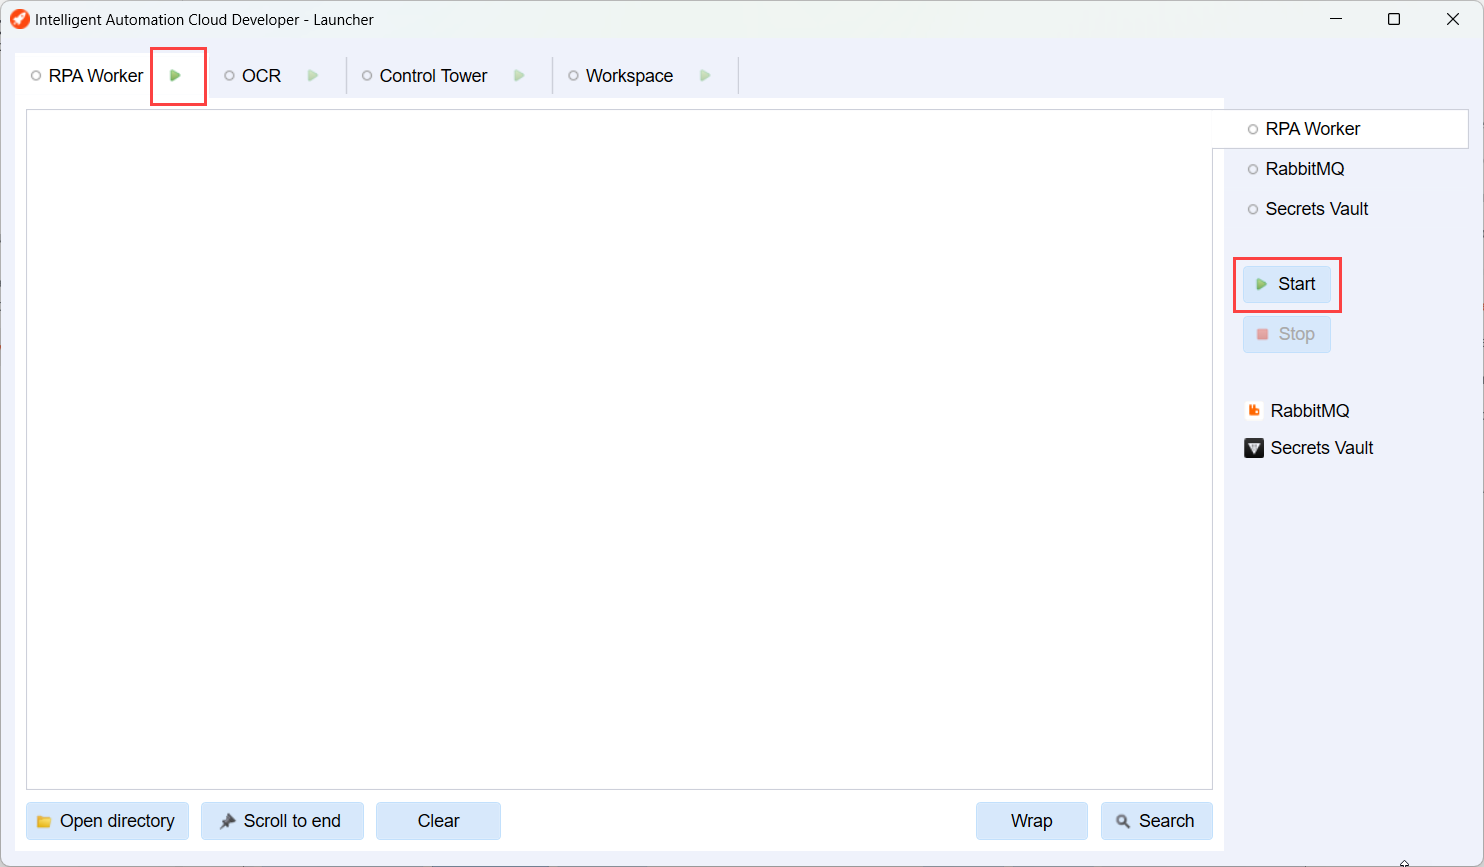
Depending on your automation workflow, launch the needed group of processes. For example, if you have RPA in scope, start the RPA Worker group.
To enable a component, choose one of the three scenarios:
Select the required process group and click the Start button on the right side of the screen.
Choose your process group and click the Start button located directly on the group tab.
Run any or all process groups from the tray menu by clicking Start.
- Once you enable Control Tower, the RPA Worker group starts automatically as this process group needs RPA Worker to perform.
- Once you enable Workspace, the RPA Worker and Control Tower groups also start.
Eventually, Launcher with all running component groups looks as follows:
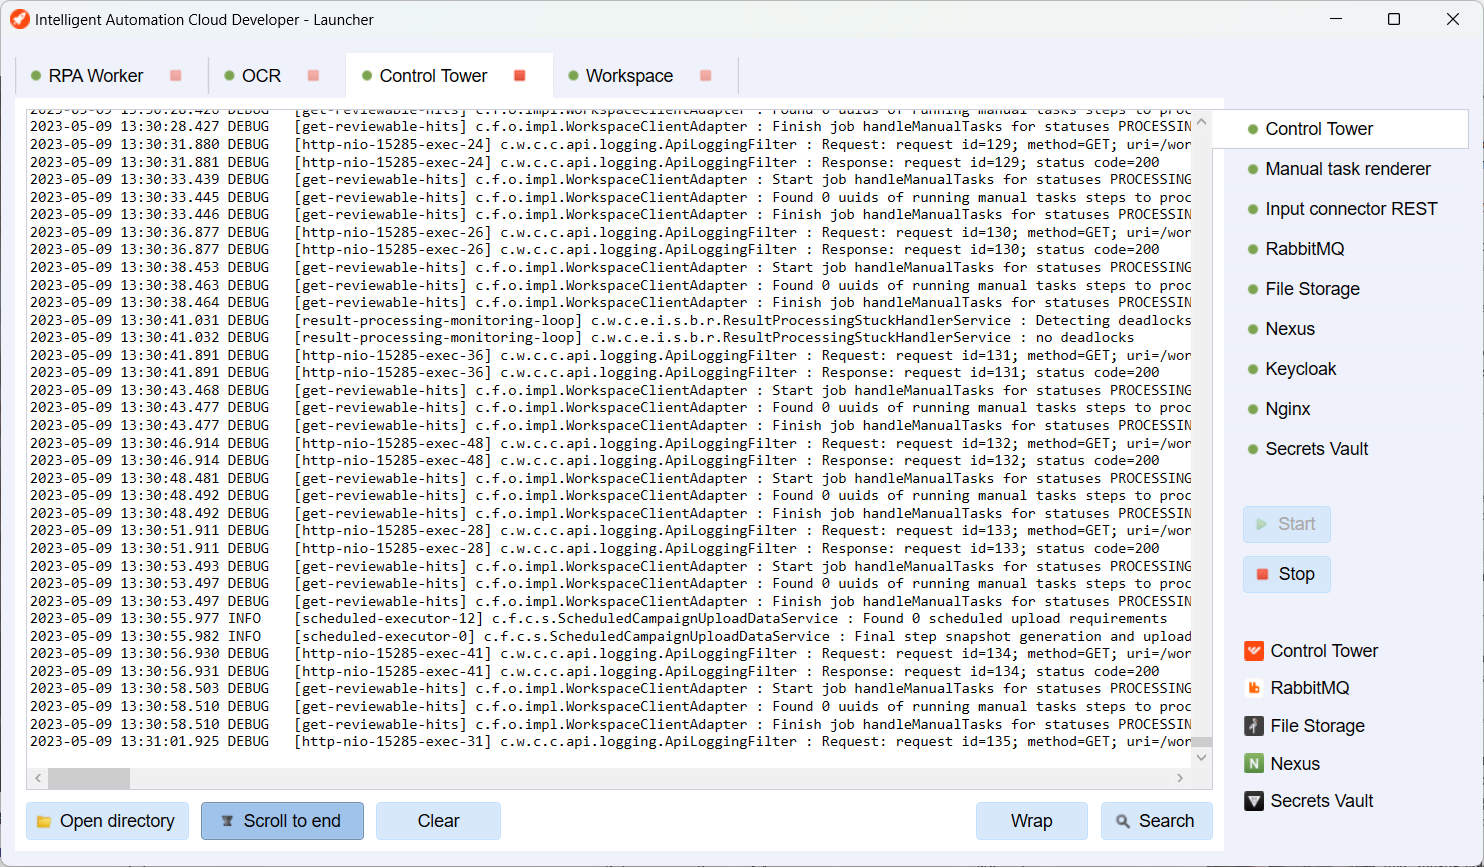
When you initiate a process group, processes start gradually, with their statuses shown on the right side of the screen:

- Grey: The process is waiting for its turn to launch.
- Yellow outline: The launch is in progress.
- Green: The process is up and running.
The solid yellow color means that something is wrong with the component, or some action is needed. Hover over the status icon to see the warning tooltip:

The Control Tower and Workspace group take the longest to launch. Some machines with less than 16 GB RAM and several applications running can take 8-12 minutes to start. In this case, wait till the status icon turns green.
Watch the console output for all four groups. In case of any issues, look for exceptions. You can also open a log file directory to find all component logs to trace a problem in detail.
Stop components
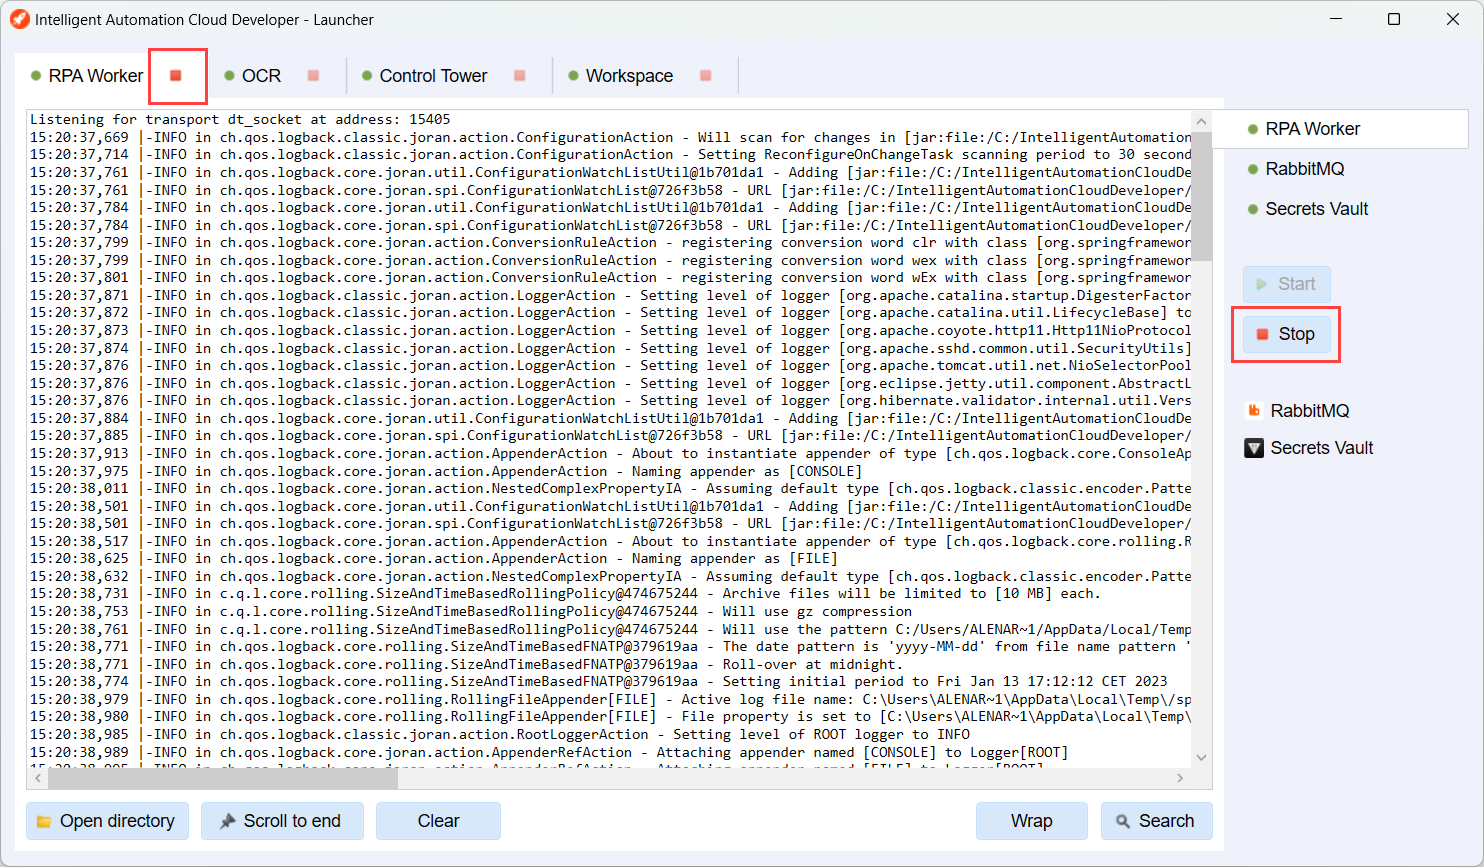
To disable components, use one of three ways:
Select a running group and click the Stop button on the right side of the screen.
Choose a running group and click the Stop button located directly on the group tab.
Click Stop next to any process group or all process groups in the tray menu.
Fix performance issues
When you work in the application for an extended period of time, the performance and connectivity of all components can degrade. You can notice that, for example, a Business Process executes slowly, or you get failed execution of the code working with Secrets Vault, Data Stores, File Storage, and other components.
To fix such issues, remember to restart all component groups and the Launcher application periodically:
- Before putting your workstation to sleep, stop all component groups and wait for indicators to show the shutdown status.
- In the system tray, right-click the Launcher icon and, in the context menu, click Exit.
- When you log into your workstation the next time, start Work.AI Developer again and launch the required component groups.
MS SQL Express 2016 is required for Work.AI Developer. It is installed by Developer as a Windows service and starts automatically whenever your workstation starts. If you stopped MS SQL Express 2016 processes for some reason, you can restart its service. Start Microsoft Services application > find the SQL Server (WFIACDEVELOPER) service > Start.
Change default credentials
Default credentials for accessing components are set during the Work.AI Developer installation.
To change your Administrator credentials for all components, do as follows:
Run
IntelligentAutomationCloudDeveloperInstaller.exe.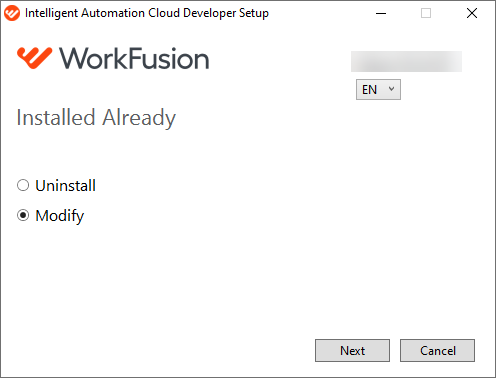
If you do not have the installer file, open Windows Settings > Apps & features, start entering the application name (
WorkFusion), and click Modify. Accept a security prompt by clicking Yes on the User Account Control screen.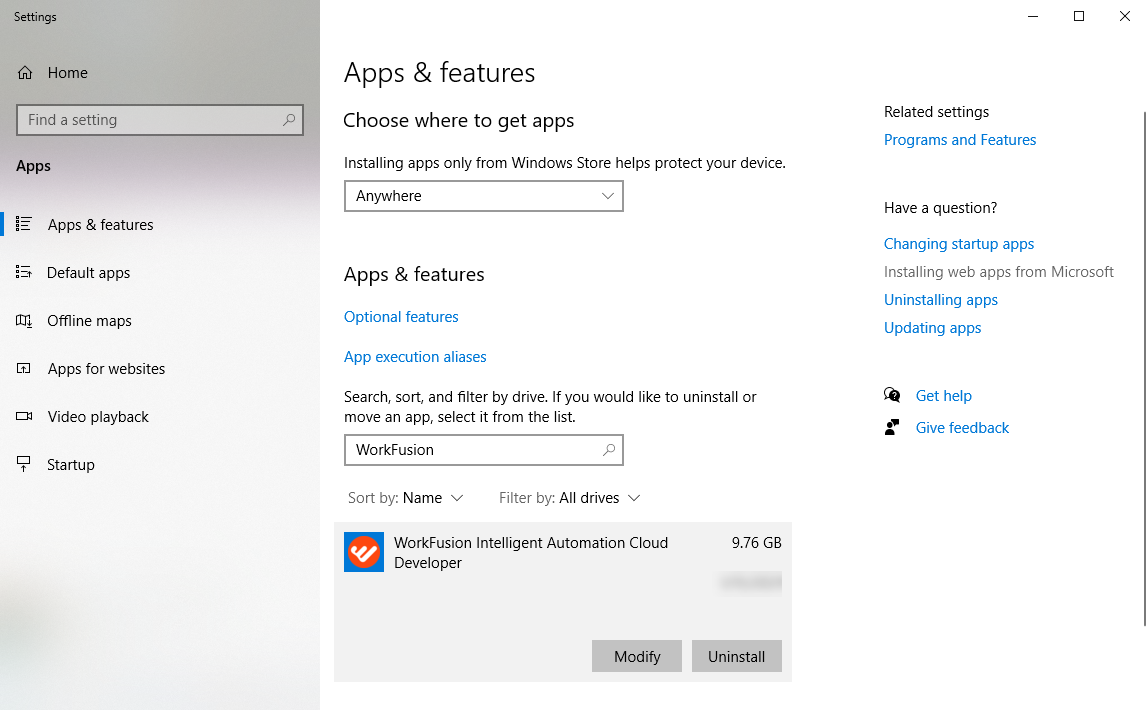
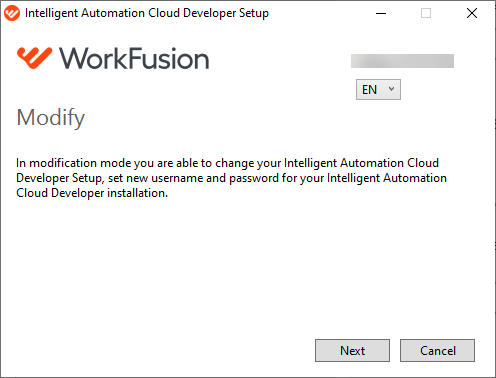
In the installer window, select Modify and click Next.
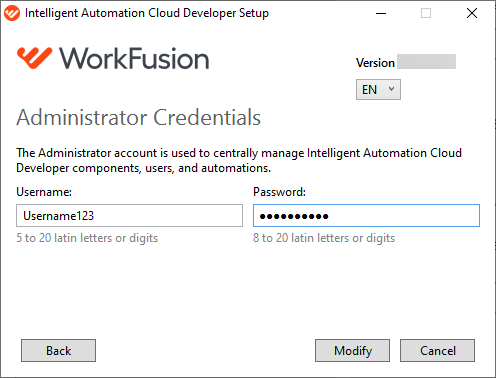
Change your username or password and click Modify.
All Developer processes are stopped automatically. To continue, in the warning message window, click OK.

Wait until Work.AI Developer is modified. Click Finish to exit.
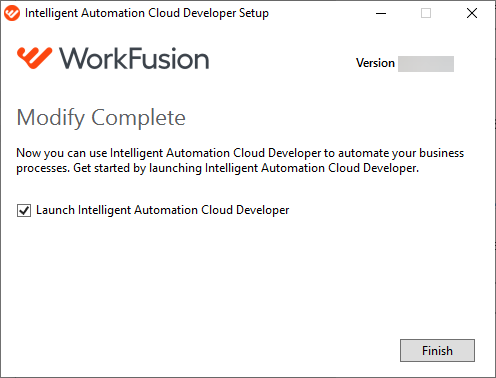
After that, the default credentials for all the components change to new ones. Use the updated credentials to access the components.
Use Nexus
Local Nexus is installed automatically as part of Work.AI Developer. Using it, you can avoid using the shared public Nexus and pull random Bot Config Bundles (BCBs) to your local Control Tower. Alternatively, use your company's hosted Nexus server.
For a local development environment, you can have all WorkFusion environment components within a workstation.
Nexus automatically downloads all JARs from the wf-machine-config-bundle repository to C:/IntelligentAutomationCloudDeveloper/machine-config-bundle. Then, Control Tower reads the JARs from the directory and includes them into the Bot Task classpath.
To access the Nexus Repository Manager UI, in your browser, go to http://localhost:8081/nexus/ and log in with the default credentials:
- username:
admin - password:
admin123
Apply Maven Archetype
All out-of-the-box ODF Archetypes have a profile to build and deploy locally. The Archetype's root pom file contains the configuration:
<bcb.repository.url>http://localhost:8081/nexus/service/local/repositories/wf-machine-config-bundle/content/</bcb.repository.url>
The user credentials to deploy to out-of-the-box local Nexus are configured automatically in your local Maven's settings.xml file as you install Work.AI Developer:
<server>
    <id>bcb-repository</id>
    <username>admin</username>
    <password>********</password>
</server>
Track logs
To resolve any issues faster, Launcher shows logs of all main processes in real time as soon as components start running.
To view logs, switch between groups. The log data is available in the center part of the Launcher window. Mind the following options:
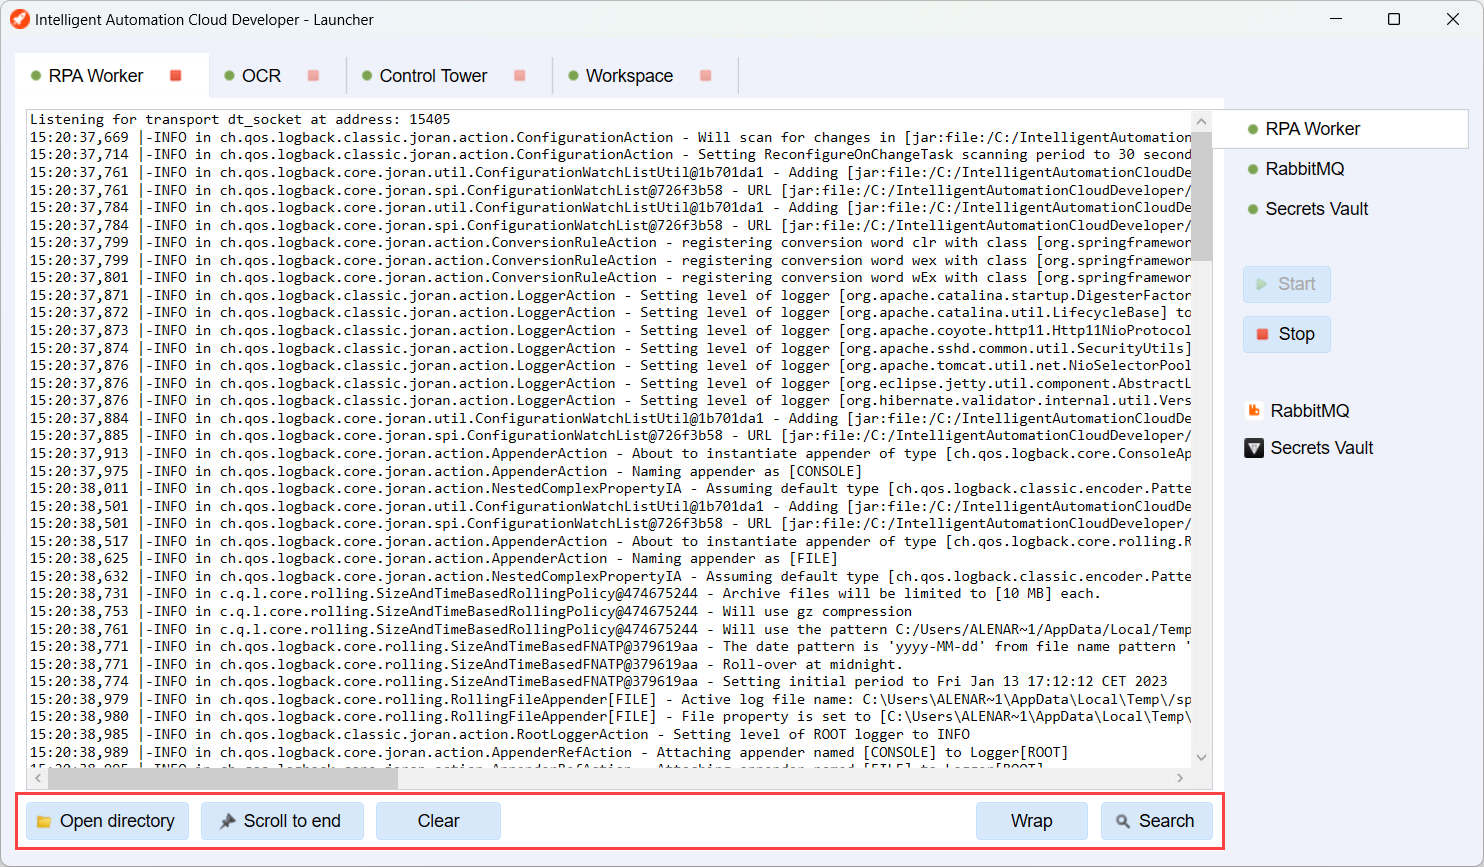
To access log files, click Open directory. Your file explorer opens the corresponding folder.
To view recent messages, click Scroll to end for the records to scroll to the end automatically.
To clear the output console, click the Clear button.
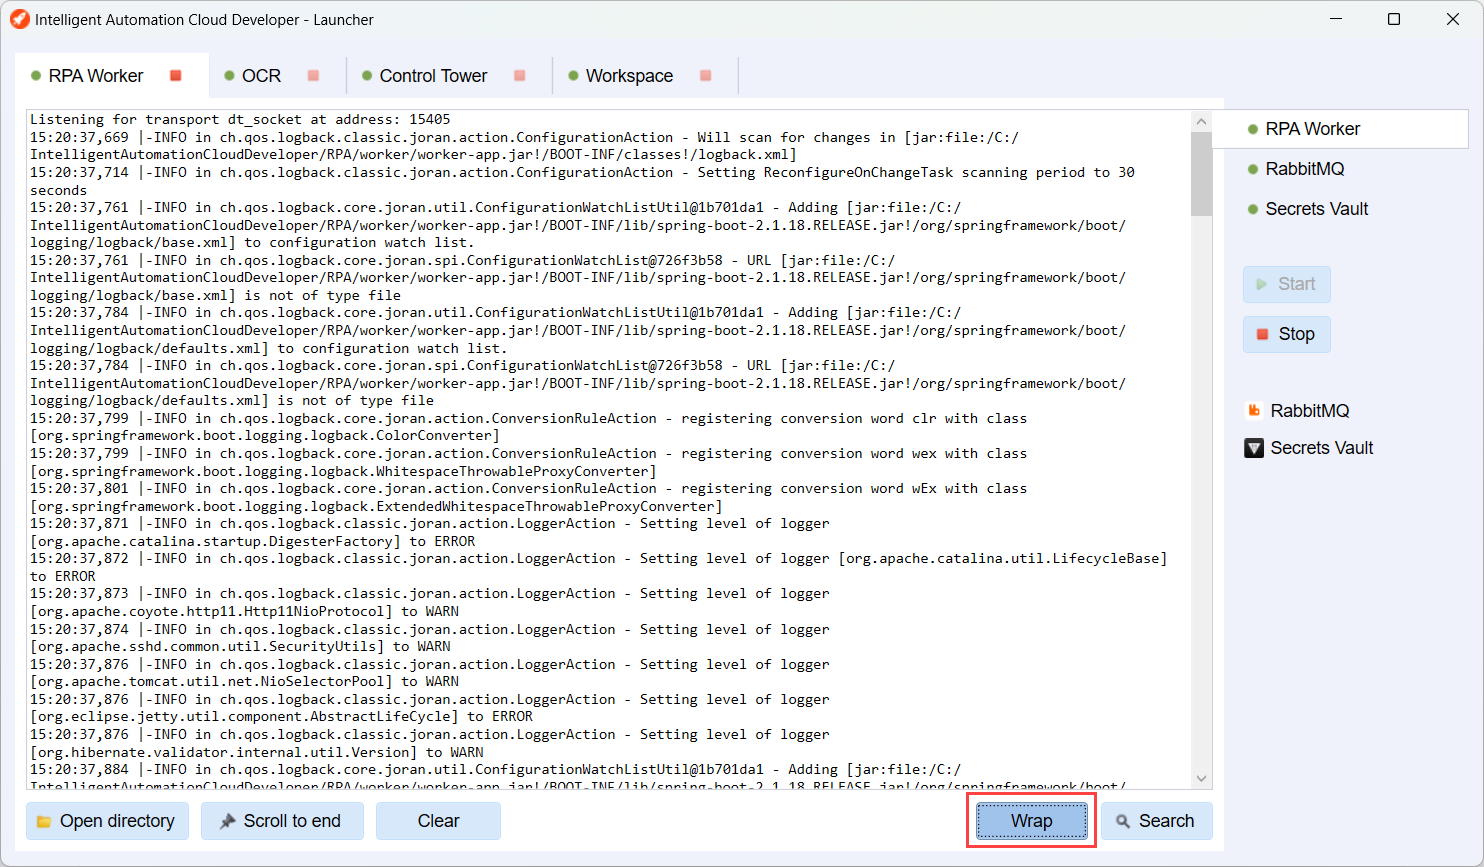
To hide the horizontal scroll, select Wrap.
To search for specific data, choose the Search option.
Search in logs
To search through logs, perform the following steps:
Click Search or press
Ctrl + F.In the Search field, enter your search parameter:
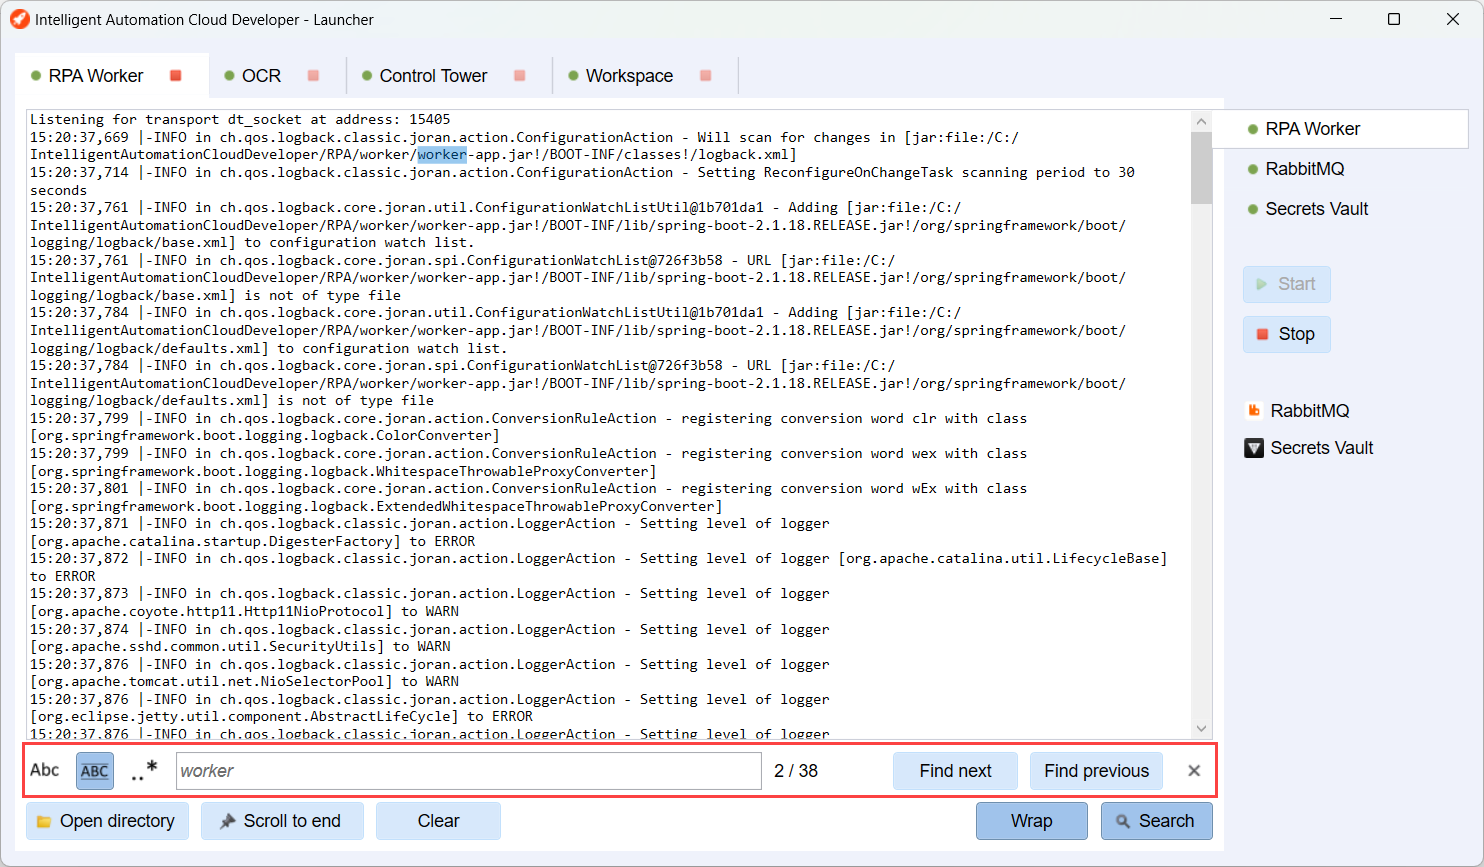
If needed, specify one of the search options:
- Abc: matches the case.
- ABC: matches the whole word.
- ..*: uses regular expressions.
Navigate through search results by clicking the Find next and Find previous buttons.
To exit the search mode, click Search or the Close button.