Configure Bot Sources
In the diagram below, you can see Bot Sources within the BEP execution framework.
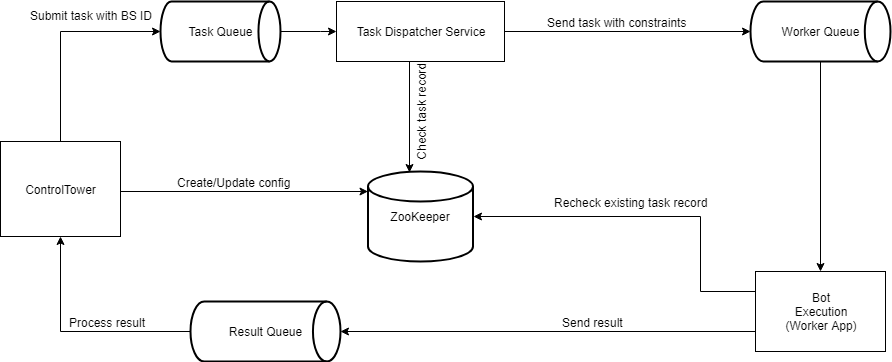
The interaction with BEP components occurs on three levels, involving Control Tower, Task Dispatcher Service, and Bot Workers.
- Control Tower is where you configure Bot Sources. On the Control Tower side, a specific Bot Source marker allows you to assign task messages and channels of Business Process (BP) steps using constraints.
- Task Dispatcher Service checks the available Bot Source capacity and priority settings (if any) in task metadata. From the Task Dispatcher Service, tasks go to the Bot Worker queue according to the Bot Source limitations from ZooKeeper.
- A Bot Worker rechecks the task node status if it is a task with a Bot Task configuration. If the check fails, the failure result for this task is sent to Control Tower, and an exception occurs.
In Control Tower, you can create or edit Bot Source configurations. This capability gives you full control over the Bot Task concurrency settings, as well as over the execution flow and access to resources. The best practice is to set a specific Bot Source for each Bot Task within a BP.
All Bot Sources are available in System Settings > Bot Sources.
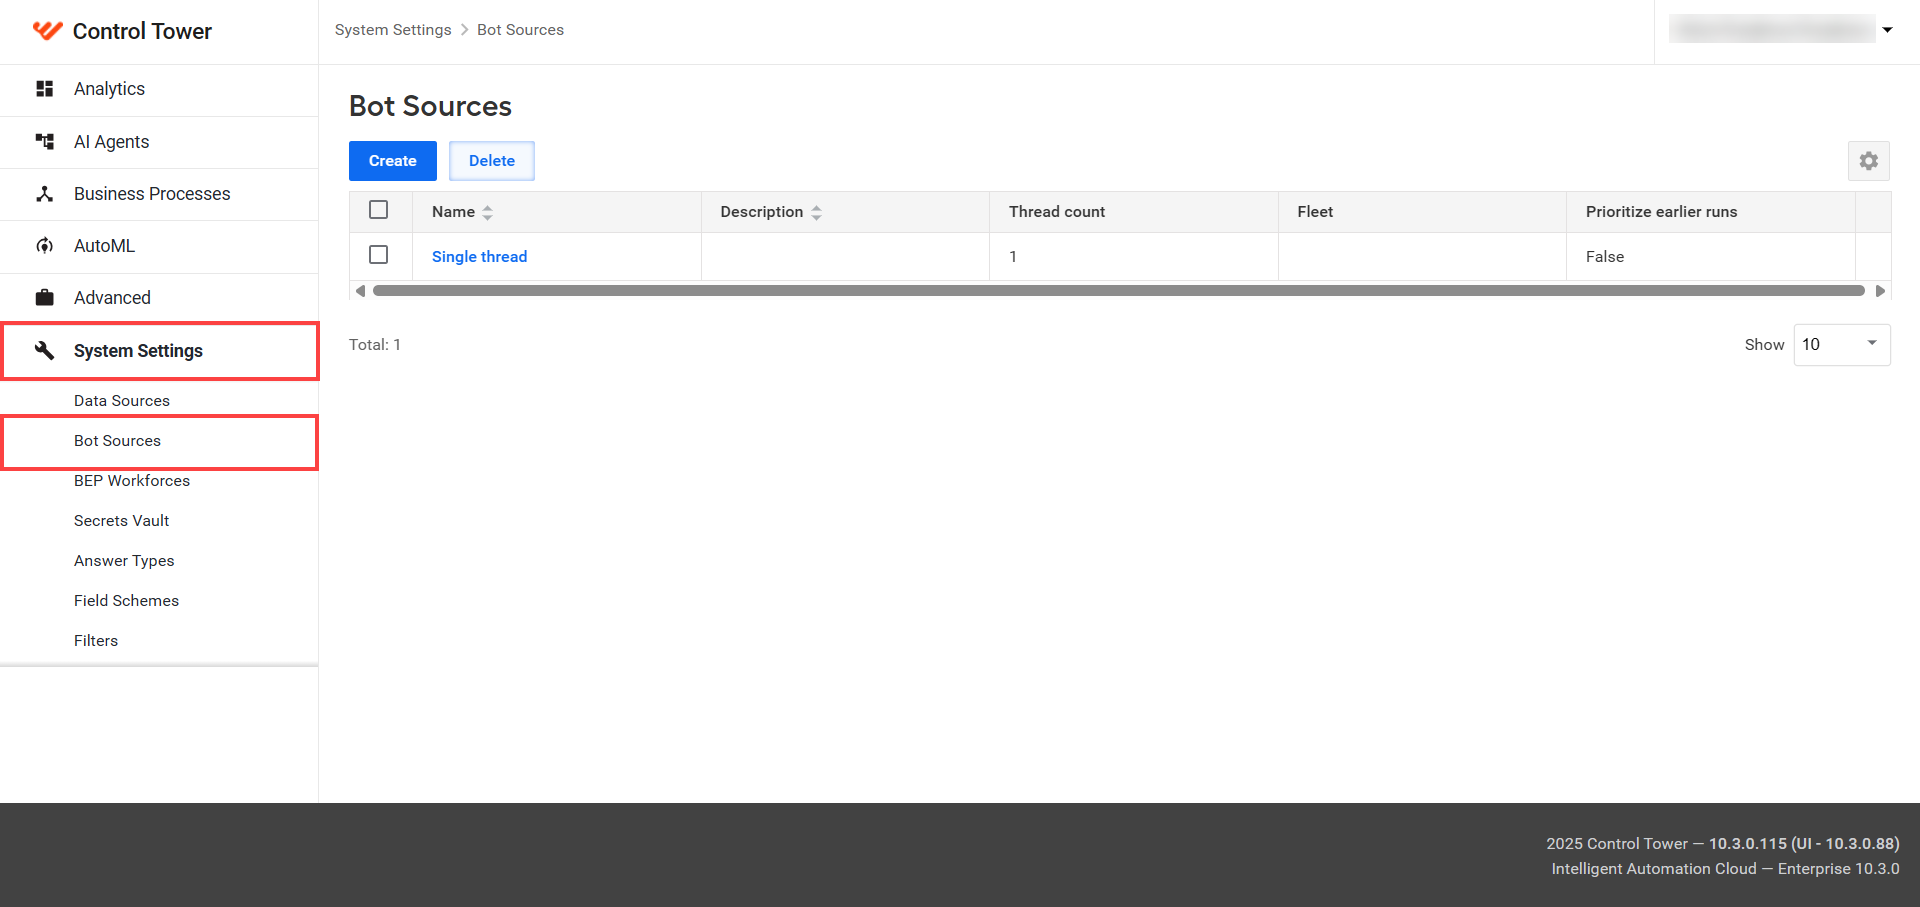
You should link each Bot Source to a Bot Configuration.
Add Bot Source
To create a new Bot Source, follow the instruction below:
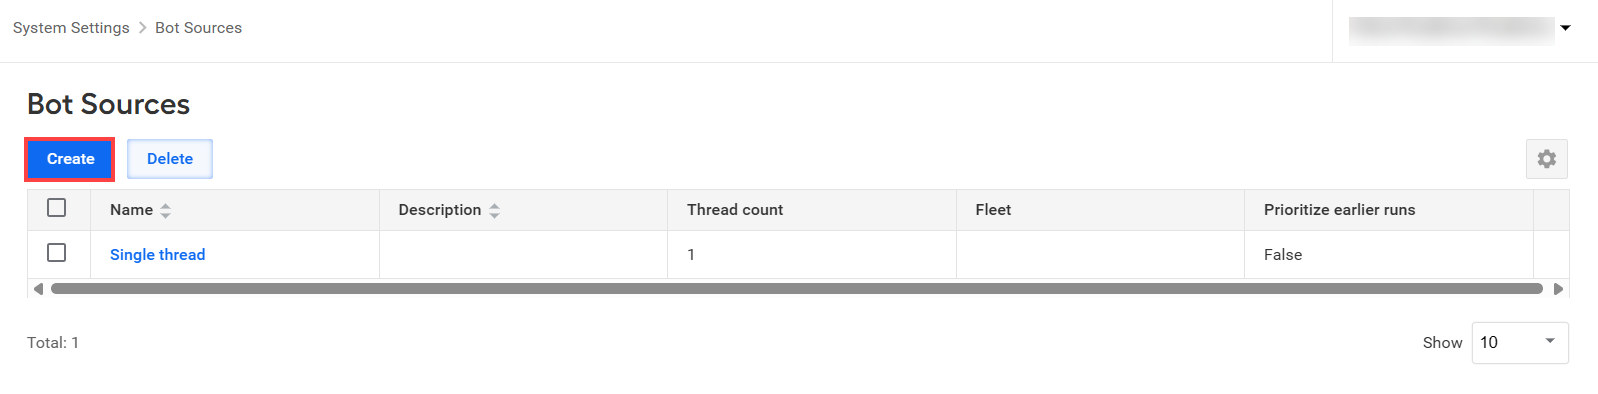
In Bot Sources, click Create.
In the displayed popup, in the Name field, specify the Bot Source name.
In the Description field, add an optional description (up to 1,000 characters).
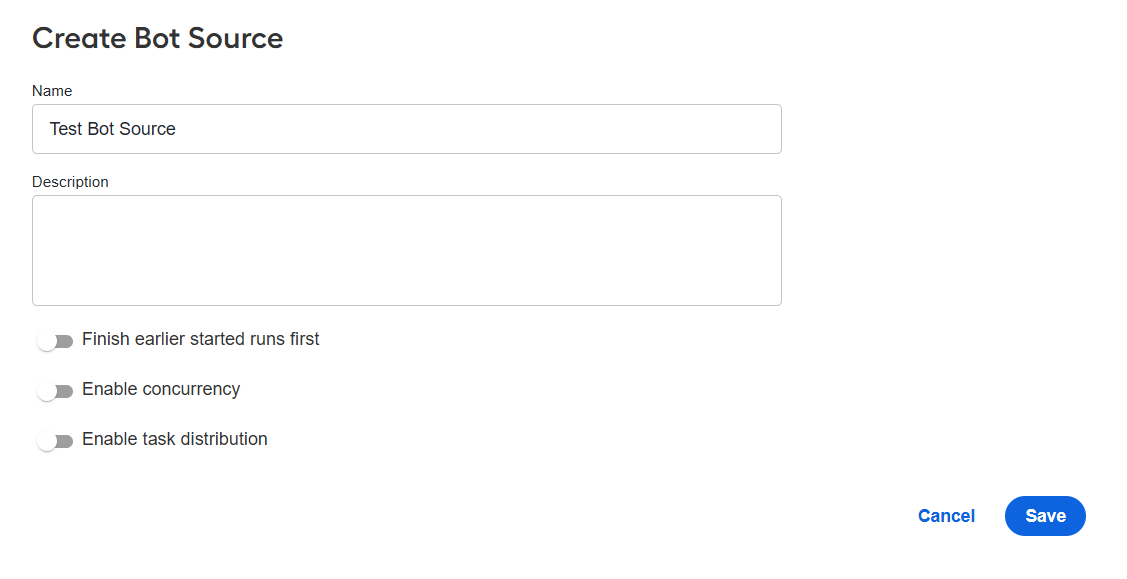
Toggle on Finish earlier started runs first to prioritize runs that started earlier.
In the Bot Sources list, prioritized Bot Sources have True in the Prioritize earlier runs column:
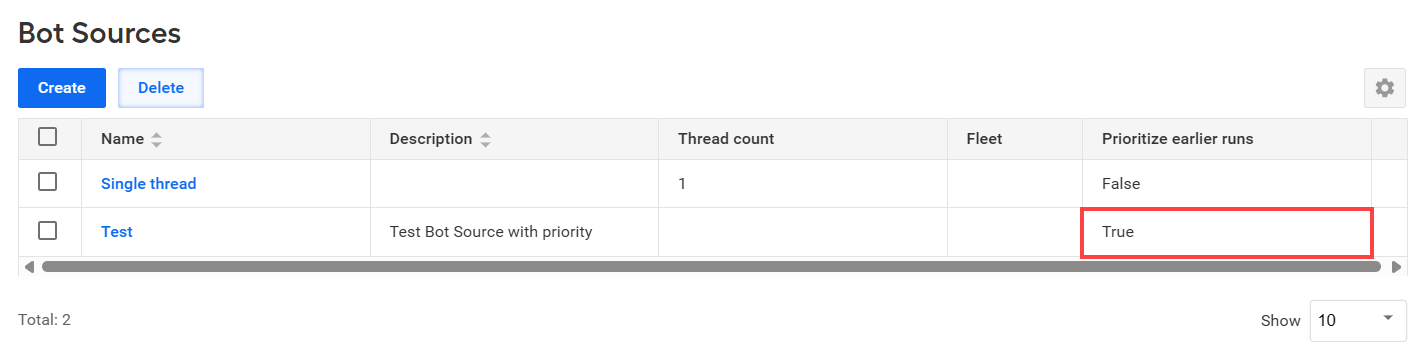
Priority works within one Bot Source. For example, if you have two BPs where a prioritized Bot Source is configured for a specific step, tasks for the earlier step are finished first, while tasks from other steps wait.
noteDynamic reconfiguration of the Bot Source priority setting is supported. However, it can cause a delay in task forwarding for the Bot Source after you apply the change.
Toggle on Enable concurrency to specify concurrency settings that limit the number of threads accessing the data source. The feature is useful if the data source allows only a certain number of requests from one server.
In the Thread Count field, set how many Bot Tasks are executed in parallel across the same Bot Source. Use the thread count functionality with caution, as limiting the number of threads might lead to system performance overhead.
Toggle on Enable task distribution to distribute tasks.
In the Fleet dropdown box, select a fleet.
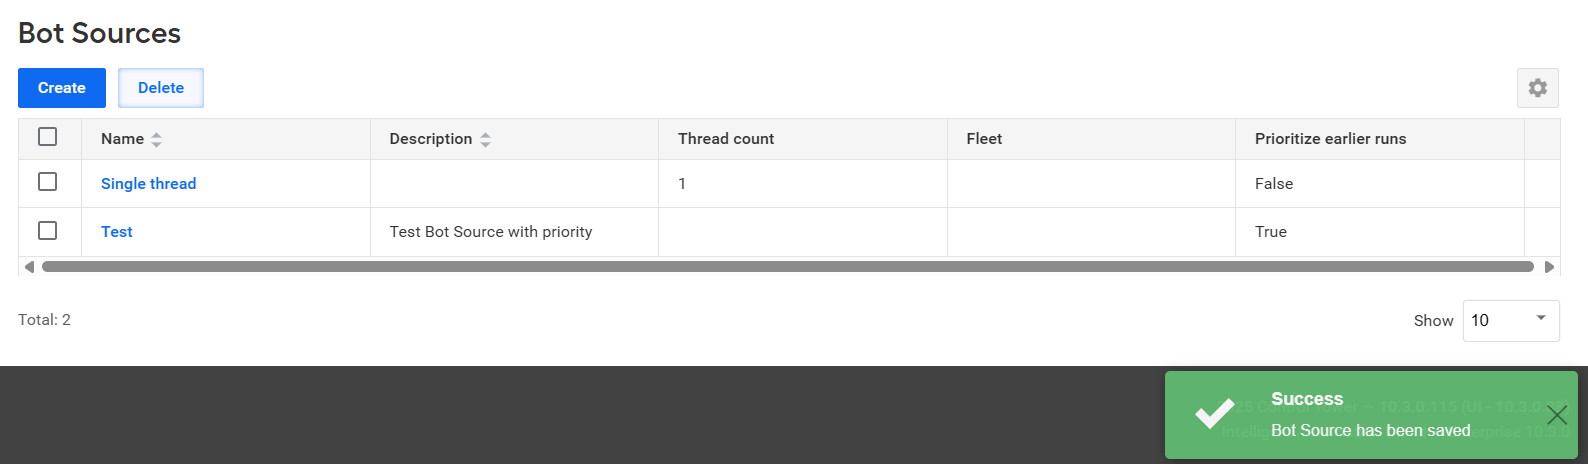
Click Save. A success message confirms that the Bot Source is created.
Edit Bot Source
To edit a Bot Source, follow the instructions below:
In Bot Sources, click the Bot Source you need to edit. The Edit Bot Source dialog appears.
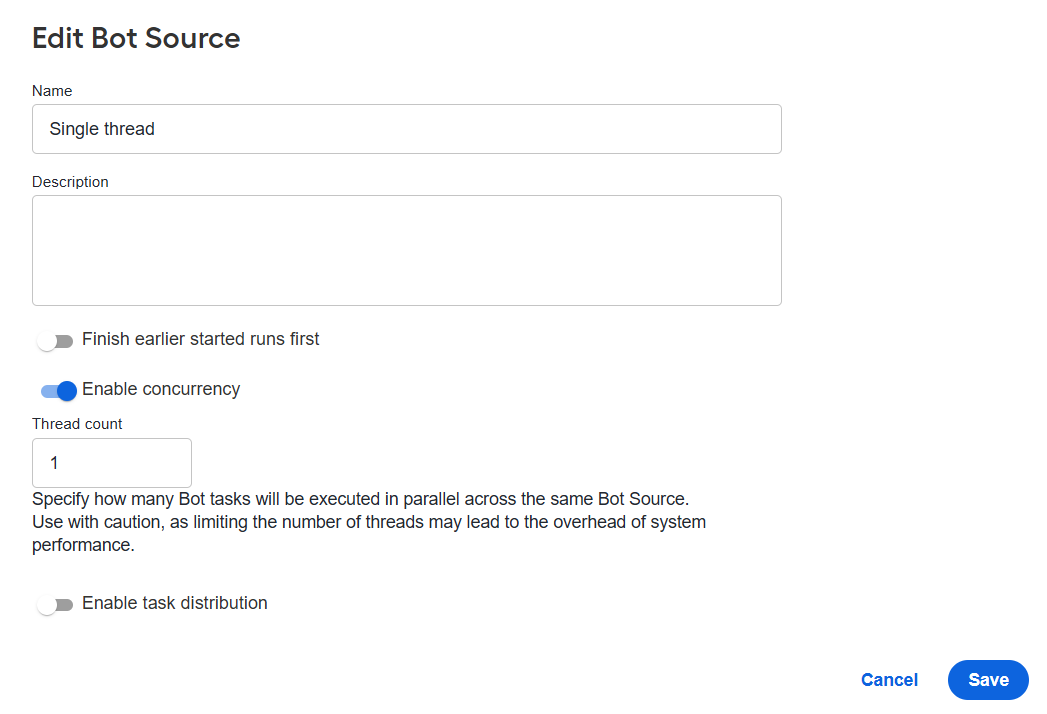
Make the required changes and click Save.
Due to synchronization issues, when you update a Bot Source setting, task processing settings can differ from the updated values for a period of time, depending on the previous configuration.
Delete Bot Source
To delete a Bot Source, follow the instruction below:
In Bot Sources, select the Bot Source you want to delete.
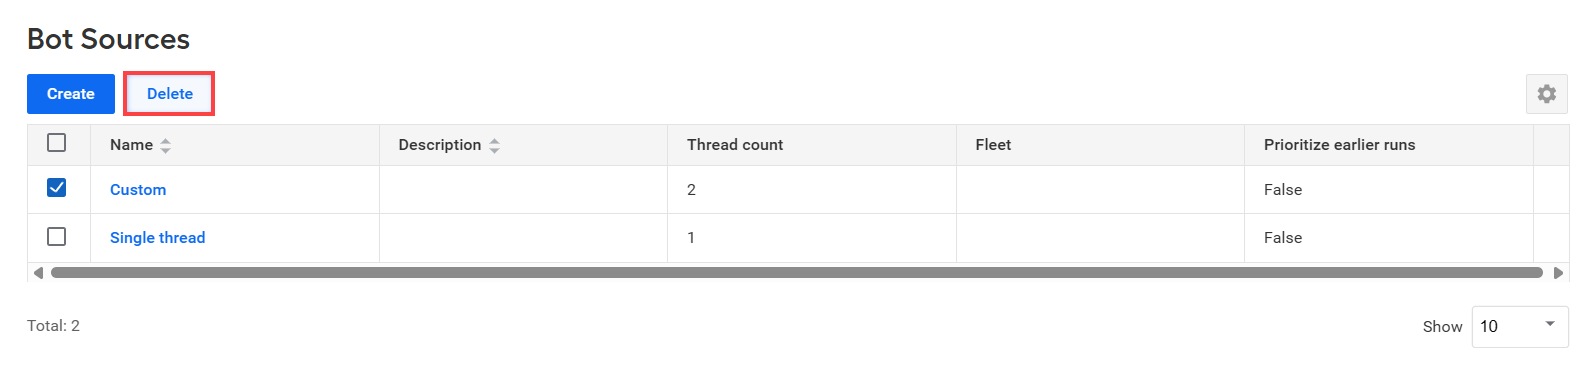
Click Delete.
In the confirmation dialog, click Delete to confirm the deletion.
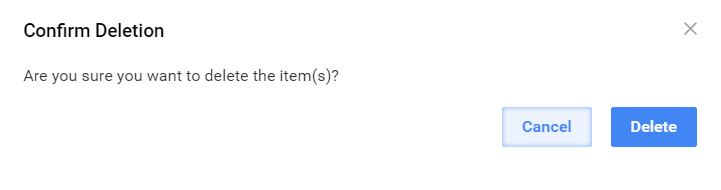
You cannot remove a Bot Source if it is used at least in one Bot Config even when a BP with that Bot Config is completed or deleted. In this case, to complete the deletion, unbind the Bot Source from each Bot Config it is associated with, then retry the operation.
Apply Bot Source to Business Process
Once Bot Sources are created and configured, assign a specific Bot Source to each Bot Task within a BP:
Go to Business Processes and select a BP where you want to add a Bot Source.
Navigate to the Workflow tab of the selected BP and double-click the Bot Task you want to link to the Bot Source.
In the Bot step configuration options > Design > Show advanced settings, select a Bot Source in the Bot Source dropdown box.
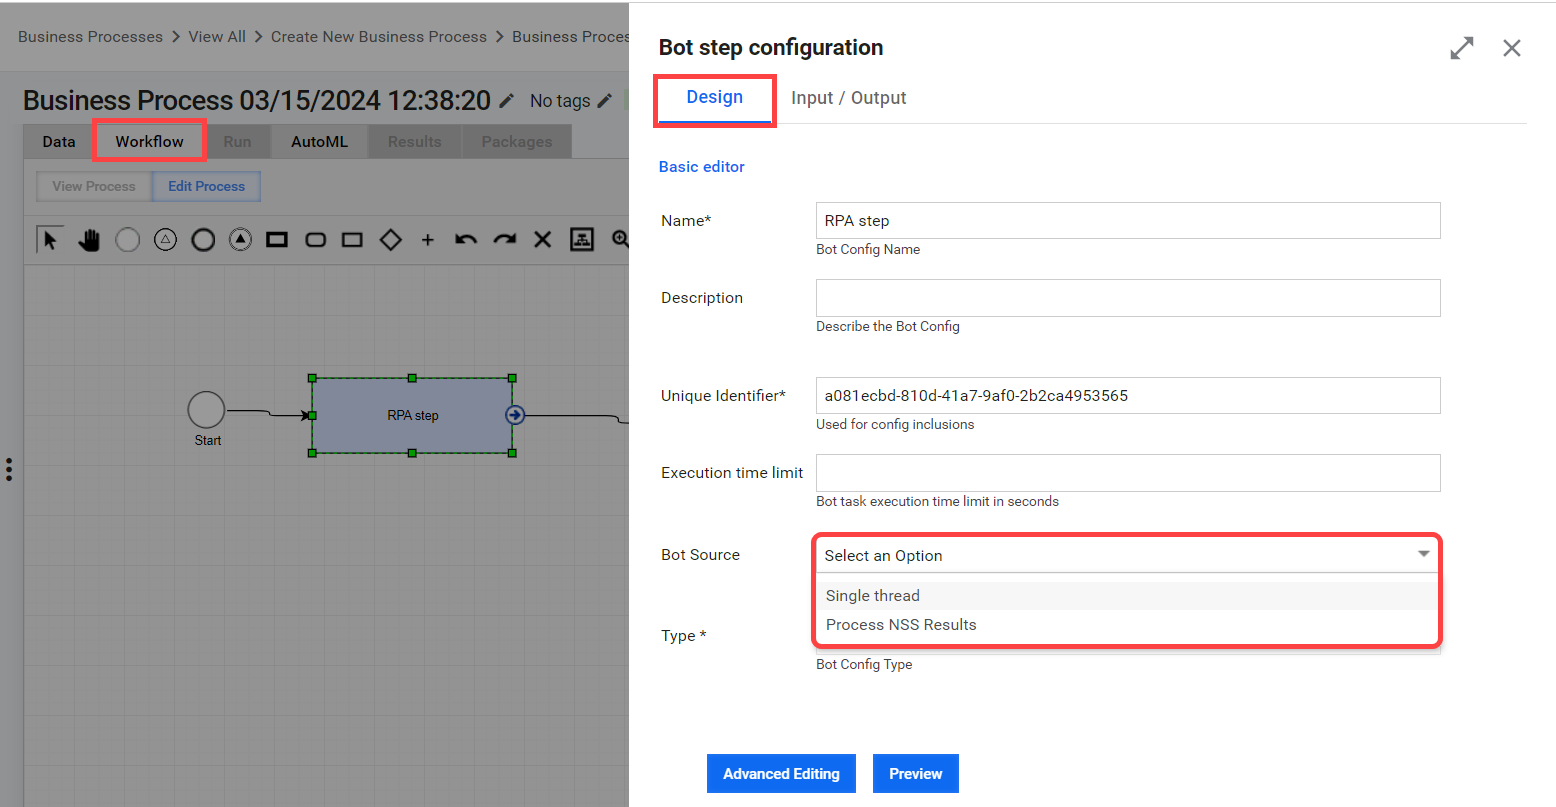
Once you select the Bot Source, you can go to its settings by clicking Edit.
For troubleshooting tips, refer to the following support guides: