Perform data purge and archiving
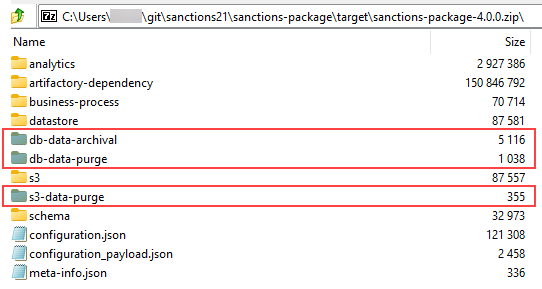
The installer bundle includes default data purge and archival configurations.
View data management configurations
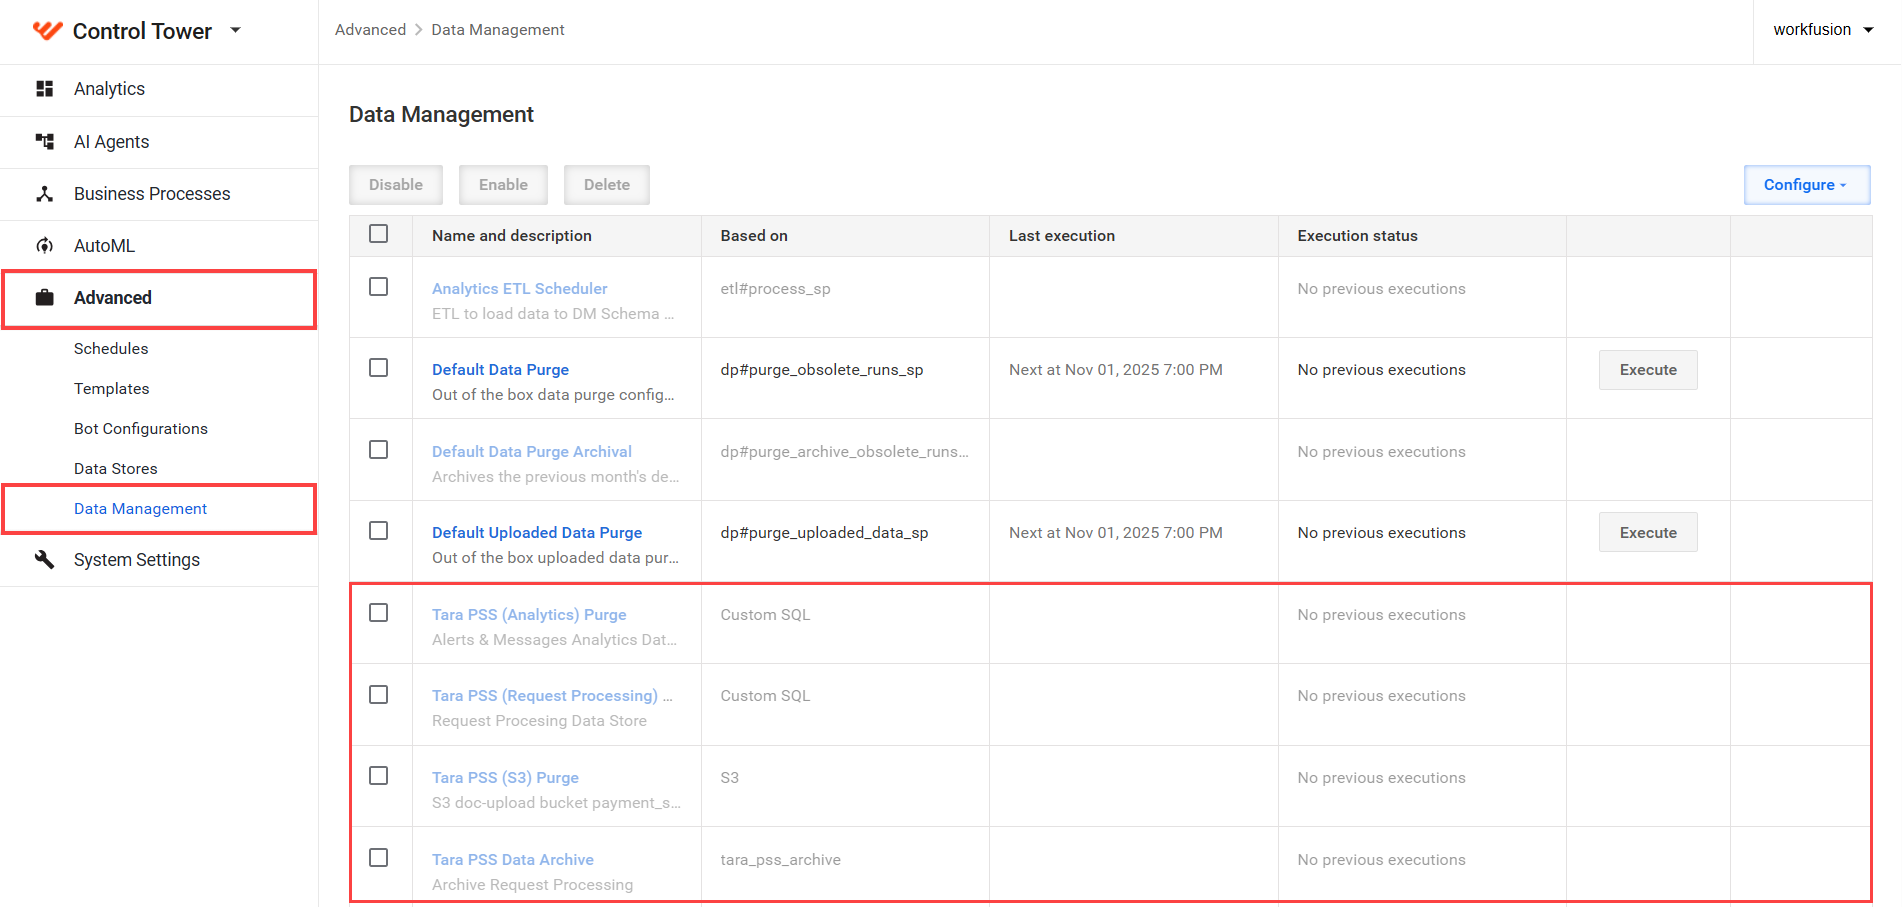
To view data management configurations, in Control Tower, go to Advanced > Data Management.
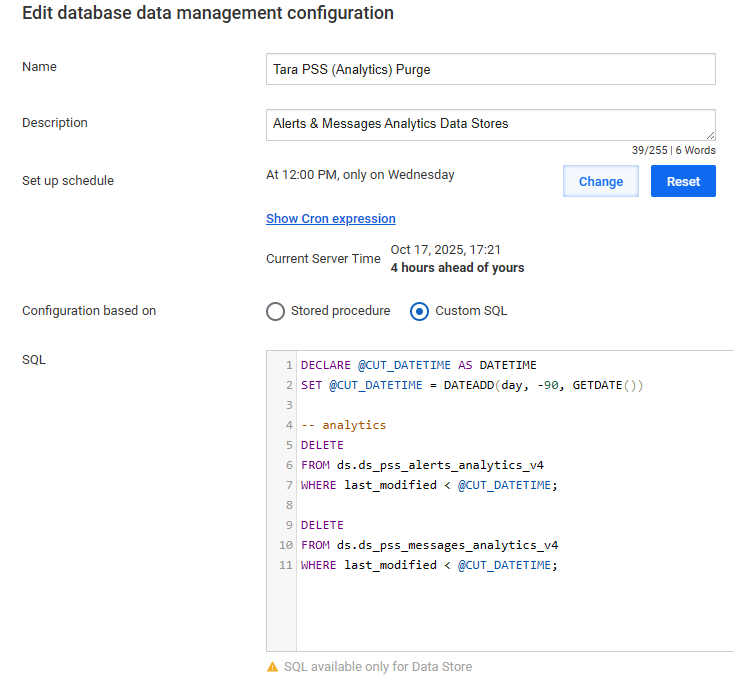
Tara-related configurations are as follows:
Tara PSS (Analytics) Purge
The purge deletes analytics data from Data Stores that is older than 90 days (not real-time analytics data used by Superset dashboards).
To modify the 90-day default value, in the SQL field, update the number in DATEADD(day, -90, GETDATE()).
The purge is disabled by default. It is recommended to enable it in production, development, or test environments, as the analytics data is primarily used for troubleshooting.
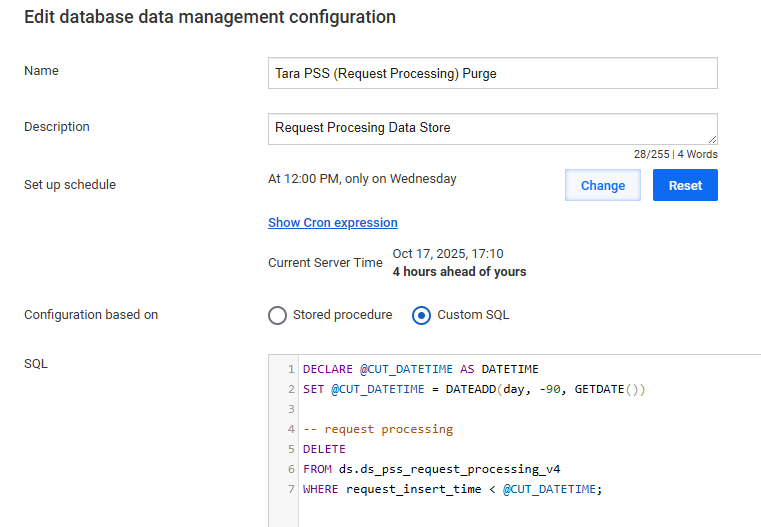
Tara PSS (Request Processing) Purge
The purge deletes Tara internal processing data from Data Stores older than 90 days.
To modify the 90-day default value, in the SQL field, change the number in DATEADD(day, -90, GETDATE()).
The purge is disabled by default but it is recommended to enable it in development or test environments to save disk space as this is the largest Tara's SQL table. In production environments, keep this purge disabled. Instead, use the data archival functionality to compress and back up this data to S3, where it can be restored for audit purposes. Different clients have varying policies requiring data retention for several years.
Tara PSS (CLDS Hashcodes) Purge
The purge deletes internal CLDS historical decision upload metadata from Data Stores older than one year (365 days). It does not delete hash analytics data that tracks how many times a decision has been applied. Instead, it removes only the records that indicate which historical decisions have already been uploaded, helping prevent the same decisions from being uploaded twice and counted more than once.
To change the default retention period of 365 days, update the value in DATEADD(day, -365, GETDATE()).
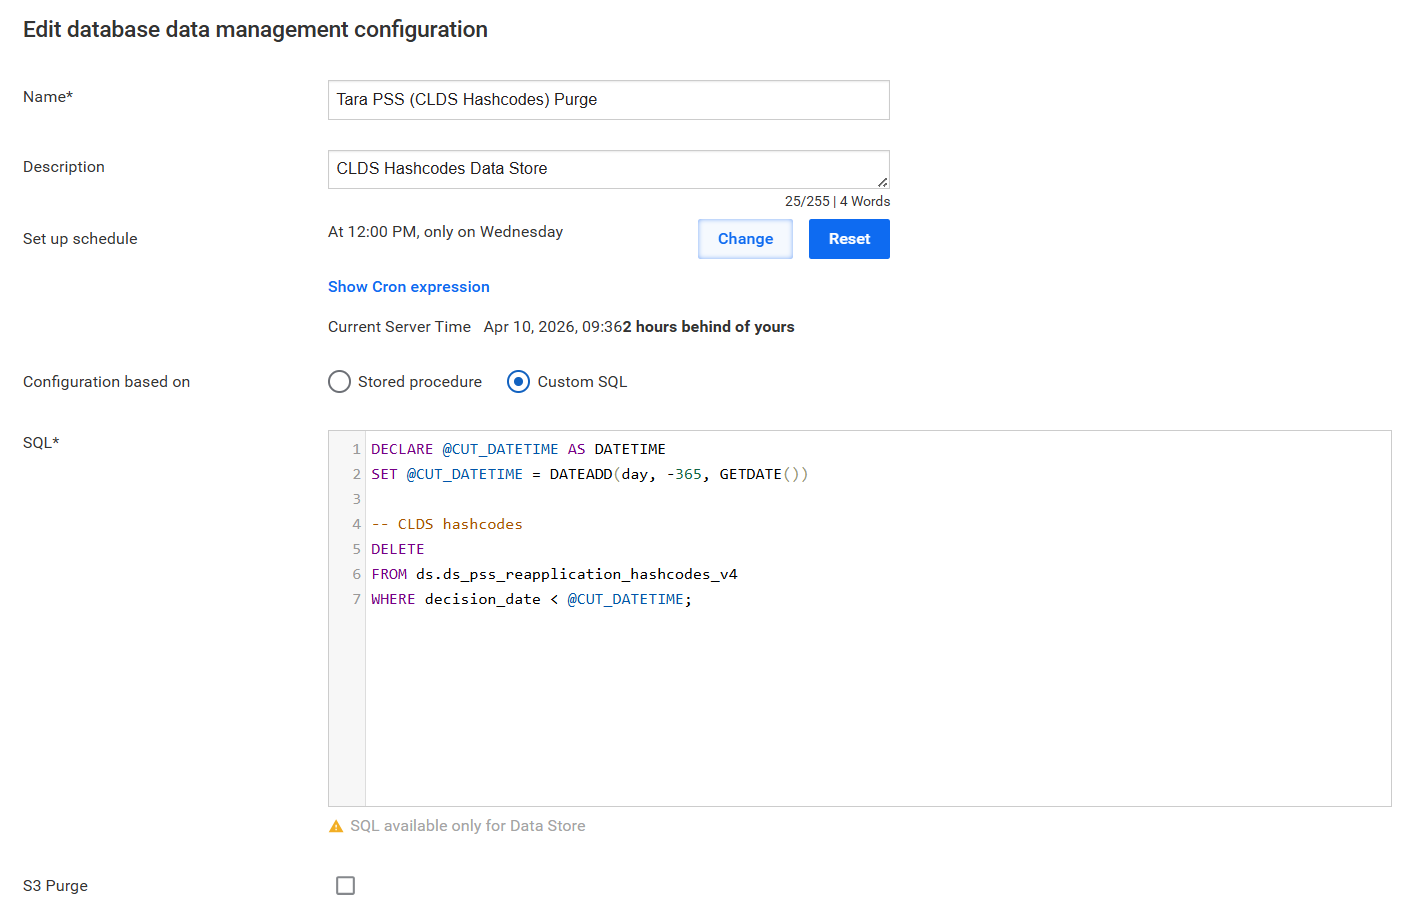
The purge is disabled by default. It is recommended to enable it only if you experience performance issues with the PSS CLDS Ingest Historical Decisions Business Process.
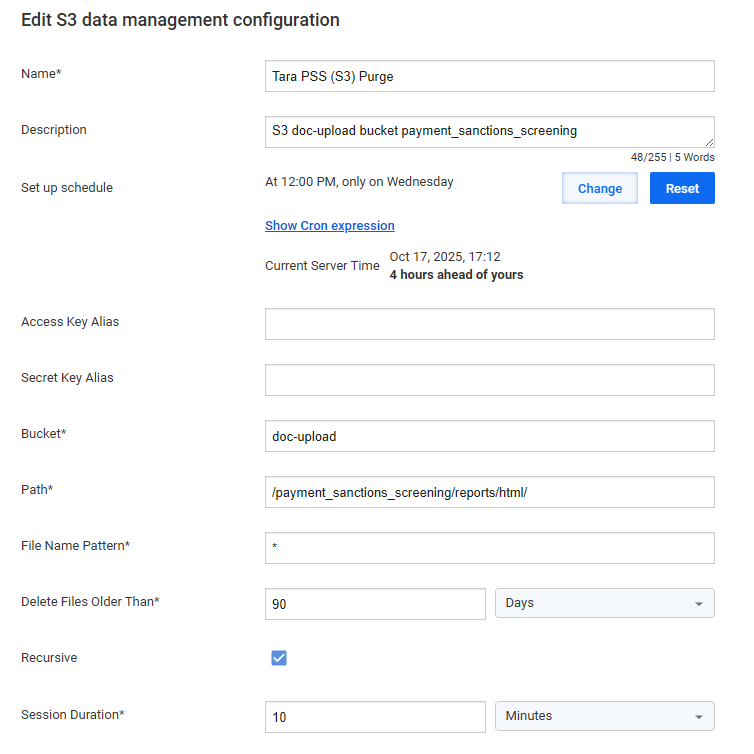
Tara PSS (S3) Purge
The purge deletes HTML reports from the S3 object storage that are older than 90 days.
The purge is disabled by default. It is recommended to enable it unless HTML reports are required for audit purposes. Reports are human-readable, but the same information is available in Quality Control (QC) reports and analytics.
HTML report files are generally only used for troubleshooting, and they represent the largest portion of Tara data stored in S3.
Tara PSS Data Archive
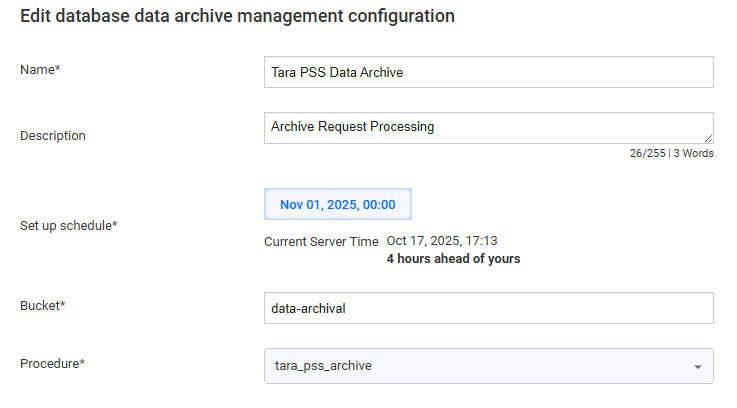
If the Tara PSS Data Archive configuration is not visible on the Data Management tab, this platform feature is disabled by default. You must enable it manually through SSH.
The configuration archives Tara's internal processing data from Data Stores older then 90 days by compressing and moving it to S3. In production environments, it is recommended to use Tara PSS Data Archive instead of Tara PSS (S3) Purge for audit purposes.
Enable data management configurations
All Tara data purge and data archive configurations are disabled by default. To enable required configurations, do as follows:
In Data Management, select the checkbox next to the desired configuration.
Click Enable.
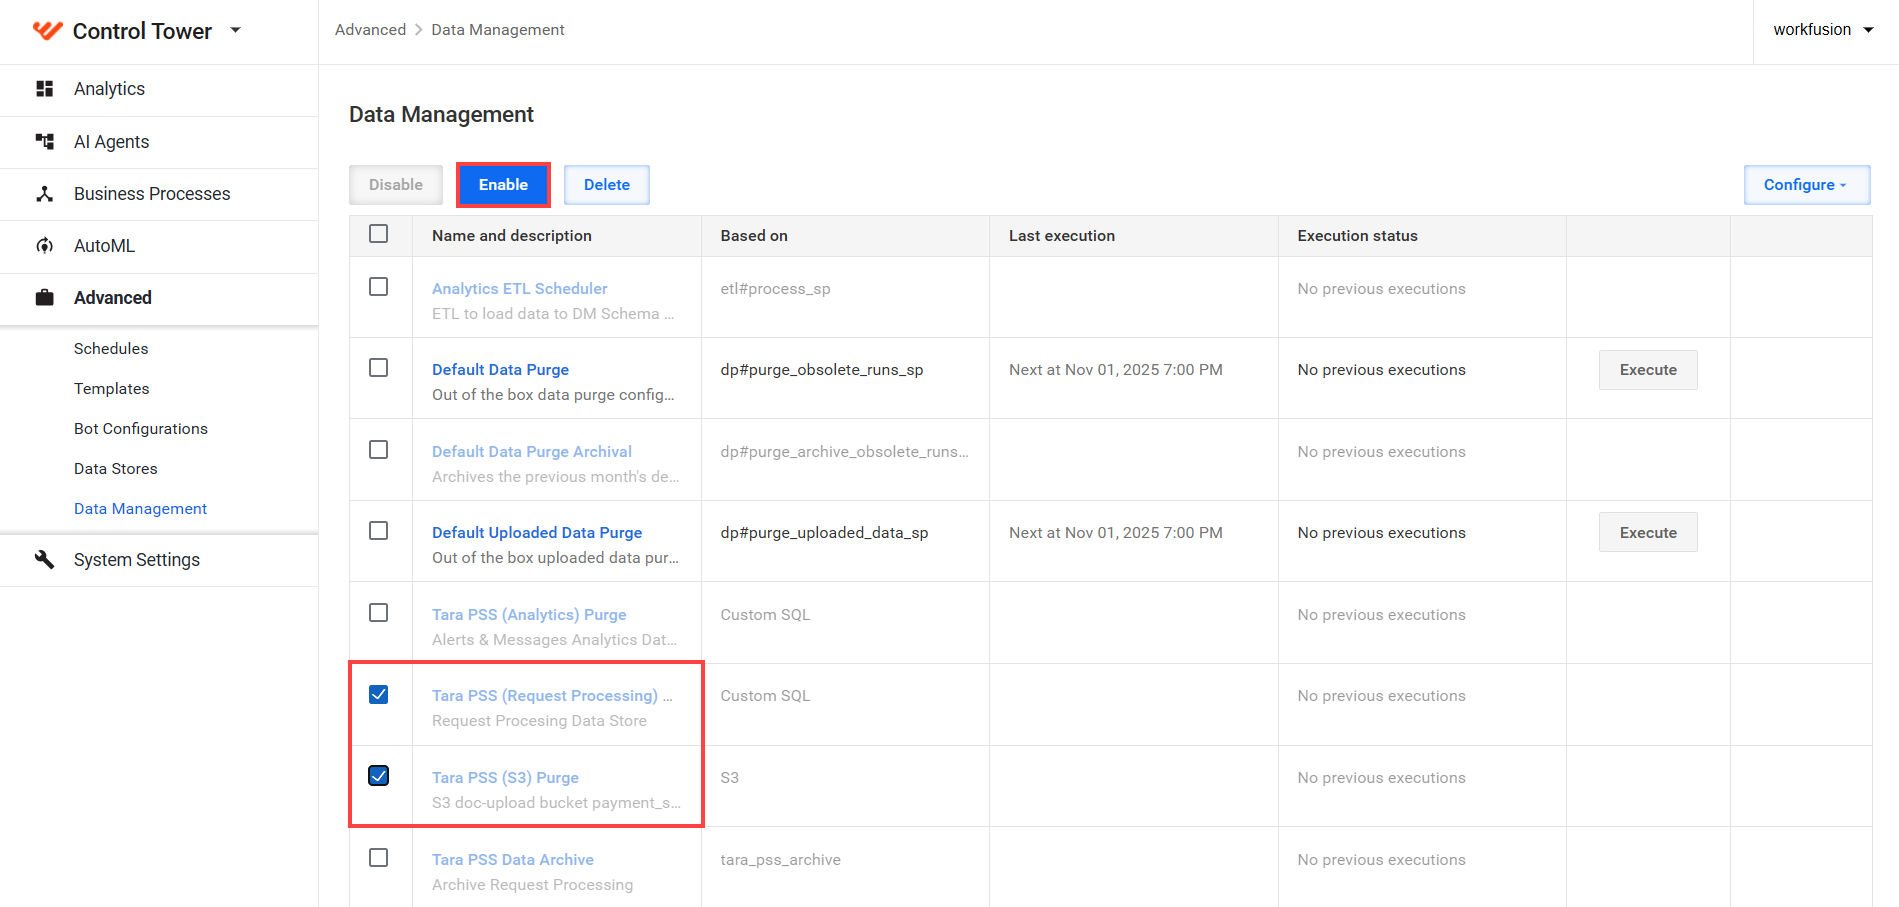
To disable configurations you do not need, select the checkbox and click Disable.
Enable Tara PSS Data Archive
To enable the Tara PSS Data Archive configuration, complete the following steps:
Connect to the platform host over SSH:
ssh wfuser@your-instance-master1.cloud.workfusion.comOpen the
/opt/workfusion/wf_installer/config_overrides.ymlfile for editing.Add the following setting:
data_archive_enabled: trueApply the configuration:
export ANSIBLE_PRIVATE_KEY_FILE="your_private_key_file" && export ANSIBLE_VAULT_PASS='your_vault_password'
./install.sh configure control-tower -e @config_overrides.yml
Restore archived data
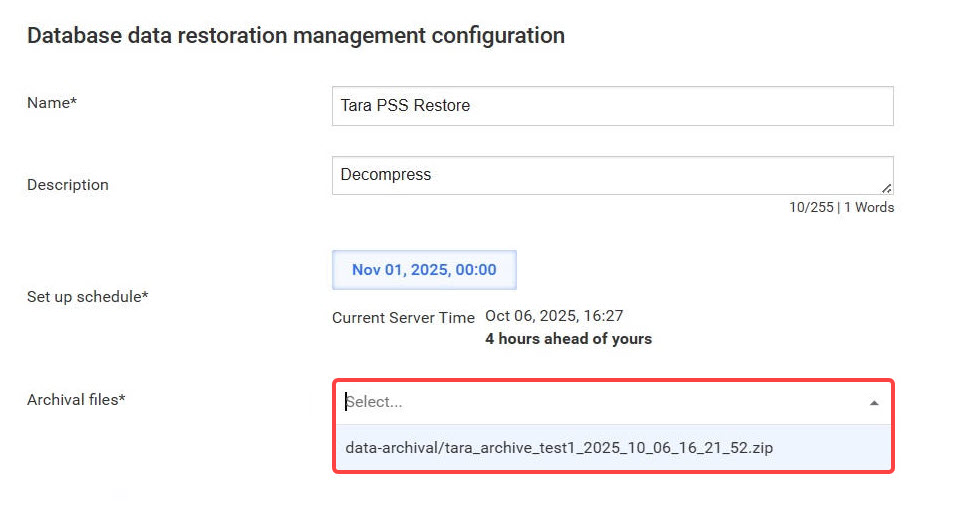
Archived data is saved to the S3 object storage, usually in the data-archival bucket, as a compressed zip file with the date and time of the archive process.
In Data Management, click Configure and select Database data restoration management.
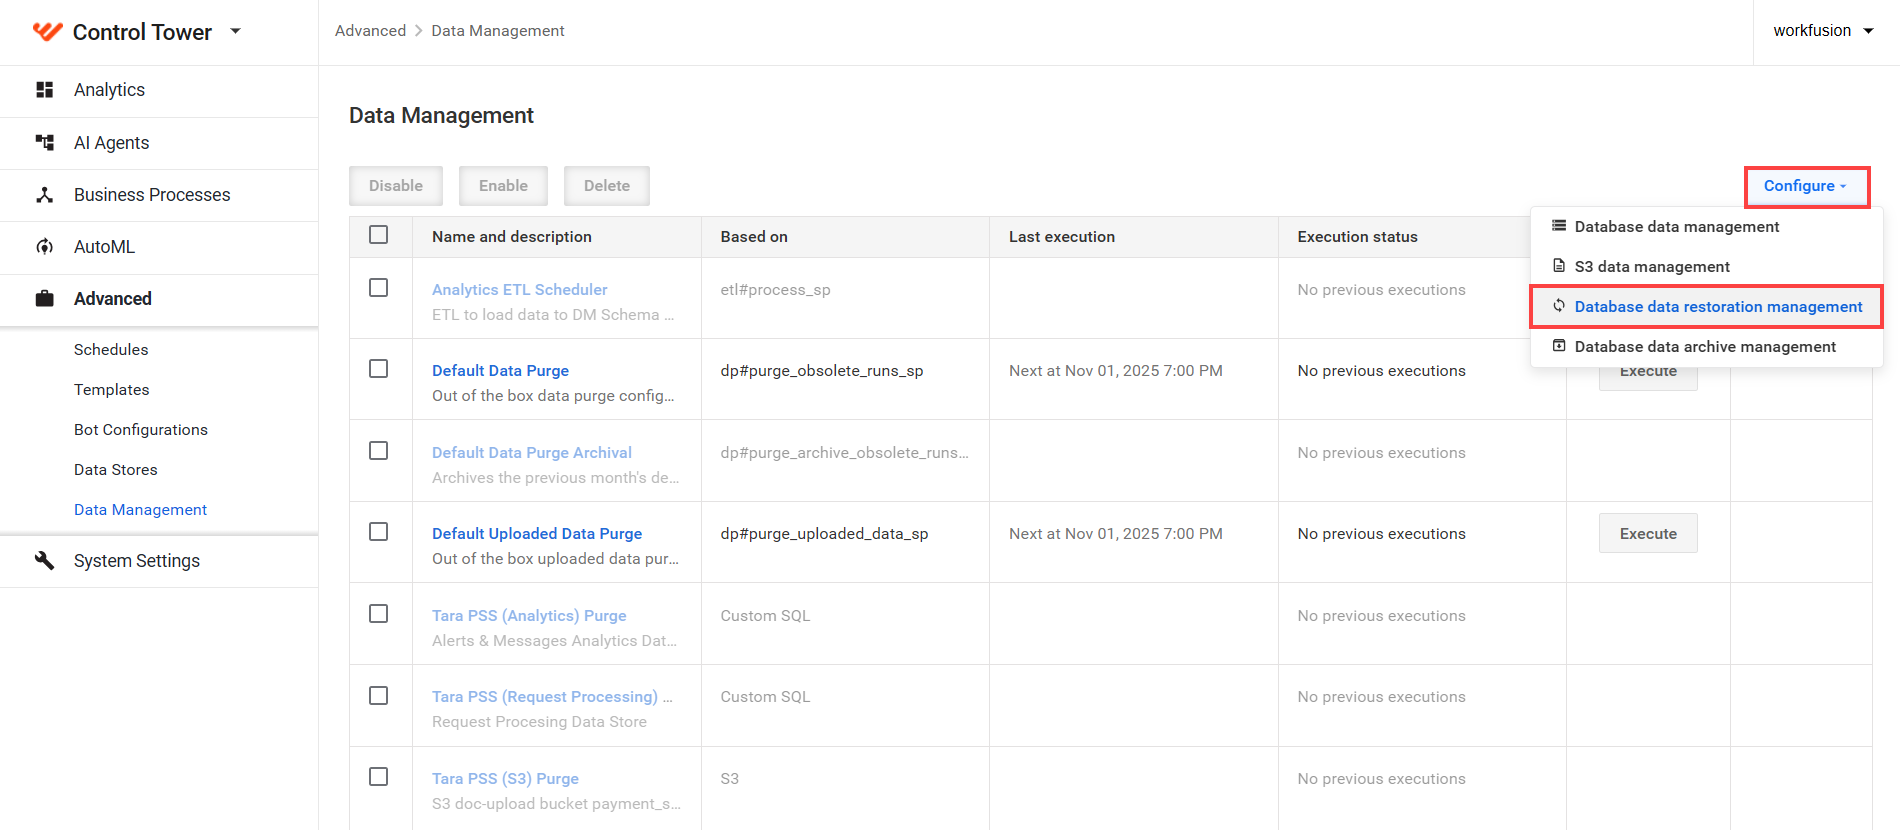
In Archival files, select the file to restore and click Save.