
Update from 10.0.3 to 10.0.4
The guide describes the steps to upgrade IA Cloud Enterprise from 10.0.3 to 10.0.4.
Prerequisites
- You have WorkFusion Intelligent Automation Cloud Enterprise 10.0.3 up and running.
- All business processes in Control Tower are stopped.
- The license must be activated in Tableau.
Download and extract patch
Connect to the INT server via SSH and run the following commands as <linux_installation_user>:
Go to the <package_dir> directory, where the installer was extracted during the initial installation of 10.0.3, for example: INSTALL_DIR/wf_installer. Ensure that <package_dir> is writable for <linux_installation_user>:
$ cd PACKAGE_DIR
$ sudo chown -R <linux_installation_user> ./
Create the patches directory, if it does not exist, and download the patch:
$ mkdir patches
$ cd patches/
$ curl -o 'patch_10.0.3-10.0.4.tar.gz' '<patch download url>'
If the Internet access is not available on the Integration server, download the patch to the <package_dir>/patches/ directory with any convenient method.
Extract the patch:
$ tar xzf patch_10.0.3-10.0.4.tar.gzAfter the extraction, in the <package_dir>/patches/ directory, you will find the patch_10.0.4.sh script and the patch_10.0.4 directory. Example:
$ ls -la
drwxrwxr-x. 6 ec2-user ec2-user 276 Nov 14 07:51 patch_10.0.4
-rwxrwxr-x. 1 ec2-user ec2-user 1497 Nov 13 17:25 patch_10.0.4.sh
note
If you patch the system in the Multi-point (Legacy) way, repeat the above steps on the APP server.
Apply patch
Apply the patch, depending on your installation approach:
Prepare the environment variables. On the INT server, run the following commands as <linux_installation_user>:
$ export ANSIBLE_PRIVATE_KEY_FILE="</path_to_ssh_key>" # Path to SSH key for connection to all Linux servers as <linux_installation_user>
$ export ANSIBLE_REMOTE_USER="<linux_installation_user>" # <linux_installation_user> provided in config.yml
On the APP server, stop the running workfusion, workspace, and sqc services. For that, go to <package_dir> and run the following commands as <linux_installation_user>:
$ cd PACKAGE_DIR
$ ./install.sh stop_services app
Run the below commands one by one to apply the patch.
$ cd patches/
$ ./patch_10.0.4.sh apply int # update INT server to 10.0.4 state
$ ./patch_10.0.4.sh apply app # update APP server to 10.0.4 state
On the APP server, start all services that are stopped. For that, go to <package_dir> and run the following commands as <linux_installation_user>:
$ cd PACKAGE_DIR
$ ./install.sh start_services app
Apply the patch on the INT server. Run the following commands as <linux_installation_user>:
$ cd PACKAGE_DIR/patches/
$ ./patch_10.0.4.sh apply int # update INT server to 10.0.4 state
On the APP server stop all running services. For that, go to <package_dir> and run the following commands as <linux_installation_user>:
$ cd PACKAGE_DIR
$ ./install.sh stop_services app
Apply the patch on the APP server. Run the following commands as <linux_installation_user>:
$ cd PACKAGE_DIR/patches/
$ ./patch_10.0.4.sh apply app # update APP server to 10.0.4 state
On the APP server start all services that are stopped. For that, go to <package_dir> and run the following commands as <linux_installation_user>:
$ cd PACKAGE_DIR
$ ./install.sh start_services app
Patching is completed. It may require about five minutes for Control Tower to start. If you see error 503 in the browser right after the patching, wait a bit.
Upgrade Analytics server
Backup Tableau data
Before upgrading the Analytics server, create a reserve copy of data on the server:
On your Analytics server, open CMD as Administrator, and create a directory for backups (here c:\workfusion\patch_10_0_4_backup):
mkdir "c:\workfusion\patch_10_0_4_backup"Run the following command to backup the data:
tsm maintenance backup --file workfusion_analytics_backup --append-date --username .\<your-tableau-admin-user> --password <your-tableau-admin-password>
Remember to specify your Tableau username and the corresponding password.
The backup file is created with the name workfusion_analytics_backup-*.tsbak , where "*" is the date of the file creation, for example, workfusion_analytics_backup-2019-11-12.tsbak.
After the backup file is created, run the following command to copy it to the backups directory:
copy /Y C:\workfusion\WorkFusionAnalyticsServer\data\tabsvc\files\backups\workfusion_analytics_backup-*.tsbak c:\workfusion\patch_10_0_4_backup\Here, C:\workfusion\WorkFusionAnalyticsServer is the default directory of installed Tableau. Remember to change it correspondingly, if you have installed Tableau to a different directory.
Install new Analytics server
warning
Before updating the Analytics components, remember to deactivate your current Tableau license. Otherwise, you may lose it.
To deactivate your Tableau license, connect to the Analytics server via RDP, open Powershell as Administrator, and execute the following commands. Remember to specify your license key, and the name and password of the user with Administrator rights under which installation is performed (here, <bi_user>).
$ tsm login --username <bi_user> --password <bi_user_password>
$ tsm licenses list
$ tsm licenses deactivate -k <YOUR-LICENSE-KEY>
To install the Analytics server:
Download the new Analytics Server installer and unpack it to a required folder. The installer is located in the sources directory of the package.
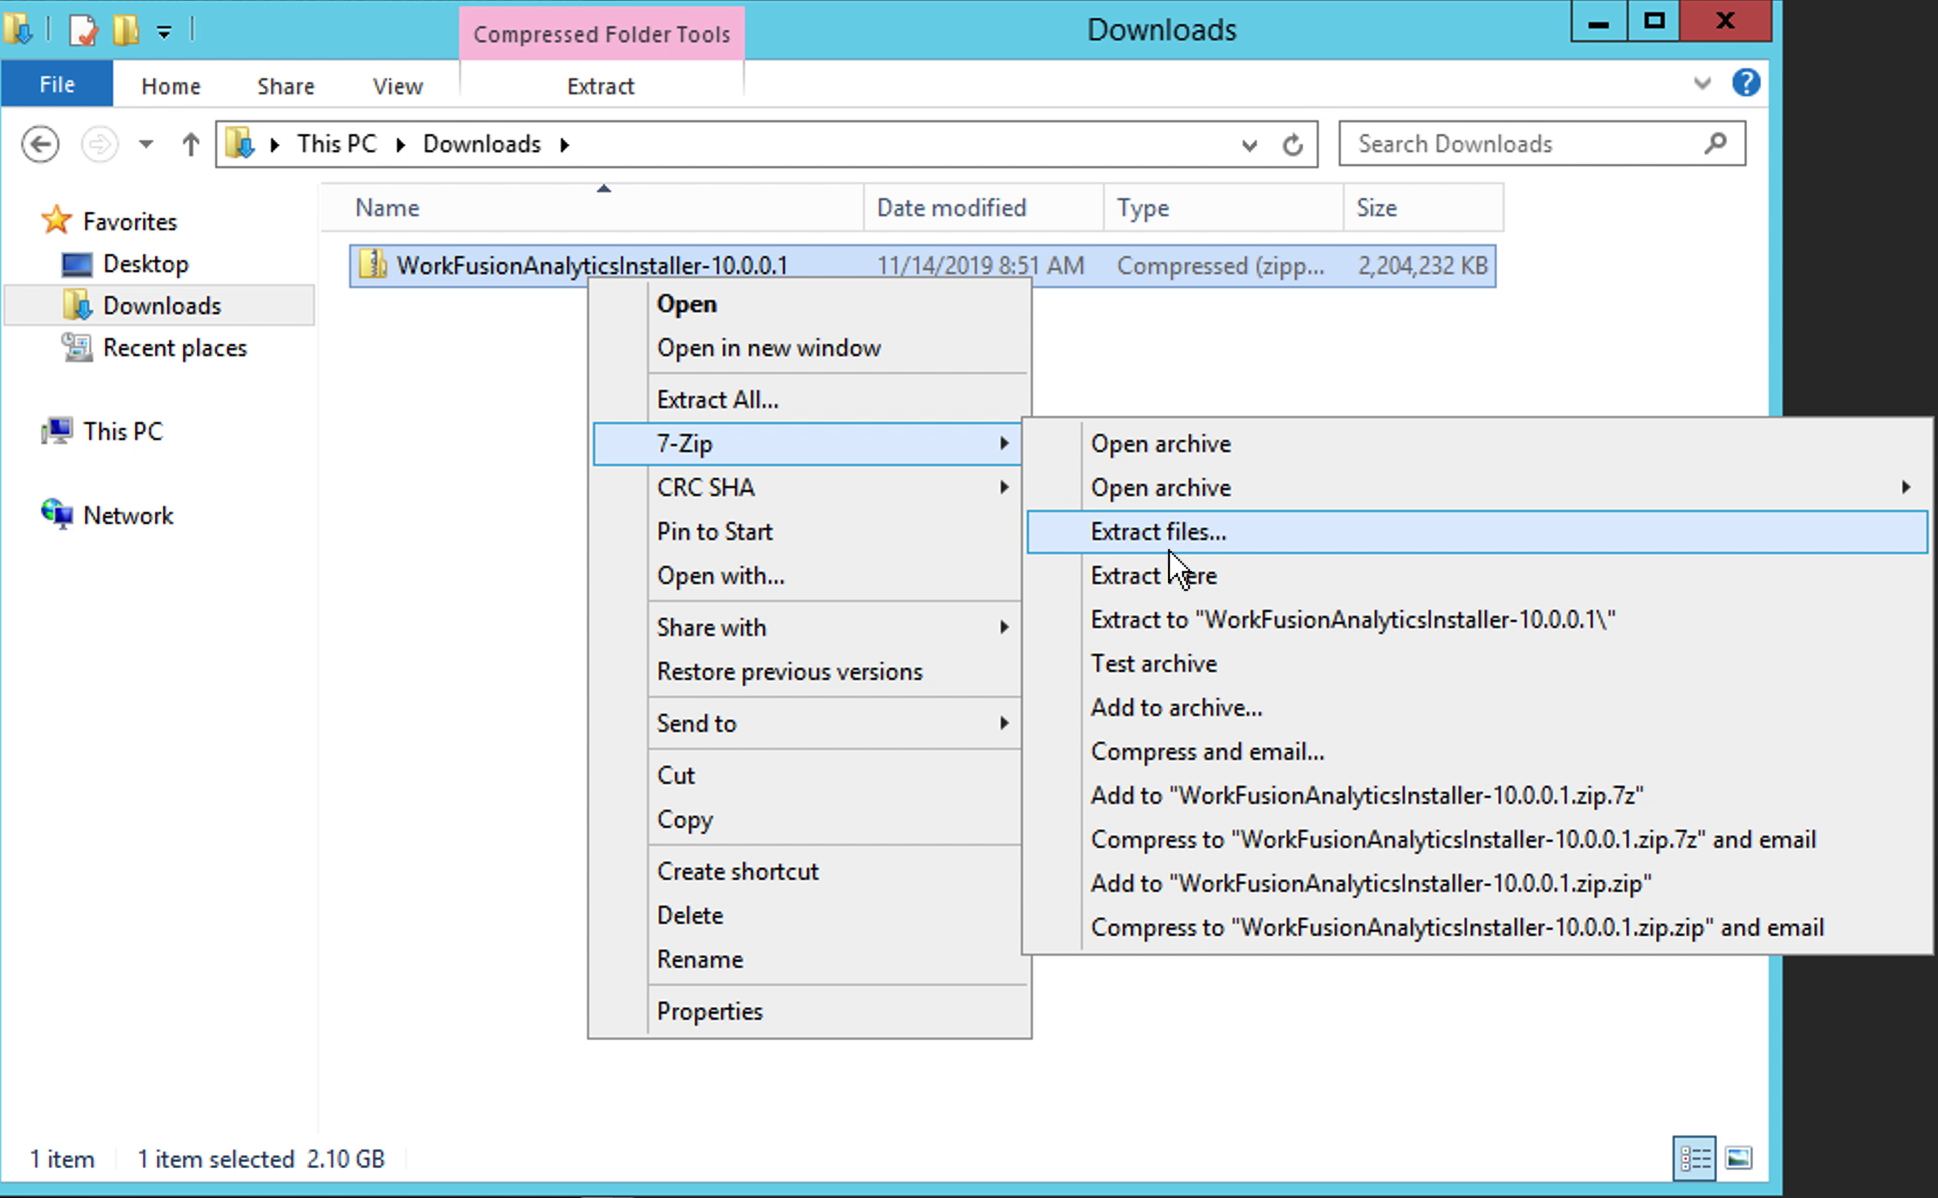
Run CMD as administrator, and install the new Tableau version:
C:\Users\ec2-user\Downloads\WorkFusionAnalyticsServer\app\TableauServer-2018-3-10-WorkFusion-64bit.exe /SILENT /ACCEPTEULA /SUPPRESSMSGBOXES /DIR="C:\workfusion\WorkFusionAnalyticsServer"
Initialize updated Analytics server
To initialize the updated server in the IA Cloud system:
Stop the running Analytics server:
tsm stop --username .\<your-tableau-admin-user> --password <your-tableau-admin-password>Run the upgrade script:
C:\workfusion\WorkFusionAnalyticsServer\packages\scripts.20183.19.0809.2120\upgrade-tsm --username .\<your-tableau-admin-user> --password <your-tableau-admin-password>Here, C:\workfusion\WorkFusionAnalyticsServer is the default directory of installed Tableau. Remember to change it correspondingly, if you have installed Tableau to a different directory.
Start the Analytics server:
tsm start --username .\<your-tableau-admin-user> --password <your-tableau-admin-password>Remove the previous version of the Analytics Server by clicking the respective item in Control Panel > Programs and Features >Uninstall a program.
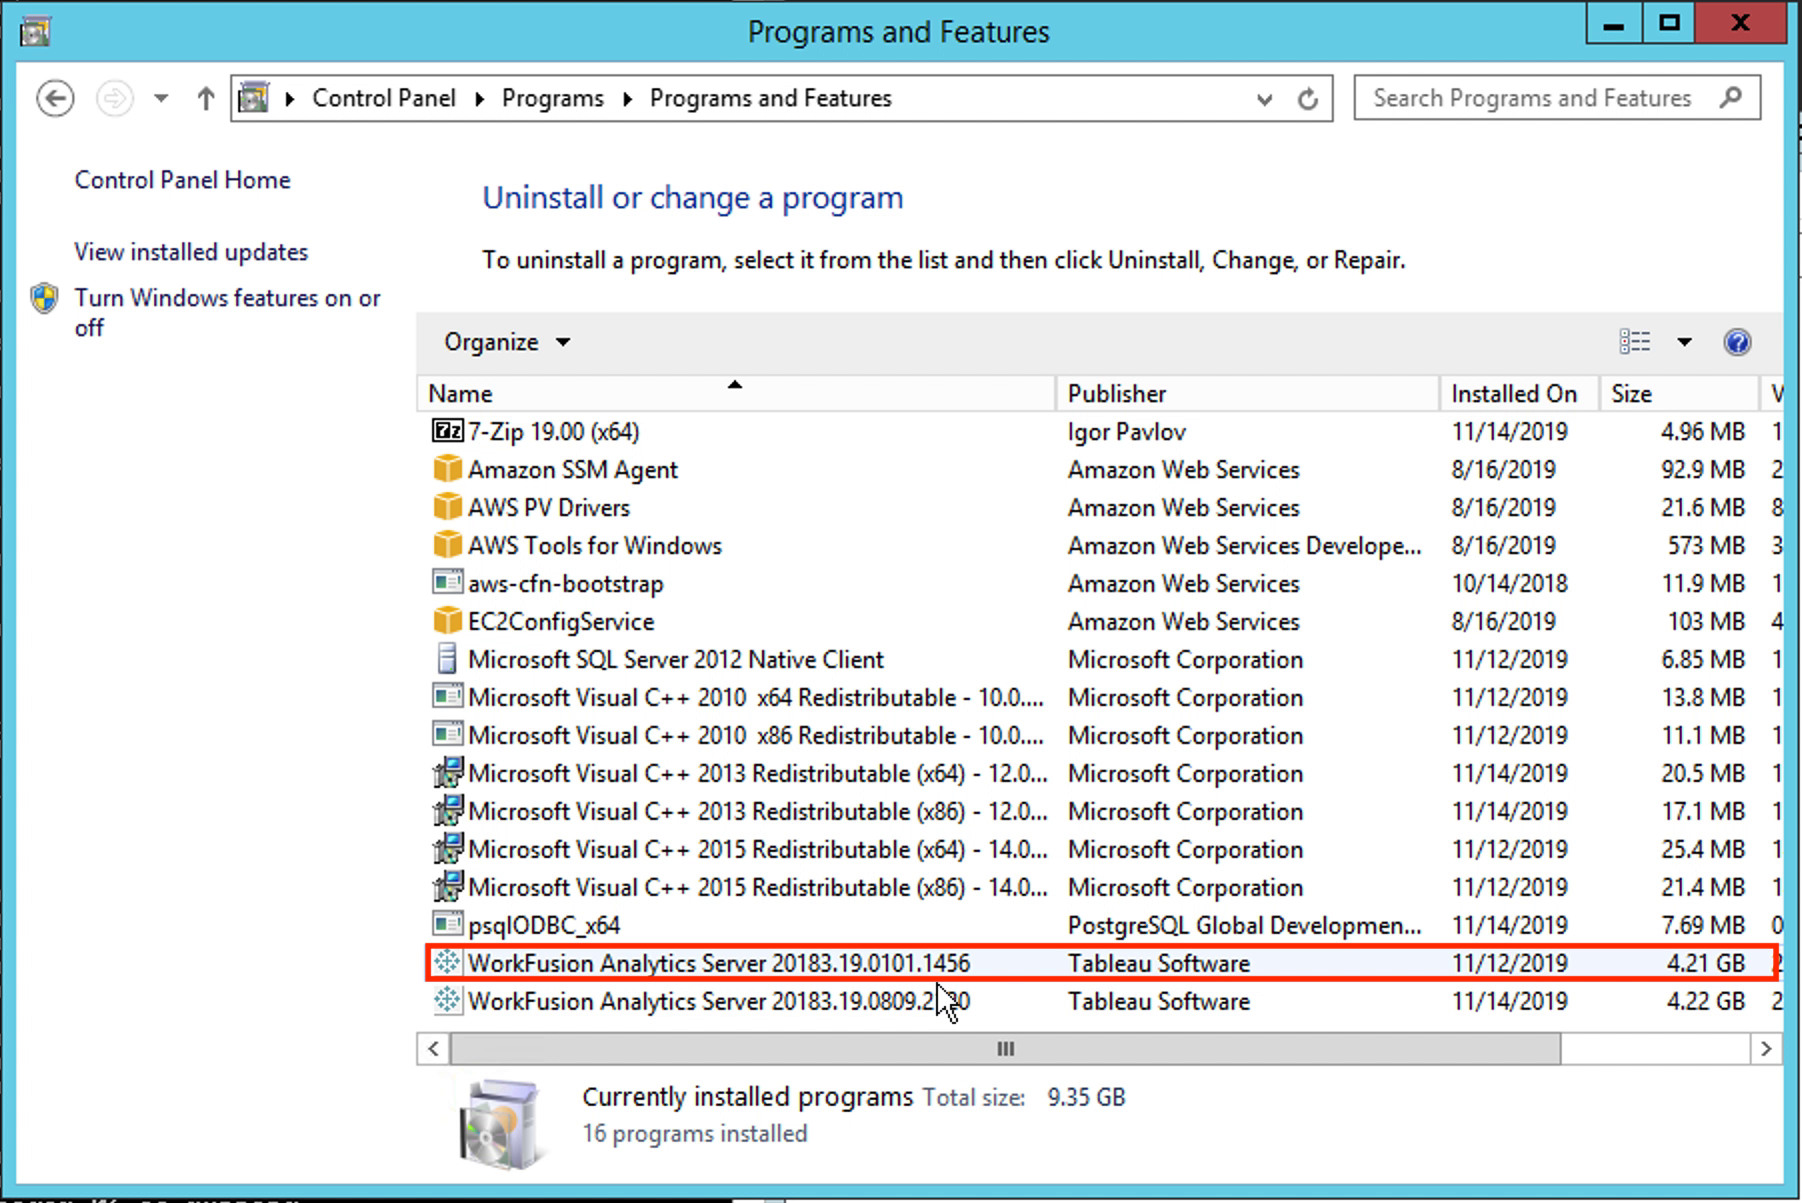
Restart the Windows server with the updated Analytics with any available method.
The Analytics server is now updated to the latest version.
Additional information
For more information on the process of the Tableau upgrade, see the following guides:
- https://help.tableau.com/current/server/en-us/upgrade_pre.htm
- https://help.tableau.com/current/server/en-us/sug_upgrade.htm
- https://help.tableau.com/current/server/en-us/uninstall_server.htm
- https://kb.tableau.com/articles/howto/rolling-back-to-an-earlier-installation-of-tableau-server
Verify installation
Once the update is completed, check WorkFusion Platform with Business Process (BP) and Manual Task. OCR must be activated.
For that, on the INT server, run the following commands as <linux_installation_user>:
$ ./install.sh check app -e test_rpa=true -e test_ie=true -e test_desktop=true -e test_ocr=true -e test_ml=true
For more information on the post-installation checks, see Installation.
To check the Analytics server, after the Tableau server is restarted, run the following command:
tsm version

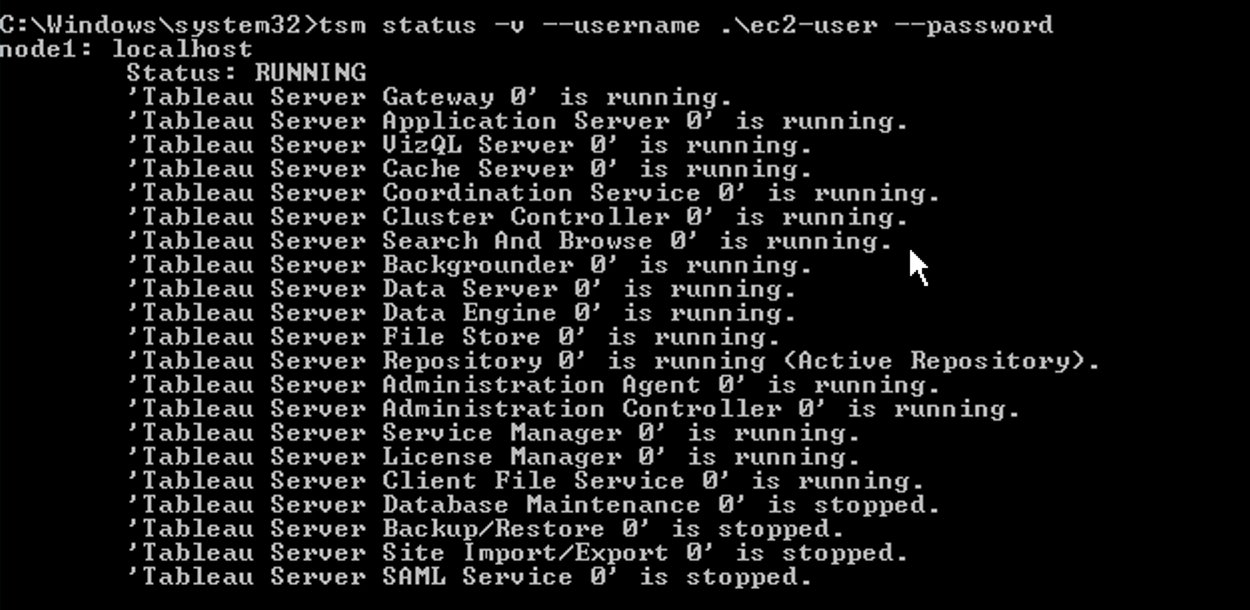
You can also check the Analytics server's status:
tsm status -v --username .\<your-tableau-admin-user> --password <your-tableau-admin-password>
Rollback
Rollback is performed in the same manner as the apply operation, but option rollback is used instead.
To roll the changes back, on the INT server, run the following commands as <linux_installation_user>:
$ cd <patch-dir>
$ ./patch_10.0.4.sh rollback <server-role> # Will bring desired server to 10.0.3 state.

# Available options for <server-role>: int, app.
To revert changes on the Analytics server:
On the Analytics server, open CMD, and then run the following command to deactivate your existing Tableau licence:
tsm licenses deactivate -k <your-tableau-license> --username .\<your-tableau-admin-user> --password <your-tableau-admin-password>Run the following script to completely remove Tableau:
C:\workfusion\WorkFusionAnalyticsServer\packages\scripts.20183.19.0809.2120\tableau-server-obliterate -y -y -yInstall the previous version of Tableau. For that repeat steps 1-4 of the Install WorkFusion Analytics Server guide:
Start the Command Prompt (not PowerShell) and go to the WorkfusionAnalyticsServer directory in the unpacked installation package.
Set the following environment variables:
SET lic_key=<your-tableau-license>
SET win_user=<your-win_user>
SET win_pass=<your-win_user_password>
SET TABLEAU_USER=<your_tableau_user>
SET TABLEAU_PASS=<your_tableau_password>
Create the INSTALL_DIR directory, and then copy the bi.crt and bi.key certificate files to it. SSL configuration is mandatory, starting from SPA version 10.0.
Run the installation file install_server.bat with the specified installation directory and the APP hostname.
install_server.bat *`INSTALL_DIR`* <APP_HOSTNAME>
Restore your data from backup by copying the backup file (here, workfusion_analytics_backup-*.tsbak) from c:\workfusion\patch_10_0_4_backup to the C:\workfusion\WorkFusionAnalyticsServer\data\tabsvc\files\backups\ directory.
Run the script to import data from the backup file (here, workfusion_analytics_backup-*.tsbak):
tsm maintenance restore --file workfusion_analytics_backup-*.tsbak --username .\<your-tableau-admin-user> --password <your-tableau-admin-password>Start the server with the following command:
tsm start --username .\<your-tableau-admin-user> --password <your-tableau-admin-password>