
Design Business Process
To design a Business Process (BP) means to create and set up a sequence of steps, such as Manual or Bot Tasks, nested processes, or rules, as required to accomplish a business goal. To start designing, navigate to the Workflow tab of your BP.
note
When you design a BP, it's recommended to use only tested tasks and processes. Make sure that all tasks within the BP have valid input data and generate valid output.
Explore design interface
The Workflow tab features the following design tools and elements:
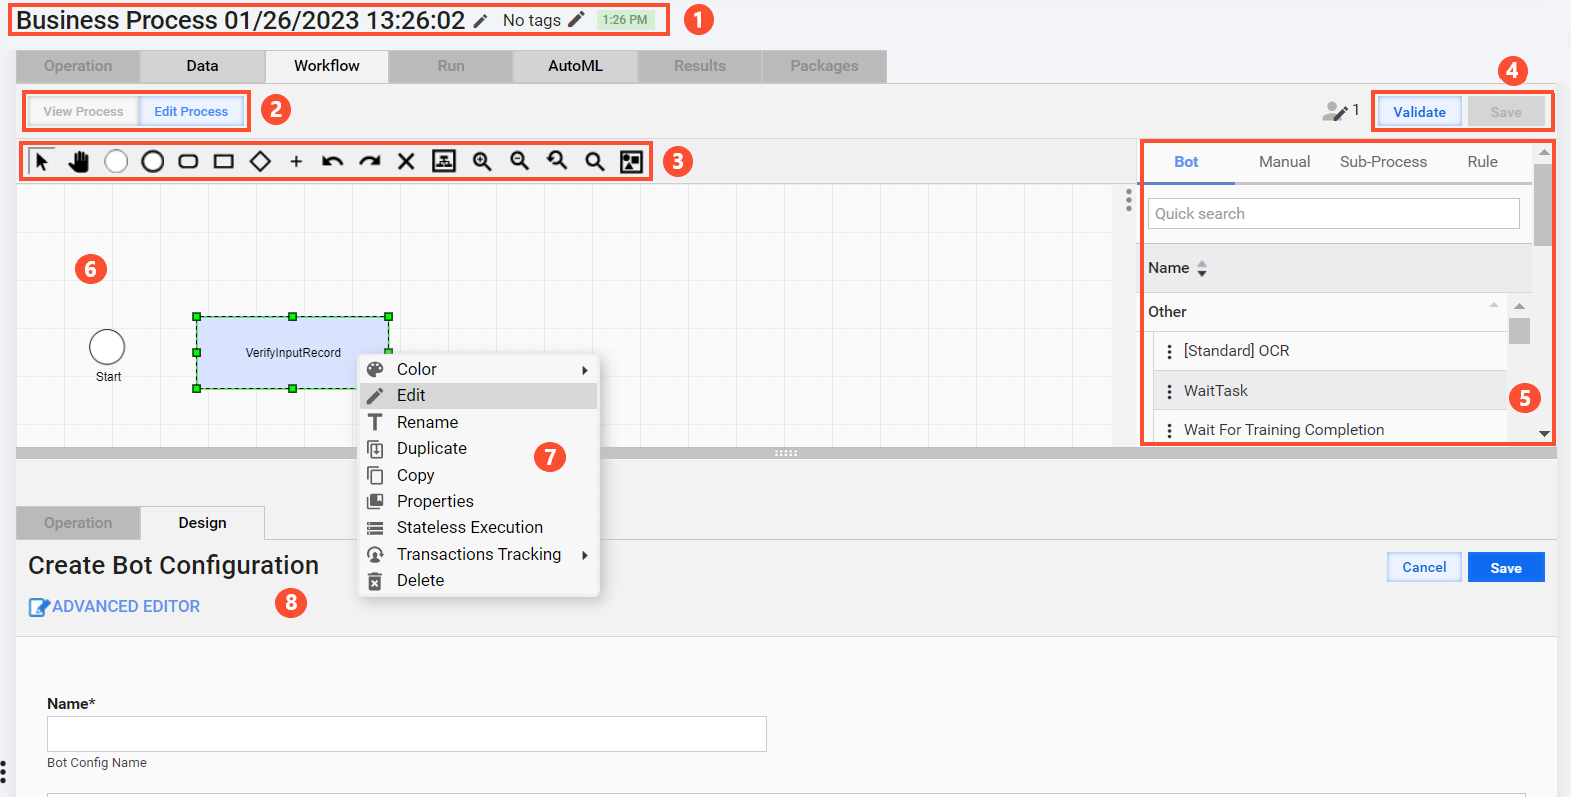
The digits in the figure above correspond to the following descriptions:
Title panel: you can specify a unique BP name and add tags for better indexing. The date and time values change automatically, depending on when you create or update the BP.
Modes:
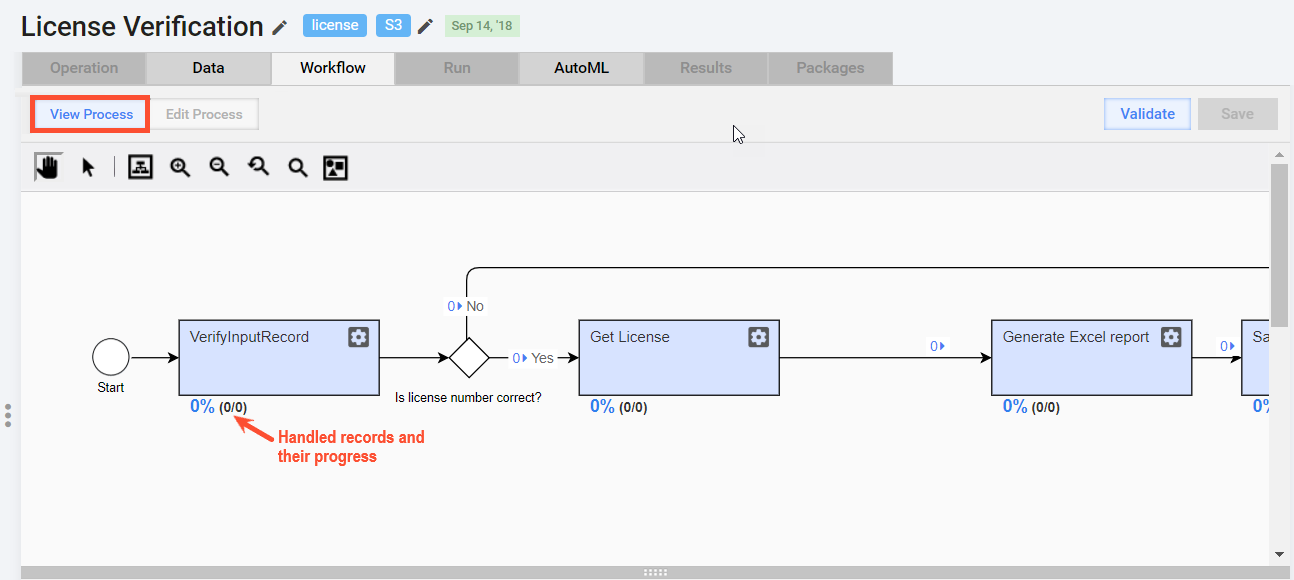
In the View Process mode, you can watch the progress of handled records at each step or double-click tasks and rules to view their settings. However, you cannot modify the BP or any of its elements.
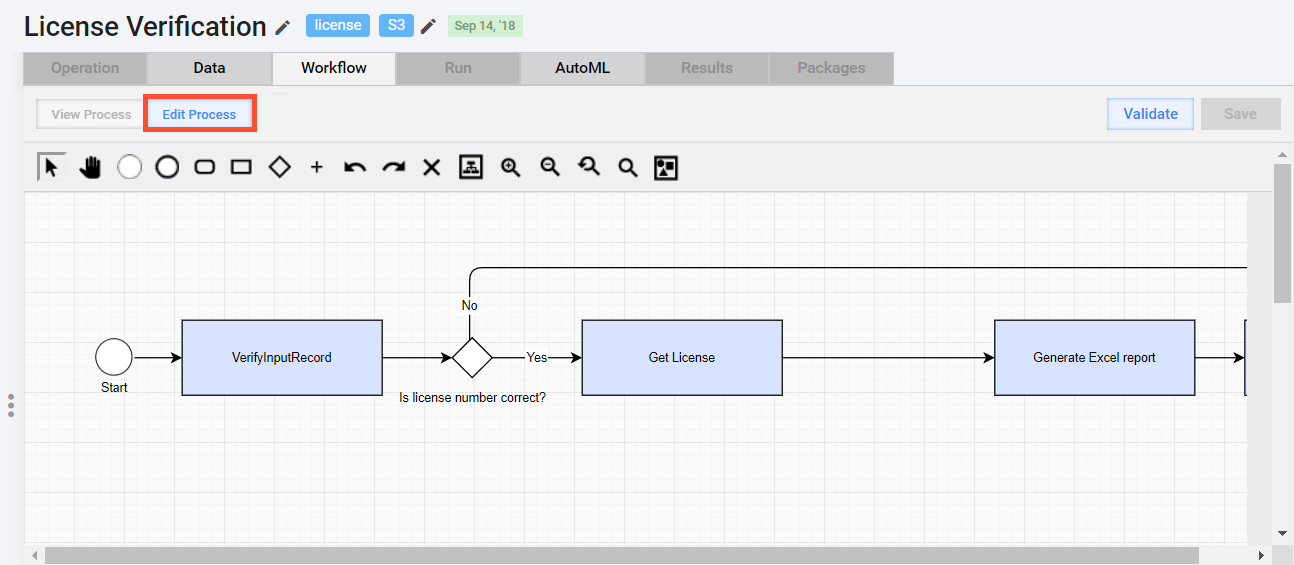
In the Edit Process mode, you can make modifications to the BP and its elements.
Toolbar: add elements to the canvas and manage viewing options.
Tool Purpose 
Select the workflow elements. 
Shift the canvas by clicking an empty space and dragging. 
Add elements to start or end the BP, include a Manual Task, Bot Task, rule, or nested BP. You can add the elements by dragging them to the canvas or by selecting an appropriate icon in Toolbar and clicking an empty space in the canvas. 
Undo or redo a preceding action. 
To delete an element, select it and click the icon or press the Delete key. 
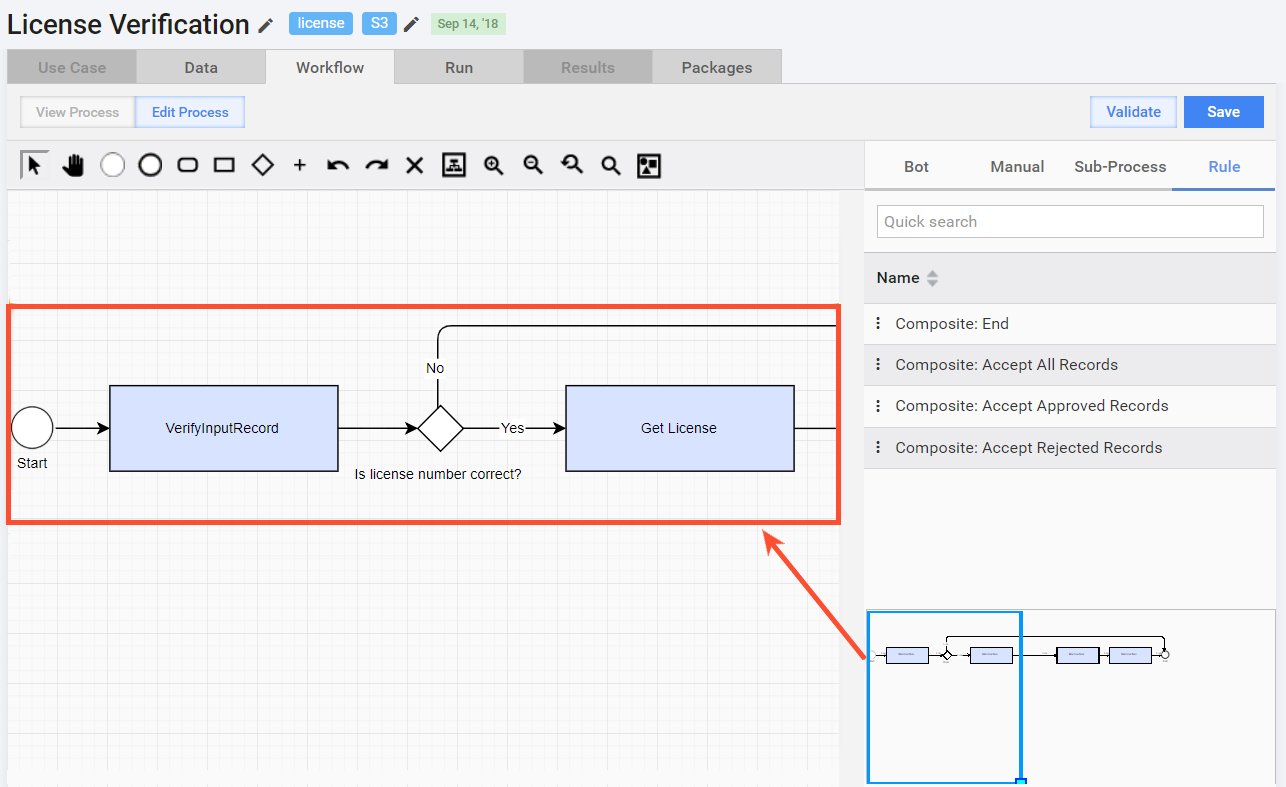
The set of options is intended for comfortable viewing of large BP workflows. Click a corresponding icon to fit the workflow to the size of the canvas, zoom in on or out of it, return to the actual size, and so on. tip
To navigate across the BP flow, no matter how big and complicated it is, move the blue frame on the scheme miniature in the right bottom corner.
Buttons: click Validate to validate the BP and Save—to save it. You cannot save a BP unless you validate it.
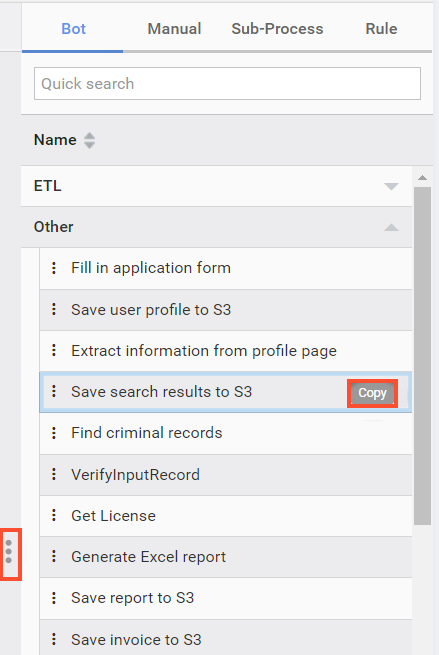
Side Panel: contains all existing Manual Tasks, Bot Tasks, BP Operations used as nested processes, and rules. To use the elements in your BP, drag them to the canvas.
To hide the panel, click the left panel border. To copy tasks and rules, hover over respective elements and click the displayed Copy button.
Canvas: the checkered background is intended for placing the BP elements and connections between them.
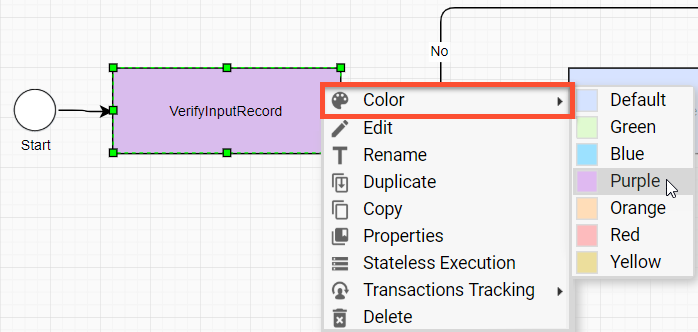
Context menu: to open the menu, right-click a workflow element.
If you duplicate a task or nested BP, all subsequent changes in the source or duplicated task or BP are synchronized.
If you copy a task or nested BP, you are prompted to edit its name, and there is no synchronization between the source and the copy.
To improve the workflow readability and logically group similar steps, add custom colors to any process step or sub-process.
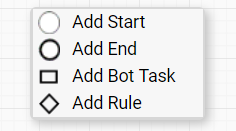
If you right-click an empty space within the canvas, the following context menu is displayed:
Bottom panel: it is intended to view and edit BP tasks. To open the bottom panel, double-click a task or right-click it and select Edit from the context menu. You can change the panel size by dragging its top border.
Design workflow
Below is a general sequence how you can design a BP workflow:
- Switch to the Edit Process mode.
- Add the Start and End elements.
- Add the task and processes. Set up and save them.
- Add Rules between the tasks and processes.
- Add connections between all elements in the sequence.
- Validate the BP. If needed, read error messages and warnings and edit the BP elements.
- Save the BP and switch to the Run tab to set run options and start the resulting BP.
note
To save and run a BP, you should upload initial data file and validate the BP schema.