Install and configure
The guide helps you install and configure the Name Screening Hit Review skill.
Prerequisites
Before installing the Name Screening skill, make sure that your environment meets the following requirements.
Hardware
The servers' requirements for the skill are the same as for the IA Cloud Enterprise Platform. To run the screening, you don't need the RPA server.
| Server | Recommended OS | CPU (cores) | RAM (GB) | HDD (GB) |
|---|---|---|---|---|
| Master | RHEL 8.5 | 8 | 32 | 750 |
| Agent | RHEL 8.5 | 8 | 32 | 150 |
| Analytics | Windows Server 2016 | 4 | 16 | 150 |
| MSSQL | Windows Server 2016 | 4 | 16 | 500 |
Software
- You have installed IA Cloud Enterprise v.10.2.5+ and have Control Tower (CT) and Analytics components enabled. See the installation guide. For IA Cloud v.10.1.6+, ODF is installed automatically along with the system. For more information on the ODF setup in earlier Product versions, see the detailed installation guide.
- You have obtained the bundle with NSS Business Process and ML models from your Account Managers.
- You have received the credentials for the required watchlists or licenses for the external screening software to be integrated with the skill.
- You have enabled the Advanced Package Import and Import/Export permissions in CT.
Performance
Name Screening Hit Review leverages BEP servers, which can be horizontally scaled for higher volumes.
Below is a sample of the volumes that can be expected when using the provided version and configuration. The system shows stable performance and resource consumption during the whole test, without unexpected spikes and errors, or any critical errors and warnings in logs.
Testing has been performed with disabled the Factiva provider, as it's not possible to run the Skill with big test data without being blocked by Factiva due to huge amount of requests.
Configuration:
| Skill version | Environment topology | Tested IA Cloud version | Number of OCR Workers | ML Worker configuration | CT Worker configuration |
|---|---|---|---|---|---|
| 2.0 | 3 / 6 / 20 Agents | 10.2.7 | 7 | 1 CPU / 4 GB memory | 0.4 CPU / 2 GB memory |
Results:
| Number of Agents | Number of screened names | Duration | Number of CT tasks | Number of CT Workers | AML task throughput |
|---|---|---|---|---|---|
| 3 | 20,000 | 1 hr 30 min | 5,242 | 29 | 0.317 |
| 6 | 20,000 | 1 hr | 9,450 | 59 | 0.647 |
| 20 | 20,000 | 21 min | 29,183 | 240 | 1.823 |
Install
See the Install AI Agents guide.
Configure
Once Name Sanctions Screening is installed, configure the skill before running it for the first time:
- Select a screening system.
- Choose prepackaged or customer ML Model.
- Toggle the Automatic Quality Check feature.
- Review configuration before submitting.
Starting in 10.2.5.X +, you can configure multiple variations, or sets of parameters, for NSS. For example, a different media provider or a set of keywords per variation. For more information, see the v.10.2.5 release notes.
Set up API credentials in Secrets Vault
Before setting the screening providers, ensure you have obtained the corresponding license with credentials.
The following search providers are supported:
- Dow Jones Factiva Rest API 1.0
- World-Check One
- FircoTrust Case Manager API v5.4.22
To use these providers, first set up these credentials in Secrets Vault. For the step-by-step instructions, see this guide.
Select provider
To select a screening provider, do the following:
In the Control Tower menu, in the Digital Workers section, find your newly installed Name Screening AI Digital Worker, and click the Prepare button.
The Prepare your digital worker window containing the configuration form appears.
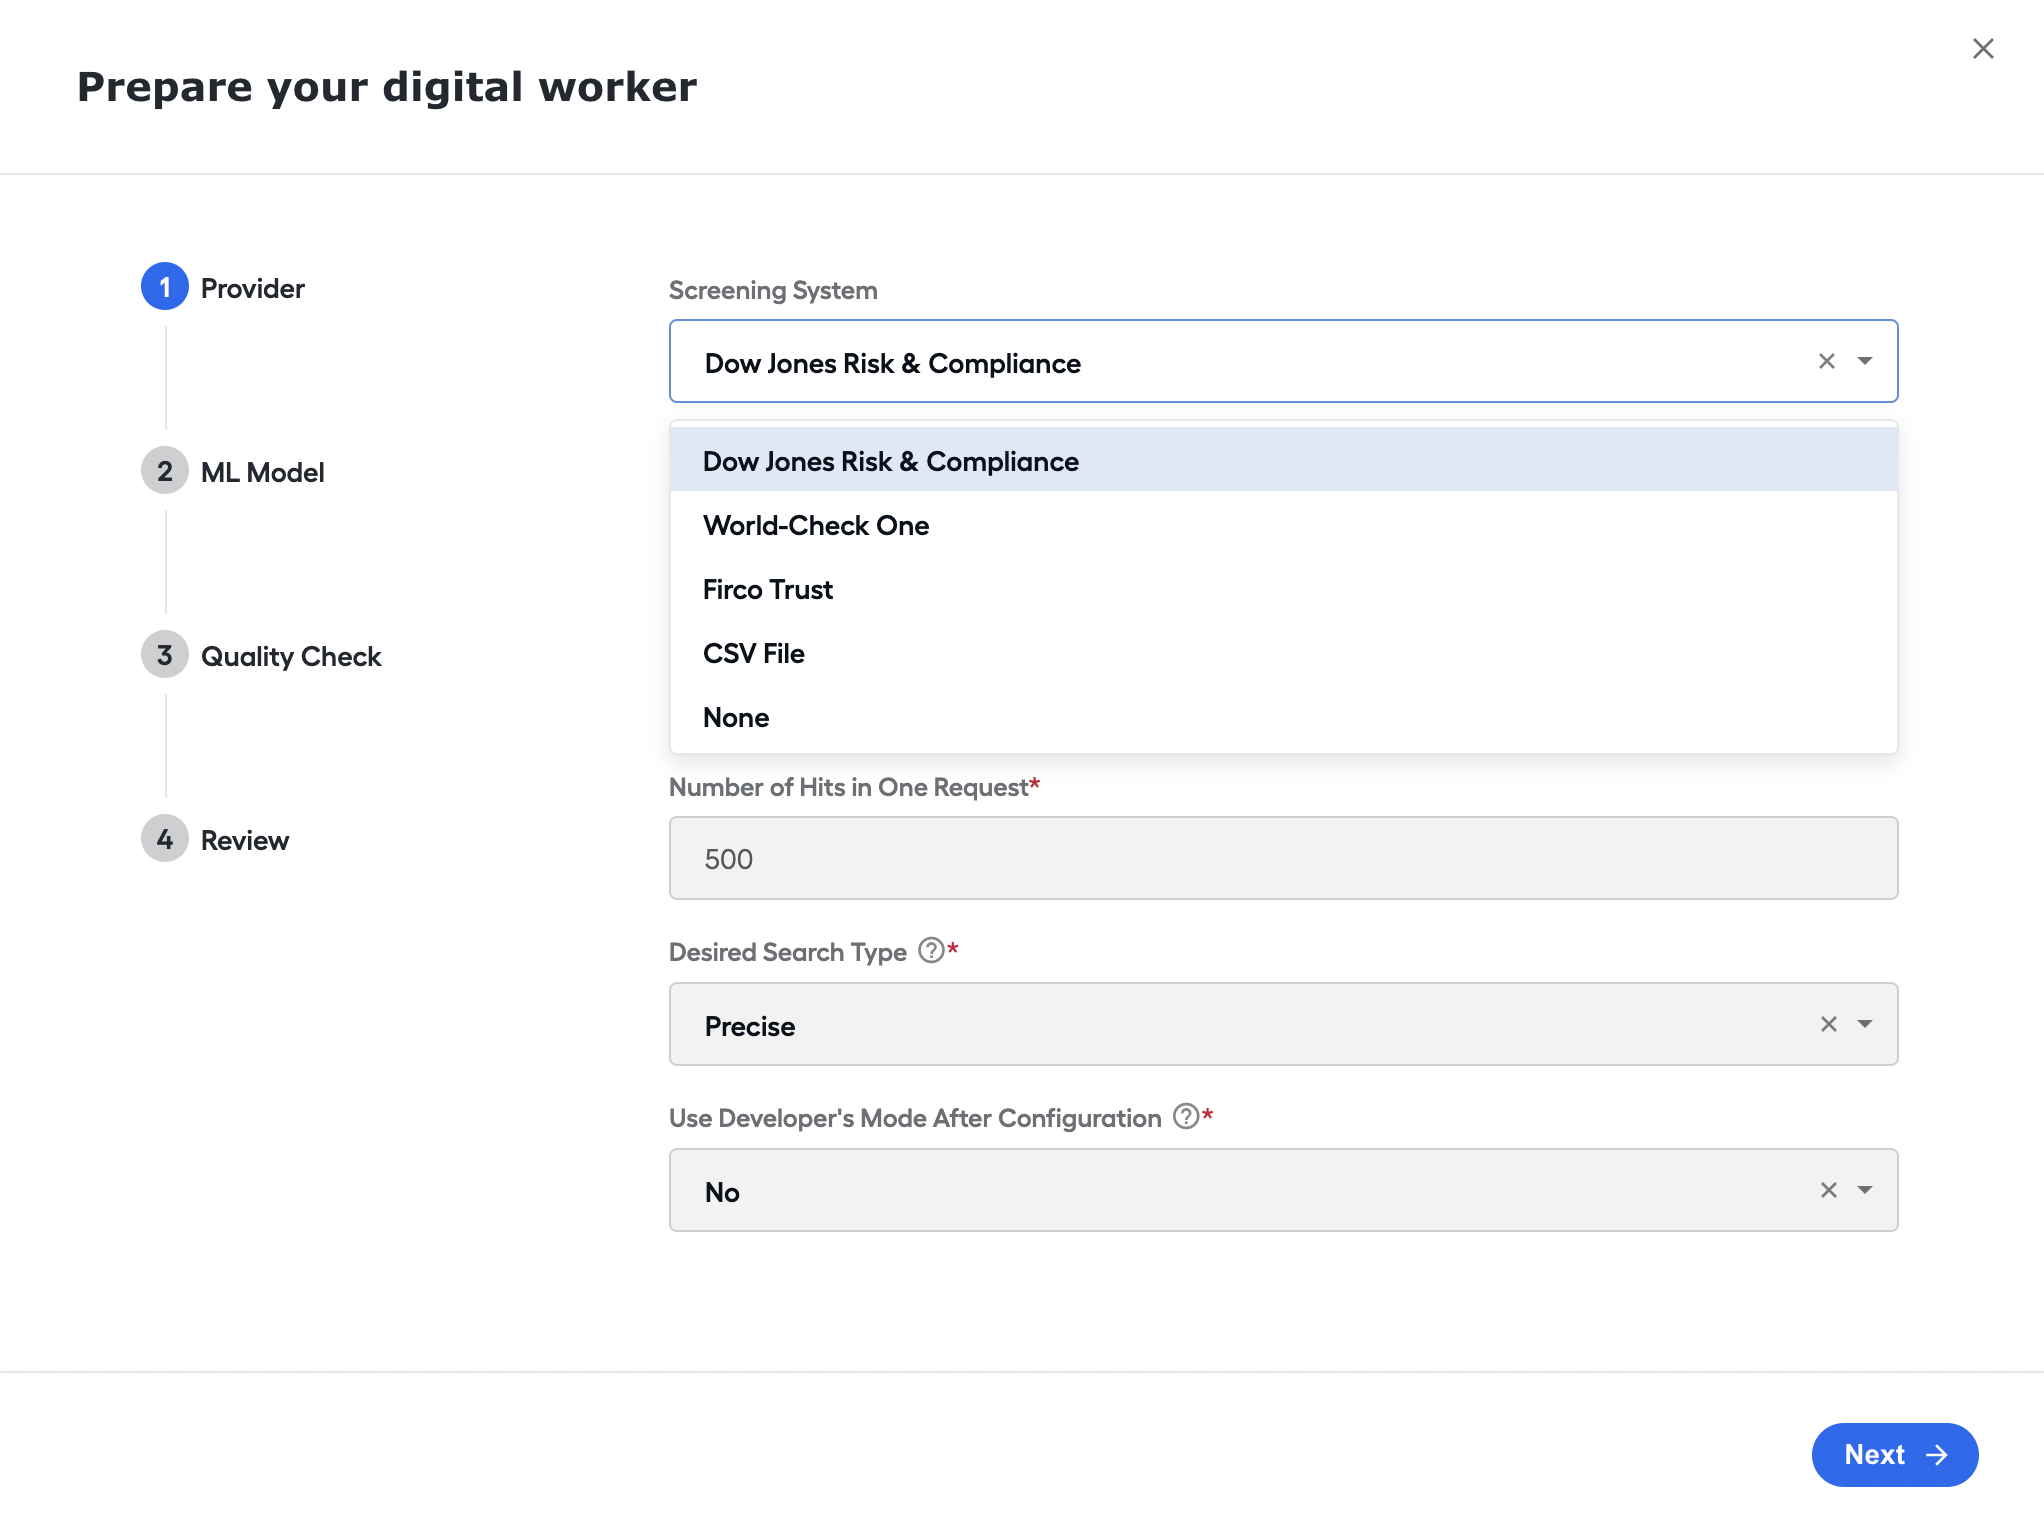
In the window, on the Provider step, select a screening system for searching for records about the entity or individual. "Dow Jones Risk & Compliance" is set by default.
The required configurations may differ based on the selected provider.
Configure provider
The Name Sanction Screening supports screening from the following providers:
- Dow Jones Risk & Compliance
- World-Check One
- FircoTrust Case Manager API
- Screening with no Provider via REST API
You also have to customize and train the skill to use other providers.
To configure a provider, specify the providers' parameters. For a detailed description of each setting, see the following sections.
- Dow Jones Risk & Compliance
- World-Check One
- Firco Trust
- CSV File
- None
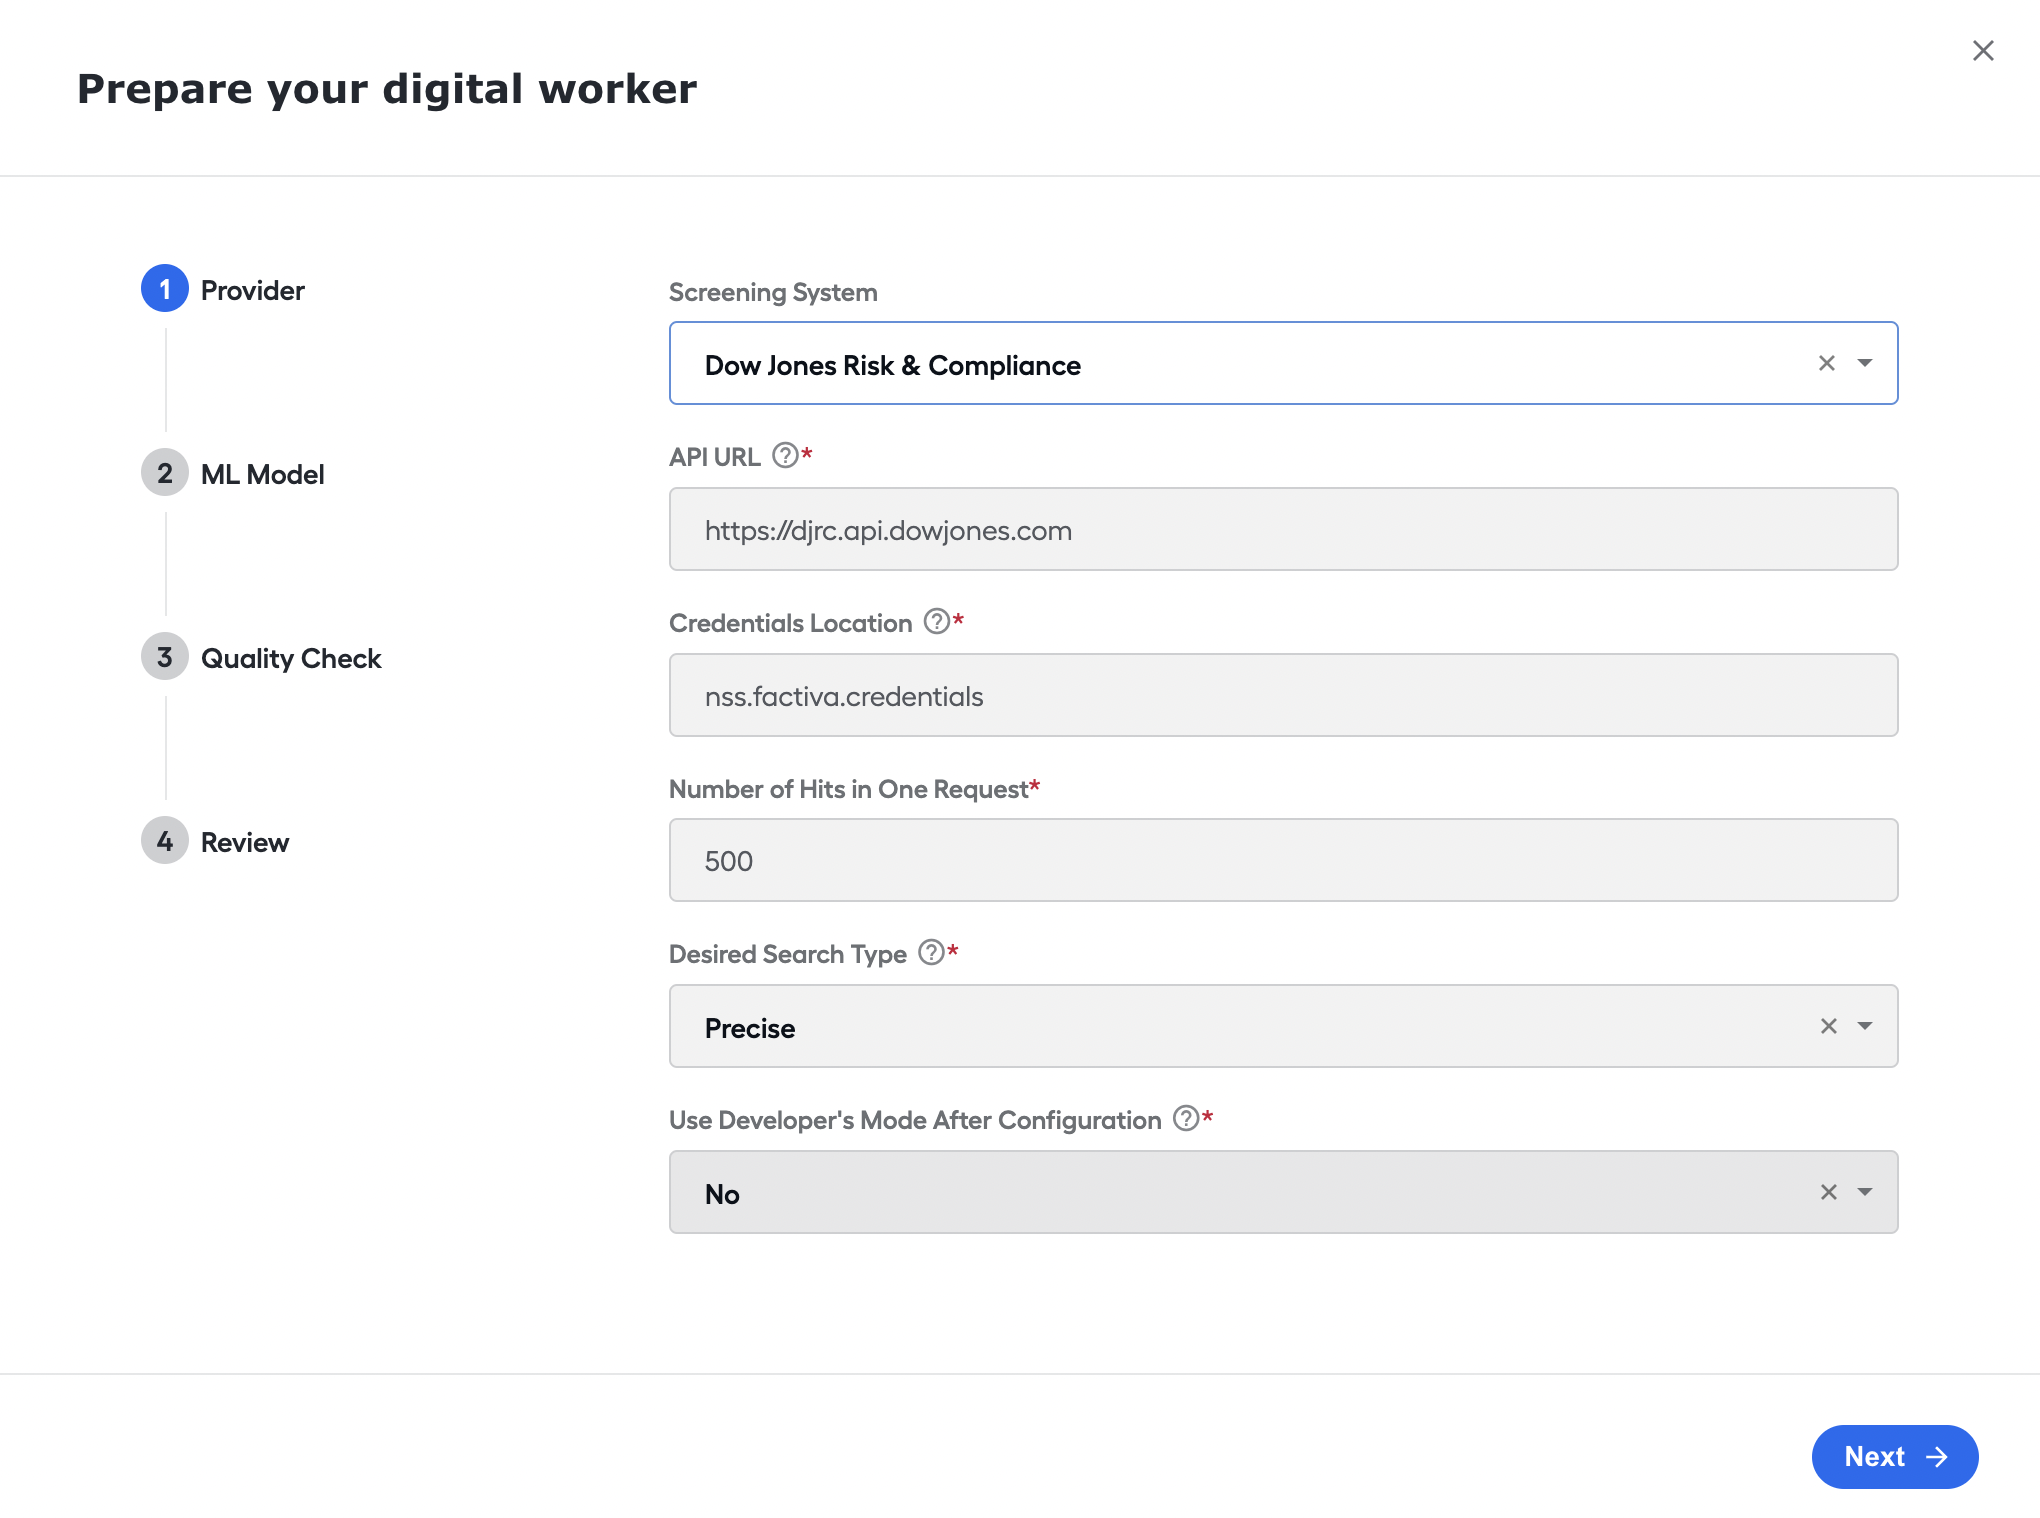
API URL. Select the address of the Dow Jones Risk & Compliance API. Available options:
https://api.beta.dowjones.comhttps://djrc.api.dowjones.com
Credentials Location. Specify the corresponding Secret Vault alias for the Dow Jones Risk & Compliance system.
Number of Hits in one request. Specify the number of hits to be requested in one request for a particular name from Dow Jones Risk & Compliance API. This parameter impacts how many requests will be sent to Dow Jones Risk & Compliance API. The default value is 500.
Desired Search Type. Set the desired tolerance for the search in the Dow Jones Risk & Compliance System. By default, it is recommended to use Precise. Available options:
- Precise
- Near
- Broad
Use Developer Mode after Configuration. Select Yes to enable the Developer mode for a Business Process. The Developer mode caches requests and responses from the Dow Jones Risk & Compliance API to avoid a ban from Dow Jones due to a massive number of queries.
For the production configuration, set the value to No.
A little more about cache
The goal of the cache is to reduce the number of requests to screening systems.
The cache is represented as a separate Data Store. After you install the skill, the cache Data Store is empty by default. The hit data is received in response when the bot sends a name request to an external screening system. This data is saved to the cache.
Most screening systems send one response that contains all necessary hit data. But in some cases, there can be two requests:
- The first one obtains brief information on all hits. The data is saved to the Search cache.
- The second one with the hit's id obtains detailed information on the specific hit. The received data is saved to the hits cache.
The skill supports caching both for searches and for hits.
Search cache
Activate the search cache (with the Developer mode) on the development environments only. If enabled in the production environment, the skill operates with obsolete data.
The search cache implies that hits for particular names will be used from the cache instead of the real-time API. In such a situation, the stored data will soon become outdated. This is why the search cache is purposed for the Developer mode only.
The operation flow with the enabled search cache is the following:
- The skill sends a search request to API.
- All data received from the API is stored in the search_cache Data Store.
- Next time, when input contains the same name for the search, the skill will obtain all hits for this particular name from the cache instead of DJ API.
Hits cache
The Hits cache is always enabled to reduce requests to the Dow Jones API and improve BP performance.
The operation flow of the hit cache is the following:
- The skill sends a search request to the API and receives a list of hits with short data for this name.
- The skill performs the second request with a specific
hit_idto get the hit's detailed info. - The hit details are saved to the hits_cache Data Store. It also stores the date when the hit was updated last time in the database.
- Next time, when the skill requests hit details, the system checks whether the hits cache contains up-to-date hit details.
- If hit details in the hits cache are outdated, the skill sends a new request for the hit details and updates the cache for this particular hit.
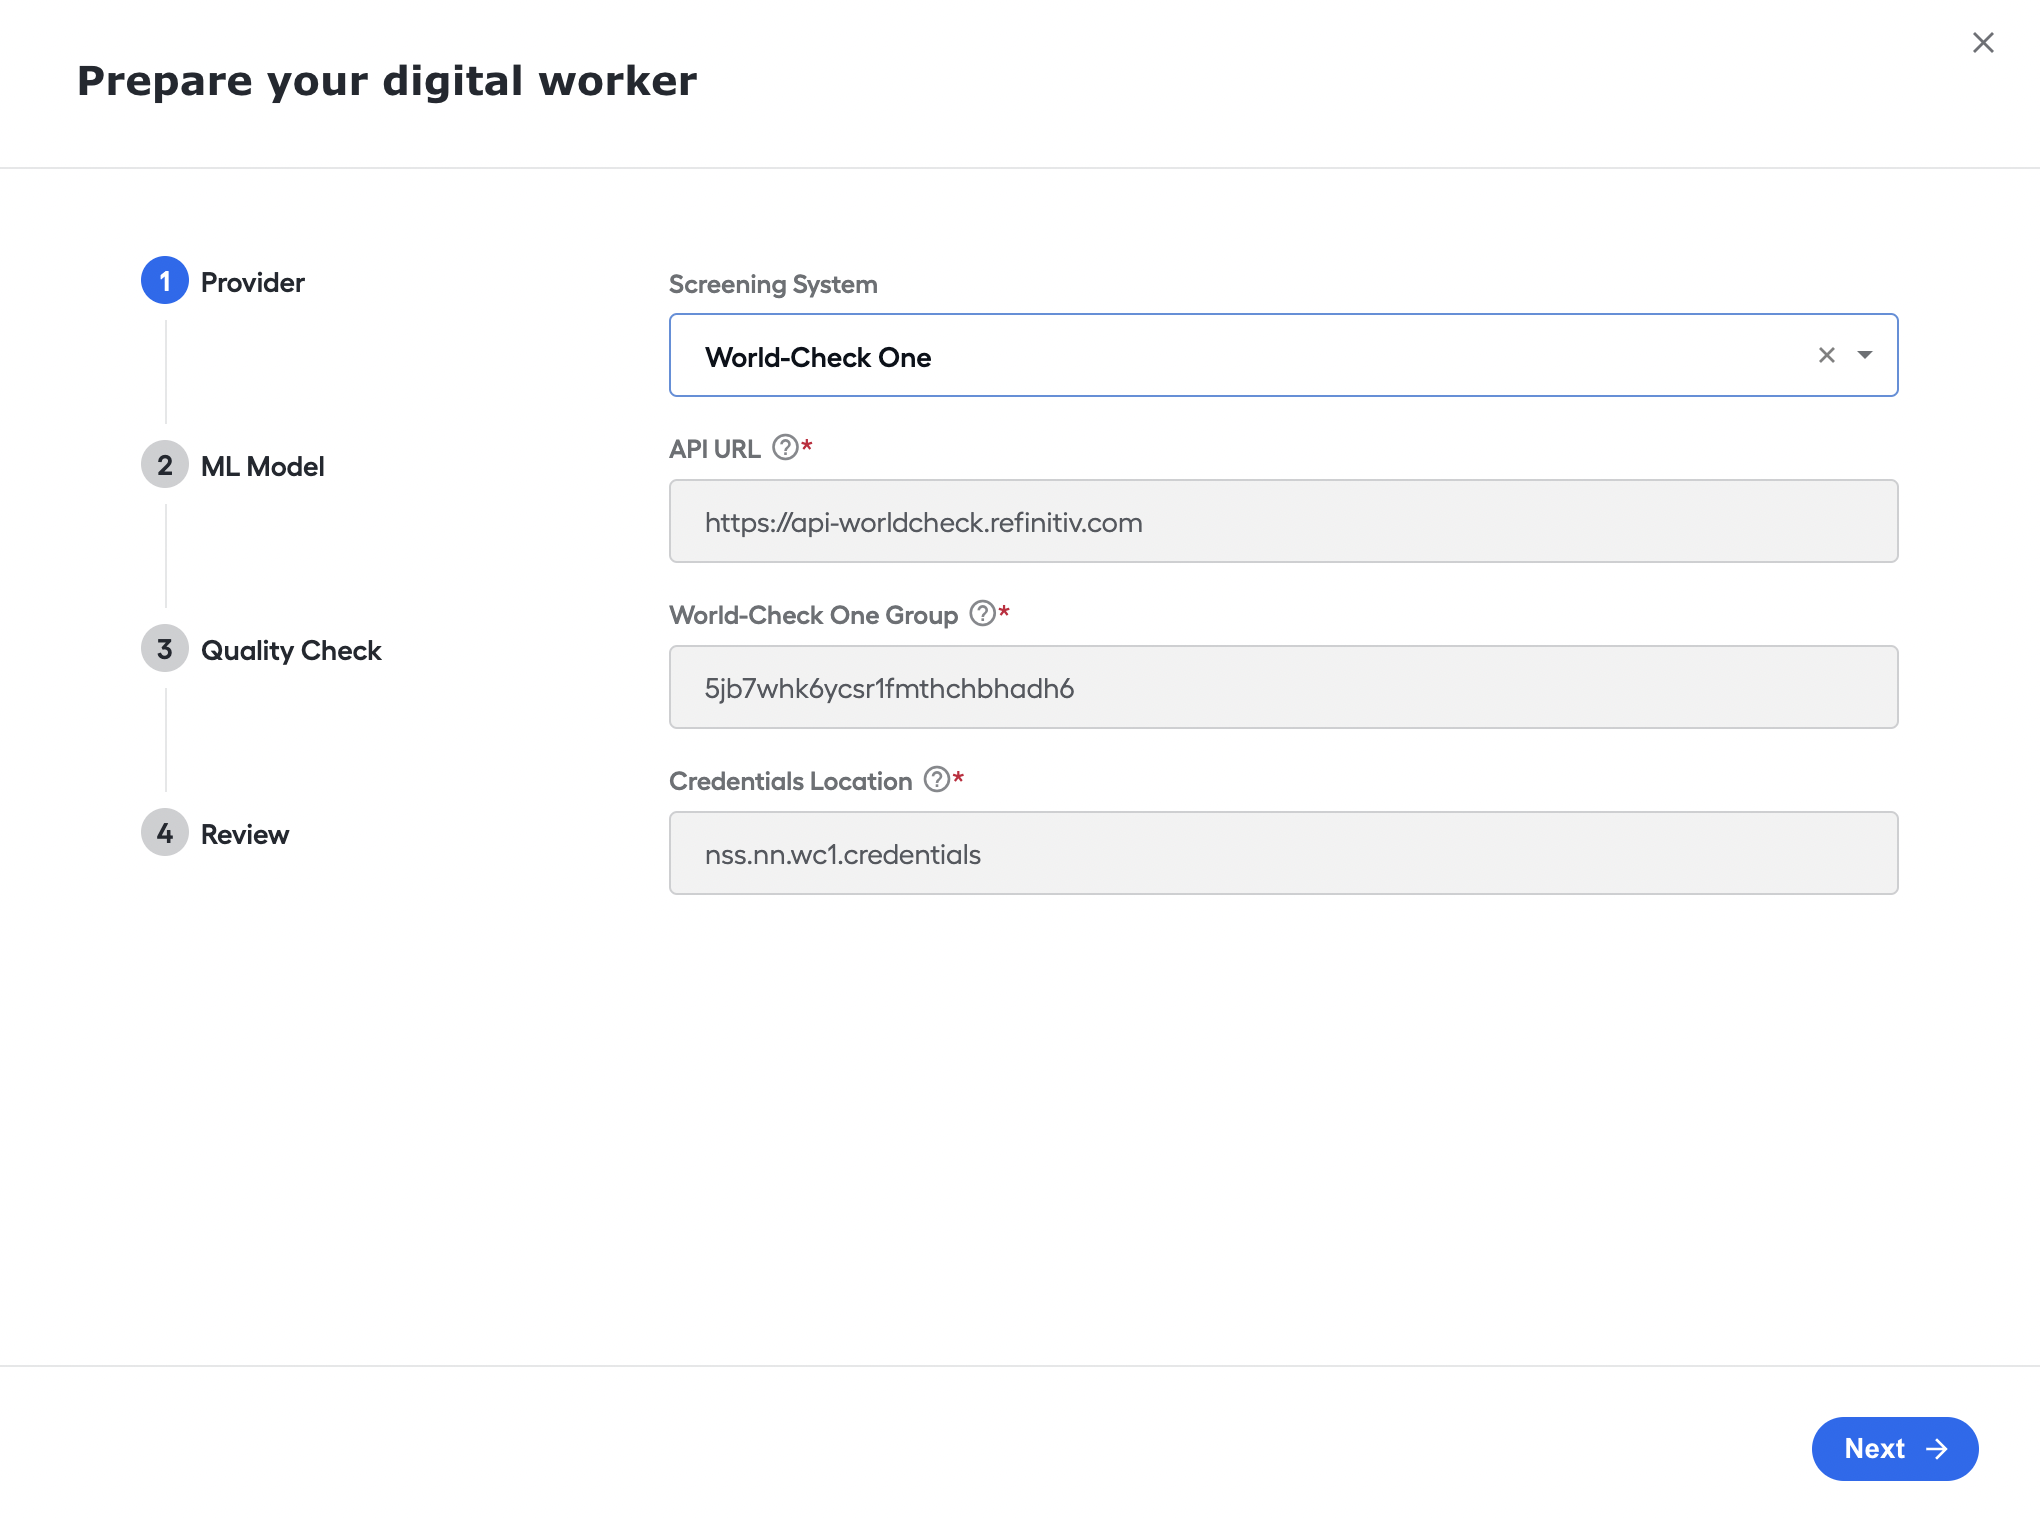
- API URL. Select the address of the World-Check One API by default,
https://api-worldcheck.refinitiv.com. - World-Check One Group. Specify the Group Id for the World-Check One system.
- Credentials Location. Specify the corresponding Secrets Vault alias for the World-Check One system.
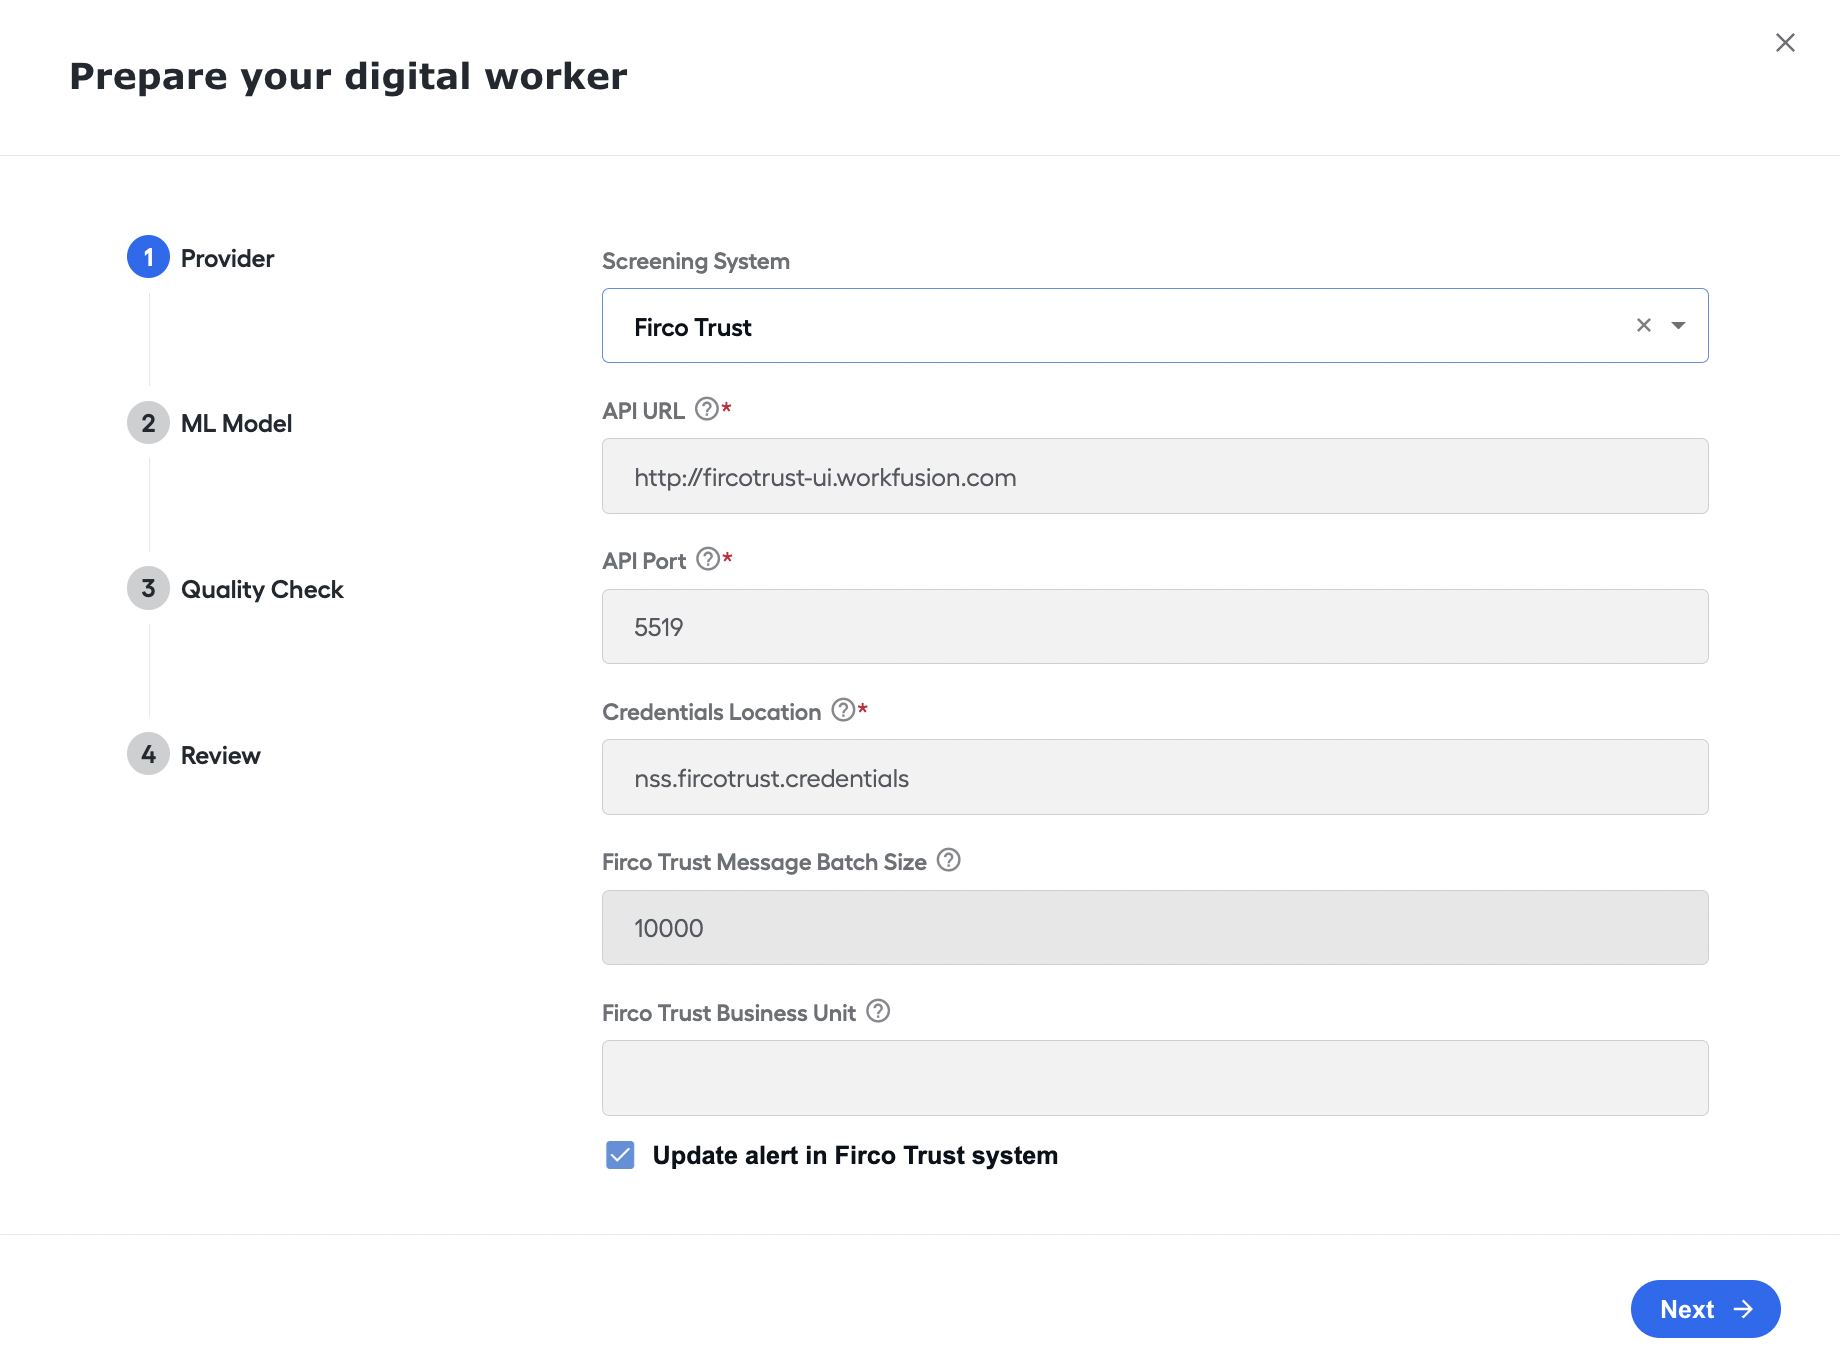
- API URL. Select the address of the Firco Trust Case Manager API.
- API Port. Select the port of the Firco Trust Case Manager API Receive Message Service.
- Credentials Location. Specify the corresponding Secret Vault alias for the Firco Trust system.
- Firco Trust Message Batch Size. Specify the number of messages to be batch-processed.
- Firco Trust Business Unit. Specify message business unit value.
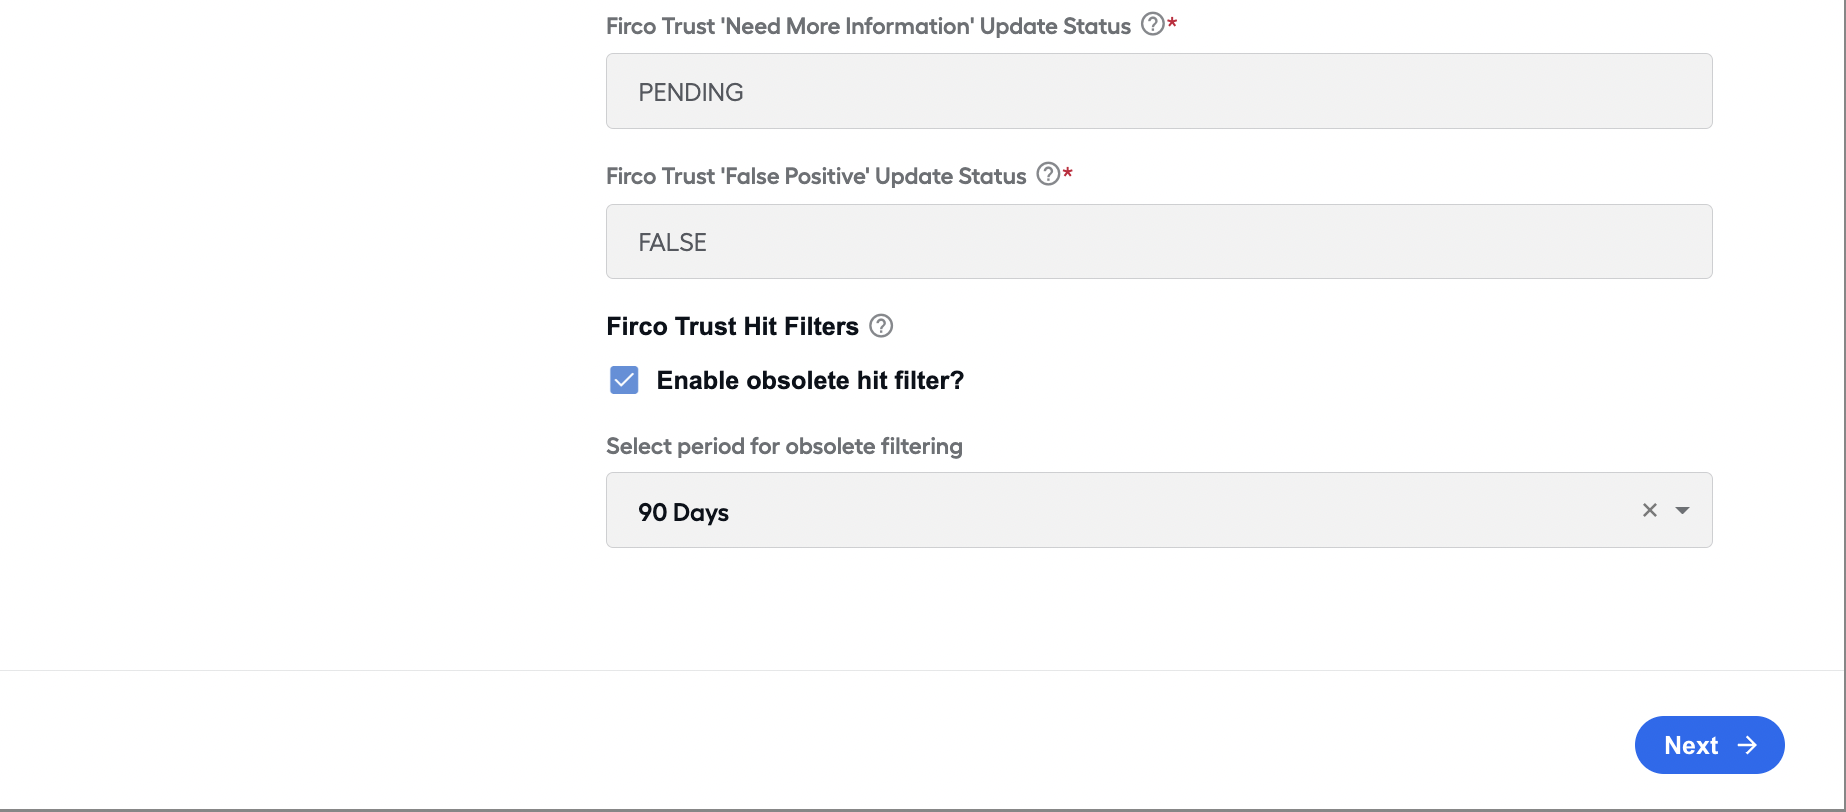
- Update Alert in Firco Trust system. Select this option if Business Process must update the alert in Firco Trust UI with Model decisions.
- Firco Trust "Need More Information "Update Status. Specify the alert status to be set if the model's decision is "Need More Information ".
- Firco Trust "False Positive "Update Status. Specify the alert status to be set if the model's decision is "False Positive ".
- Enable obsolete hit filter?. Select this option if obsolete hits must be filtered out.
- Select period for obsolete filtering. Specify how long the obsolete hits remain valid for filtering.
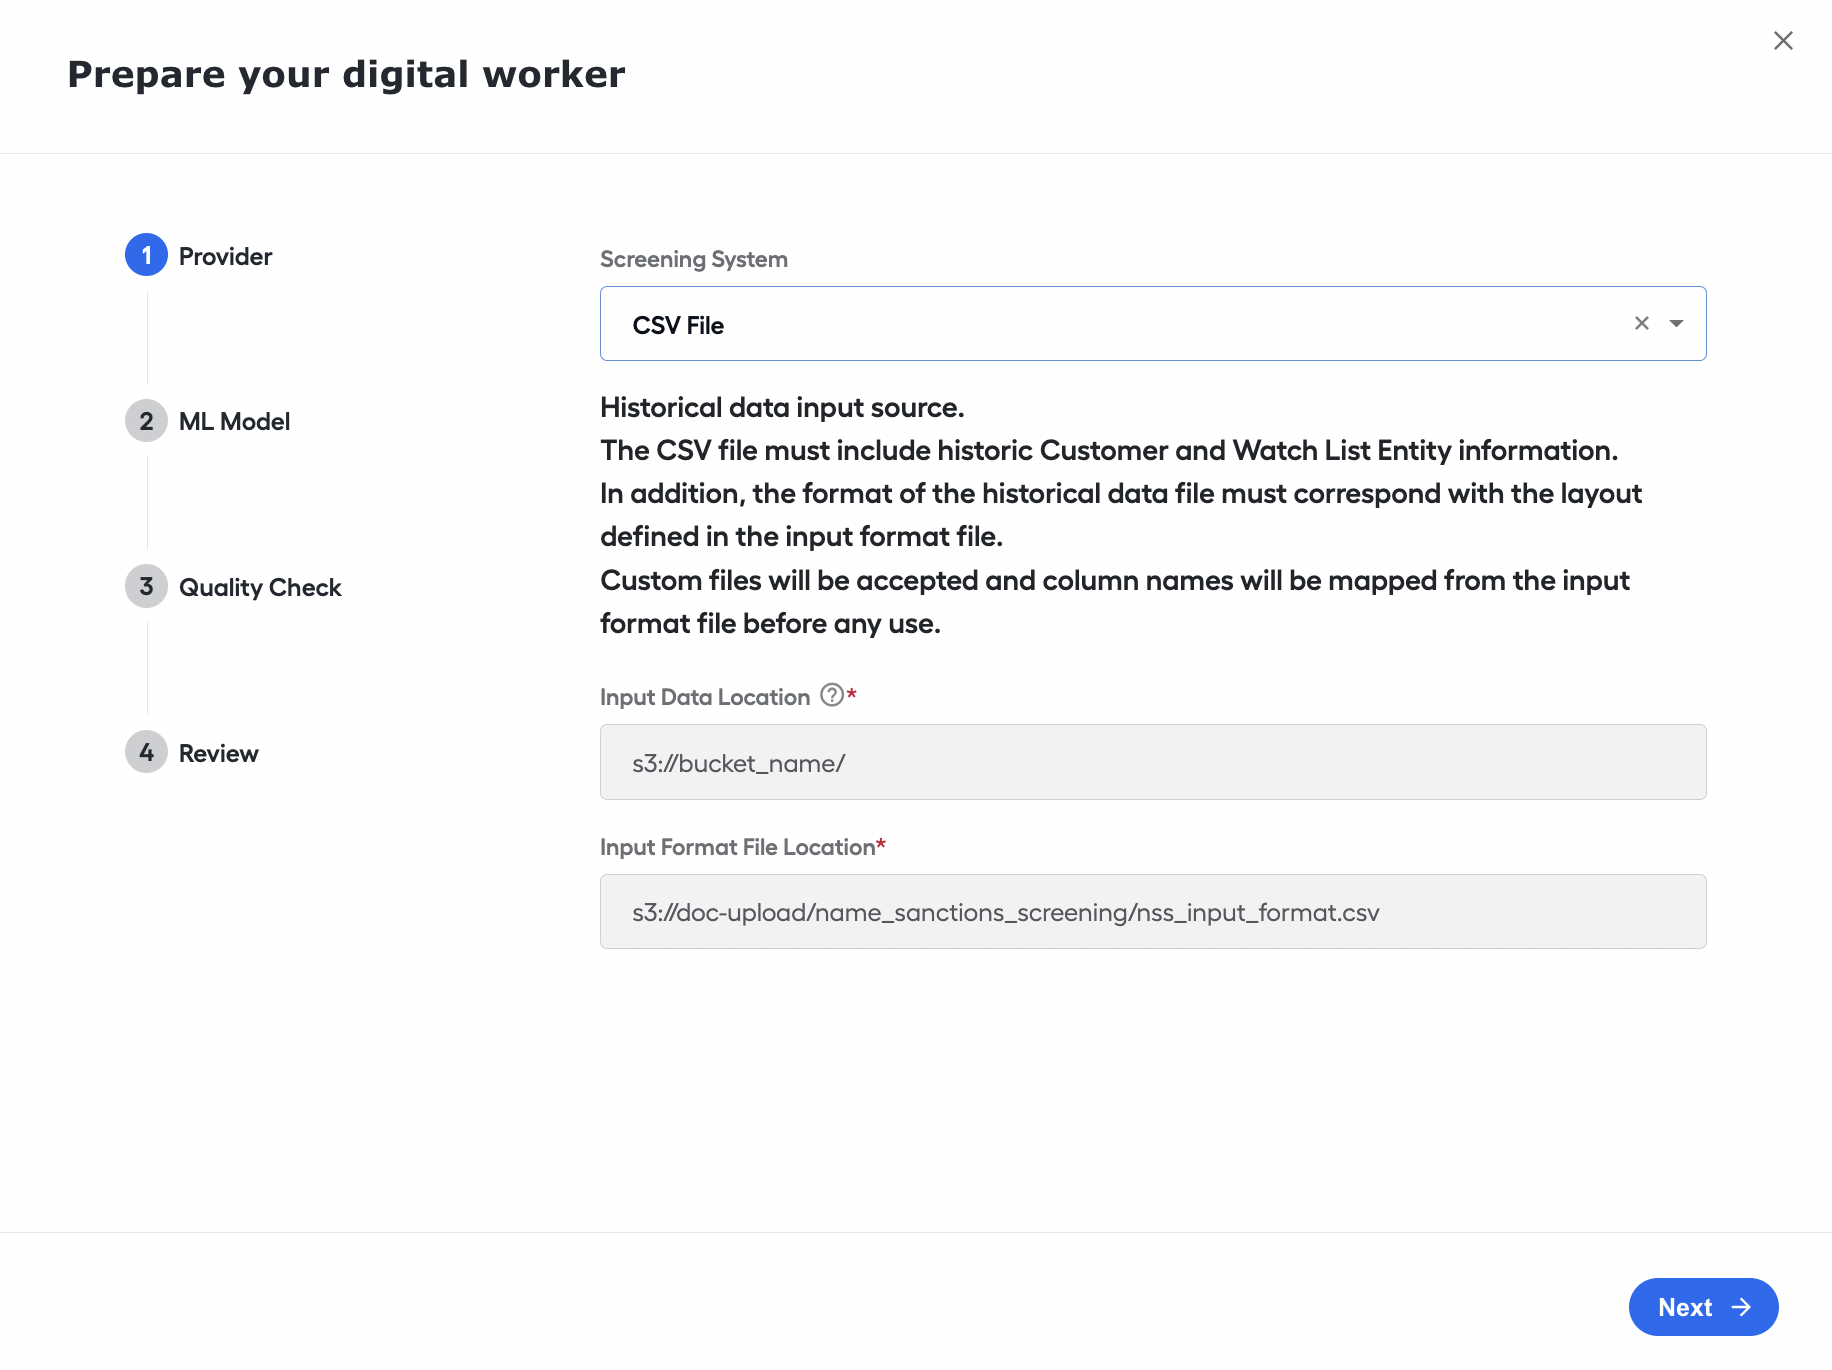
Select this system for historical data evaluation.
- Input Data Location. Specify the path for a folder or a file with Historical Data on the S3 Minio site.
- Input Format File Location. Specify the path to the format file location on the S3 Minio site.
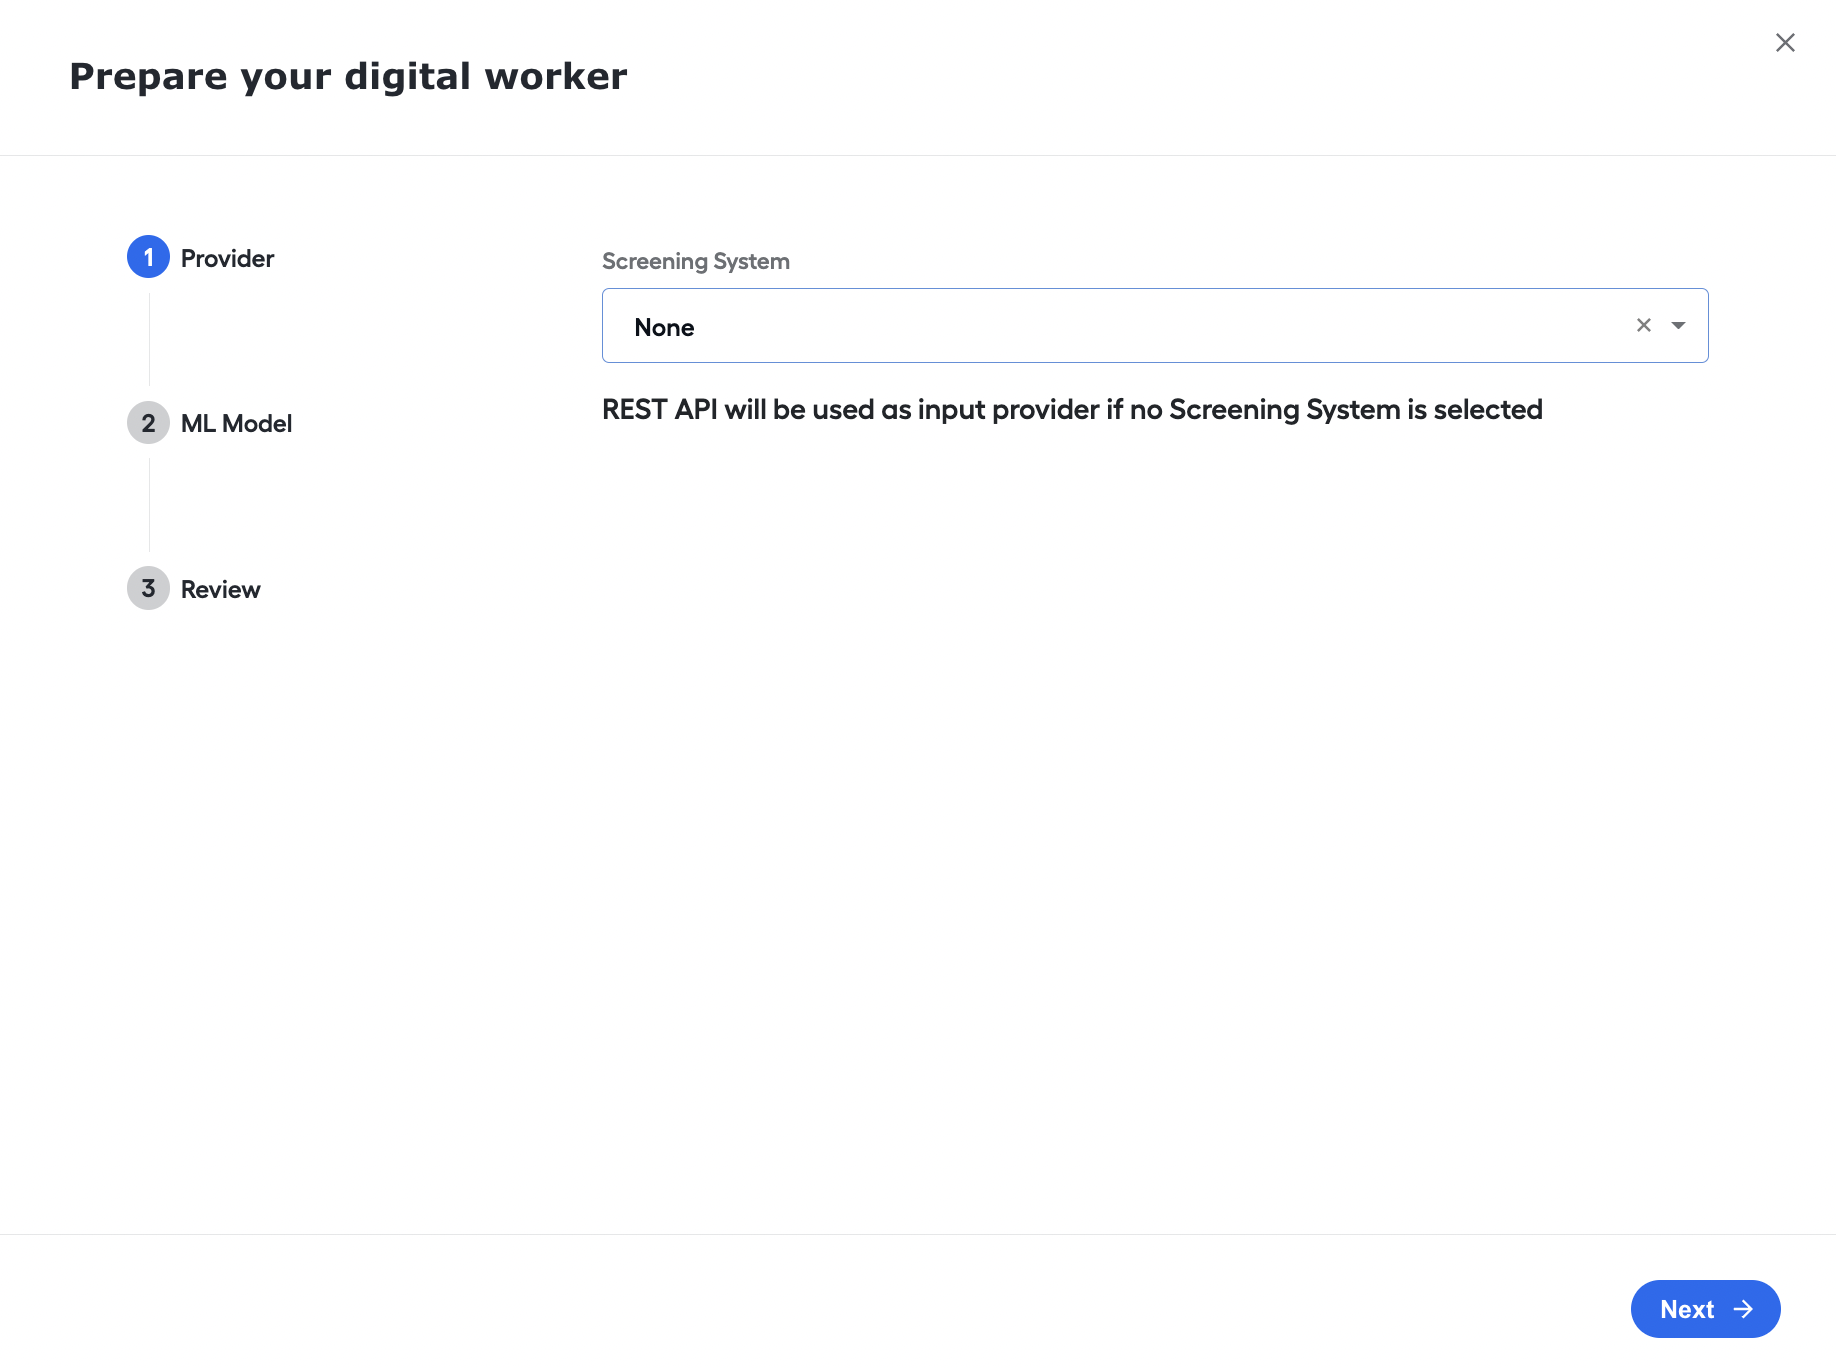
Select None for Full alert screening via REST API.
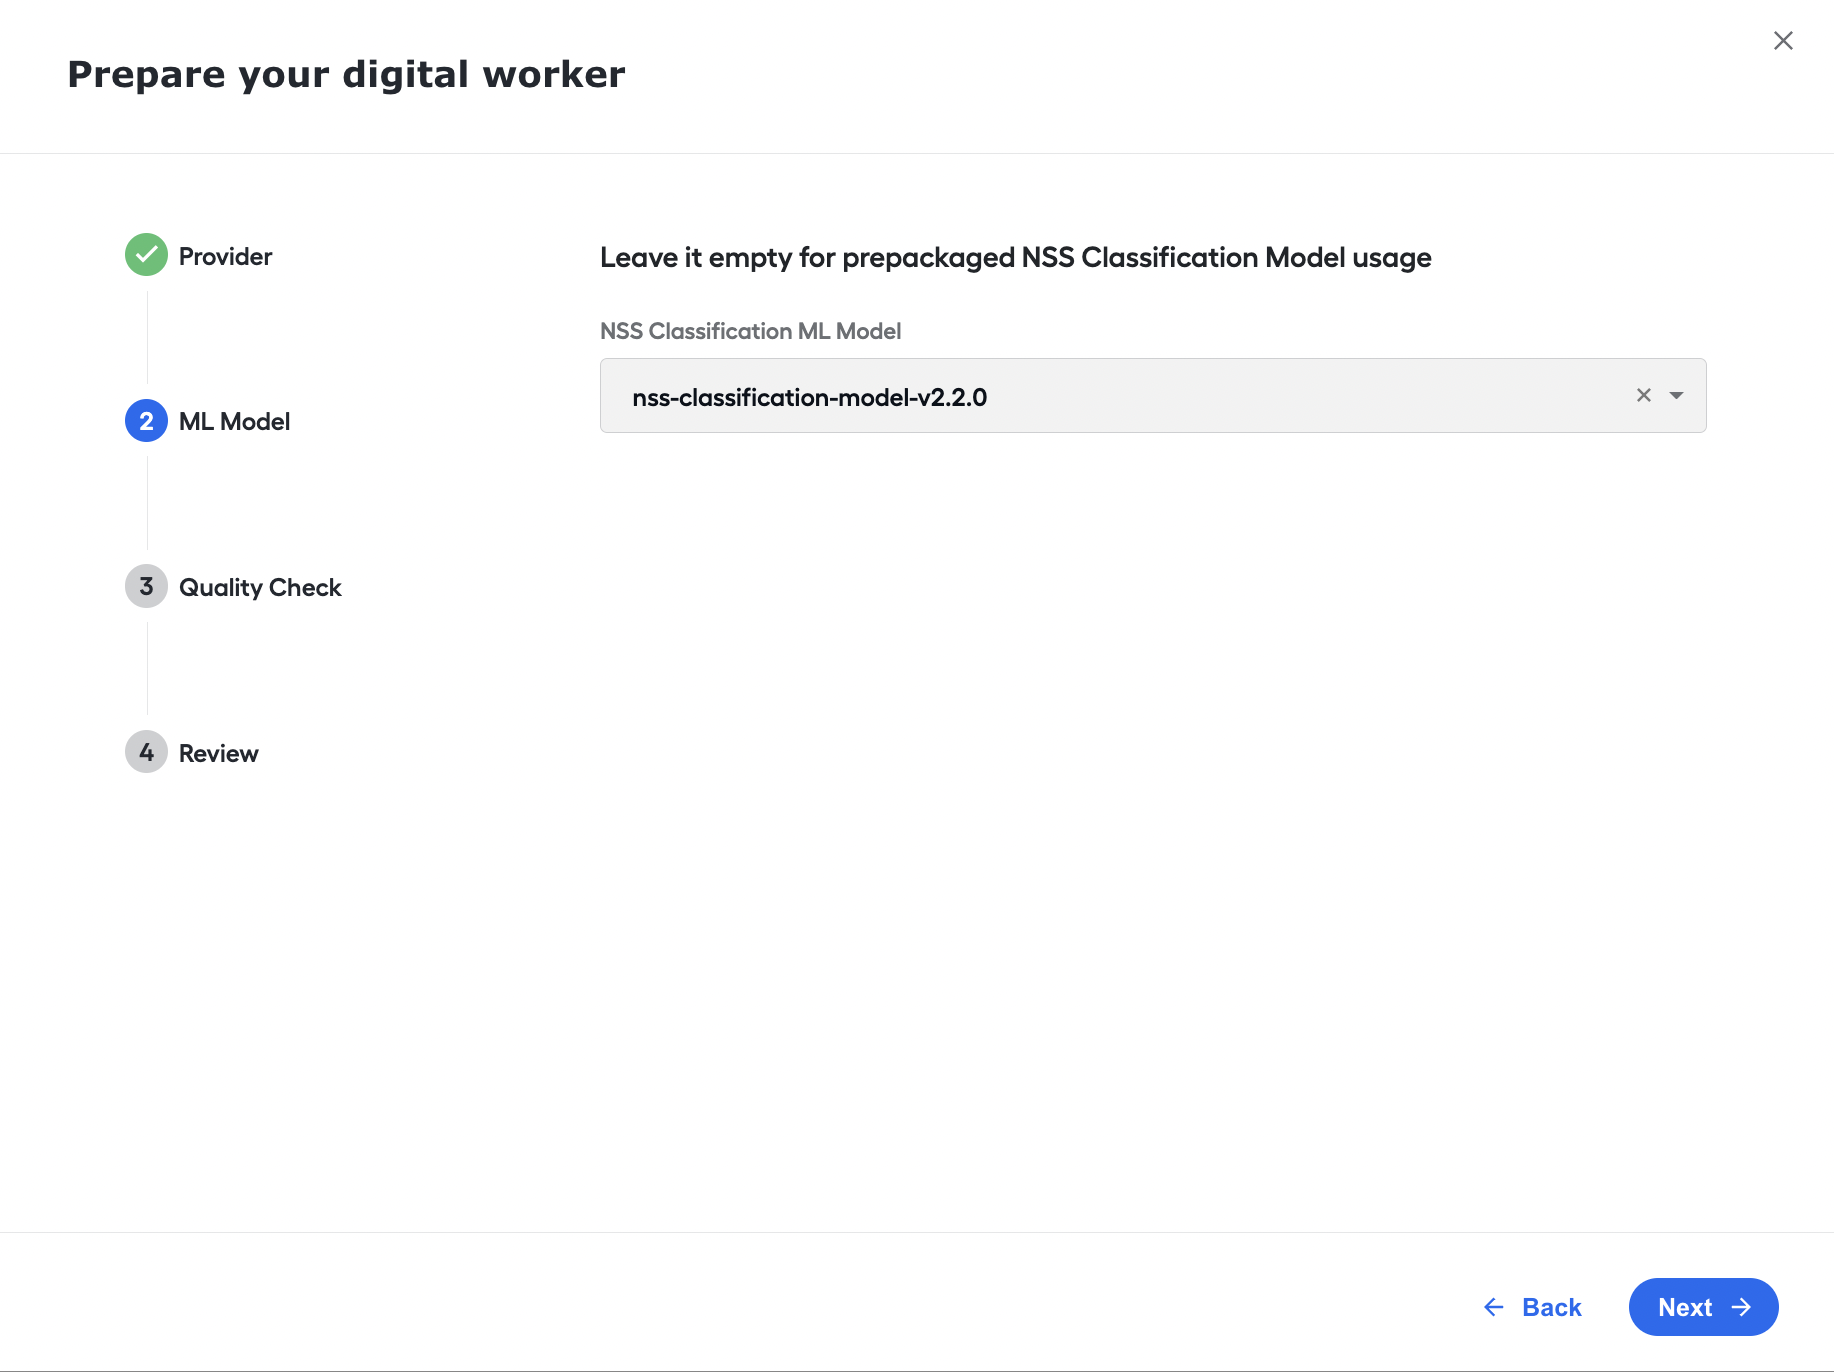
Configure model
In the Prepare your digital worker box, on the ML Model tab, select a Classification model to be used in Business Process execution and hit disposition.
Configure Quality Check
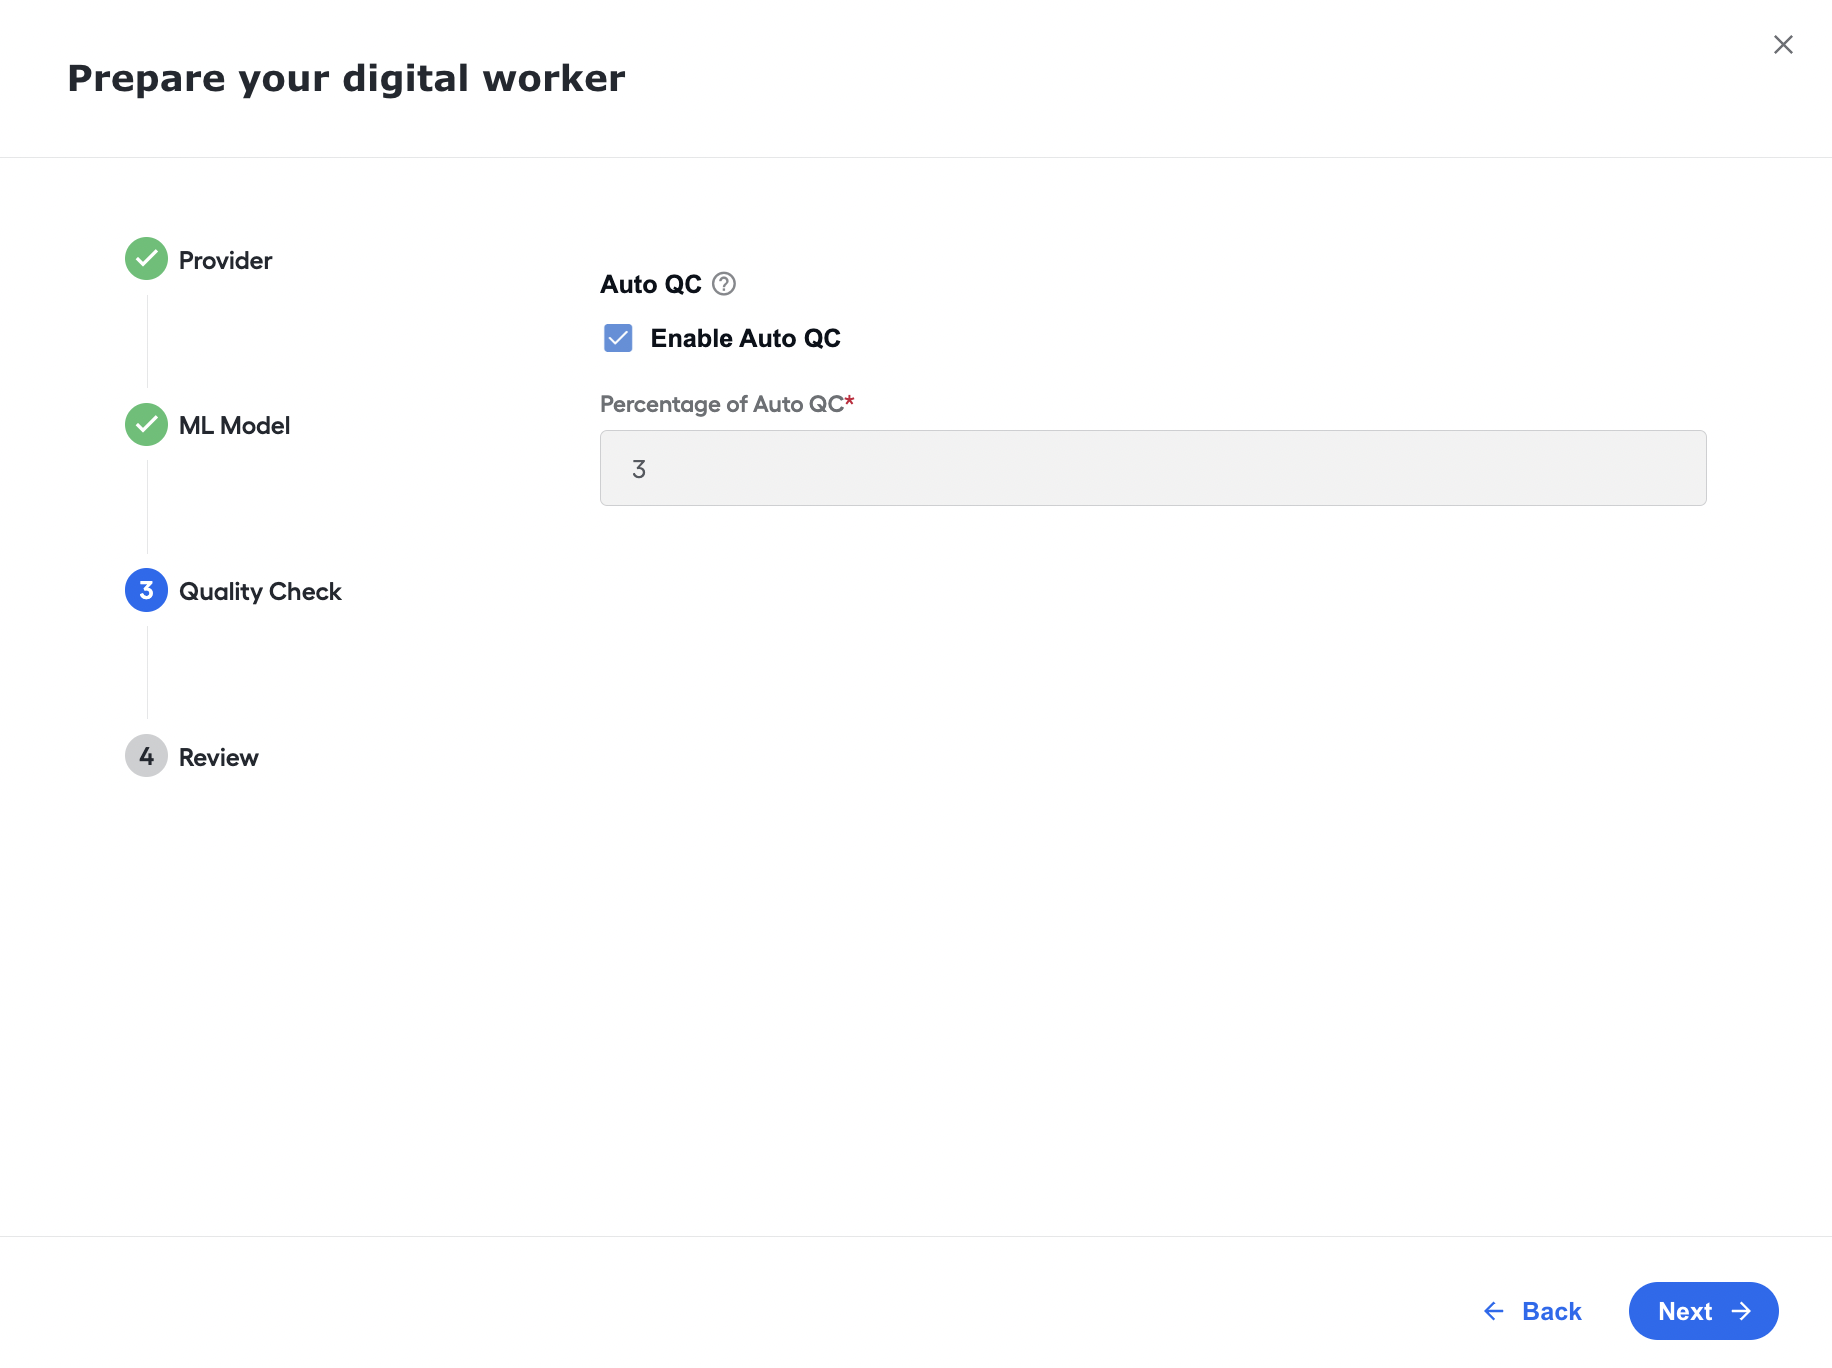
Auto Quality Check is used for ongoing monitoring of the NSS decision quality. A defined percentage of False Positive Alerts, which the user can configure, will be randomly selected for additional human review in the selected screening system. The associated screening system will be updated to indicate that WorkFusion has marked this alert for Auto QC.
At least one False Positive Alert will always be selected for Auto QC if it is turned on.
To enable the check, in the Prepare your digital worker box, on the Quality Check step, select the Enable Auto QC checkbox, and specify the following parameters of the report for a screening request:
- Percentage of Auto QC. Configure what percentage of False Positive alerts must be sampled by quality control. The associated screening system will be updated to indicate that WorkFusion has marked this alert for Auto QC.
NSS v2.x supports only Firco Trust Screening System Update with NSS decisions.
Suppose the Alert is False Positive (meaning all related hits are False Positive, and it was randomly selected for Quality Check). In that case, this alert will be updated in the selected screening system with the following resolution and explanation:
- Resolution → "Need More Information"
- Explanation → "This alert was selected for Auto QC, please, review the alert."
After each BP execution, NSS generates Quality Check Report that contains information about alerts selected for Quality Check. The report can be used to compare NSS decisions to Human Analyst one on selected alerts.
NSS DW v2.x doesn't support the automated decision comparison, which should be done on the client side.
Review settings
Once you complete the required fields, review the configuration. If everything looks correct, click Finish. You are now ready to use Name Sanction Screening.