
View assignments
note
If you cannot see the assignment list and see the Access denied message instead, check your WorkSpace permissions.
The assignment list allows you to review all available assignments, their priorities, and order. By default, it contains the following basic information about each assignment:
- Priority: the assignment priority—Critical, Normal, or Low
- Title: the assignment name
- Task: the task type
- Creation date: the assignment creation date
- Assignee: the name and surname or username of the person assigned to complete the assignment
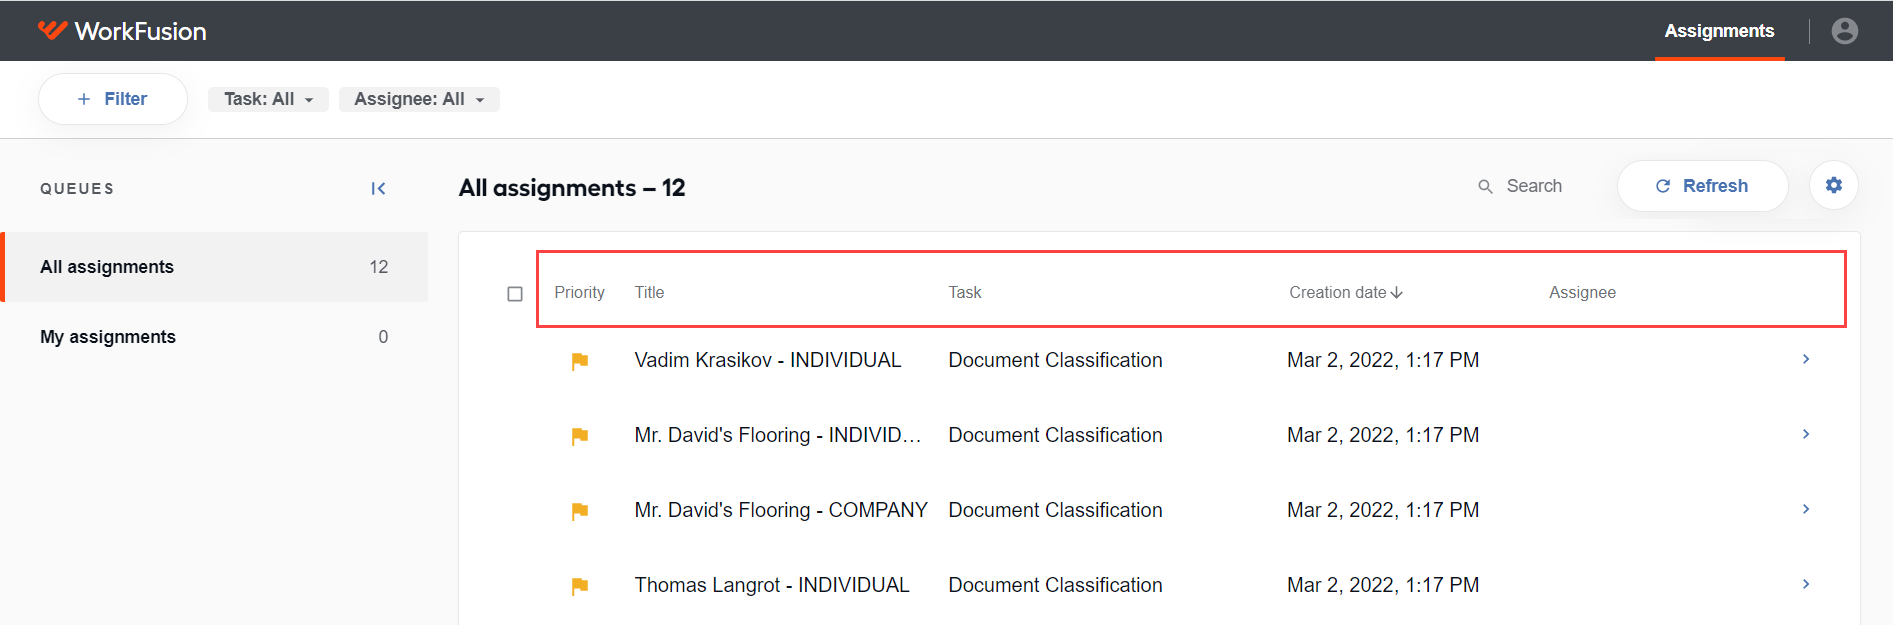
You can configure the columns the way you like. For more details, see Configure columns.
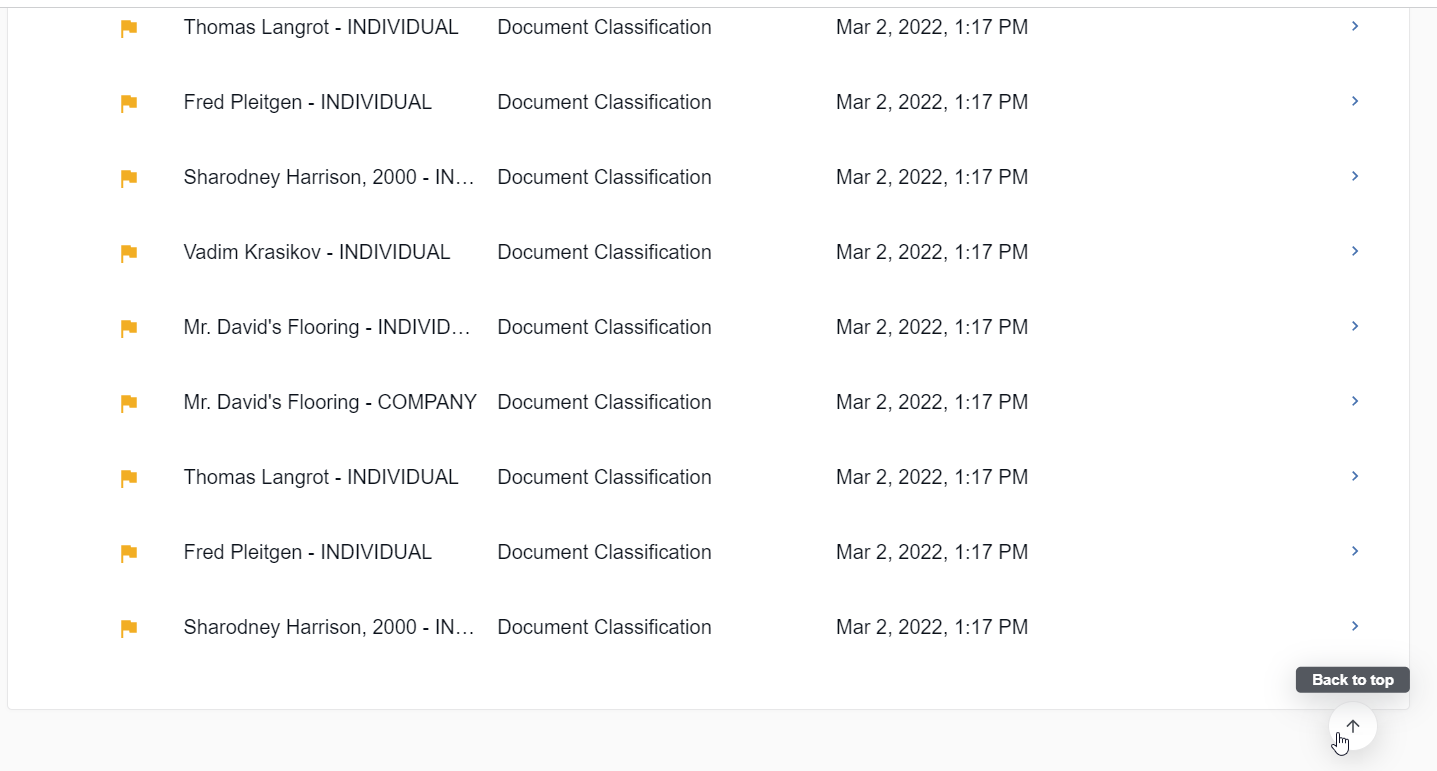
The assignment list supports infinite scroll. To return to the top, click the arrow in the right bottom corner.
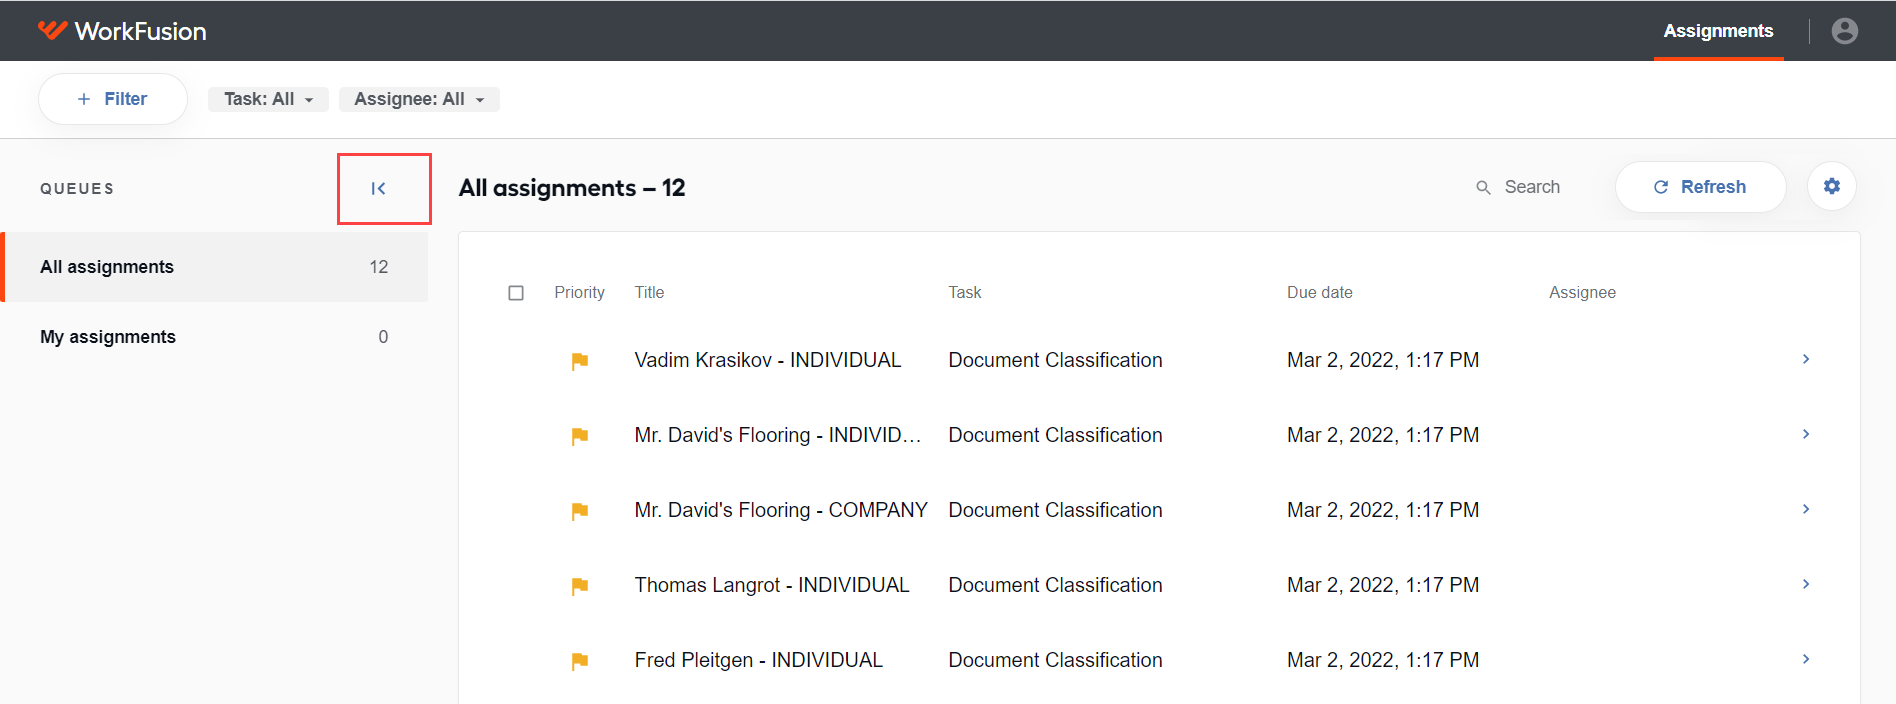
To collapse the side panel, click the arrow button next to QUEUES on the left.
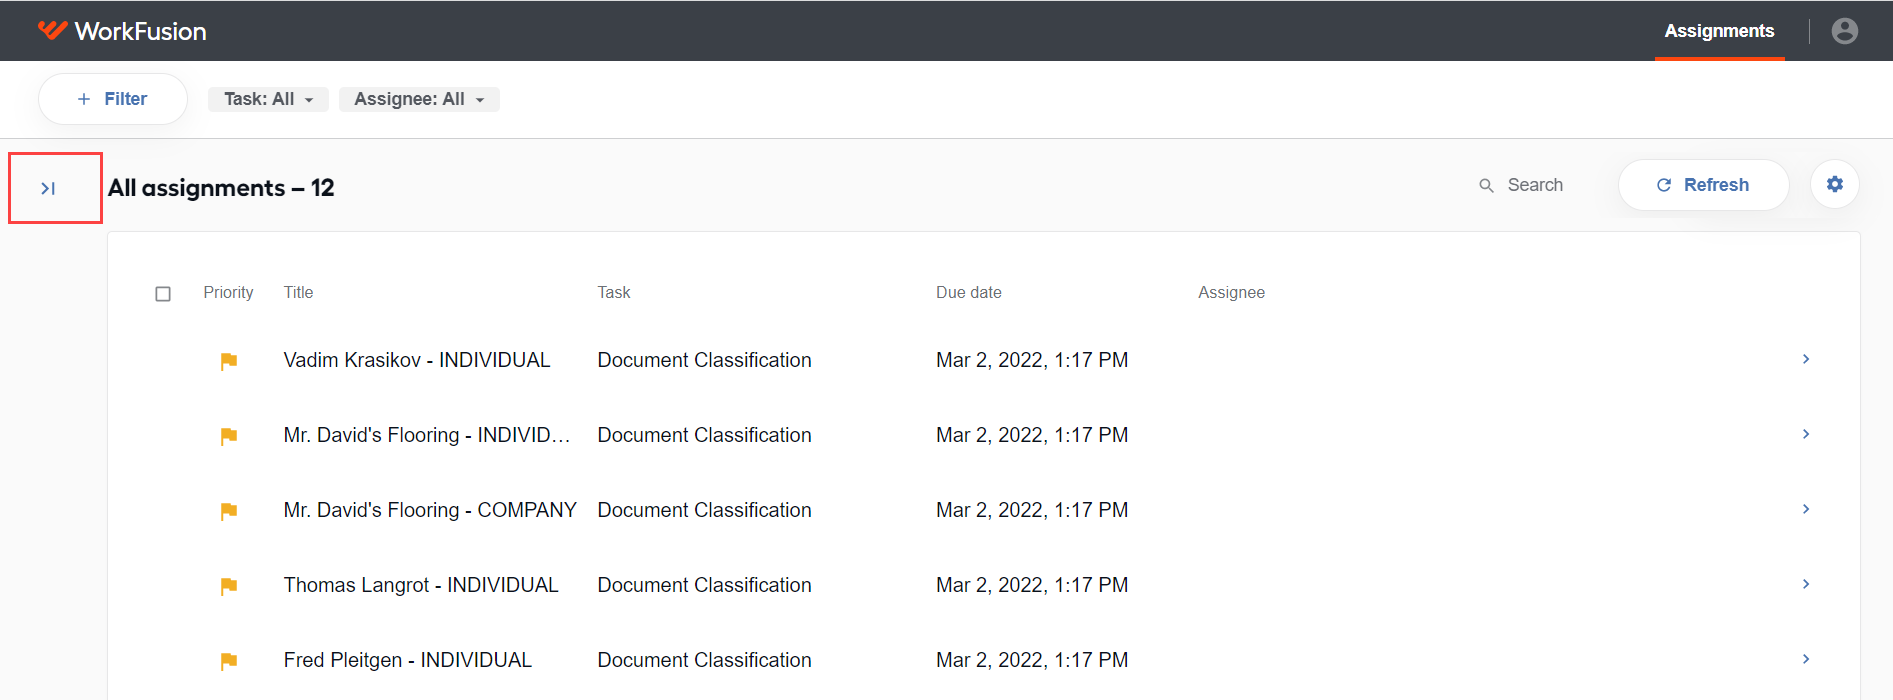
To expand the side panel, click the arrow button again.
Configure columns
To show columns based on the business attributes you are interested in, do as follows:
Click the Configure button.
Select the columns you want to display. To add custom business attributes to the drop-down menu, follow the instruction.
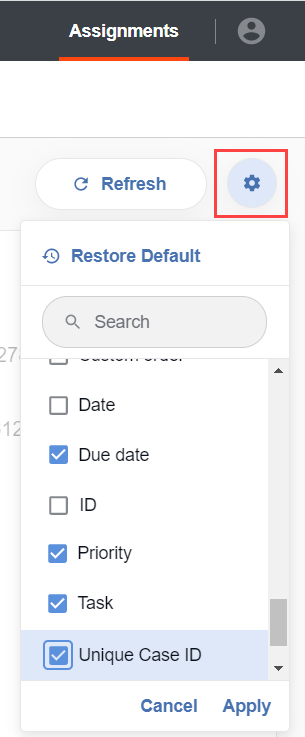
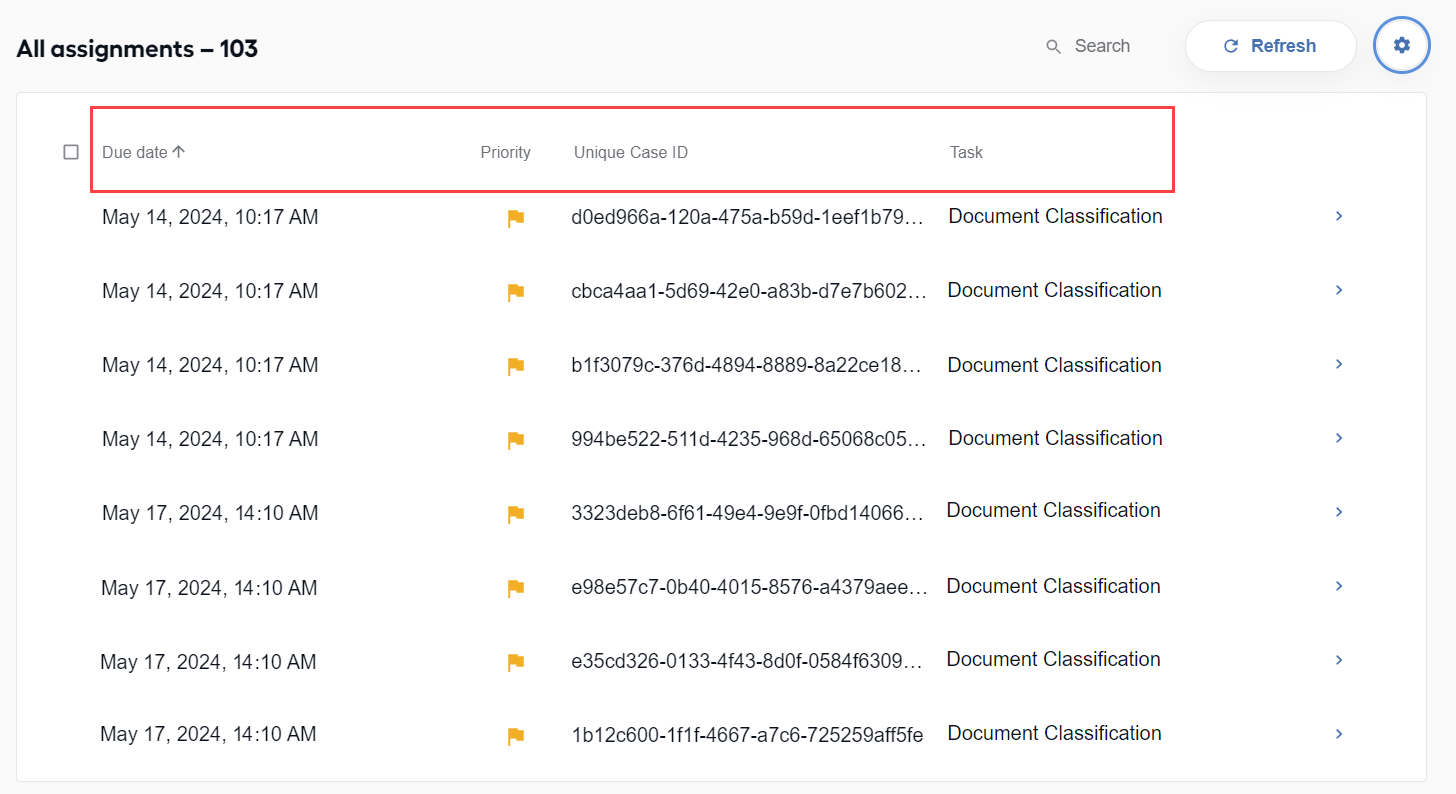
Click Apply. The selected columns are shown in the assignment list.
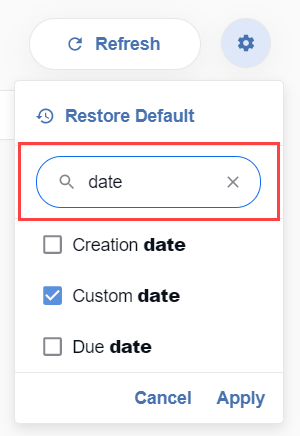
You can search for specific columns using the search field. To clear the search, click the Close button. To reset the search state, click Apply or Cancel.
caution
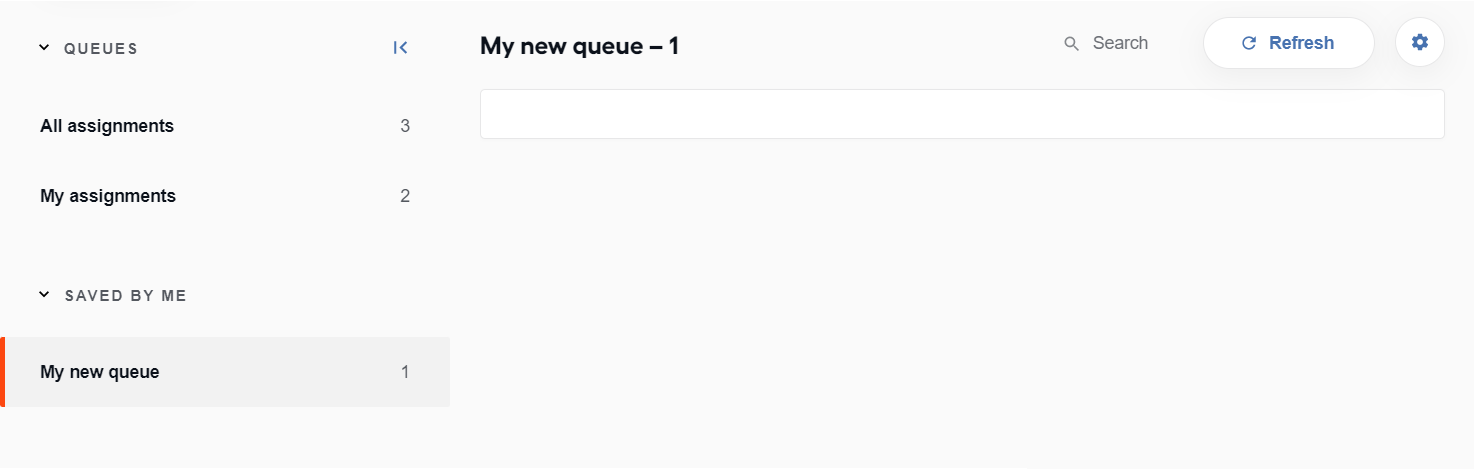
The changed assignment list configuration is saved per queue and user. For example, if you modify the order of columns in your saved queue, the changes apply to this queue only. If you send a link to this queue to another user, the user will see the default columns, not those you configured.
tip
You can configure the columns using the keyboard:
- To open the drop-down menu, autofocus on the Configure button and press Enter.
- To move between checkboxes, buttons, and the Search field, use Tab. You can also use ArrowUp and ArrowDown to move between the next and previous items.
- To select a checkbox, press Space.
- To click any button (Restore Default, Cancel, Apply), press Tab to autofocus and then Enter.
- To close the drop-down menu, press Escape.
If you uncheck all columns and press Apply, the empty list is shown.
To restore the default columns, click the Configure button and then Restore Default.
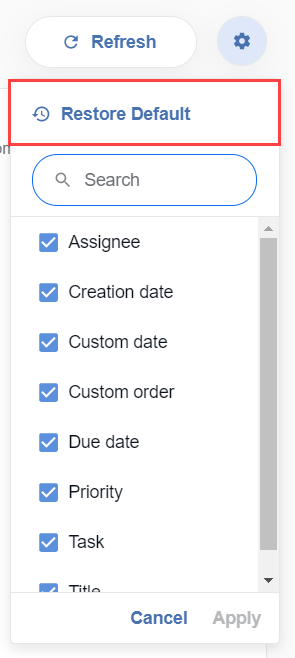
The assignment list shows the five default columns.
You can set up the way your columns look in the assignment list:
To change the width of the columns in the assignment list, hold the pointer over a column border and drag it to modify the width. If the columns do not fit the visible frame, a horizontal scroll appears at the bottom of the list.
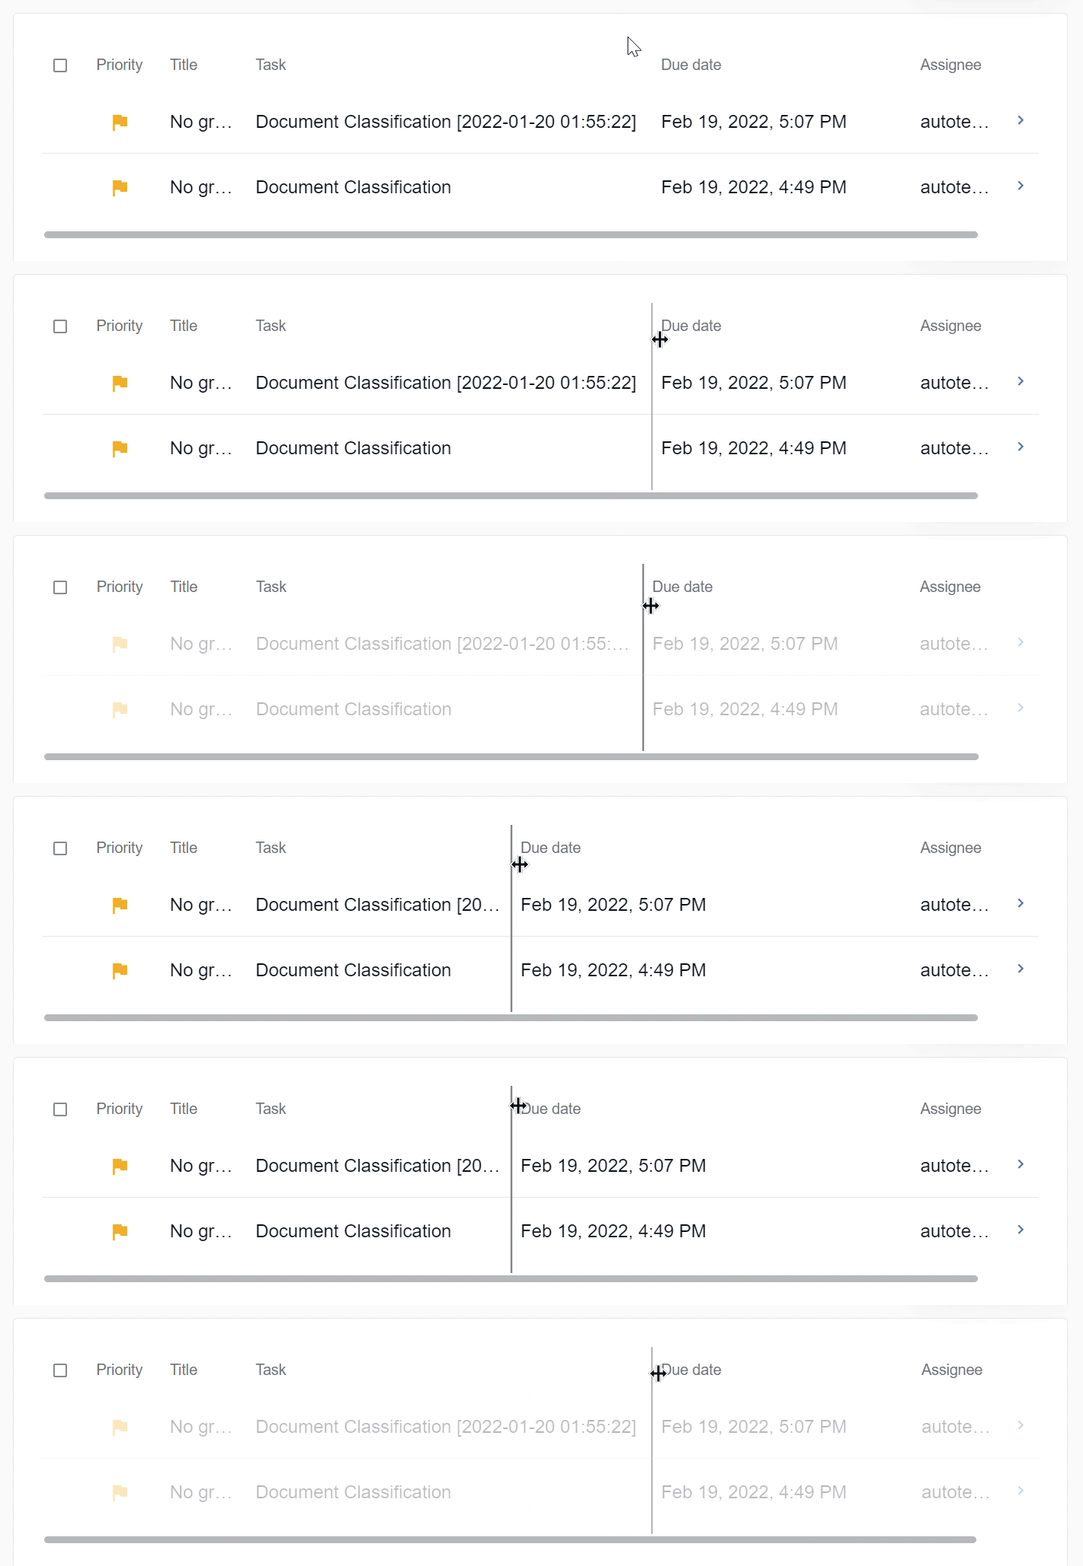
To change the order of the columns, drag and drop the selected columns within the list. Mind that you cannot relocate the Assign to checkbox (sticks to the visible area on the left) and the arrow column (sticks to the visible area on the right).
If some information in the list is not visible due to the column size, for example, an assignment title, hover over it to see full details in a tooltip.

Search for assignments
You can search for assignments in all available columns, including:
- Title
- Task
- Priority
- Assignee
- Creation date
- Due date
- Any custom attributes
To start searching, perform the following steps:
Click the search bar in the upper right corner.
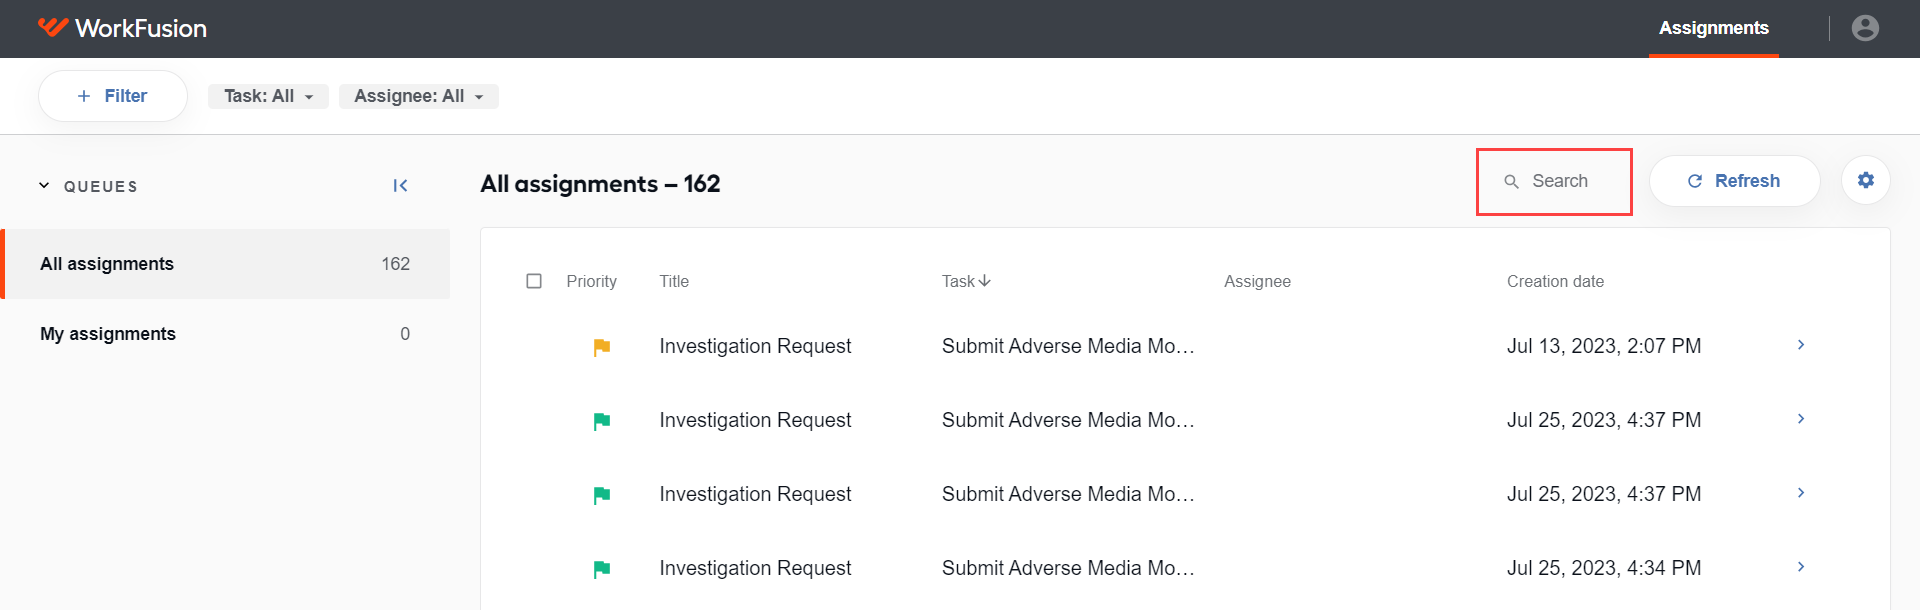
Start entering your query or paste a full-text one into the Search field.
The search is initiated on the first symbol entered, and the suggestions are shown in the drop-down list. The column that contains the corresponding query is shown next to the query in the search results.
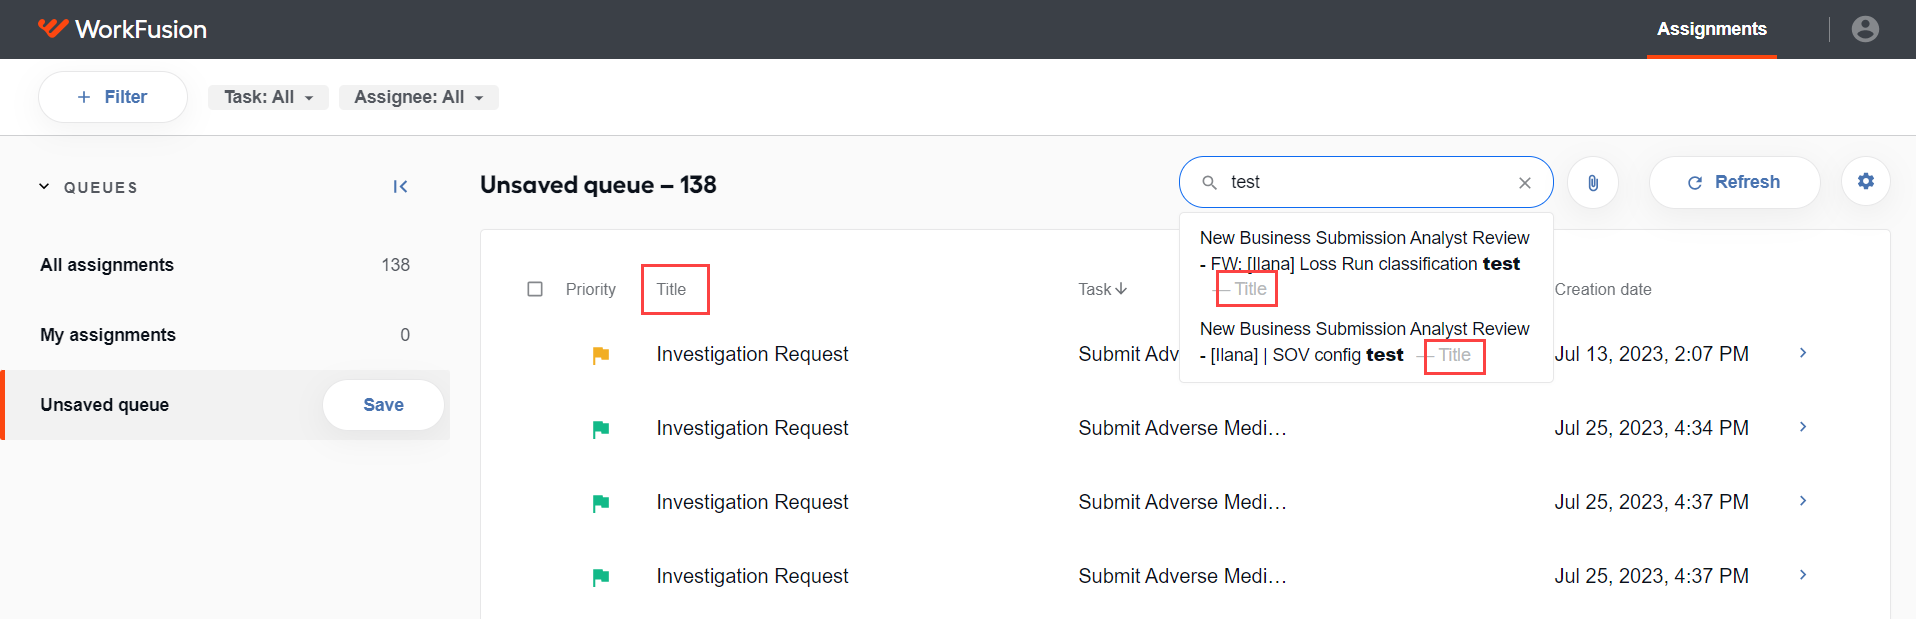
If you do not select from the suggestions and press Enter, all matching results are shown.
tip
At this stage, you can also click Refresh to view all matching results.
You can see the number of found results versus all available assignments next to All assignments:
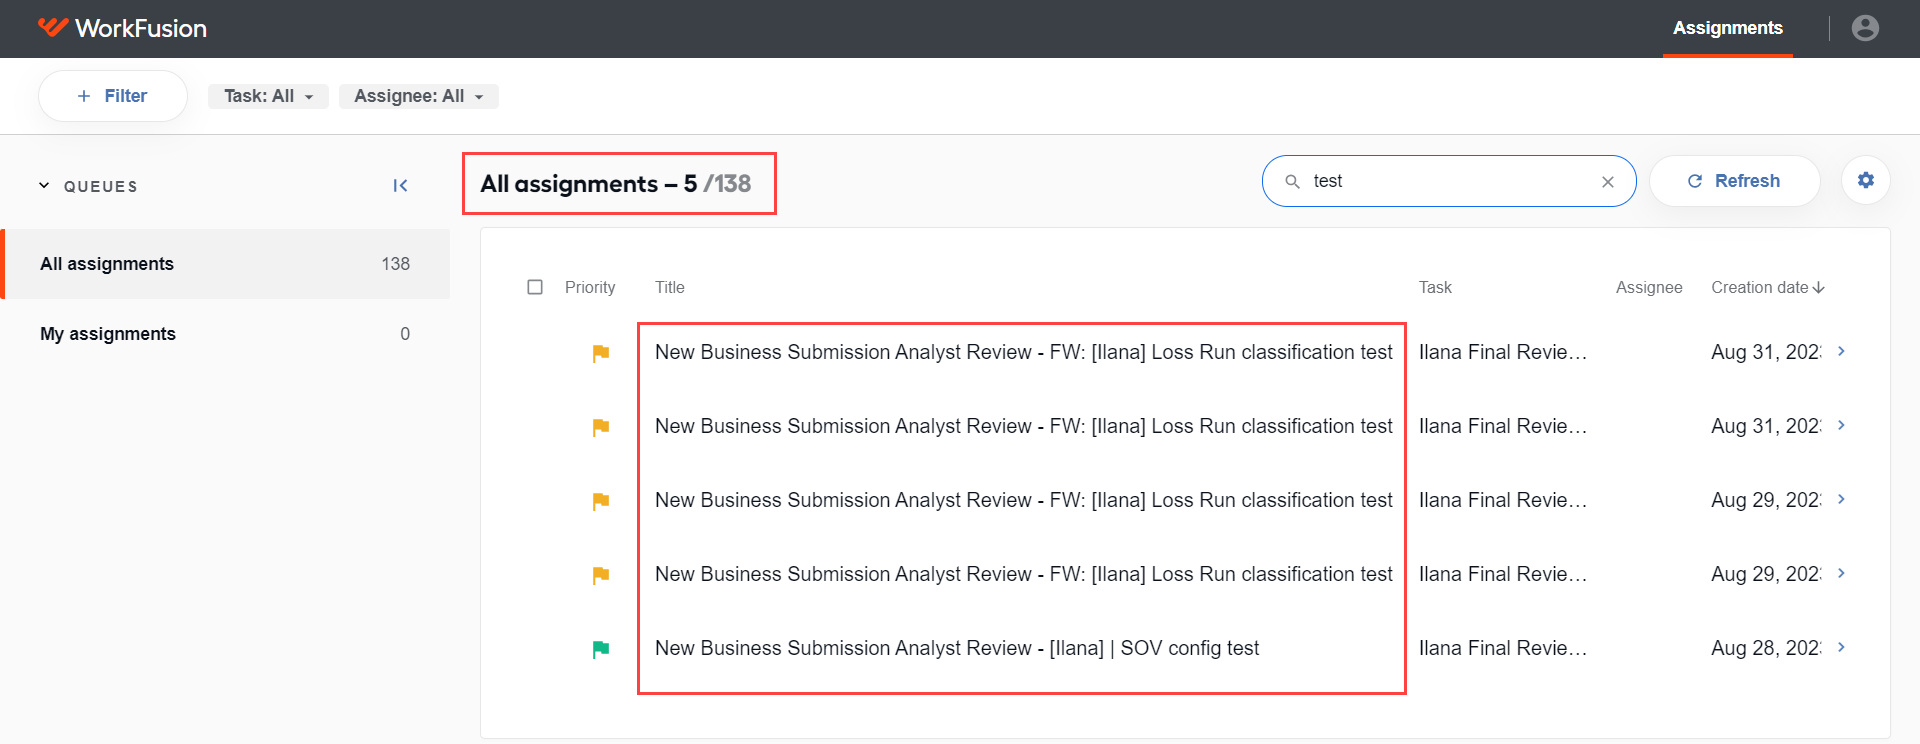
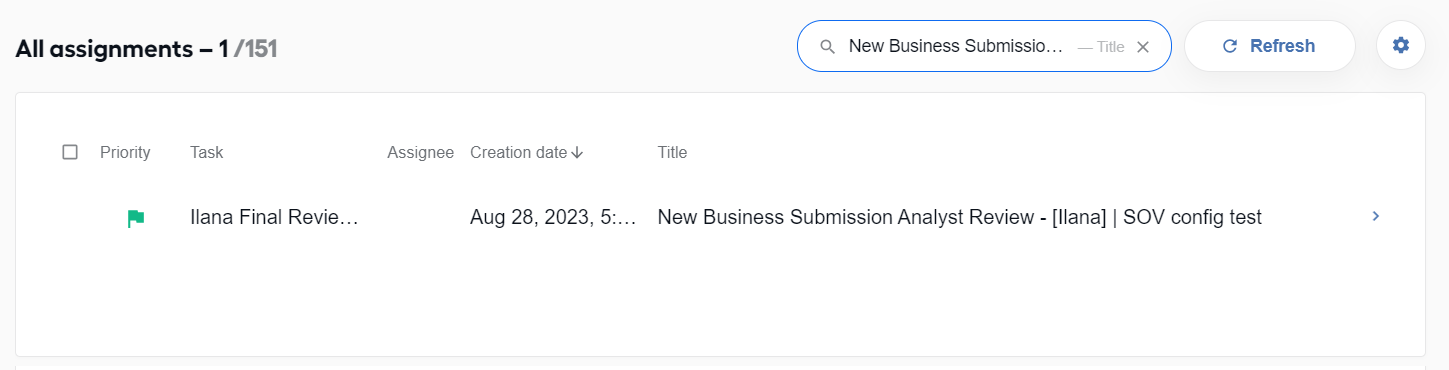
If you select a search result from suggestions, only the selected result is shown.
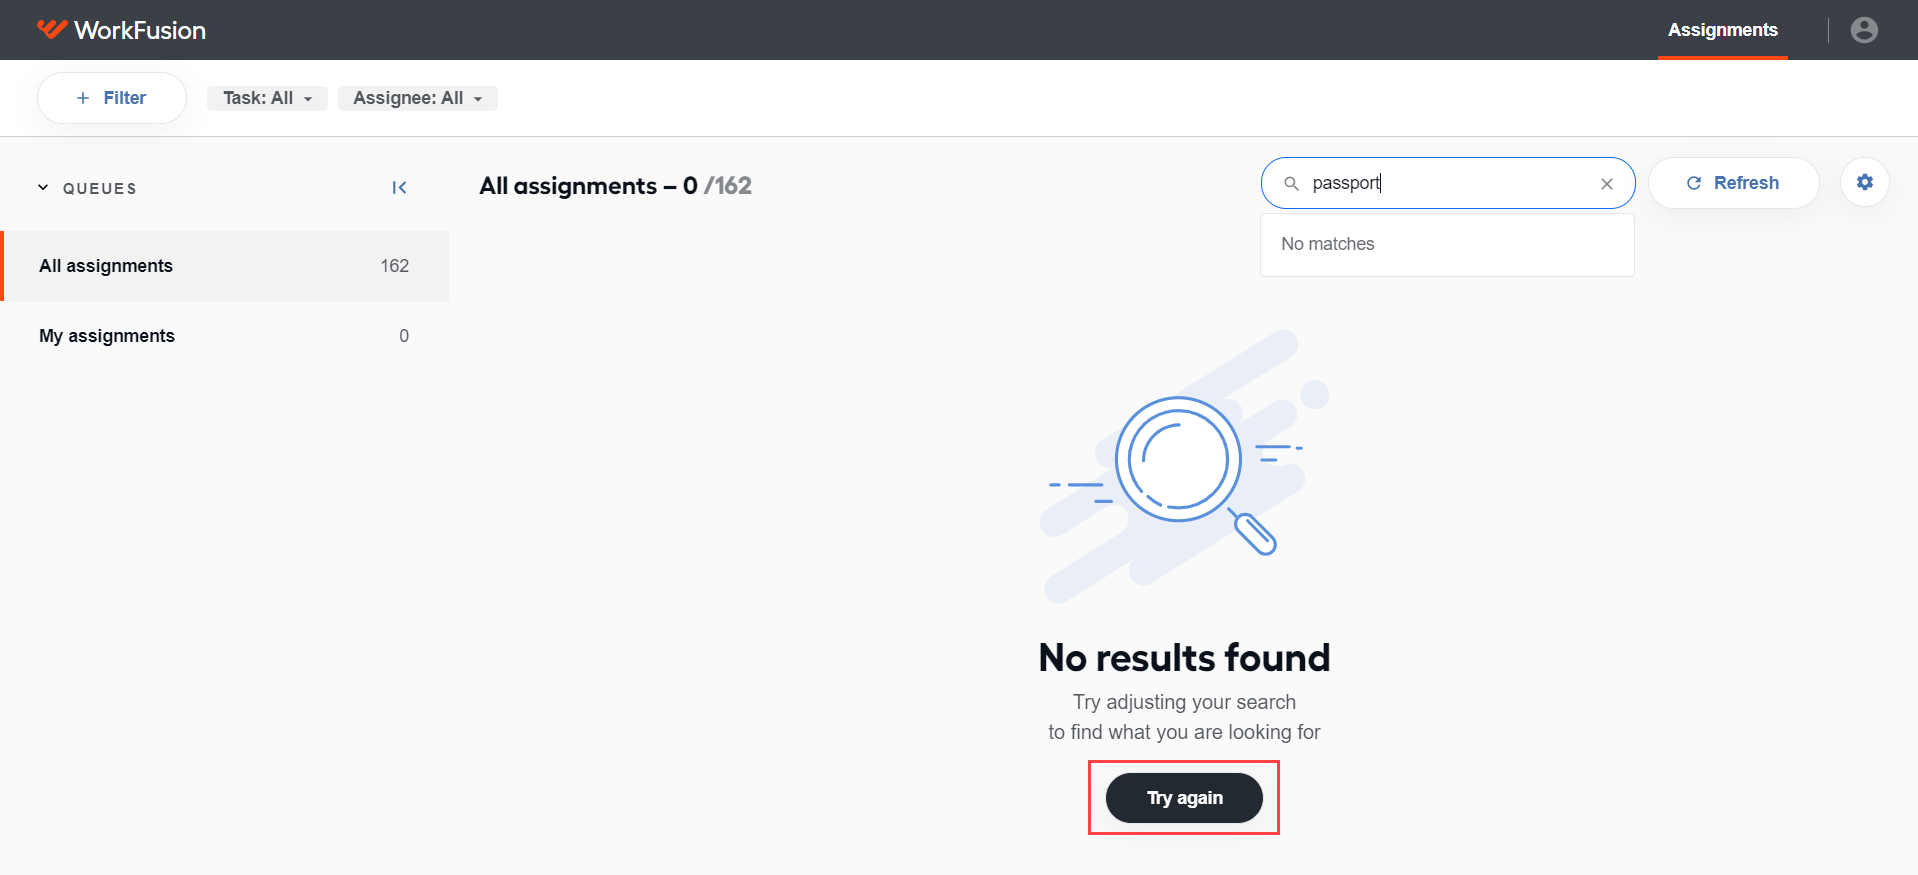
If no results match the search criteria, the No matches message is displayed. On pressing Enter, you see the No results found screen. Click the Try again button to return to All assignments.
To discard the search query and return to the assignment list, you can also click Close search. Mind that the search is cleared when you close the page.

important
- WorkSpace can show less results in case of an enormous number of matches.
- Completed or deleted assignments are not available in search results.
tip
For more details on advanced search in WorkSpace, see Set up advanced search.
Select assignments
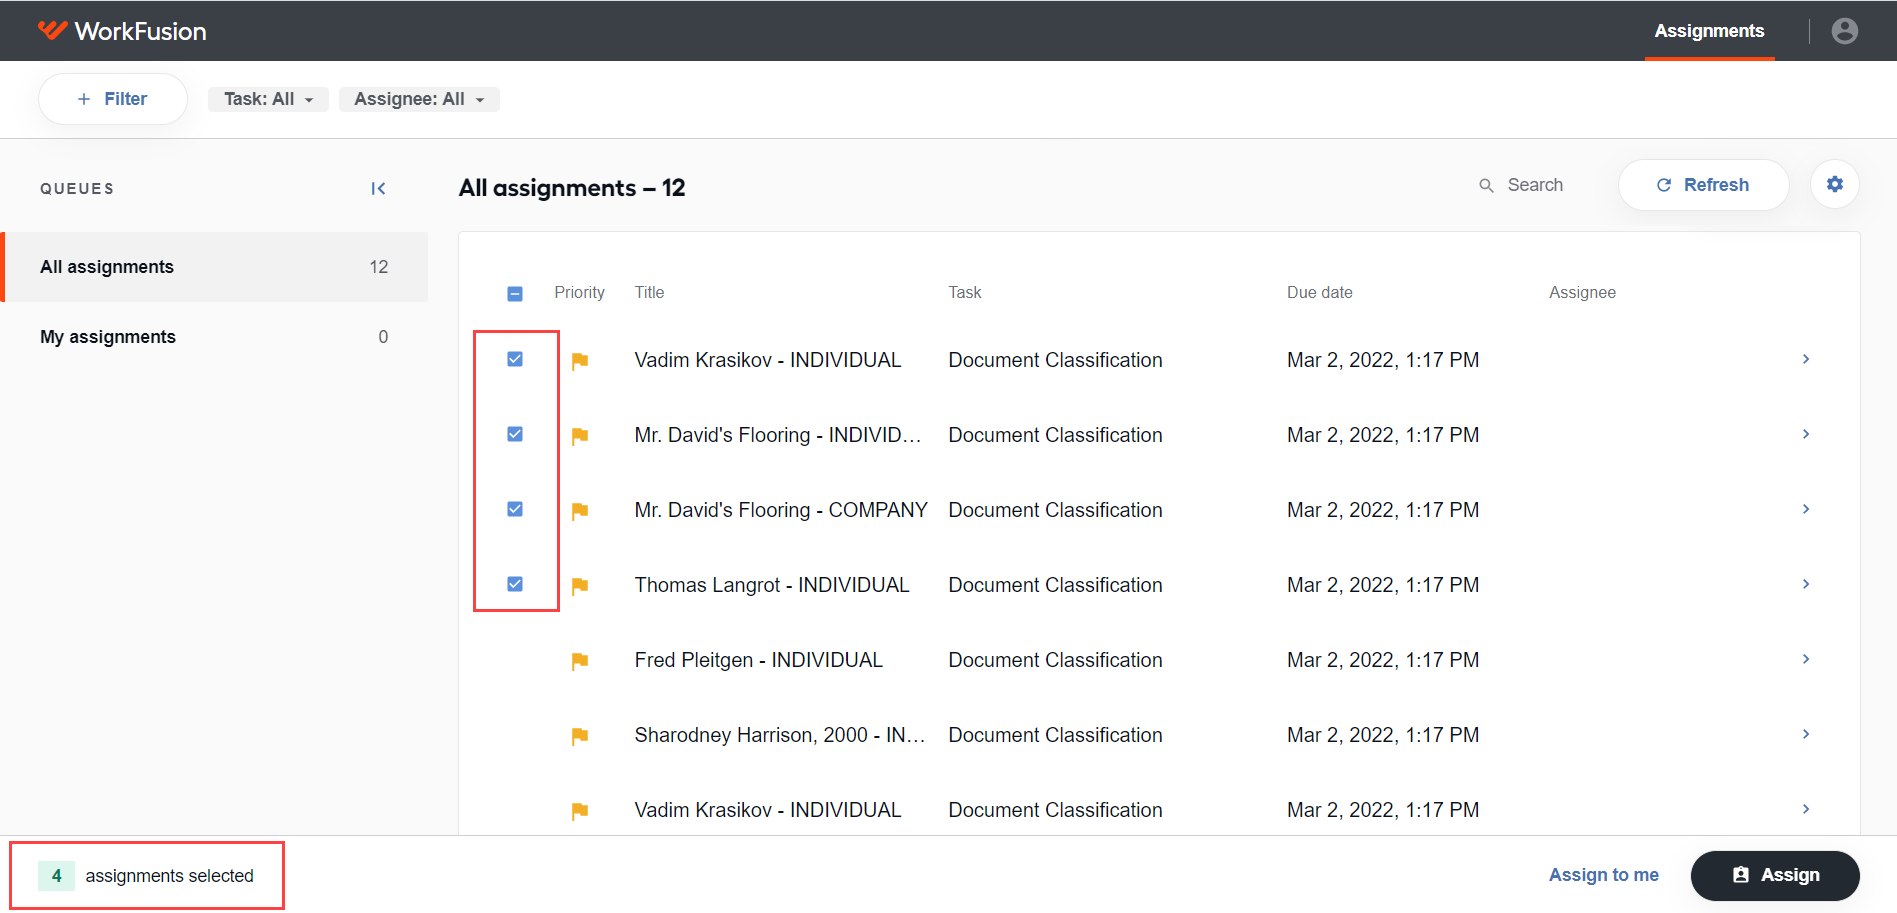
To distribute assignments, select the checkboxes next to them. To see a checkbox, hold the pointer over an assignment.
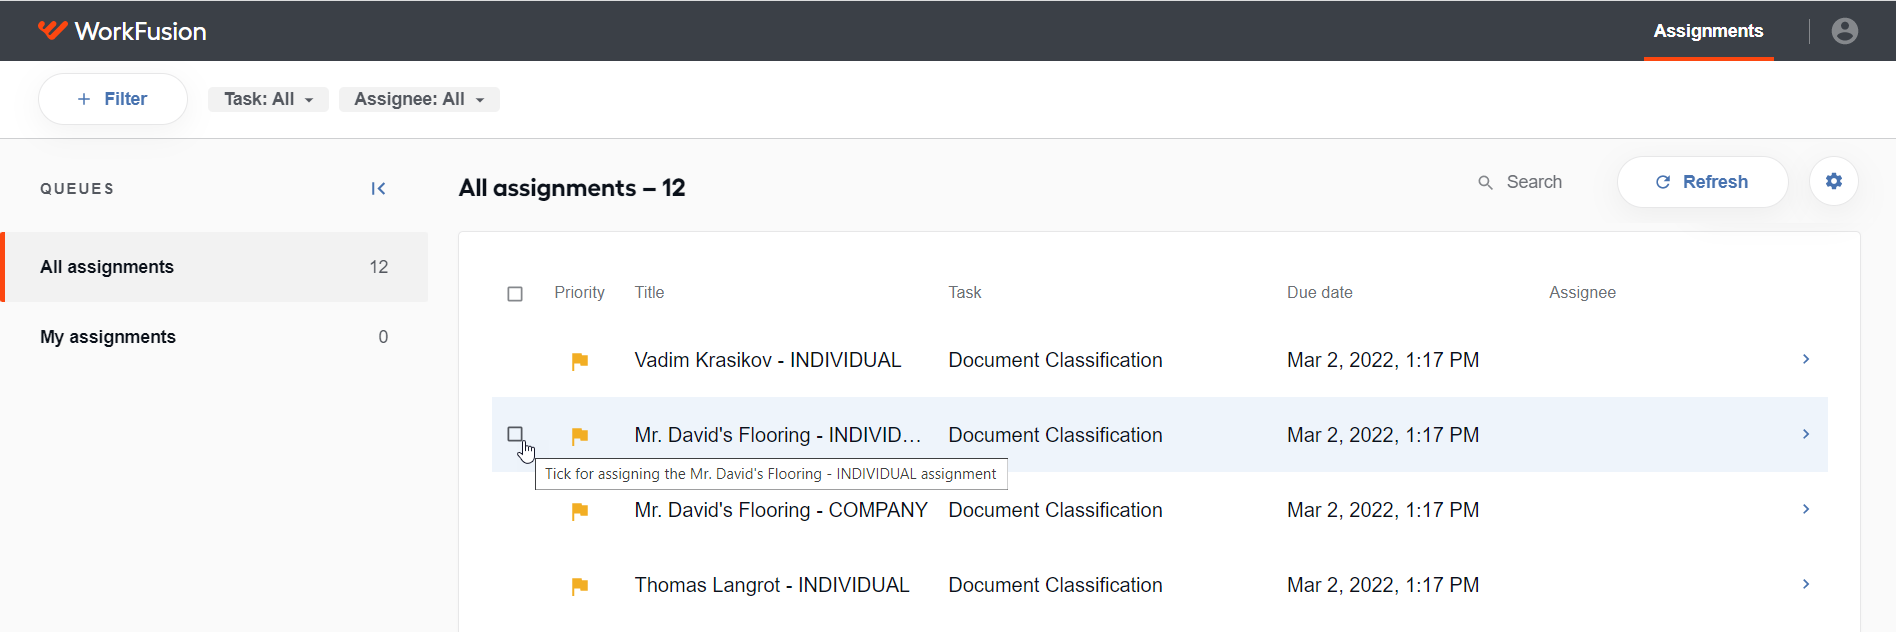
The number of selected assignments is shown in the bottom left corner. To remove the selection, either deselect the checkbox next to the required item or deselect all items by clicking the "-" indication above.
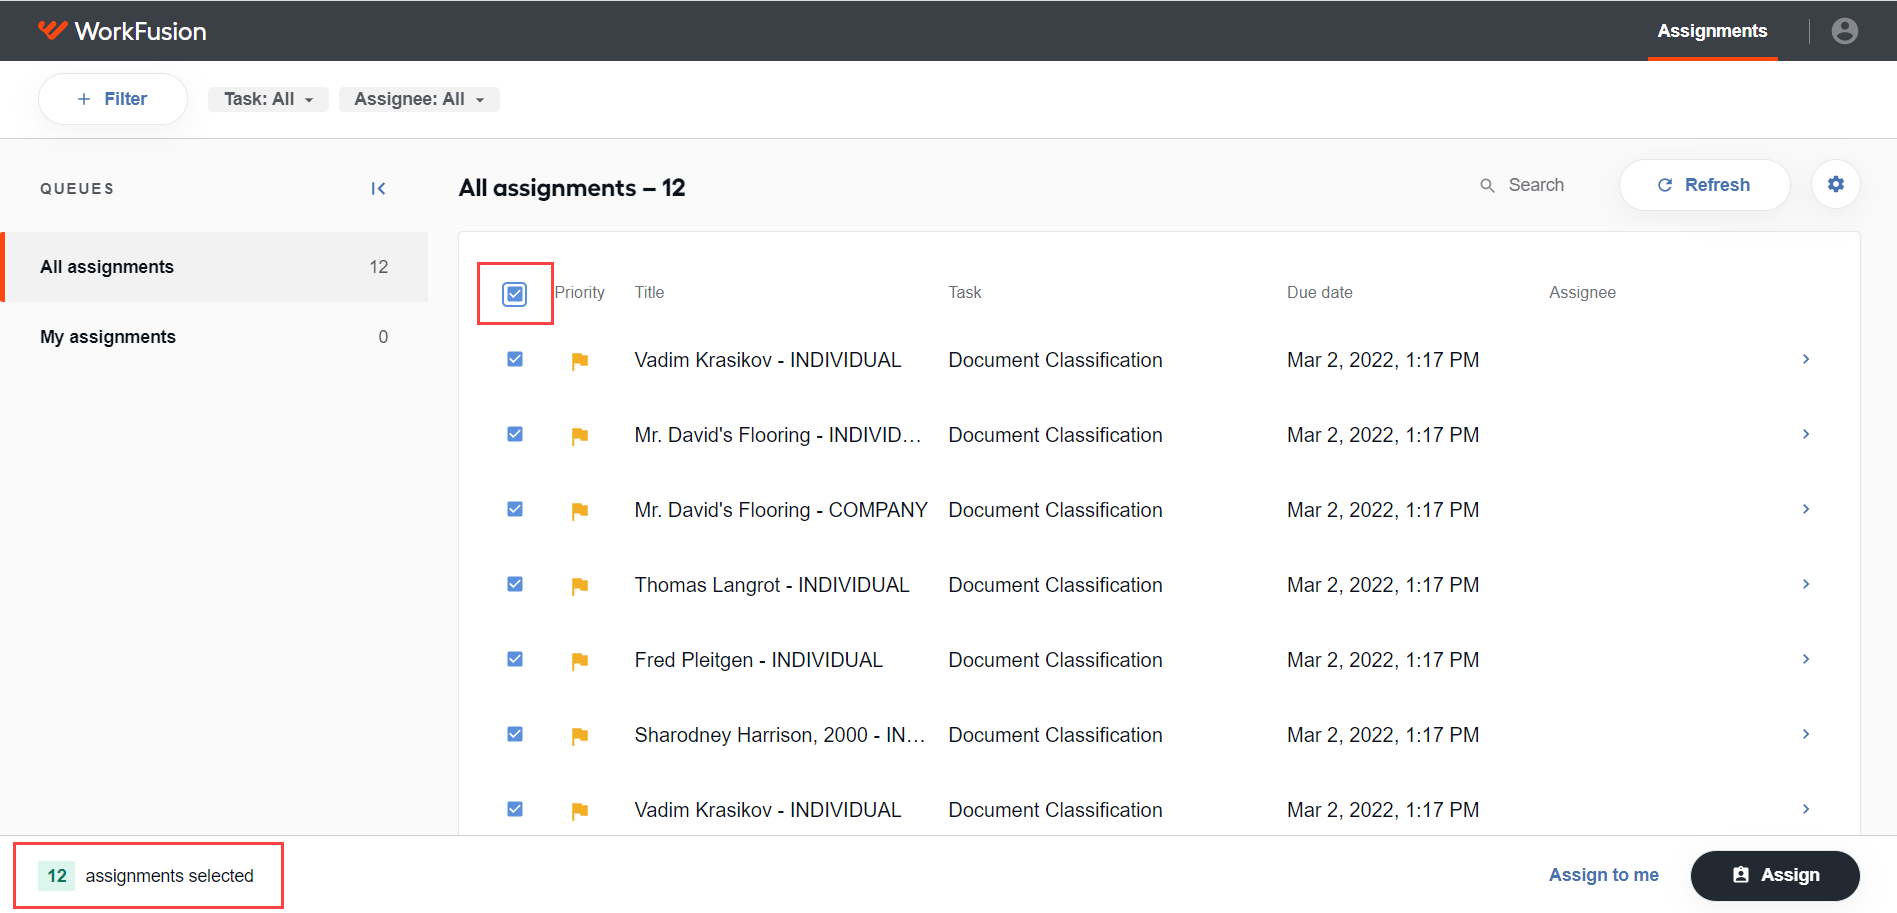
To select all assignments in a queue, check Select all. To remove the selection for all items, uncheck it.
caution
If there are too many assignments in the queue, only the first hundred assignments are assigned.
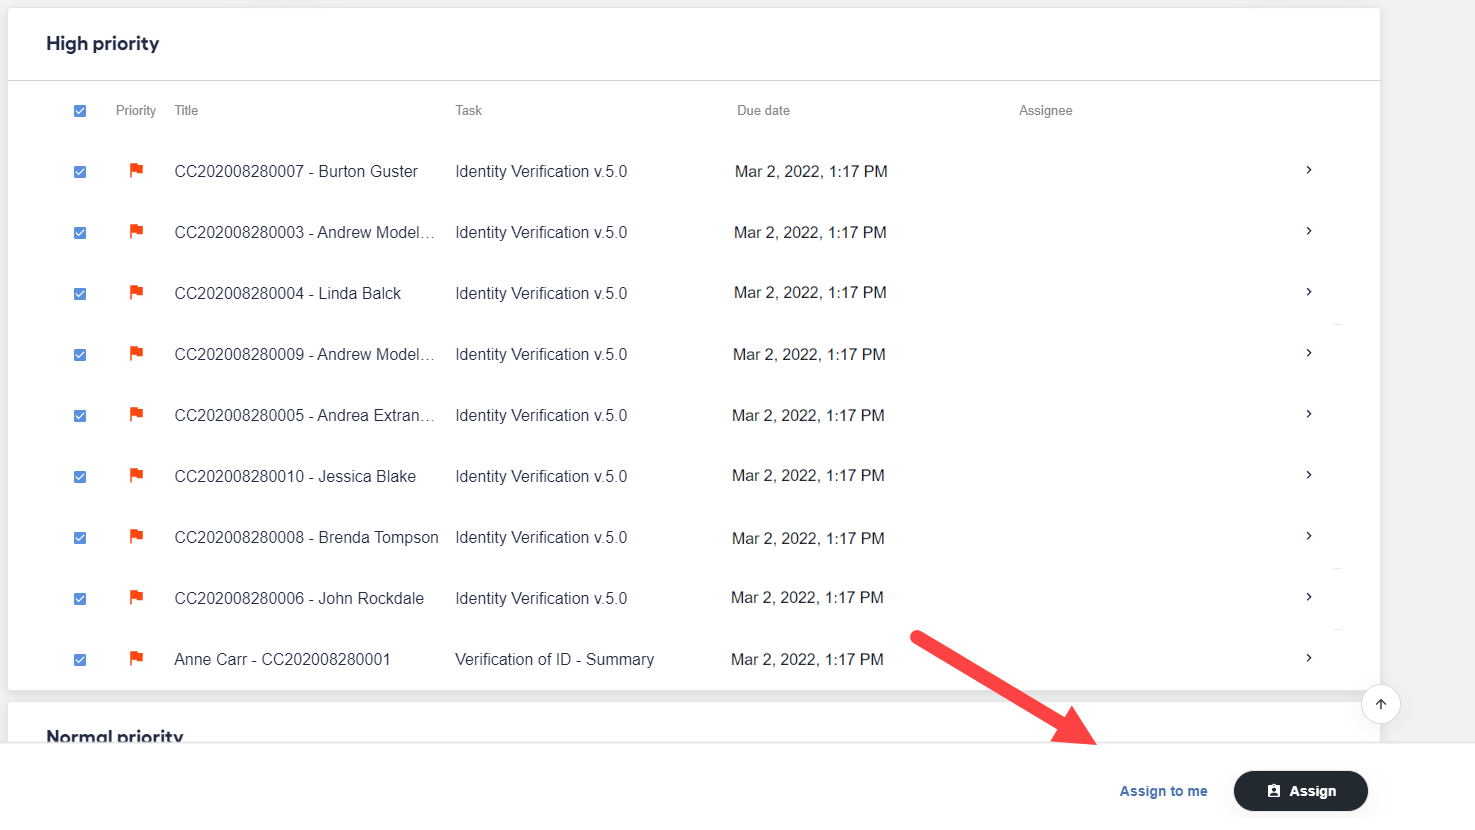
When grouping by priorities, you can set assignees within the following groups:
A group of assignments with the selected priority: check Select all within the priority group.
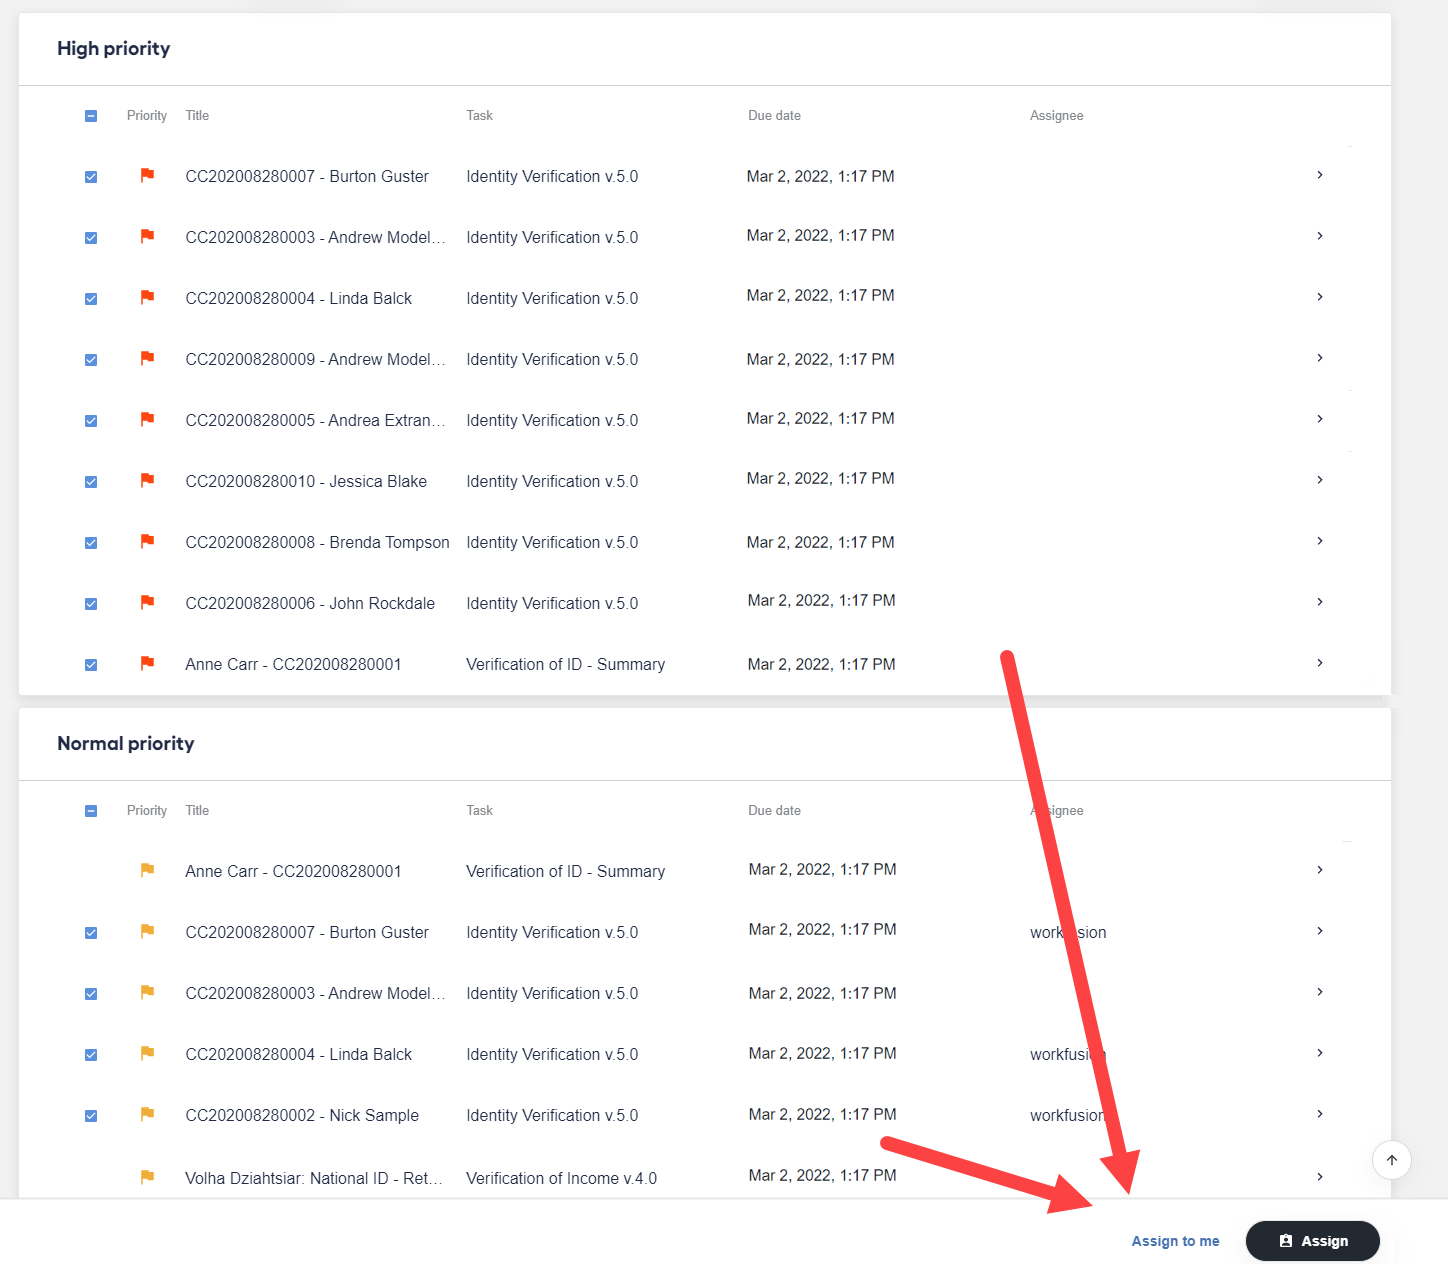
Assignments of various priorities: select only the assignments you need.
Select assignee
Use the Assign function to recommend one or more workers to do a job or indicate to colleagues that you are planning to process assignments yourself.
Mind that assigning to someone does not restrict this person from processing the selected assignment. Even if a task is already assigned, you can still start working on the assignment and complete it.
important
When you assign to a person, you recommend this task for them. It's up to them whether to accept the assignment or not.
To process selected assignments yourself, click Assign to me in the right bottom corner.
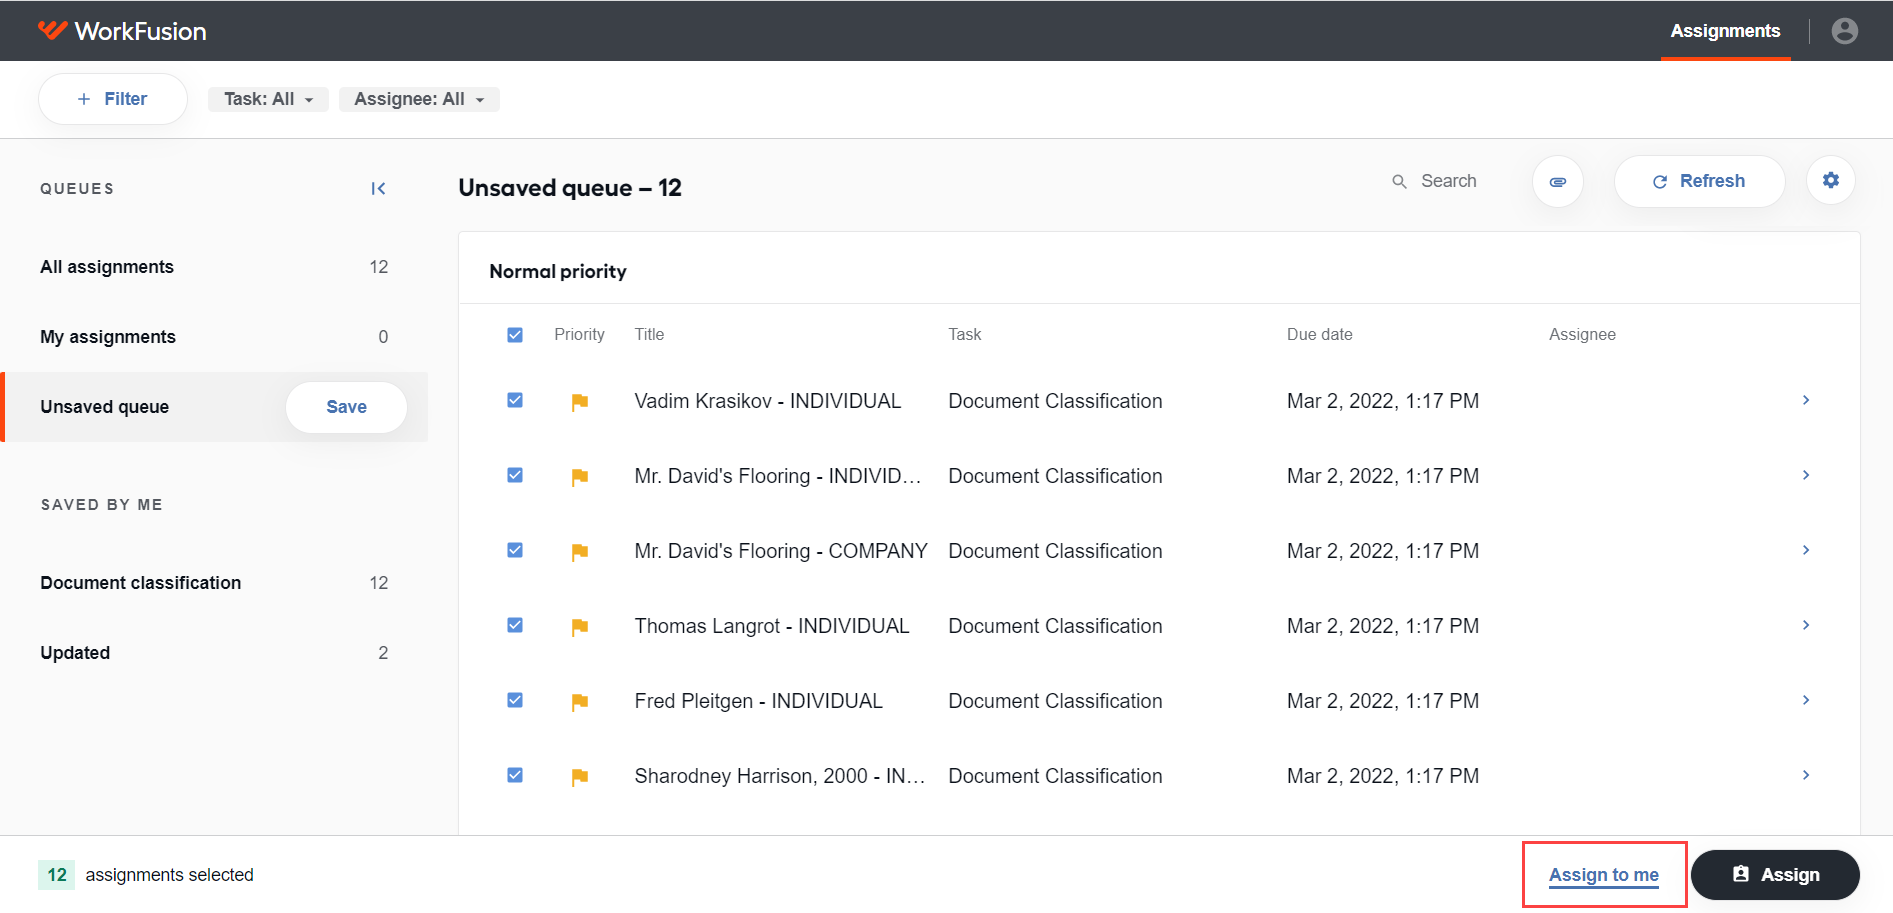
Your name appears next to the corresponding assignments, and the assignments are grouped in the My assignments queue.
To select an assignee, do as follows:
Click Assign.
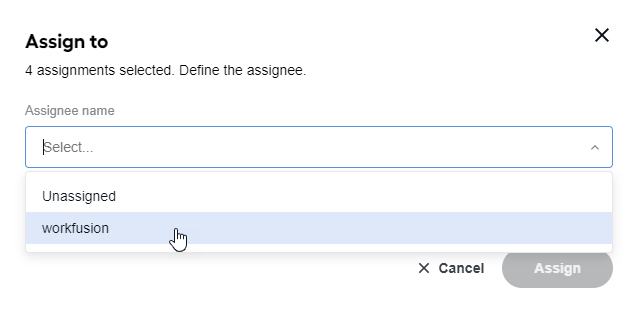
In the window that follows, click the Assignee name list and select a person.
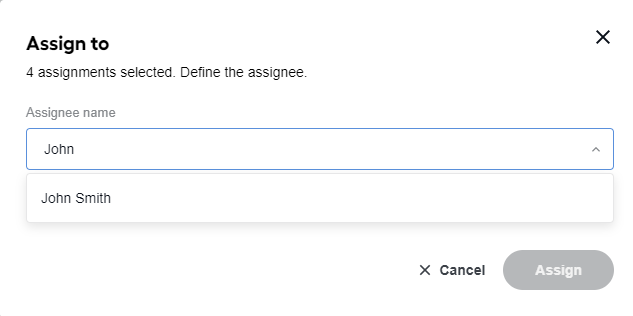
You can search for an assignee directly in the field. For that, start entering the assignee's first or last name or username.
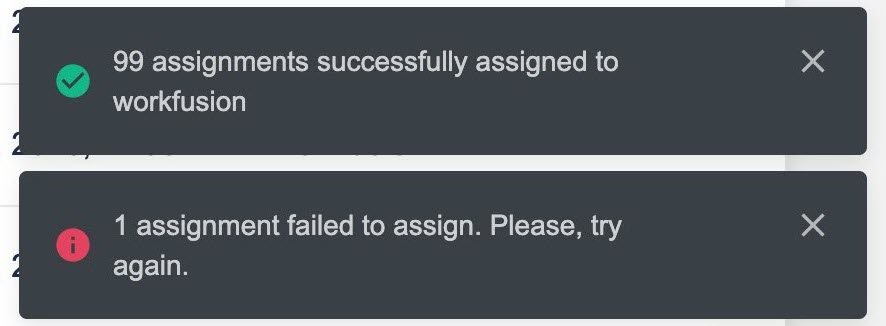
Click Assign. The message that the assignment is successfully assigned appears. The assignee's name is shown next to the corresponding assignment.

You can only assign to workers who have permissions for the selected assignments. Otherwise, you see the following warning:
To remove an assignee from an assignment, select the Unassigned option in the drop-down list.
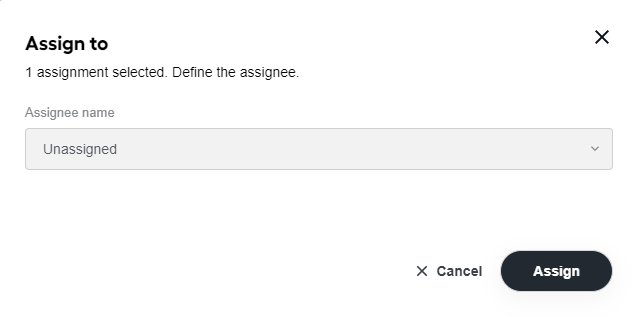
The message that the assignment is unassigned appears.

Refresh assignments
To refresh the assignment list, click the Refresh button.
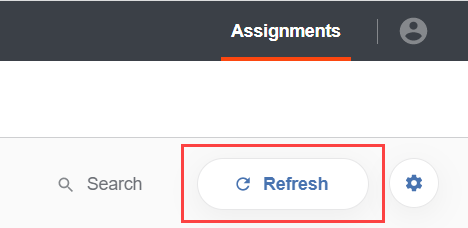
The assignment list is reloaded in the following cases:
- The counters in the queue are refreshed.
- Newly created assignments are added with relevant information.
- Completed, stopped, paused, and deleted assignments are hidden from the assignment list.
- Assignment statuses are refreshed in case the assignments are processed, and so on.