Create Bot Operation
Before reading this topic, see the detailed Operation description.
Create Bot Operation
To create a Bot Operation, do as follows:
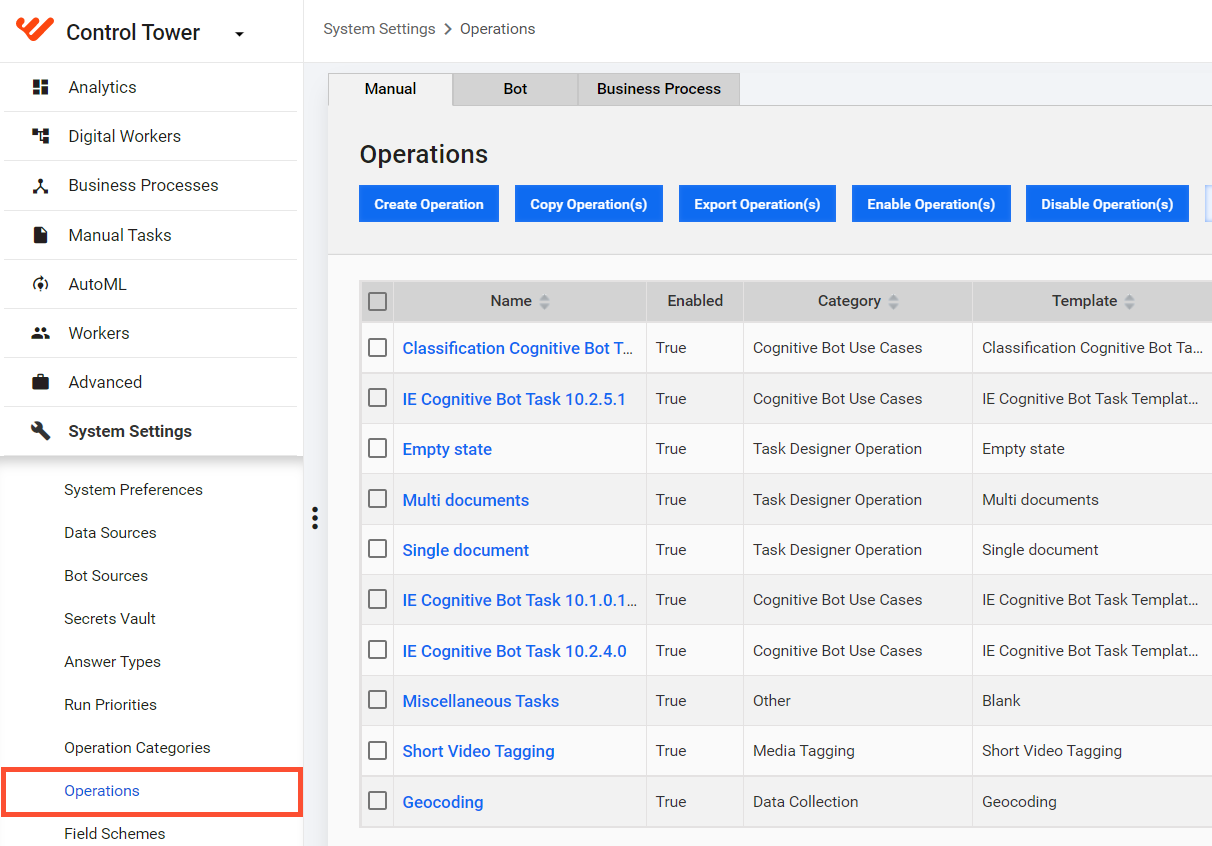
Go to System Settings and select Operations.
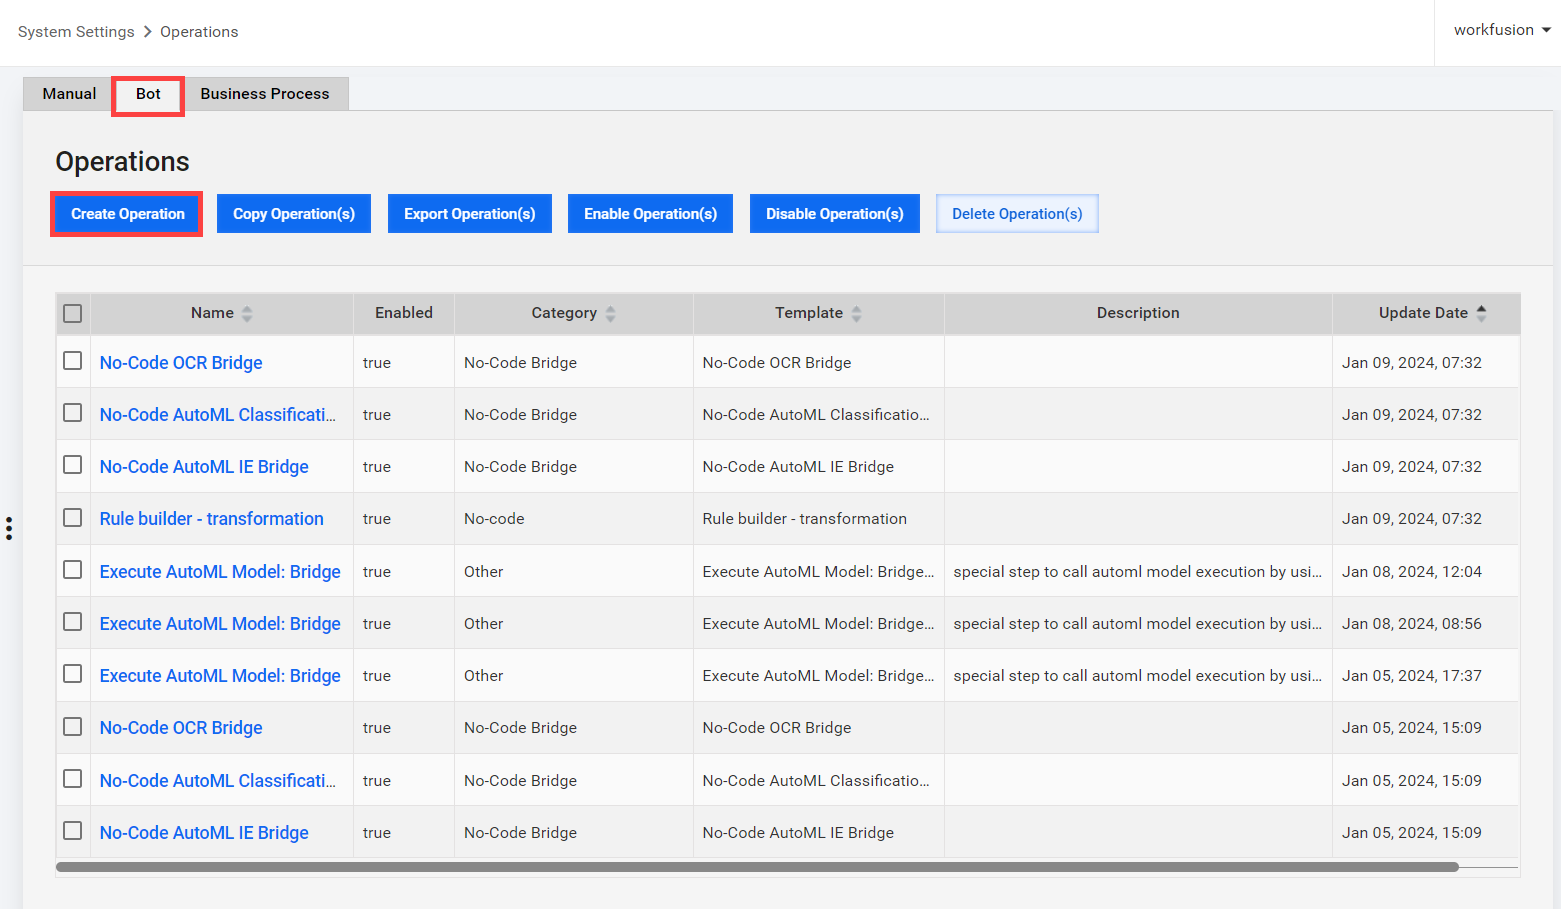
Select the Bot tab and click the Create Operation button.
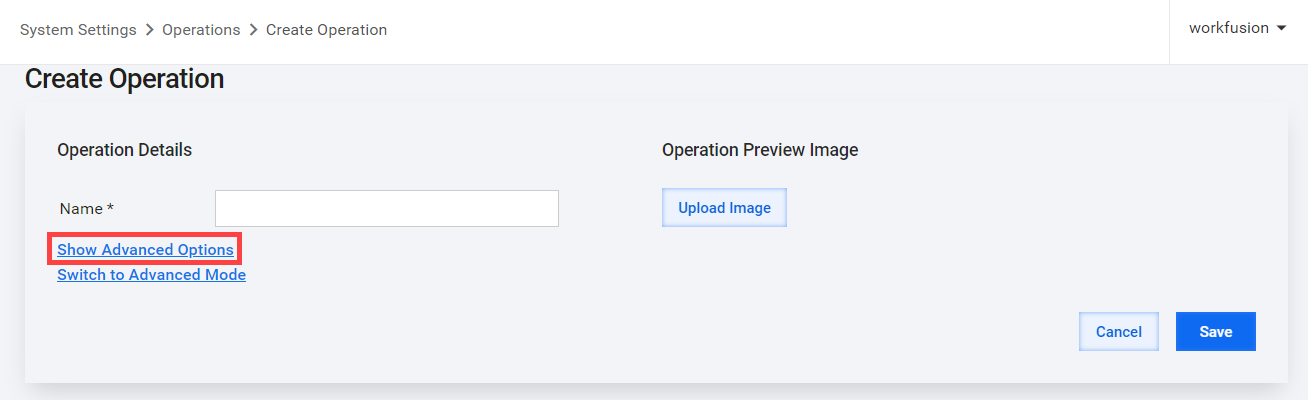
To configure the Bot Operation settings, click the Show Advanced Options link.
Specify the Bot Operation details:
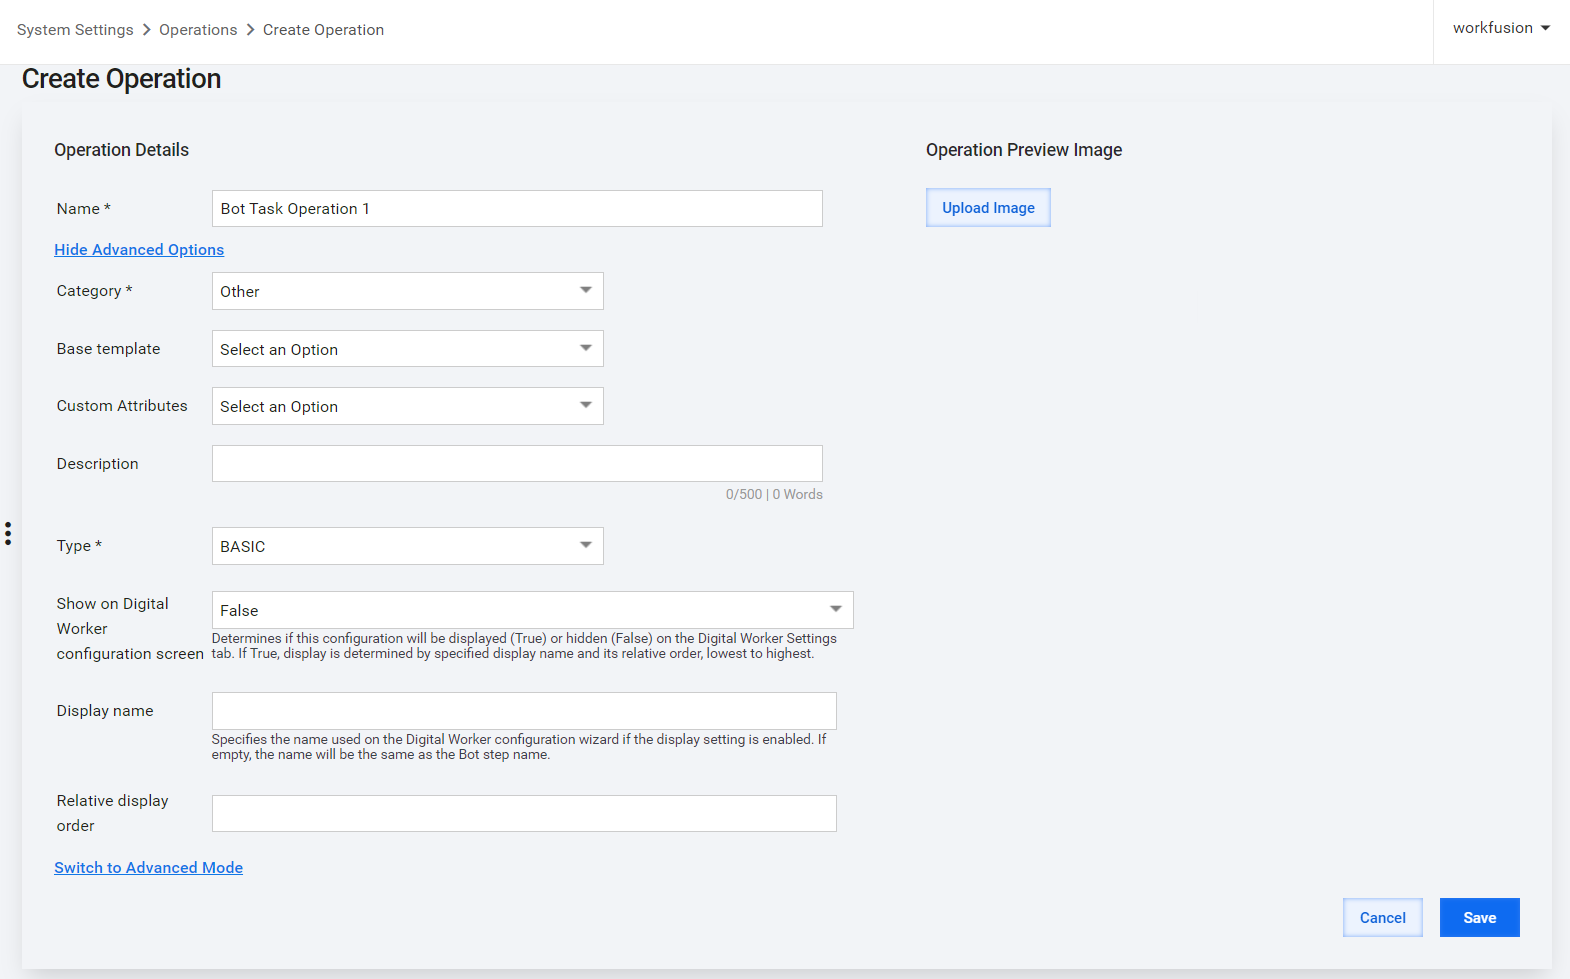
- Name
- Category:
- Other (default)
- ETL
- OCR Bridge
- No-code Bridge
- No-code
- Base template (optional)
- Custom attributes (optional)
- Description (optional)
- Type:
- BASIC (default)
- SCRAPER: select to automatically create a Bot Task for scraping web pages.
- ETL: select to add Answers that define variables, parameters, or column names used in the Bot Config code. By using ETL configs, you improve the config re-using and flexibility. Business users (non-programmers) do not need to edit the config code directly; they only need to specify parameters in Answers while adding Bot Task to a BP.
- FORM: deprecated
- RECORDER: import a Bot Task from Recorder. To create a Recorder Operation, make a recording in Recorder and select Publish to Control Tower.
- Show on Digital Worker configuration screen:
- False (default): select to hide the configuration on the AI Agent Settings tab.
- True: select to display the configuration on the AI Agent Settings tab. The display is determined by the specified display name and its relative order, lowest to highest:
- Display name: specify a display name for the configuration on the AI Agent Settings tab.
- Relative display order: specify the display order on the AI Agent Settings tab.
Switch to Advanced Mode and paste your valid XML code from the WebHarvest IDE.
If you are creating an ETL config, select Add Answer. The Answers are completed when using the Bot Task in a BP. You can set some parameters or variables, for example, map input and output columns.
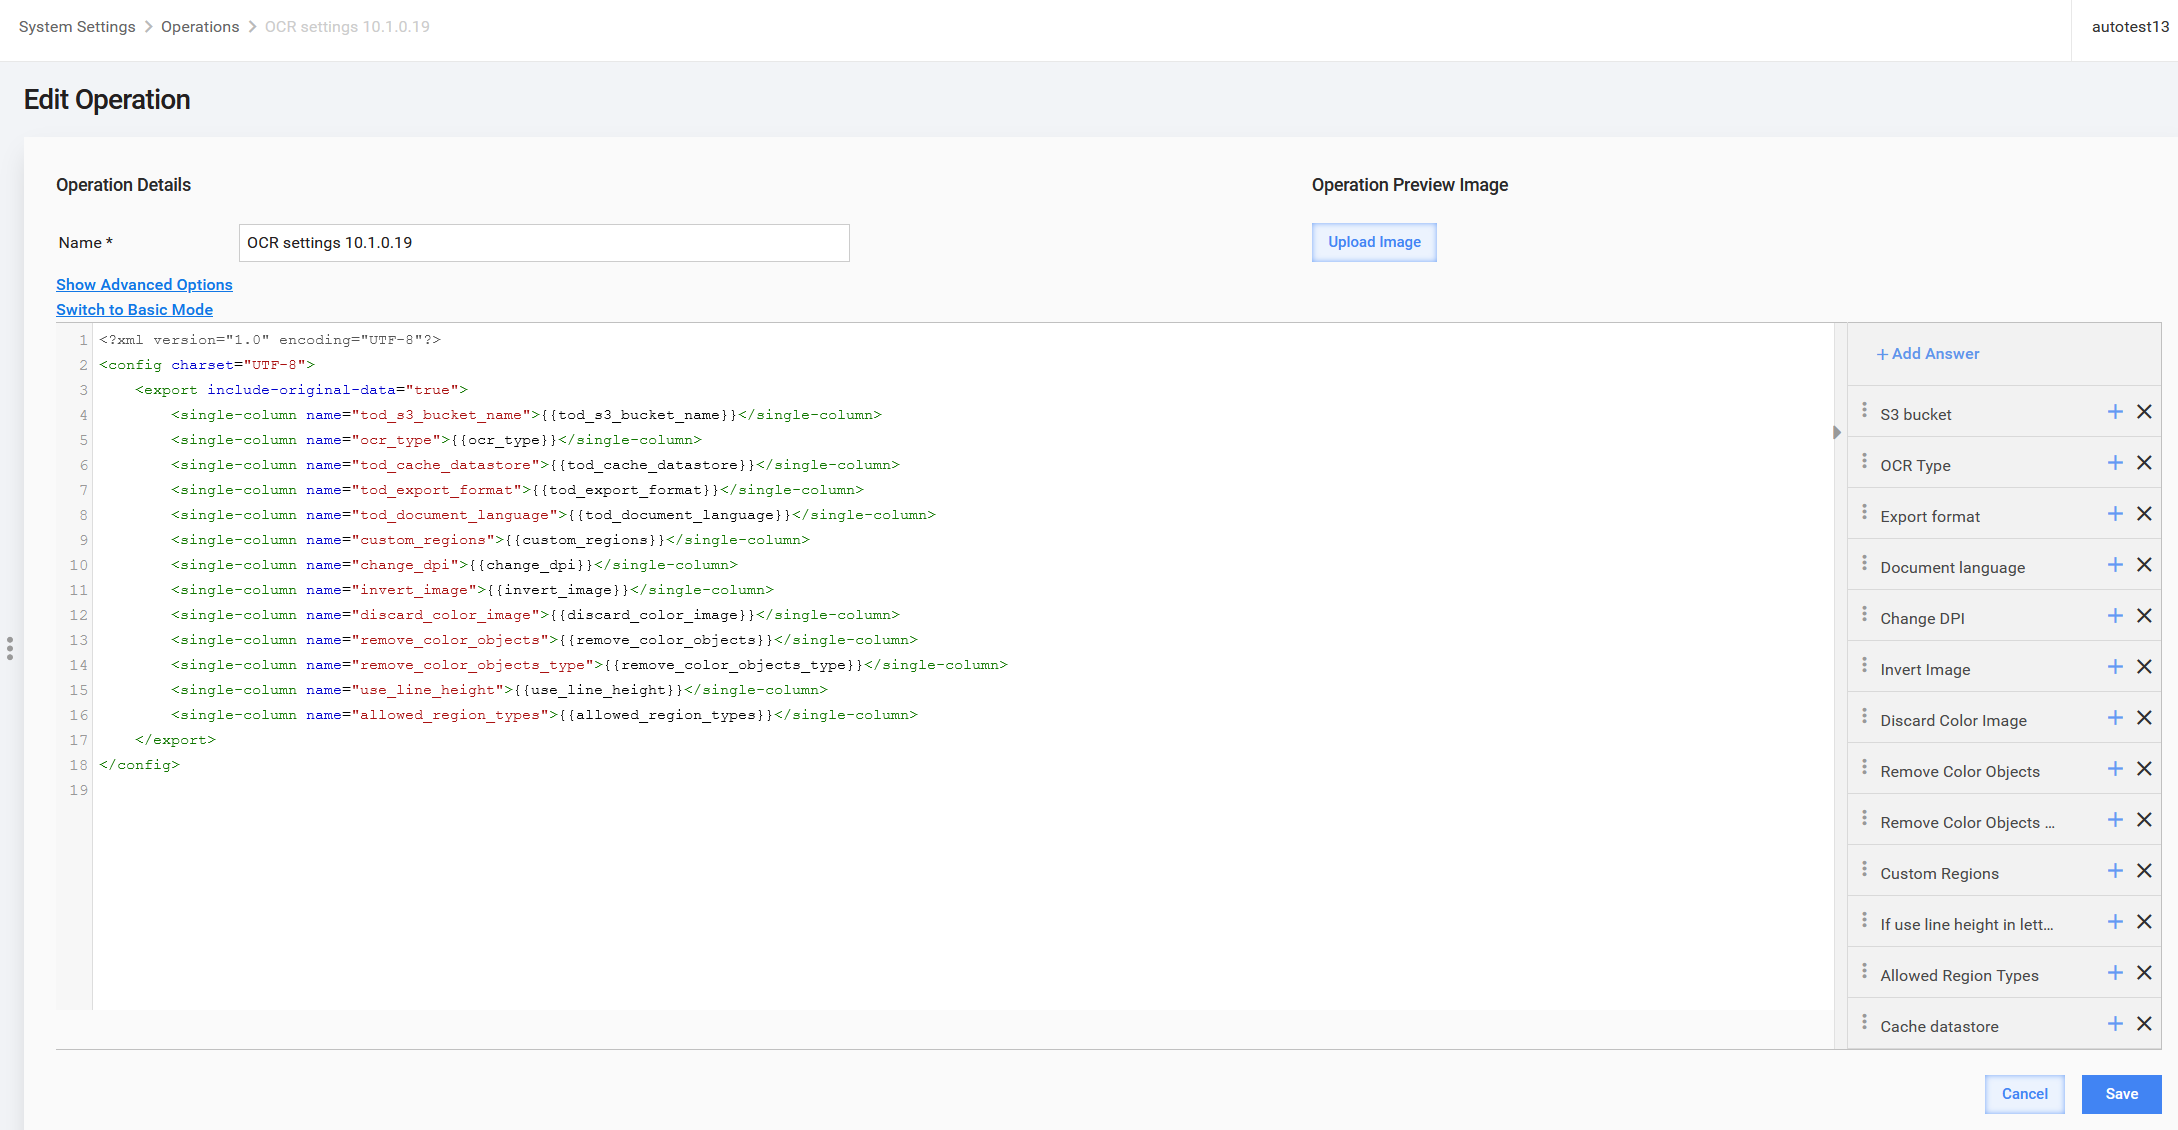
Click Save.
Use variables and Answer values
Variables
<var-def name="var_name">defines a new variable in your config.<var name="var_name"/>returns a value of the defined variable inside the tag.${var_name}returns a value of the defined variable in tag attributes.Example:
<single-column name="http" value="${var_name}"/>To return a value of a variable from step input data inside another tag, for example,
ocr_link, use the template processor:<mail smtp-host="smtp.example.com"
smtp-port="587"
type="text"
to="venkata@example2.com"
security="ssl">
<template>${ocr_link}</template>
</mail>
Answers
{{answer_code}}returns the ETL Answer value:<var-def name="input_column">
{{column_with_url}}
</var-def>
Column names in Answers
All the code of an ETL config is processed by the FreeMarker engine. To return a value from the input file column name defined in an Answer, wrap it with the <#noparse>...</#noparse> tag. FreeMarker does not search FTL tags, interpolations, and other special character sequences in the body of this directive, except the noparse end tag:
<export include-original-data="true">
    <#noparse>
        <single-column name="http" value="${output_column}"/>
    </#noparse>
</export>