
Schedule Business Process
Besides running Business Processes (BP) manually, you can start them according to a schedule.
tip
Be careful not to create multiple Business Processes with the same name as it might cause confusion when scheduling.
To create a schedule, follow the instruction below:
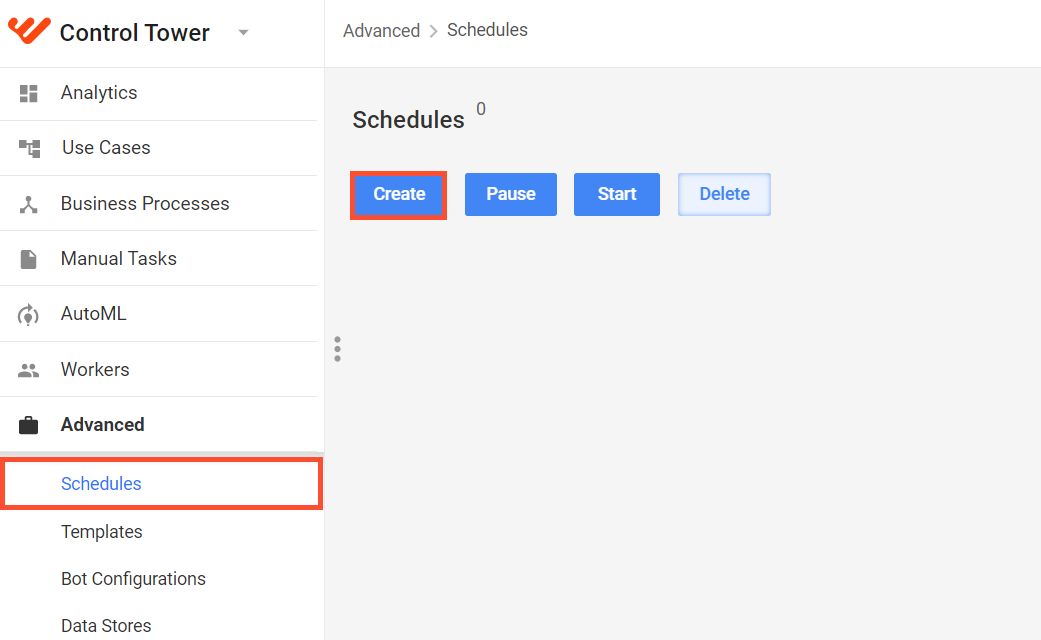
Go to Advanced > Schedule and click Create.
note
Using the scheduler, you can run not only Business Processes but also standalone Bot Tasks. So, be careful when selecting the required item from the drop-down list.
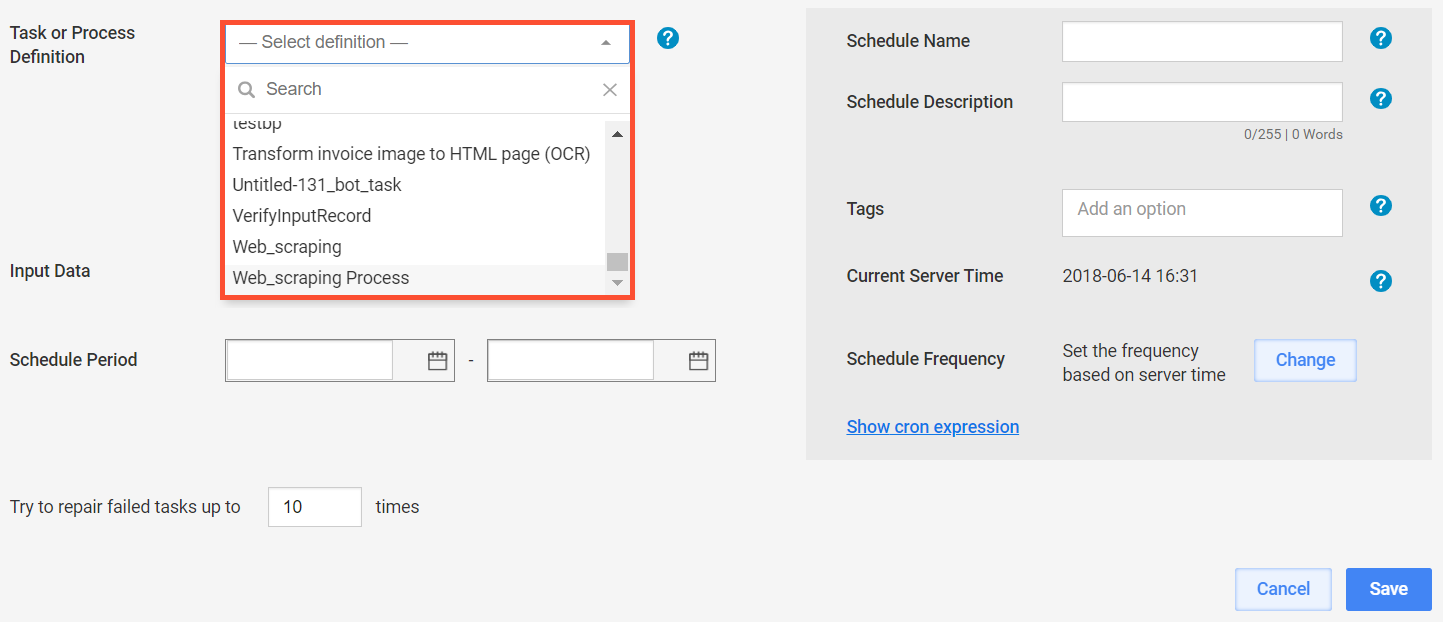
On the Create Schedule page, select the BP you need to run.
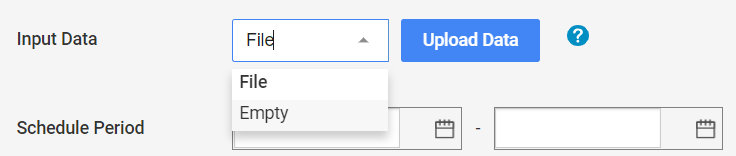
To use Input data, upload a data file. Otherwise, select Empty. In this case, the scheduler uses the data from the recorder variables.
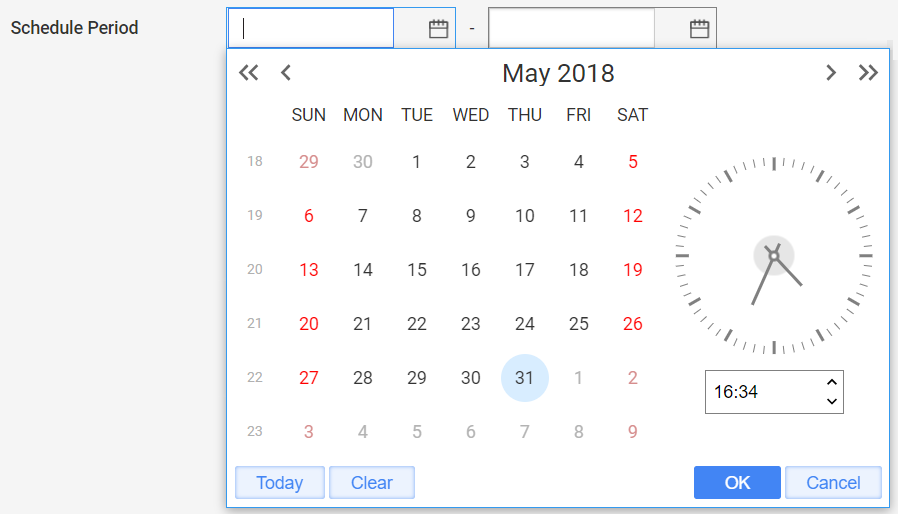
Set the schedule period.
note
The server time of the Scheduler is set to GMT, and all schedules are triggered according to GMT.
In the section on the left, add the title of the schedule, description, and tags if required.
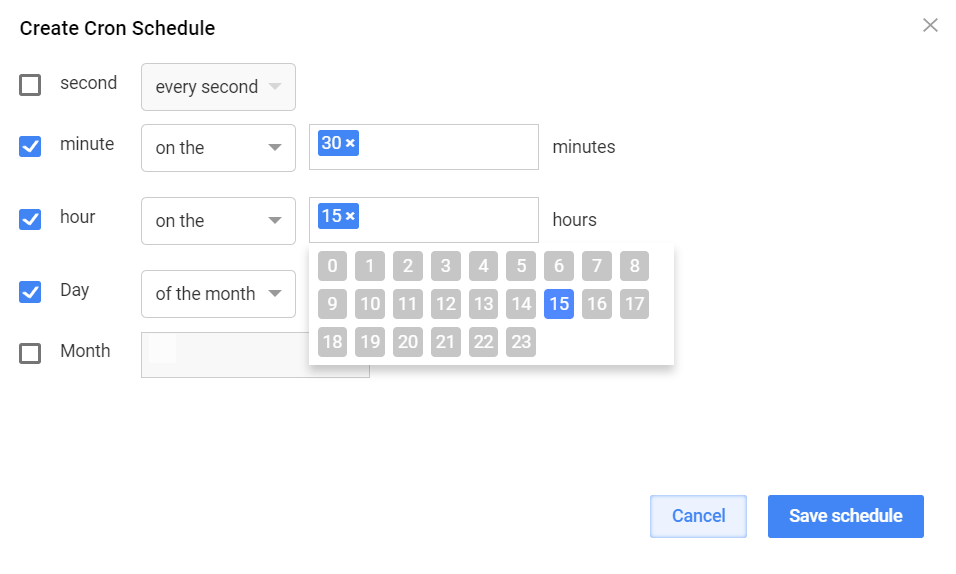
To set the schedule frequency, click Сhange and type in or select values in appropriate drop-down boxes. You can set the BP to start at a particular time or to run at specific time intervals.
note
The schedule is triggered according to the schedule frequency only within the schedule period configured at Step 3.
Click Save.
Once the schedule is saved, you cannot edit it. To edit a saved schedule, copy it and edit the copy.
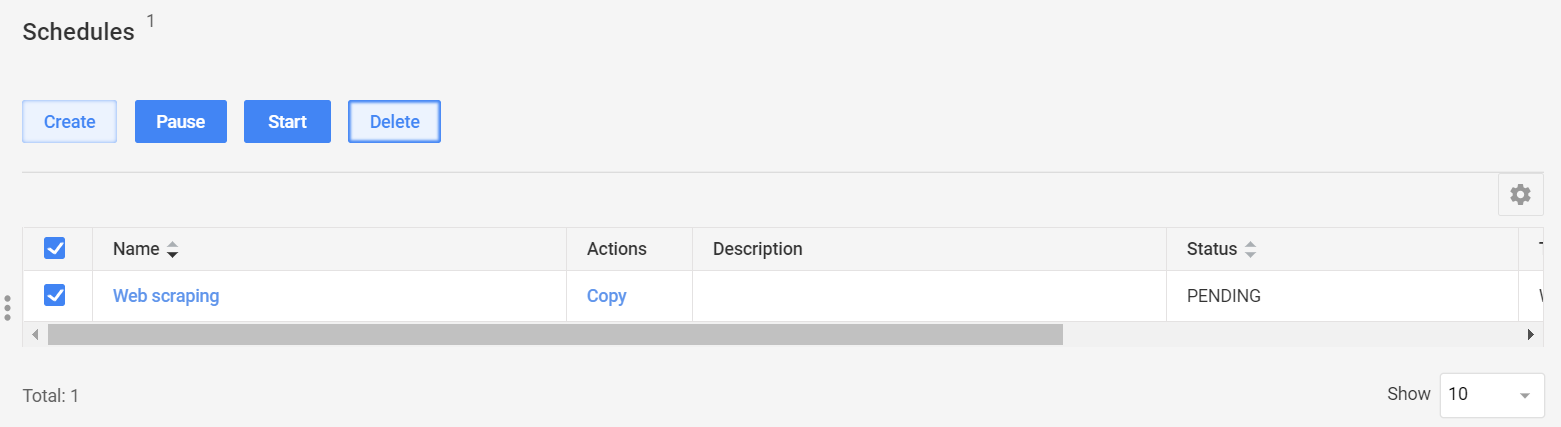
You can pause and start a running schedule and delete one at any stage. To do this, select the checkbox next to a schedule and click the appropriate button to initiate an action.
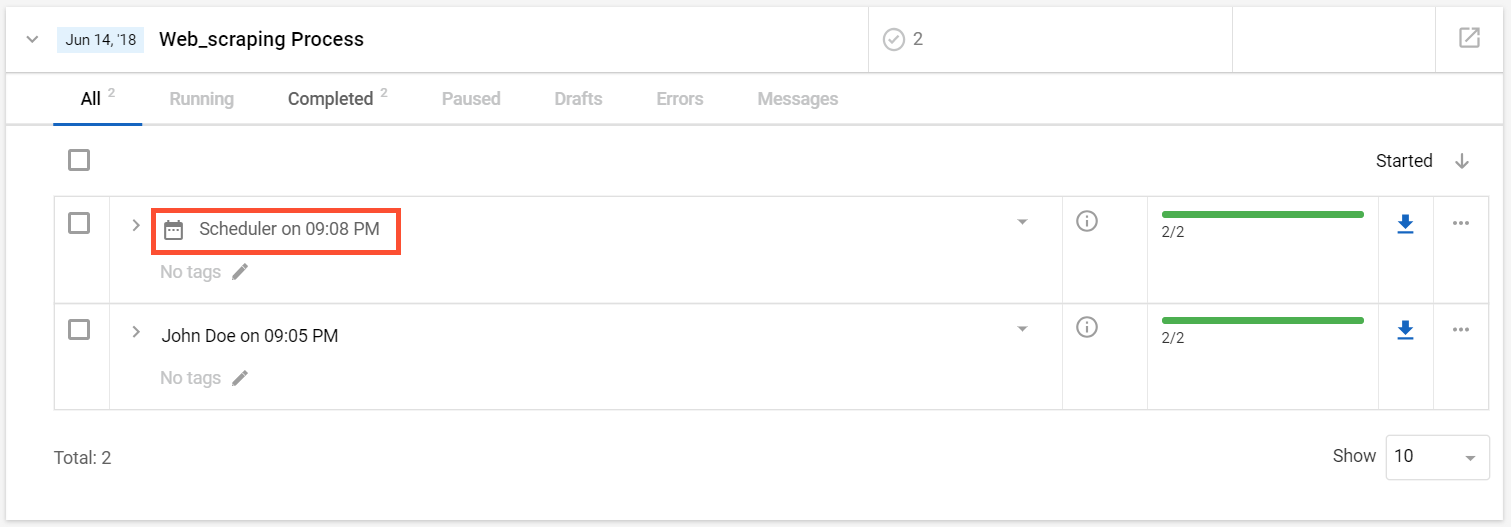
When the Scheduler starts a BP, it creates a separate instance. You can see all instances on the Business Processes > View all page.
caution
When you delete a Business Process from the BP list, its instance still remains in Control Tower.