OCR
Overview
It is not possible to recognize handwritten data and signatures using OCR.
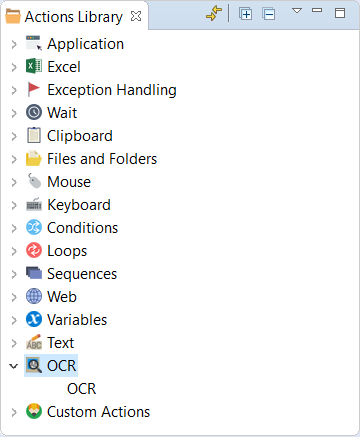
The OCR action group is intended for automatic image recognition and writing the recognized text to a recorder variable of the string type.
In an automated task, you can reach a point when it becomes necessary to copy textual information from an image, desktop application, or applets such as Java, Adobe Flash, or others of this kind. Such information cannot be copied directly using the keyboard or mouse, so you can add the image to the OCR action or take a screenshot in the OCR action to be processed by the OCR plugin to recognize and extract the text.
- The OCR action can be used to recognize images that contain Latin letters and numeric characters only.
- The number of pages is limited to 1,000 pages per license.
- Input formats support image files only (TIFF, PNG, JPG, GIF).
- The OCR action is not recorded automatically and must be added to the recording manually.
OCR action
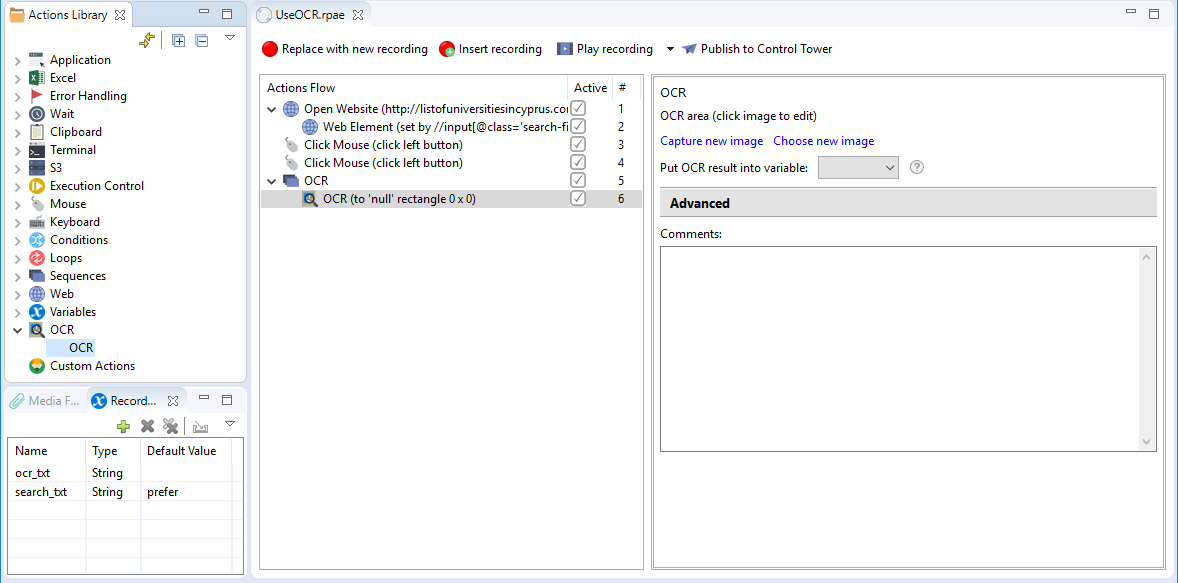
You can add the OCR action manually when editing a recording by dragging it from the Actions Library to the Actions Flow.
Parameters
When the OCR action is added to the Actions Flow, you can set its properties.
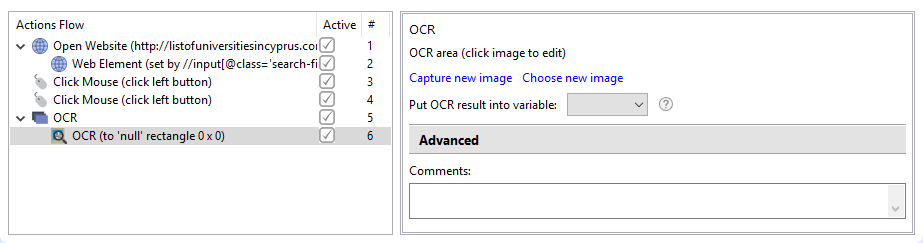
The OCR action has the following properties:
- Capture new image: an image for the action is captured by Recorder
- Choose new image: an image for the action is chosen from the existing image files on your machine
- Put OCR result into variable: a recorder variable linked to receive the text recognized from the image by OCR
- Advanced
- Wait: a delay before the action starts (in milliseconds)
- Comments: a description of the action
Add images to recording
There are two ways to add an image to your recording for recognition: you can capture an image or add an existing image to the recording.
Capture new image
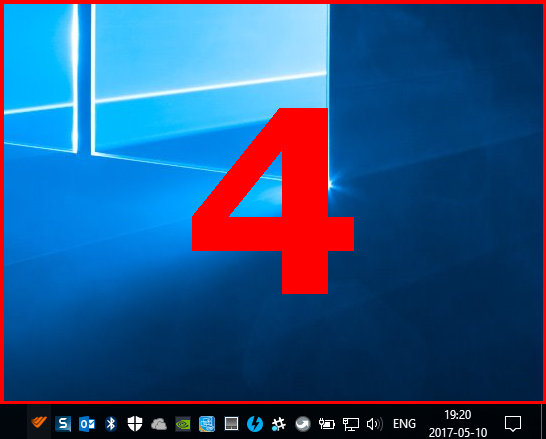
Click Capture new image in the Action Properties window. A five-second countdown starts in the bottom-right corner of your screen.
 note
noteThe countdown duration is adjustable. It is set in the Recorder's preferences.
During the countdown, switch to the application from which you want to capture the image.
When the countdown ends, select the region to capture.
The image is captured and displayed in the Action Properties window.
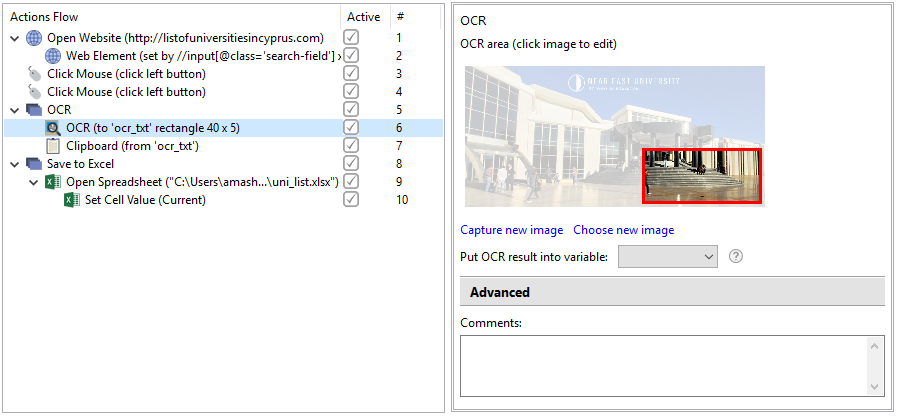
Now, you can adjust the anchor region to explicitly mark a place on the image with static information and the capture region containing the text to be recognized.
- The Anchor region excludes irrelevant or dynamic elements and creates a reference point for the bot on the screen to calculate the distance to the capture region.
- The Capture region creates a placeholder where the text to be recognized appears.
Click the image in Action Properties.
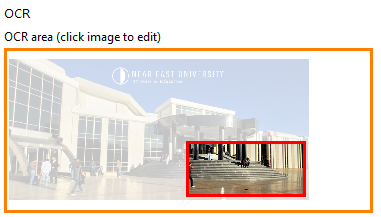
The Set the Anchor and Capture regions window opens with the highlighted Anchor region (1) and Capture region (2).
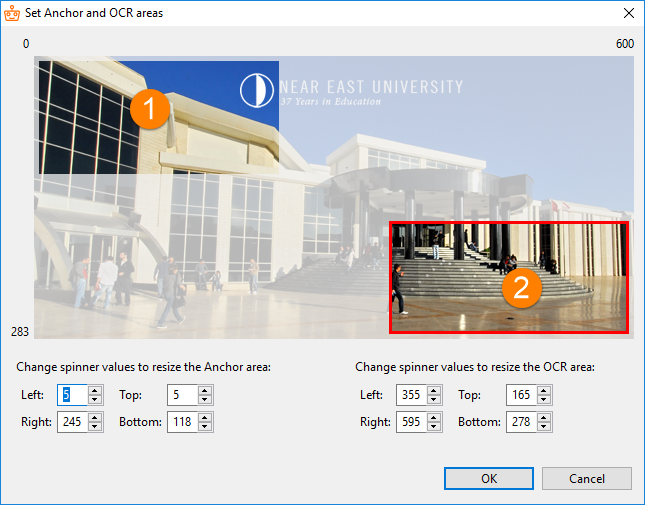
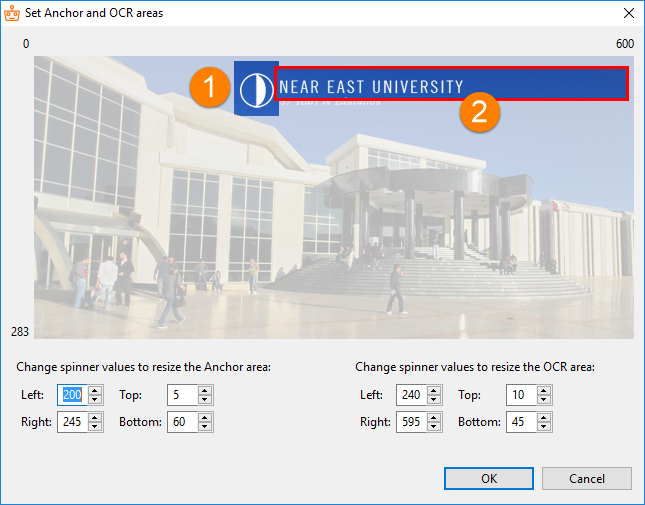
Use the spinners to mark the static information as the Anchor region (1) and select the placeholder for text as the Capture region (2).
 tip
tipYou can increase or decrease the value by 1 with the Up and Down arrow keys or by 10 using the Page Up and Page Down keys.
Click OK to complete the procedure.
Choose new image
The option allows you to select an existing image and add it to the OCR action.
Go to the folder where your images are stored.
Select an image (or images) to add to the recording.
Copy and paste or drag and drop the images to the folder with your recording in the Media Files window.
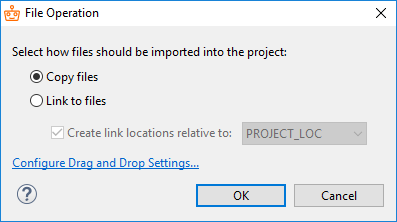
Choose the Copy files option.
 note
noteThe Copy files option is recommended, as the files are located in your workspace and can be managed with the Media Files browser. The Link to files option creates links to the files in the external location. It can cause unnecessary problems that are avoided by choosing the previous option.
The images are copied to your recording.
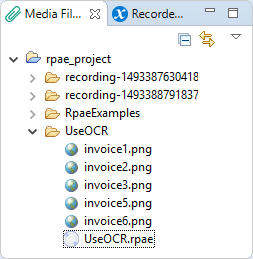
Click Choose new image, select the image in the Choose image window, and click OK. The image is added to the OCR action.
Adjust the anchor and capture regions. Click the image to open the window for setting the anchor and capturing regions. Use the spinners to mark the static information as the Anchor region and select the Capture region directly over the place where the text to be recognized can appear.
Click OK to complete the procedure.
Choose recorder variable
A recorder variable is needed to store results of image recognition by OCR. The output from OCR is text, so the variable must be declared as a string.
Create a Recorder variable and set its type to String in Recorder variables.

In the OCR Action Properties window, assign the Recorder variable to receive the text recognized by OCR.

Select languages
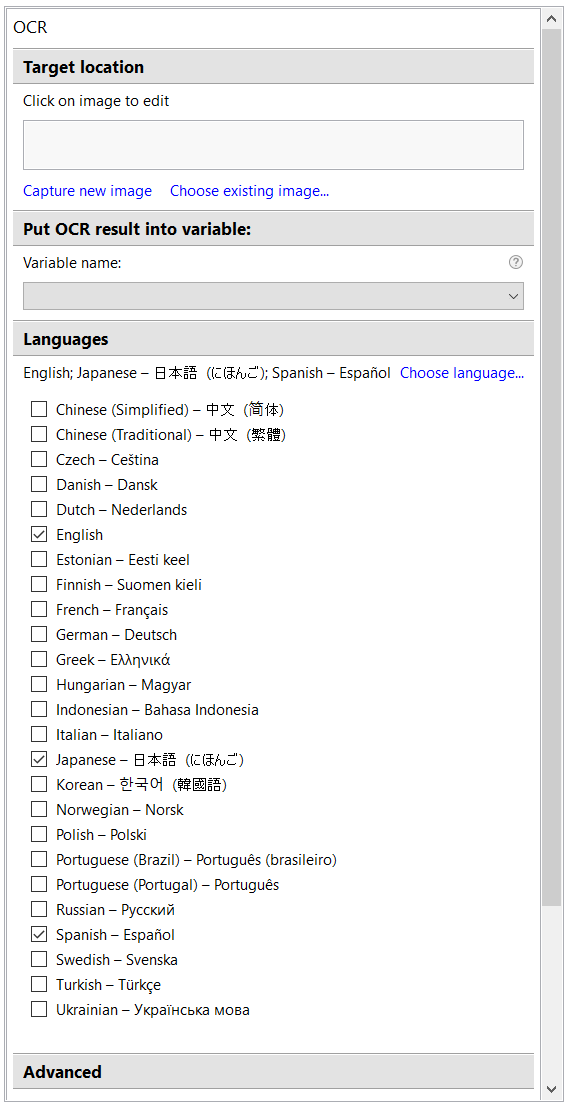
Within the settings, you can select a specific language used in the text you are recognizing.
Go to Languages > Choose language.
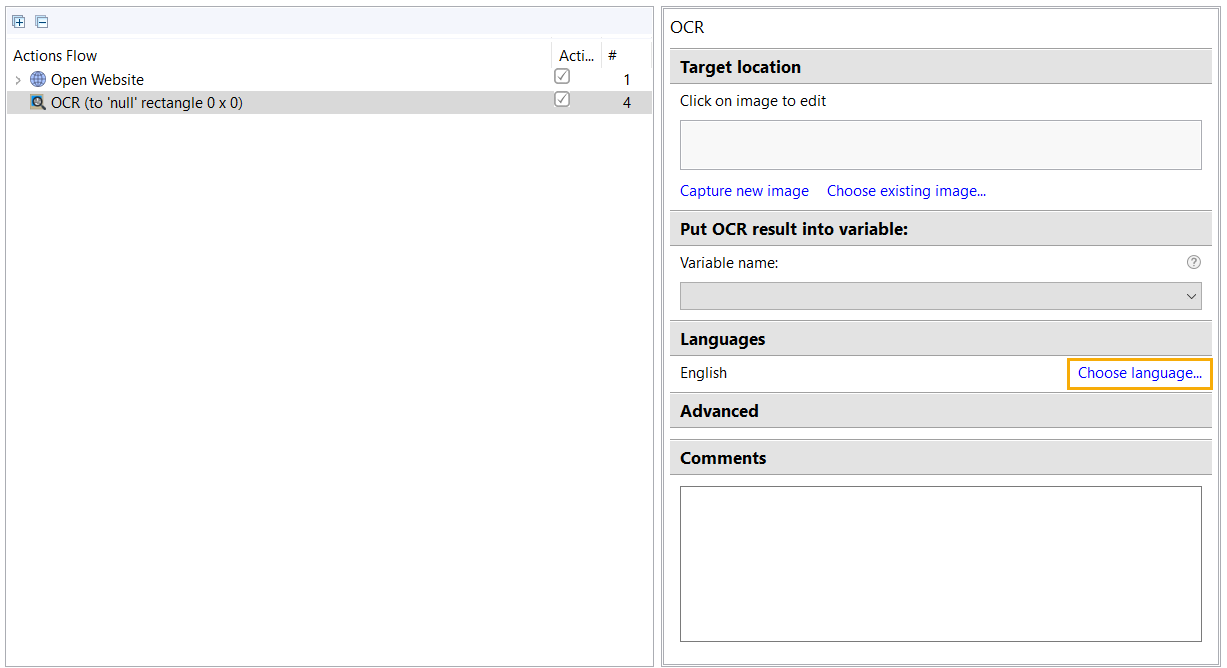
Check the language or languages if more than one language needs to be recognized.
OCR sample
A sample recording demonstrates how you can extract text from images using OCR.
To run it:
- Download and unzip the recording folder.
- Copy the folder to your workspace. The default location is
C:/Users/%USERNAME%/workfusion-workspace/rpae_project. - Refresh the Media Files tab in Recorder and open
OCR-action.rpae.
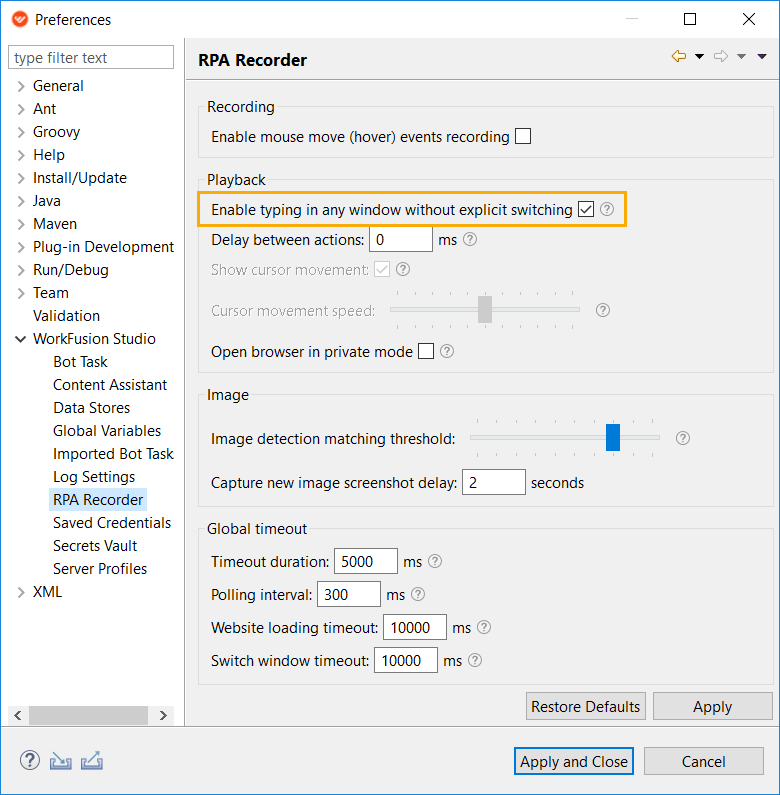
Before playing the recording, go to Window > Preferences > WorkFusion Recorder > RPA Recorder and make sure that Enable typing in any window without explicitly switching is enabled.
The
ocr_resultvariable on the Recorder variables tab is used to save the extracted text.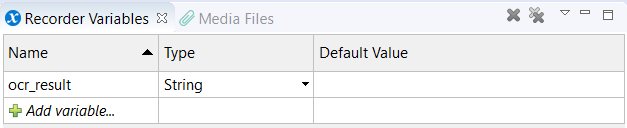
Opening Notepad Group contains Enter Keystrokes actions used to open Notepad.
warningThe current key combinations work with an English OS only. If you have OS in another language, you might need to change the language settings. See here for more information.
- Win + R opens the Run window.
- The bot types
notepadinto the window and presses ENTER to start the application. - Win + UP maximizes the window.
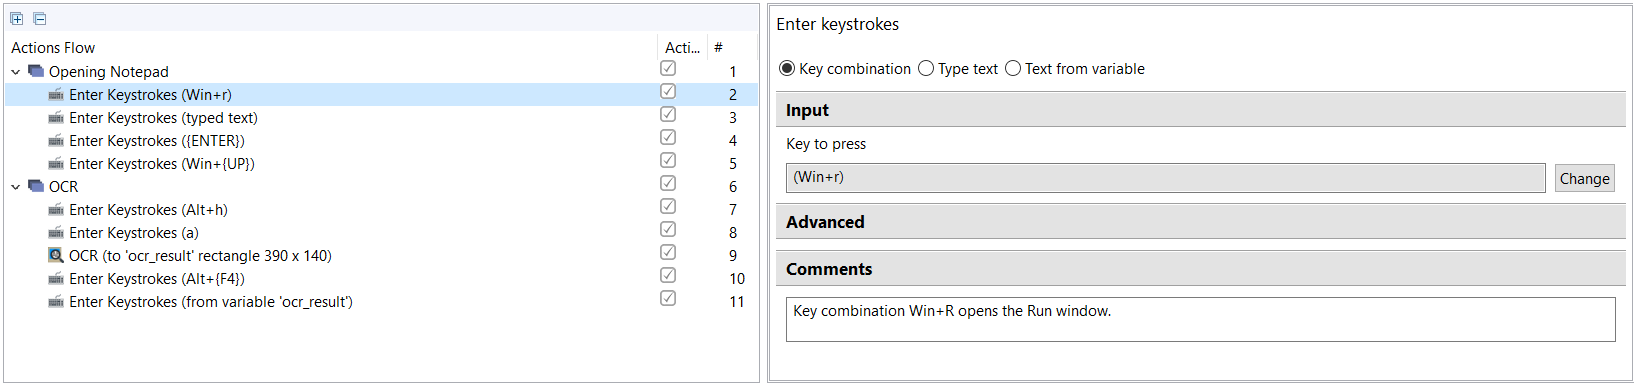
OCR Group contains actions used to perform actual text recognition.
- ALT + H opens the help menu.
- The a key opens the About Notepad page.
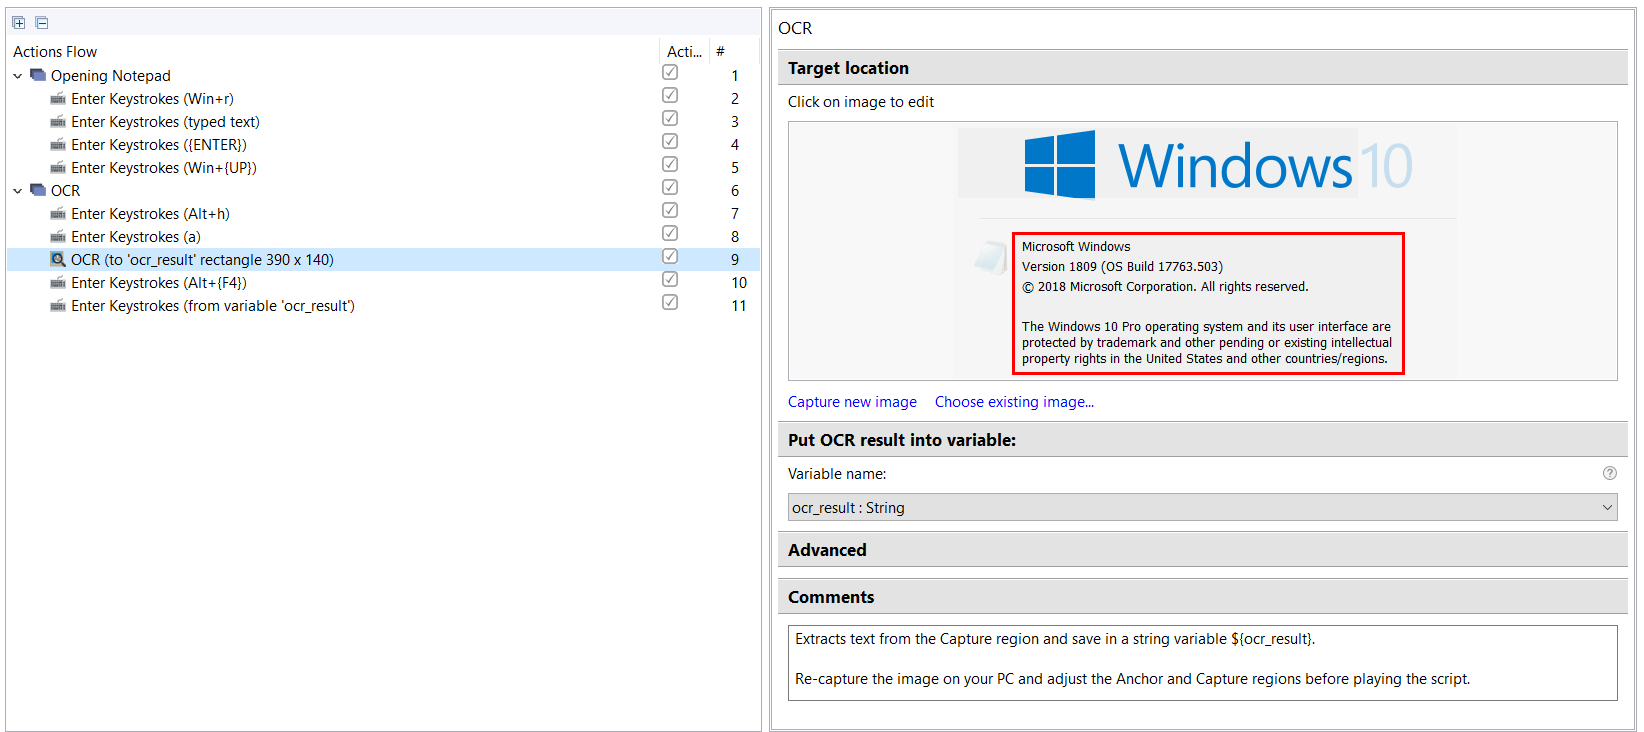
- The OCR action extracts text and saves it into the
ocr_resultvariable. Recapture the image on you machine and adjust the Anchor and Capture regions before playing the script.
- ALT + F4 closes the About Notepad page.
- The bot types the OCR result into the Notepad window.
OCR plugin
You can use the ocr plugin to recognize text in images with the help of the WorkFusion OCR service. For that, the ocr plugin must contain one or more ocr-image plugins that need to be directly or indirectly nested in ocr.
OCR plugin example:
<var-def name="ocrResult">
  <ocr>
    <ocr-image>
      <var name="image"/>
    </ocr-image>
  </ocr>
</var-def>
Using the ocr plugin, you can also convert your document into the desired format. Supported export formats are as follows:
txt: plain text; the default formathtml: an HTML pagepdfSearchable: enables text search in such a filexml: a file that contains characters or words along with their location in the original document (coordinates or frames)xmlForCorrectedImage: the same as XML, except that the location is taken from a processed or adjusted document
To convert a document, define it as <ocr-image> in the code and specify the export format parameter for the output file in the <export> result string. For example, the code below shows how to convert PDF to HTML.
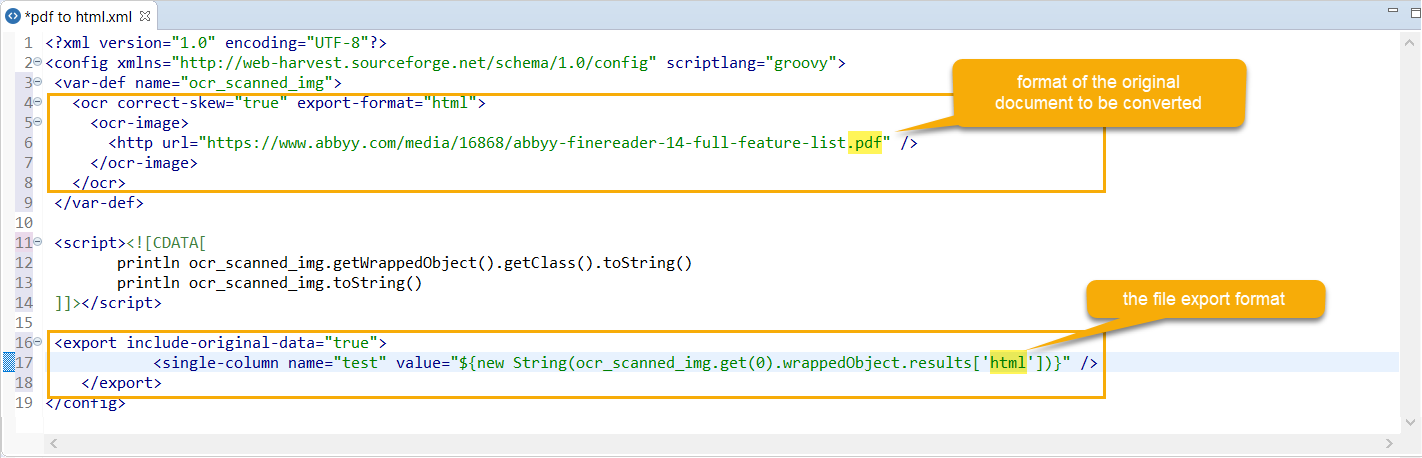
The export format parameter can contain up to three export formats, separated with commas, for example, <ocr export-format="xmlForCorrectedImage,pdfSearchable">.