
Set up RPA dev environment
Requirements
- Windows OS (32-bit or 64-bit version) with Administrator access
- Internet Explorer 11
- At least 1 GB of free space
note
To perform full RPA Windows Server installation in case of several Windows machines, see RPA Windows Server Installation.
Download and run RPA installer
In order to set up development environment, download the RPA installer zip archive. A link to the package for manual installation is provided as well, though this type of installation is not recommended to use.
- Installer: RPAInstaller-10.0.0.15.zip
- Package: RPA_10.0.0.15.zip
Unzip the RPAInstaller-{version}.zip to your local temp folder and run the RPAInstaller.exe file.

Follow the RPA Installer steps and allow the program to make changes to your device.
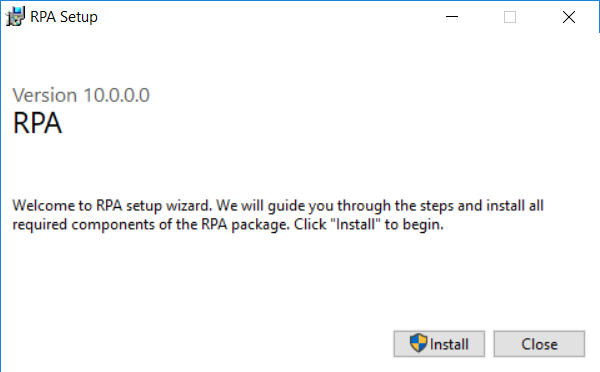
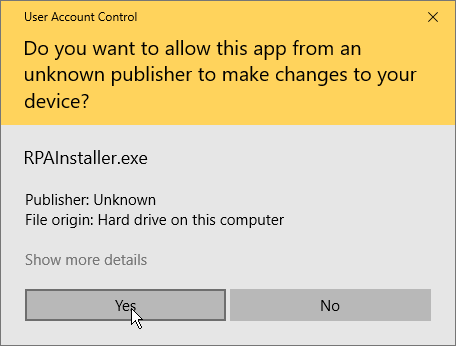
Accept the License Agreement and proceed.
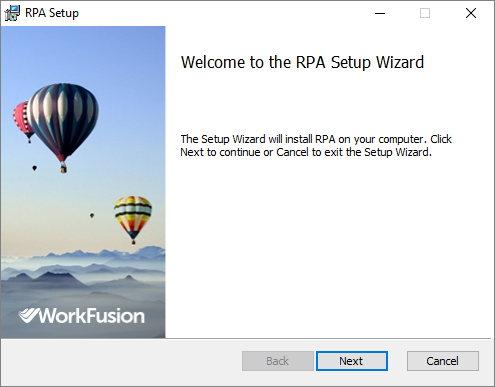
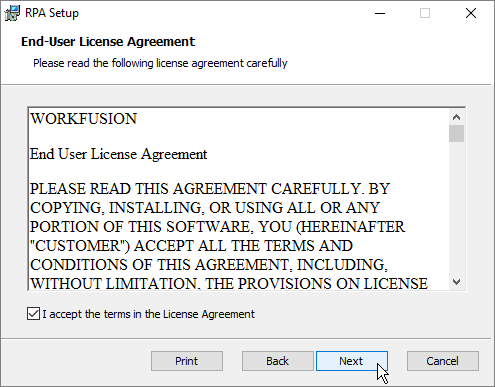
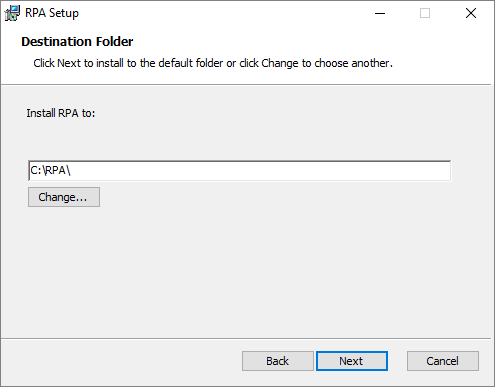
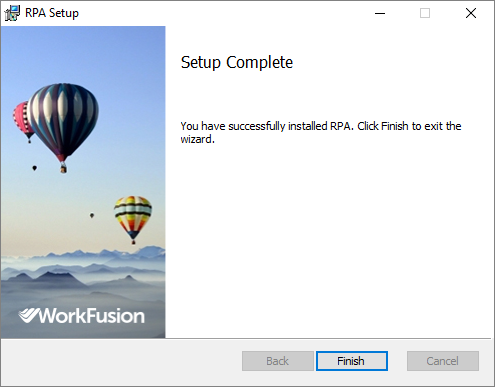
Set the Destination Folder for RPA installation and wait until the installation process is finished.
warning
Do not select existing folders with sensitive content (C:\Windows) or root folders (C:\ D:\) because their content will be deleted when you choose to uninstall.
Check Internet Explorer settings
To use your IE browser for automation, go through the checklist in Configuring Internet Explorer for RPA.
Configure Java applet settings
If you need to automate Java applets, go through the checklist in Configuring Java Applets for RPA.
Start Bot Relay
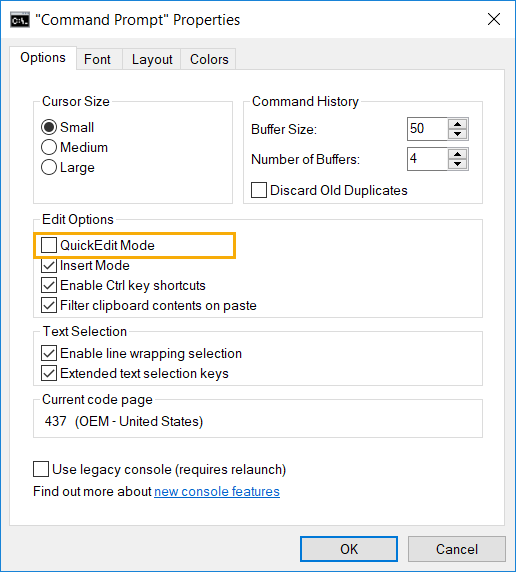
Make sure the QuickEditMode is disabled for all users. To do that, right-click on Command Prompt and select Properties > Options.
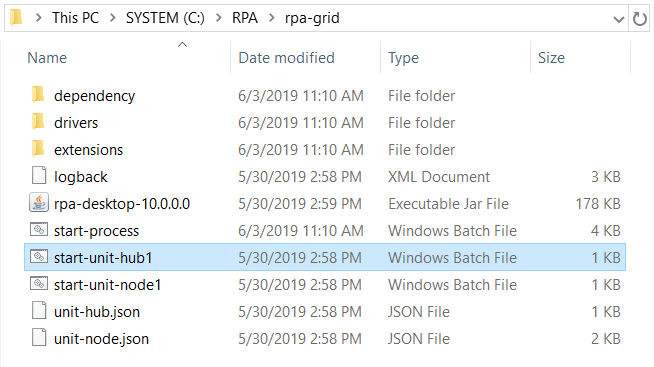
Open C:\RPA\rpa-grid and run the start-unit-hub1.bat.
In the opened console screen, check that there are no exceptions, and it says "Selenium Grid hub is up and running".

In the same folder (C:\RPA\rpa-grid), run start-unit-node1.bat in order to start Bot and register it to Bot Relay.
In the opened console screen, check that there are no exceptions and it says "The node is registered to the hub and ready to use".

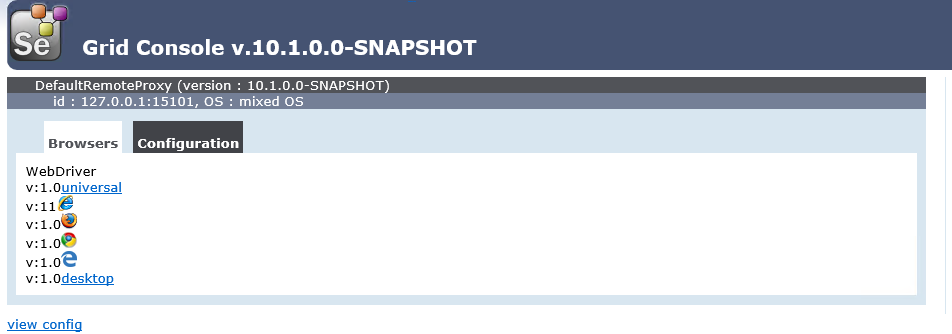
To check that everything works as expected, open the following link in your browser: http://localhost:15001/grid/console The Grid Console screen with configured WebDrivers looks as follows.
Configure WorkFusion Studio
Before you start WorkFusion Studio, link it to PRA package.
Go to WorkFusion Studio installation directory and open the configuration folder.
Open config.ini and add the
workfusion.rpa.package.pathproperty that defines the path to the RPA package, e.g.:workfusion.rpa.package.path=c:/RPA
note
The default path to the RPA package is C:/RPA. If you selected another directory, make sure to specify it correctly.
Check installation
To check that the environment is set up as expected, either run RPA configs or samples from Examples Library in WorkFusion Studio. If configuration is done properly, a browser or a desktop application opens, and the script works as expected.
Run RPA configs from WorkFusion Studio
As soon as you configure RPA environment, you can test it by executing RPA scripts from our bot-samples.zip package in WorkFusion Studio.
- Start WorkFusion Studio and create a new WorkFusion Project.
- Create a new bot task configuration and paste the code from one of the example package files.
- Open the Run Configurations menu and check that the Bot Relay URL option is http://localhost:15444/wd/hub.
- Click Run and make sure the bot task config execution is succeeded.
Run samples from Examples Library
You can also check WorkFusion Studio performance by running samples from Examples Library.
Start WorkFusion Studio.
Go to Help > Welcome to WorkFusion Studio and select any example to run, for example, Dates translation.
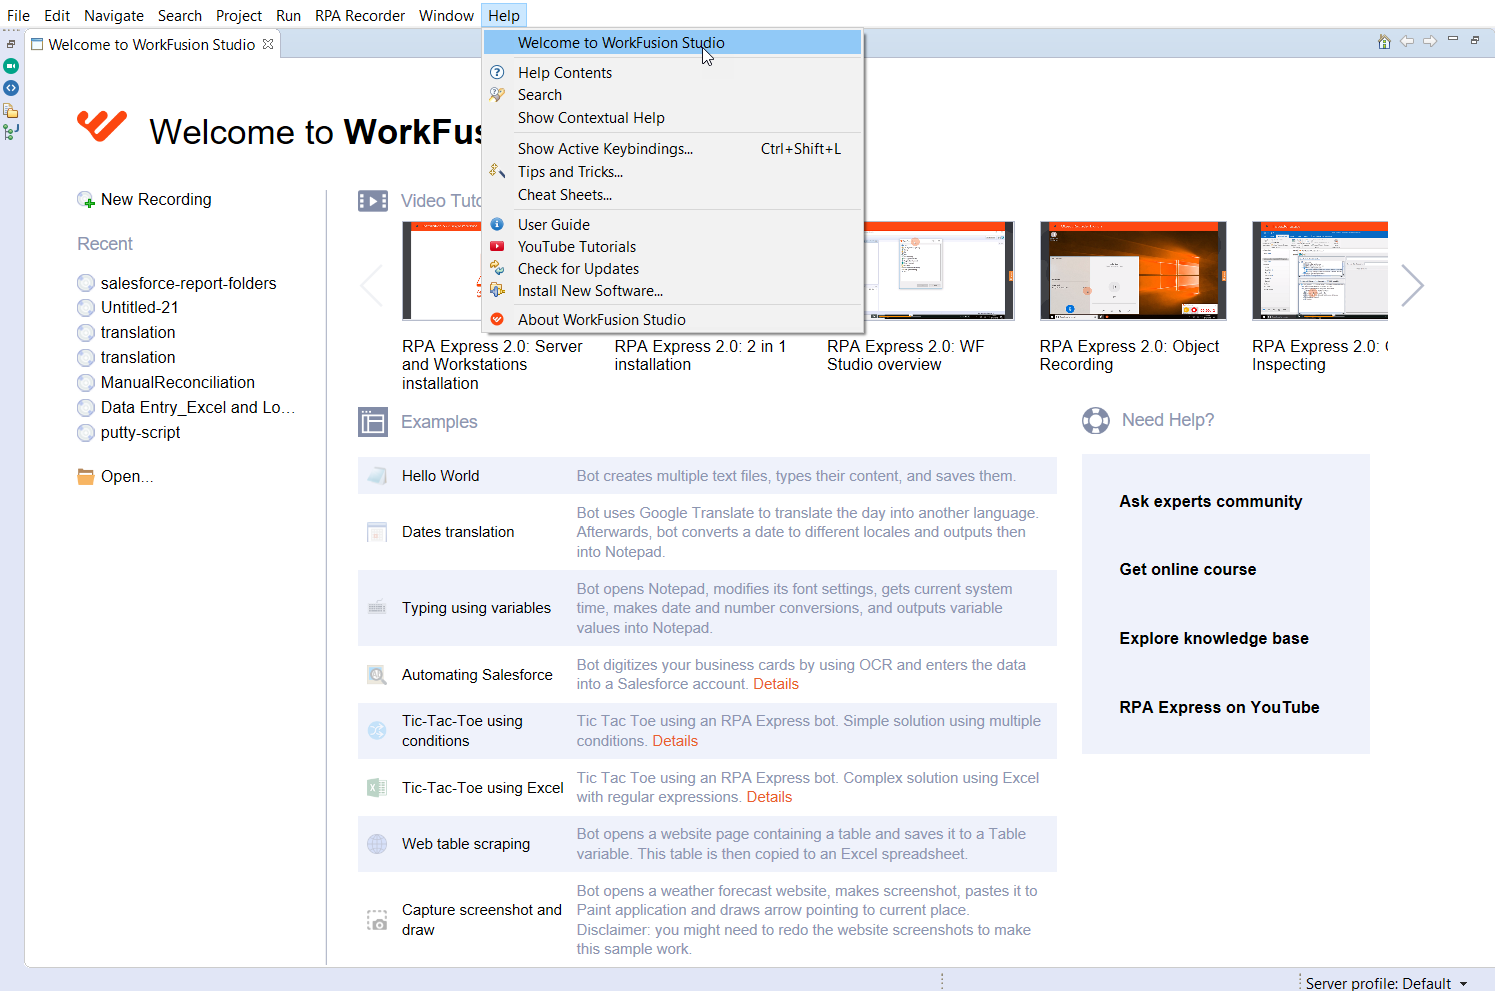
Click the Play recording button.
Check Bot Logs
As soon as your RPA script is executed, view the Bot Agent and Bot Unit consoles where successful actions and errors are displayed.
Errors could be caused by:
- incorrect RPA script (window selector or timeout)
- incorrect RPA Bot Unit setup
- desktop application failure, etc.
note
In most cases, you need to restart Bot Unit or Bot Agent (to do that, close the console and open the appropriate batch file again), modify the script code, or modify the Bot Agent/Bot Unit setup.