
OCR Windows Server installation
OCR installation
Extract all files from the
OCRInstaller-{version}.zipto any folder on your Windows PC.Copy OCR certificates from the APP server (the path is
/opt/workfusion/ocr-windows) to the Windows machine to the folder with the extracted OCR installer.
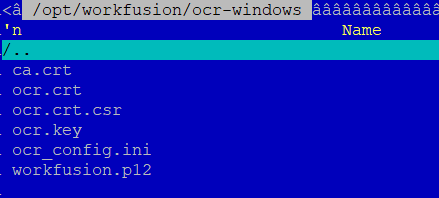
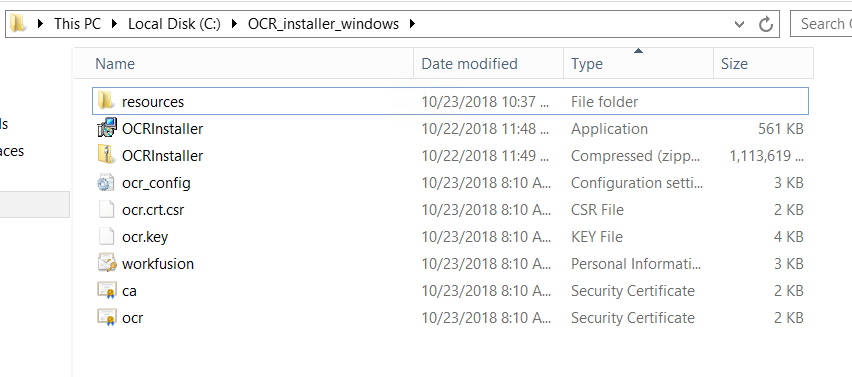
note
If self-signed certificates were used, CA.cert must be imported into Local Machine's Certificate TrustStore into the Trusted Root Certificates Authorities section.
Launch the OCR installer.
Provide Install location, using the Options button and proceed with installation.
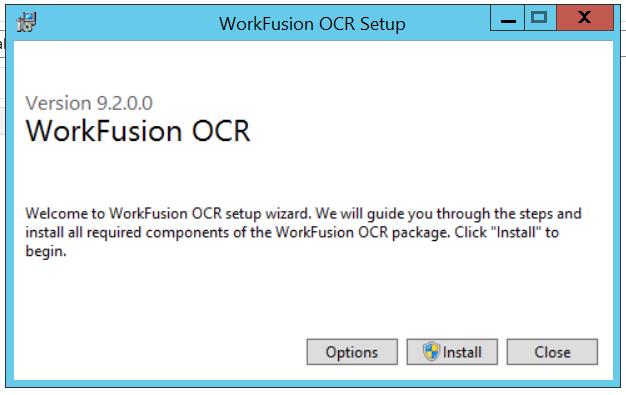
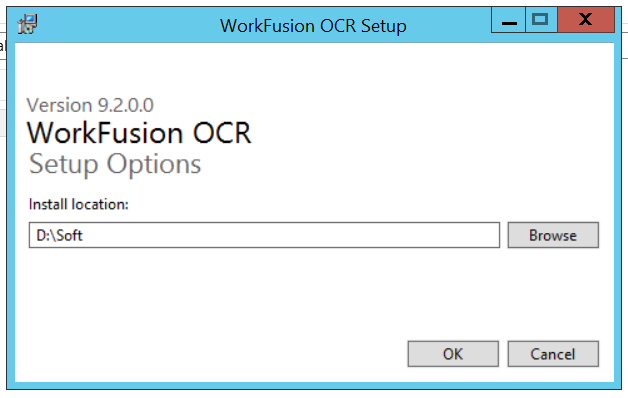
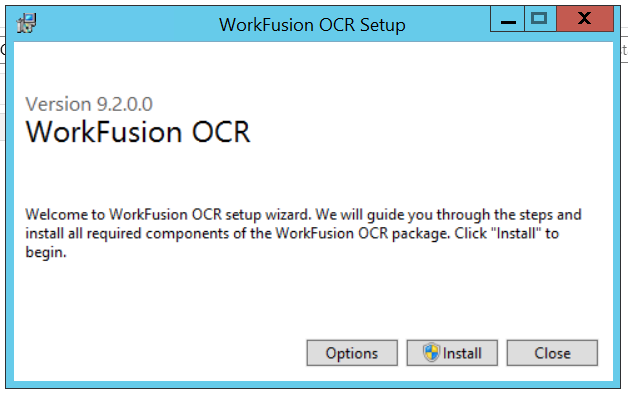
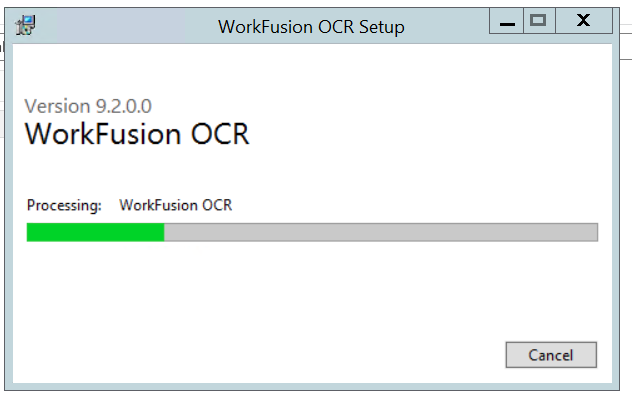
Wait until the installation is finished.
Restart all services.
Activate the OCR license.
Configure Nginx on Windows Machines
The section describes using of secure connection between OCR and Workfusion Services.
tip
Skip this step if the setup does not use TLS encryption.
To configure Windows Firewall, do as follows:
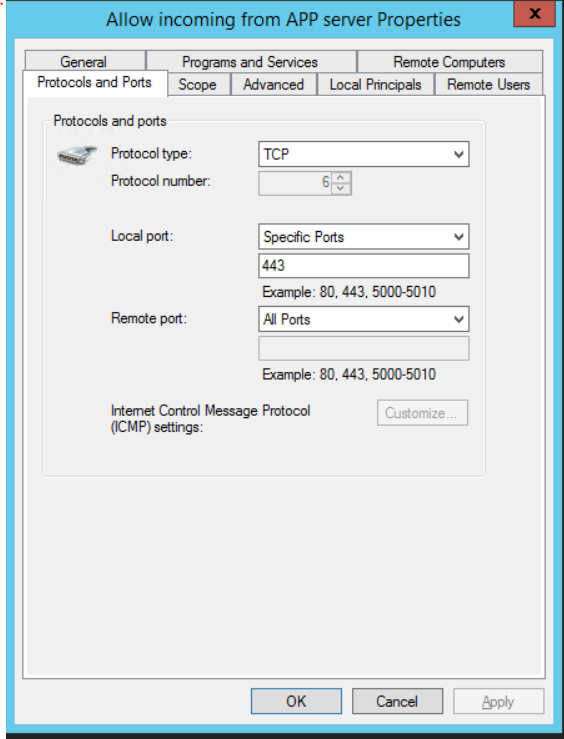
(Create a new rule) Verify ... to allow inbound secure communication for applications via port 443 (default) on the OCR server for using an SSL connection.
Define the local port 443 to allow the connection.
Scaling OCR
Primary Server
Install as per regular installation guide.
Secondary Server
Copy the same installer, certificates, and the configuration file as for the primary server.
Correct OCR server hostnames and
ocr.health.worker.namein theocr_config.inifile.Launch the OCR installer.
Change
C:/Workfusion/wfagent/settings/environment.ymlto specify a unique agent namespace.
environment.yml:
environment:
  agent.ns: ocr_2