RPA Windows Server installation
Prerequisites
- Internet Explorer 10+
- CA certificate should be imported into Local Machine's Certificate TrustStore into the Trusted Root Certificates Authorities section.
- Before configuring users, make sure your Internet Explorer browser is turned off and no Java processes are running.
- In case you install on 32-bit Windows, refer to RPA Server installation on Windows 7 32-bit. Mind that only manual installation is supported.
Install RPA
note
Run the RPA installation as Windows administrator.
Extract all files from
RPAInstaller-{version}.zipto any folder on your PC.Launch the RPA Setup Wizard or
RPAInstaller.exe.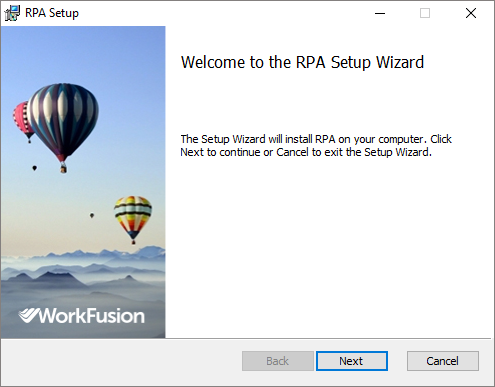
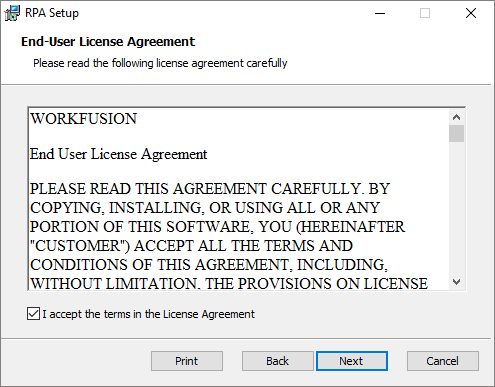
Read and accept the License Agreement.
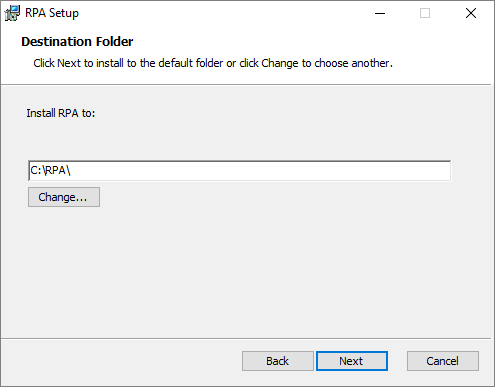
Set the Destination Folder for the RPA installation.
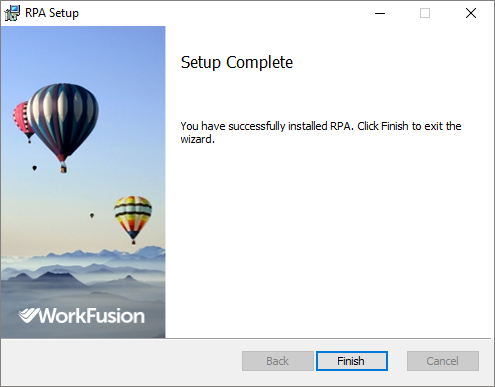
Wait until the installation is finished.
Create users
Commands should be executed under Administrator user. Users are added from the Windows Console.
Create a separate Windows user for each Bot.
Create a separate Windows user for Bot Relay session in case of multiple Bots per server (RDP-in-RDP) installation type.
Local user provisioning:
net user BotRelay Test111 /add
net user BotUser1 Test111 /add
net user BotUser2 Test111 /add

net localgroup "Remote Desktop Users" BotRelay /add
net localgroup "Remote Desktop Users" BotUser1 /add
net localgroup "Remote Desktop Users" BotUser2 /add
Grant RPA full folder permissions for all created users (Bot Relay, Bot User X).
Make sure that Bot Relay user is a member of Administrator group.
Configure users
To configure users, see Registering Bot Relay in RPA Environment Setup.
Verify Internet Explorer settings (optional)
Verification is required in case Internet Explorer is used. The settings are verified for each added user. Go to Configuring Internet Explorer for RPA for more details.
Install and configure Java (optional)
Java should be the same architecture as Internet Explorer (32 or 64 bits). Java is needed in case Java Applets are used.
Download and install Java SE Runtime Environment.
To configure Java, see Configuring Java Applets for RPA.
Configure Platform Monitor
For Platform Monitor configuration settings, refer to Platform Monitor configuration.
Configure Filebeat
Filebeat is a service responsible for sending content of specific log files. To get logs, Filebeat configuration should be done.
Before you start, make sure yoy imported ca.crt into Local Machine's Certificate TrustStore > Trusted Root Certificates Authorities.
Copy your root certificate ca.crt file into <RPA_INSTALL_DIR>/filebeat/ssl.
Start RPA
There are several ways to start RPA: either with Platform Monitor using wfagent or manually.
We recommend avoiding manual start and use the wfagent service instead.
Start RPA with Platform Monitor
See the Deployment architecture section before starting the services.
1 RPA Bot per server
|
Multiple RPA Bots per server (RDP-in-RDP)
|
|---|---|
Run |
Run |
Start RPA without Platform Monitor
Run
start_nginx.batto start Nginx.Start Bot Relay as BotRelay user. Run
<INSTALL_DIR>/rpa-grid/start-hub.bat.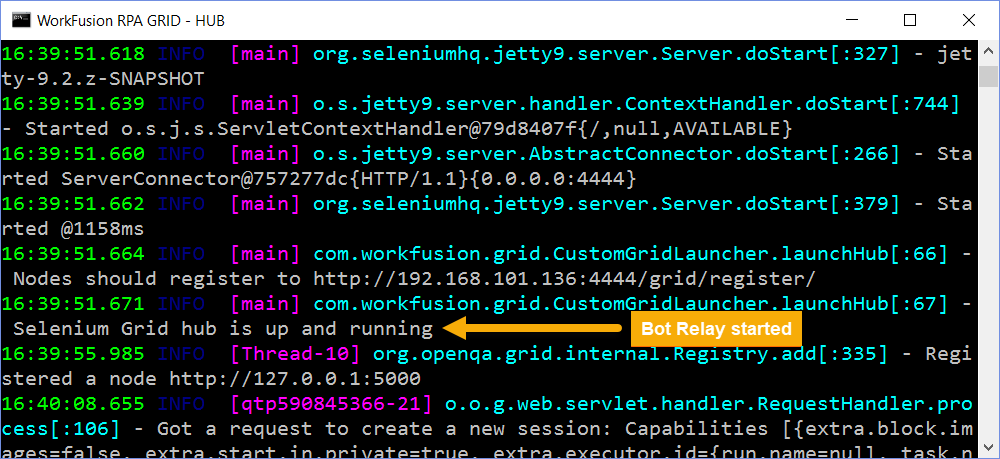
Open an RDP connection to localhost under BotUser1. Run
<INSTALL_DIR>/rpa-grid/start-node0.batto start Bot.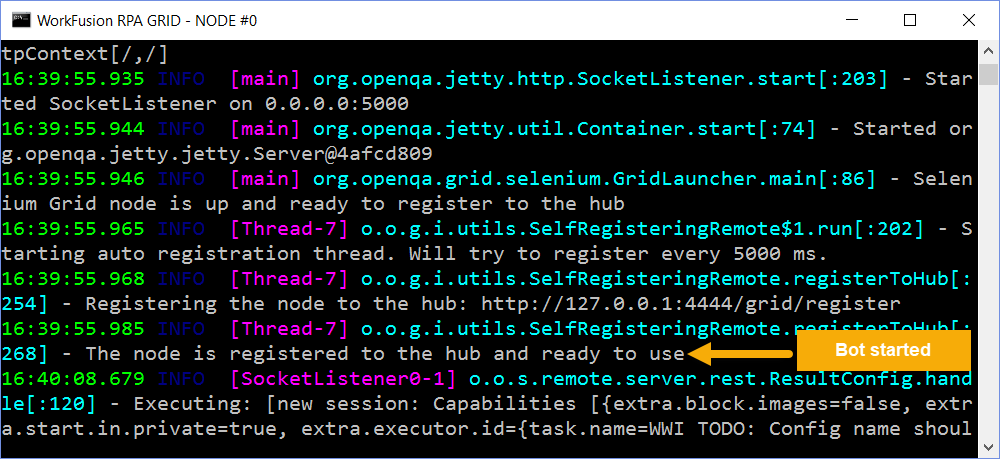
In the command line, you should see that Bot is registered to Bot Relay and is ready to use.
Repeat the steps for each Bot you have.
Check RPA installation
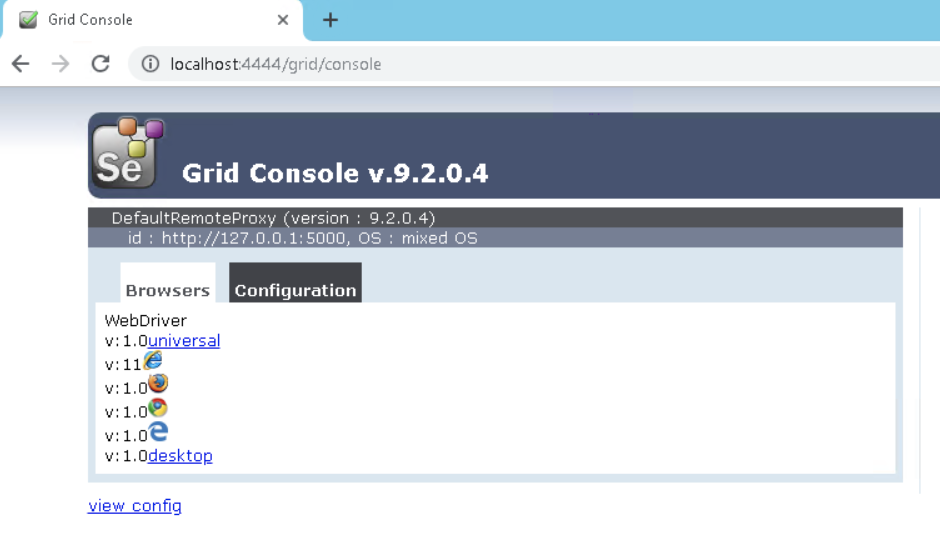
To check that Bot Relay works, make sure that Bots are available on Bot Relay and WebDrivers exist on the connected Bots. Checks should be done on RPA Windows server.
Open the following link in your browser from RPA Hub Windows machine under a Bot Relay or Bot user:
http://localhost:4444/grid/consoleView a list of available RPA Bots.