RPA Server installation
Prerequisites
The requirements are as follows:
- Internet Explorer 10+
- Run RPA installation as Windows administrator
- Separate user to run each RPA Bot and Hub
If self-signed certificates were used, CA.cert must be imported into Local Machine's Certificate TrustStore into the Trusted Root Certificates Authorities section.
Install Java
If you have Java installed on your system, check if Java architecture matches Internet Explorer browser architecture (32 or 64 bits) and proceed to the next step.
Download and install Java SE Runtime Environment.
Install with the same architecture as Internet Explorer browser (32 or 64 bits).
Java is needed to work with applets only.
Before making any changes with registering RPA Grid, make sure your Internet Explorer browser is turned off and no Java processes are running.
Install RPA
Extract all files from
RPAInstaller-{version}.zipto any folder on your PC.Launch
RPAInstaller.exe.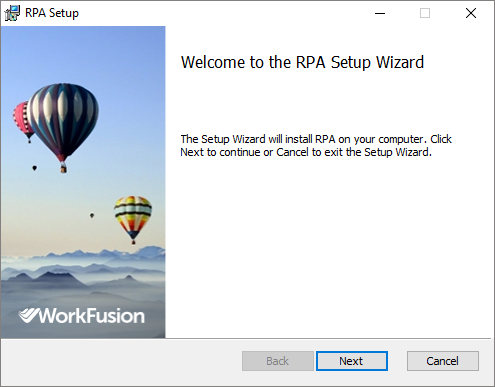
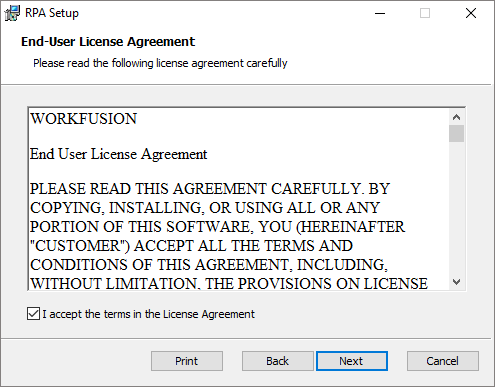
Read and accept the License Agreement.
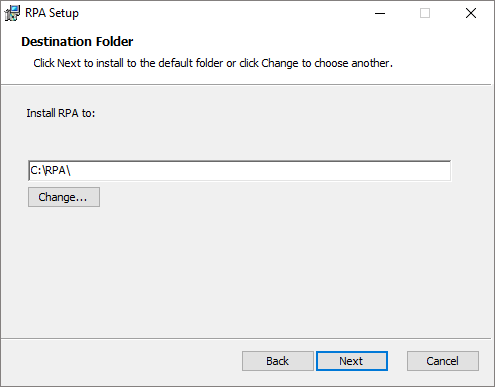
Set the Destination Folder for RPA installation.
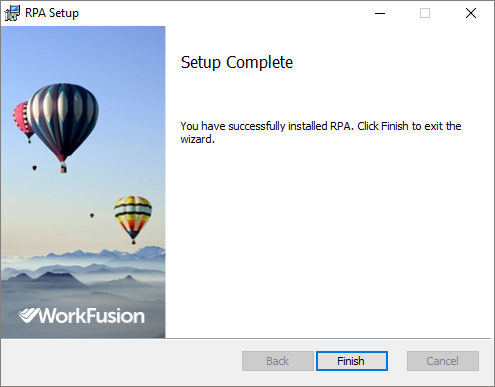
Wait until the installation is finished.
Configure Java
Replace Java policy files
The C:/RPA/registry folder contains the java.policy file that provides additional permissions for jvm-agent. This agent is needed for properly connection between RPA Grid and java applications (e.g. applets).
Copy (and replace existing) the java.policy file to Java run-time environment on your machine.
It's important to copy it to system run-time JRE which is used to run applets: JRE_HOME/lib/security.
If you have installed a JDK bundle, copy java.policy to JDK bundle: JDK_HOME/jre/lib/security.
Most likely, JRE/JDK home is located underC:/Program Files/Java or C:/Program Files (x86)/Java folders. Check and update both x86 and x64 versions (if installed).
Fix Java security restrictions for applets
When you run Java applets in Internet Explorer, you can get an Application Blocked by Java Security popup.
It happens because Java blocks applications with self-signed certificates by default. To get around this, you need to add the target site into Exception Site List.
- Open Java Control Panel by pressing (Win + R) and entering javaws -viewer. Java control panel should be opened.
- Switch to Security tab and find the Exception Site List section.
- Check Enable Java content in the browser.
- Click the Edit Site List button.
To automate Java applets used in example configs, add the following URLs to Exception Site List:
https://rpa-tutorial.s3.amazonaws.com/webid-portal/login.html
https://rpa-tutorial.s3.amazonaws.com/demo/jfc/SwingSet2/custom/SwingSet2.html
To use your custom applets, add them to Exception Site List too.
Add applet locations to IE trusted sites
In Internet Explorer Options, perform the following actions.
- Switch to Security > Trusted sites.
- Click the Sites button.
- Enter the applet URL and click Add.
Test Java applets
Try to open a Java applet for the first time in Internet Explorer.
Click Run, and the next time it won't be shown.
caution
If the Java applet still fails to open, follow the next step.
Configure Internet Explorer
Verify Internet Explorer settings
Before making any changes to Internet Explorer settings, make sure no Java processes are running. On the previous step, you should have already run RPA Installer delivering all the necessary changes to your Internet Explorer browser.
Refer to the screenshots below and check that all the settings have been set correctly.
Security settings
Open Internet Explorer Browser and go to Tools > Internet options. The Internet Options dialog appears.
Open the Security tab and check that the Enable Protected Mode option is disabled for each security zone.
On the Security tab, select Trusted sites and click the Custom Level button.
- Disable the Use Pop-up Blocker option.
- Scroll down and check that the Active scripting option is enabled.
- Scroll down and check that the Scripting of Java applets option is enabled.
Privacy – Pop-ups and Extensions in Private Mode
Close the Security Settings window. On the Internet Options window, switch to the Privacy tab.
The Turn on Pop-up Blocker and Disable toolbars and extensions when InPrivate Browsing start options should be disabled.
- Switch to the General tab.
- Click the Tabs button.
- Check that Warn me when closing multiple tabs is disabled.
Zoom Level
To set up zoom, do as follows.
Switch to the Advanced tab and uncheck the options Reset text size to medium for new windows and tabs and Reset zoom level for new windows and tabs.
Set browser Zoom to 100% and close Internet Explorer.
Manage Java Add-ons
Open the Internet Explorer browser, go to Tools, and click on Manage Add-ons.
In the opened popup window, select the Toolbars and Extensions menu item (on the left side) and find Java add-ons. If they are disabled, click Enable.
If you don’t have these Java add-ons, most likely you don’t have Java run-time environment in your system, and you won’t be able to run Java applets inside the browser.
In this case, refer to this guide and install Java on your machine. Make sure you install Java x86/64 the same as your Windows. After Java is installed, enable IE Java add-ons as described above.
If you see that Java add-ons are enabled but you are not able to start any Java applet inside Internet Explorer, try to restart your machine.
User account control settings
Set User Access Control to the lowest level in Control Panel > User Accounts > Change user Account Control settings.
Use Proxy in IE
Only in case your OS is 32bit, rename java to java_x64. Afterwards, rename java_x86 to java.
Upload ssl certificate and ssl key files to
INSTALL_DIR/nginx/ssland rename them toserver.pemandserver.keycorrespondingly.Edit
INSTALL_DIR/nginx/conf/nginx.conf. Replace all {HOST_NAME} with a valid DNS name of your Windows RPA server. Replace {WF_HOST_IP} with IP where rpa_manager (Selenograph) is installed. Replace {LOCAL_IP} with IP address of your Windows RPA server.
Start RPA without Platform Monitor
Run
start_nginx.batto start Nginx.Run
INSTALL_DIR/rpa-grid/start-hub.batto start hub.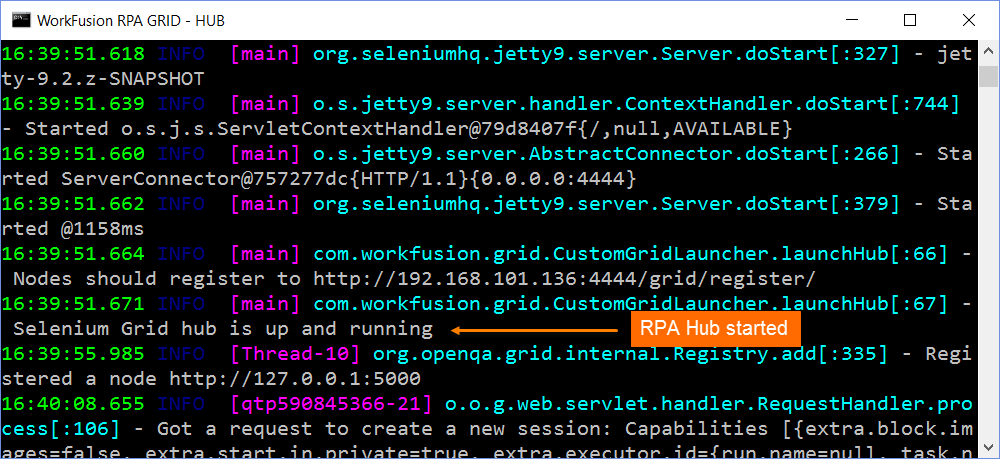
Run
INSTALL_DIR/rpa-grid/start-node0.batto start node.
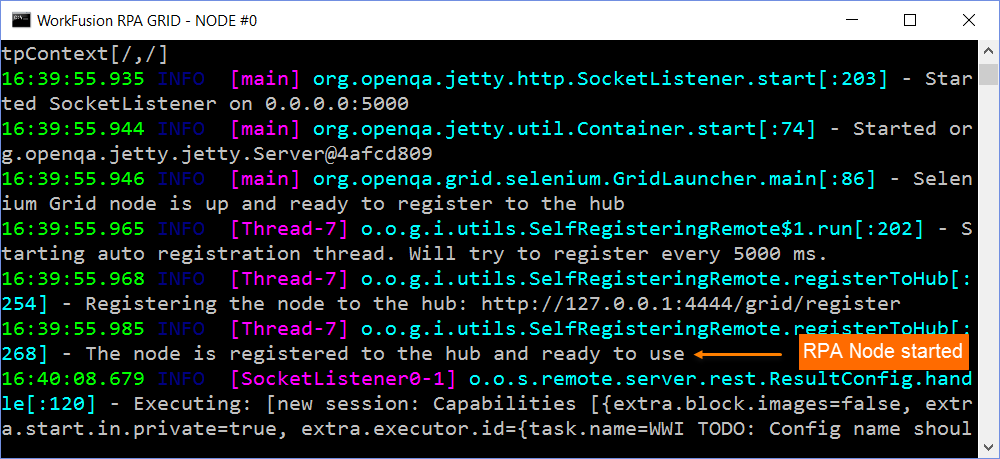
You should see in command line that node is registered to the hub and ready to use.
Each RPA Node must be started under a separate Windows user. For example:
- Start RPA Hub as user1.
- Open an RDP connection to localhost under user1.
- Open
INSTALL_DIR/registry/user-settings.reg. - Start RPA Node1.
- Open
- Open an RDP connection to localhost under user2.
- Open the
INSTALL_DIR/registry/user-settings.reg. - Start RPA Node2.
- Open the
Start RPA with Platform Monitor
Use the following installation guide: Platform Monitor for RPA - installation.
For simple 1 Bot per server deployment the steps are:
- Configure
INSTALL_DIR/wfagent/conf/environment.yml. - Run
INSTALL_DIR/wfagent/bin/wfagent-hub-nordp.batto start Nginx and RPA Hub (without RDP). - Run
INSTALL_DIR/wfagent/bin/wfagent-node0.batto start RPA Node.
Check RPA Installation
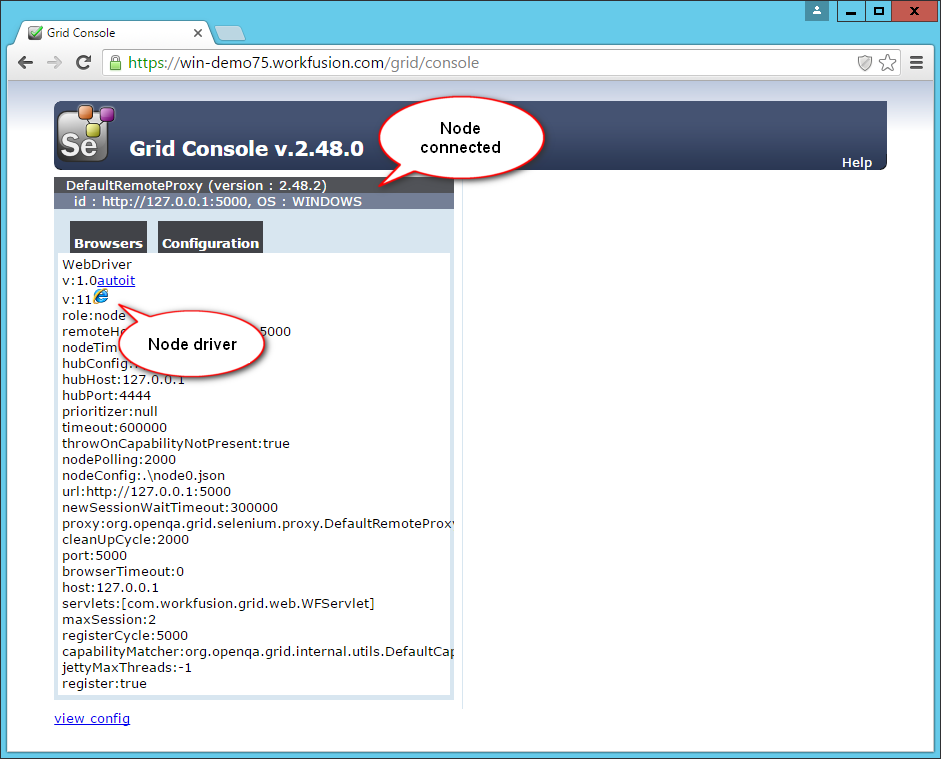
To check that RPA Grid works (Nodes are available on the Hub and WebDrivers exist on the connected Nodes), open the following link in your browser:
https://rpa.example.com/grid/console
You will see a list of available RPA nodes:
Configure Nginx on Windows Machines
The section describes using of secure connection between RPA manager and RPA Hub.
To enable TLS encryption between RPA Manager and RPA Hub you should configure RPA Manager on APP Server as described in APP Server Post-install Procedures | Configuration of RPA Manager in SSL mode.
important
Skip this step if the setup does not use TLS encryption
Configure Windows Firewall
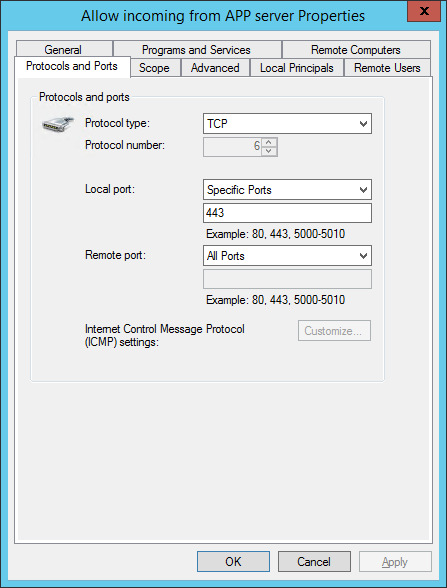
Create a new rule to allow inbound secure communication for applications via port 443 on the RPA Hub server for using SSL connection.
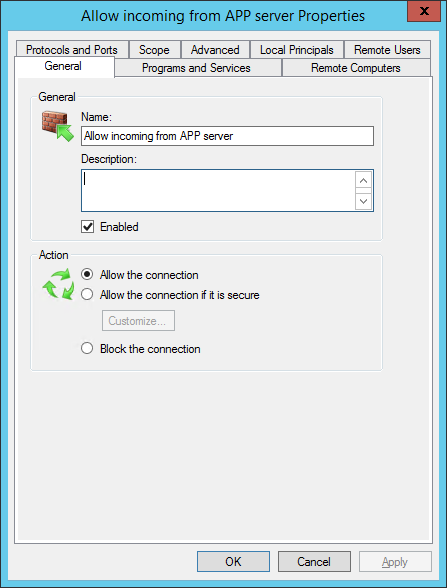
Define the local port 443 to allow the connection.