Schedule Business Process
Besides running Business Processes (BPs) manually, you can set them to run on schedule.
Create schedule
To create a schedule, follow the instruction below:
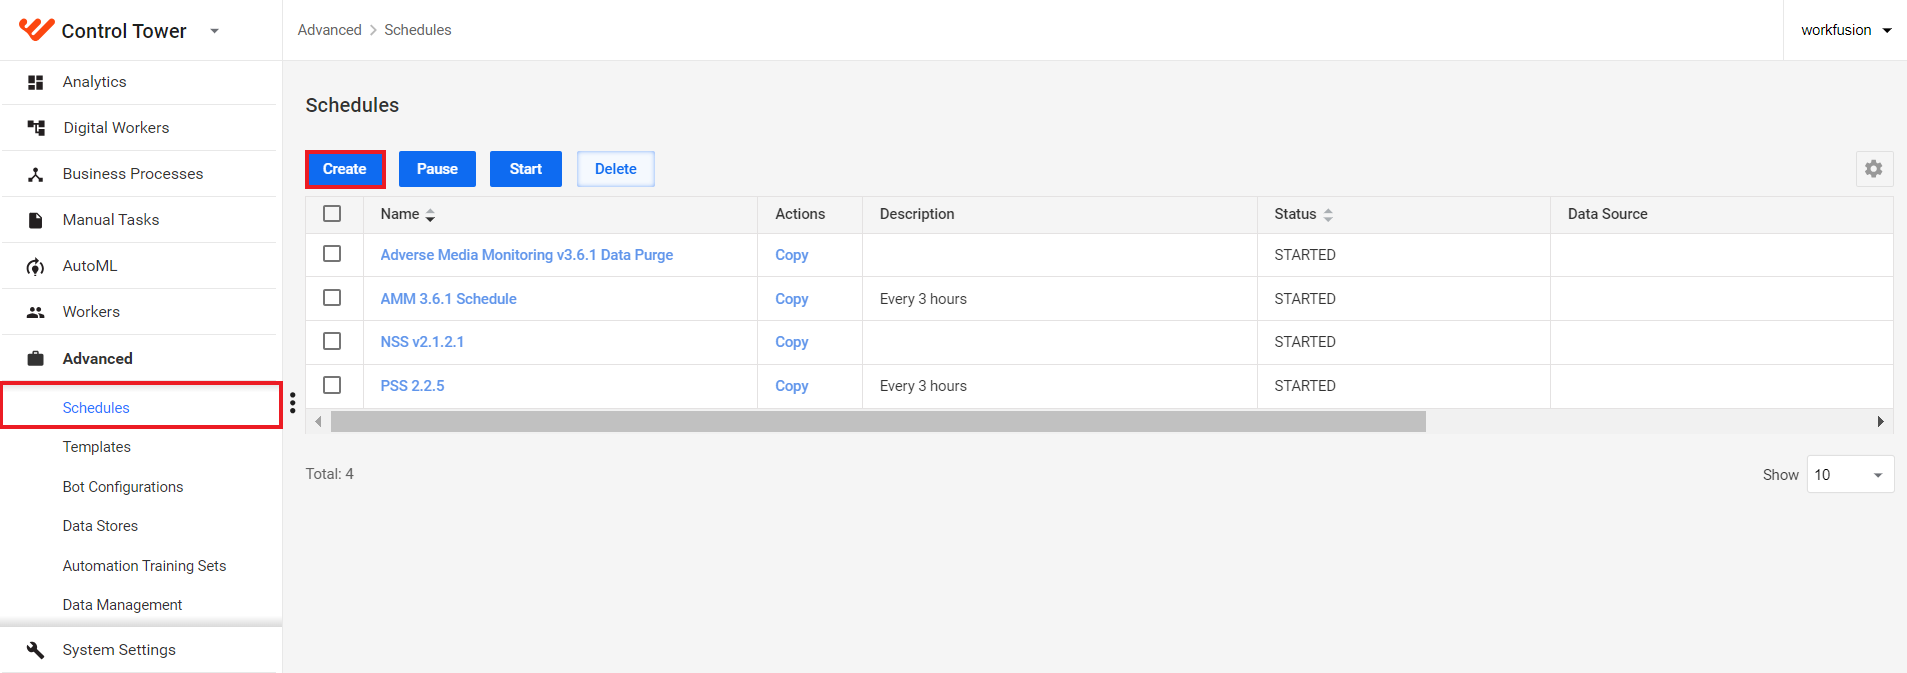
Go to Advanced > Schedules and click Create.
 note
noteYou can create schedules for BP definitions only.
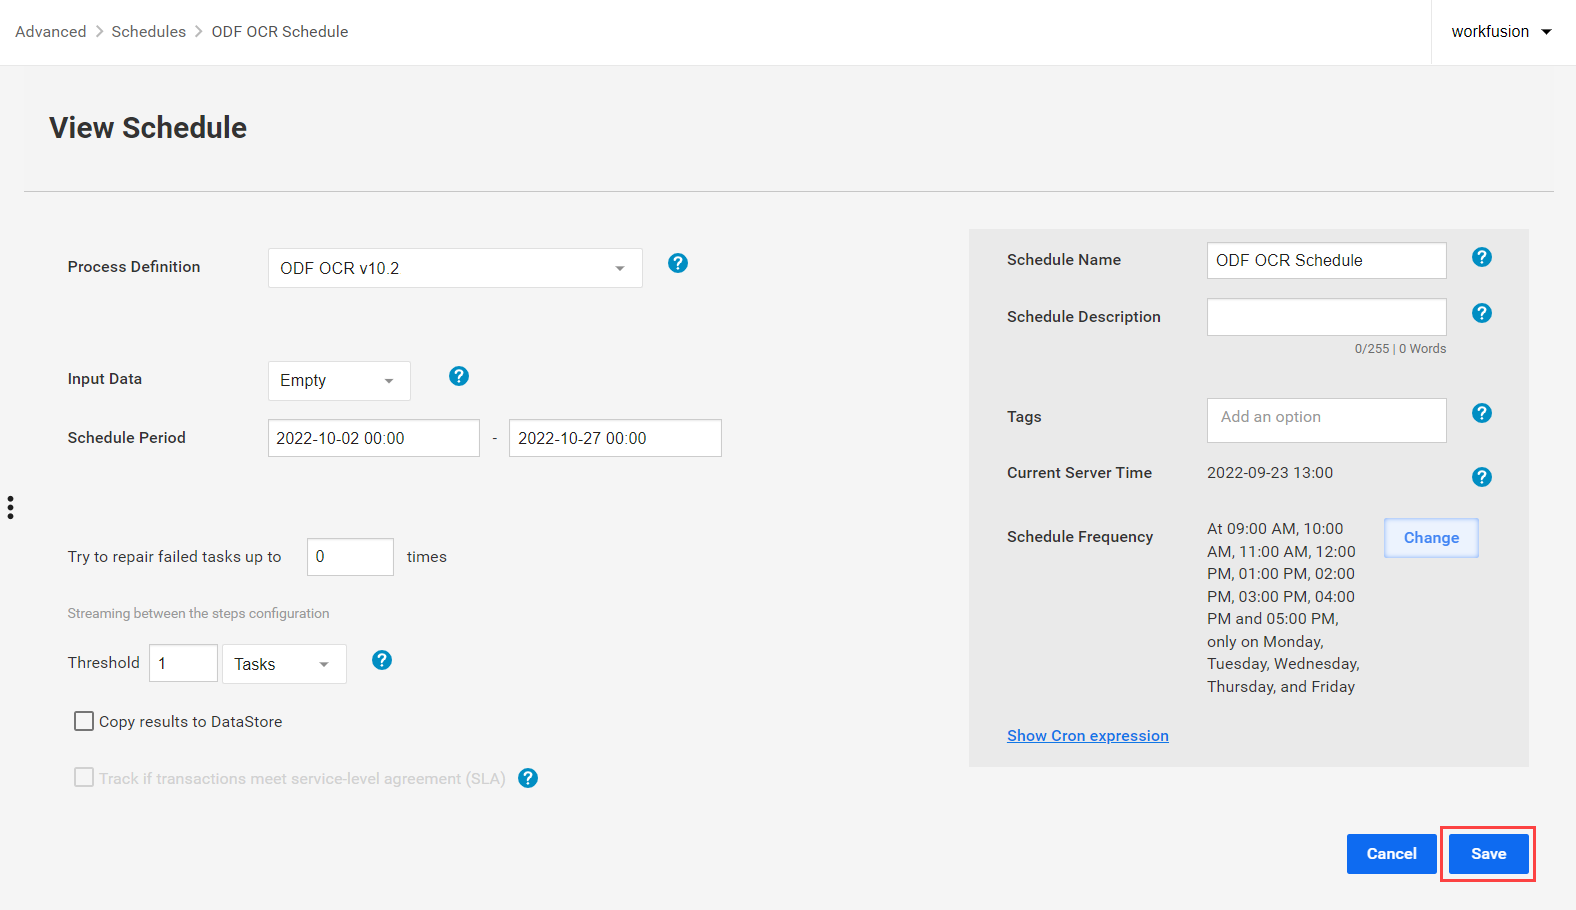
On the Create Schedule page, select the BP definition you need to run.
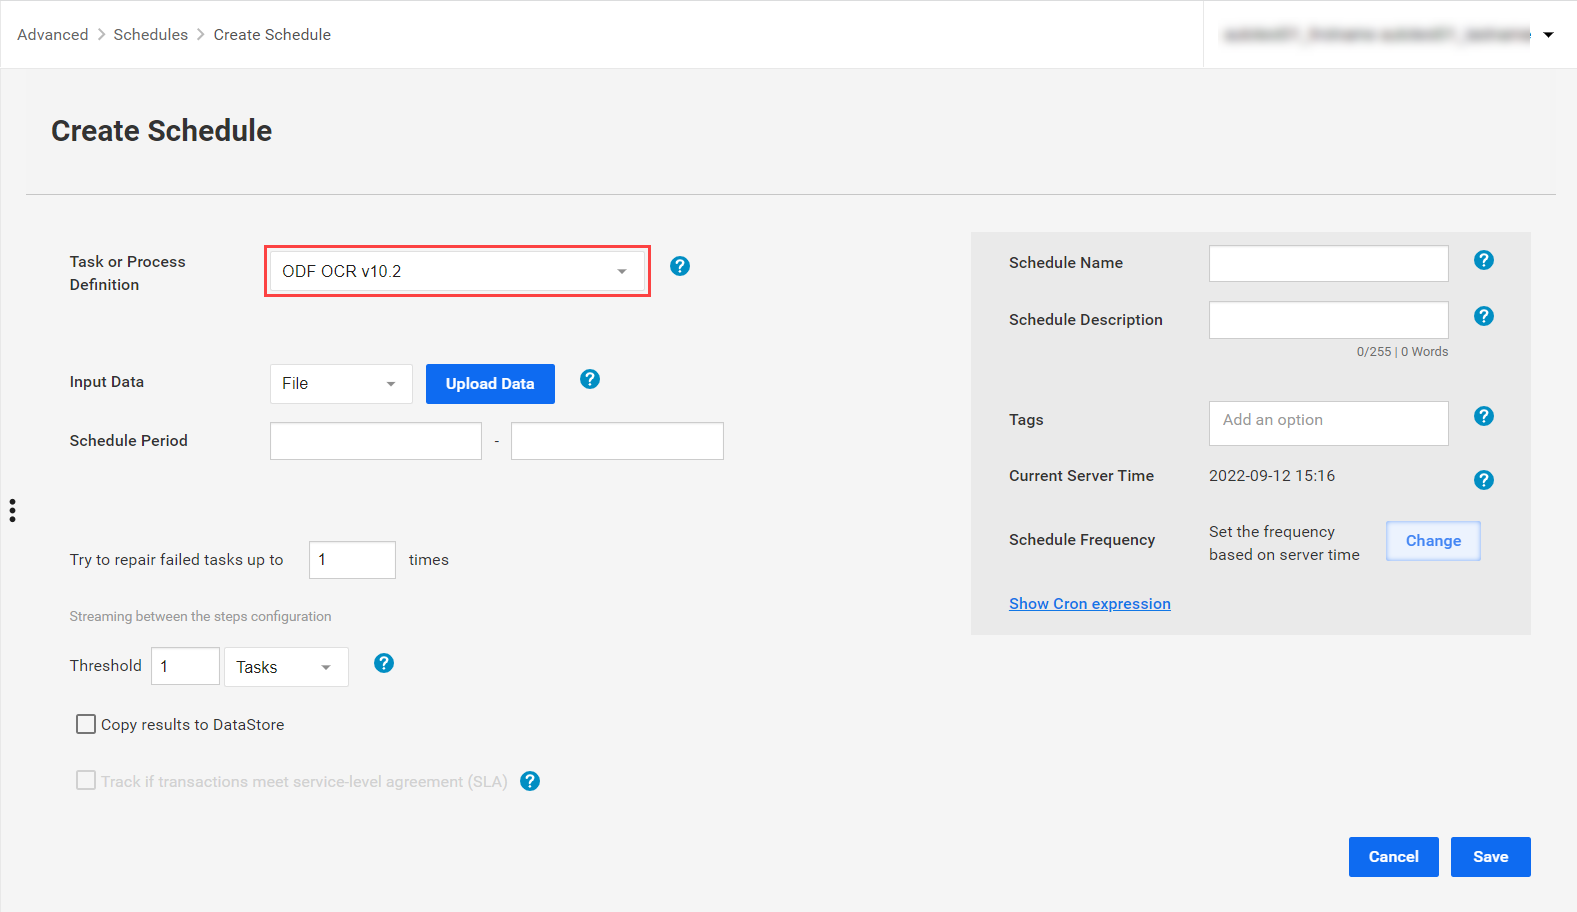
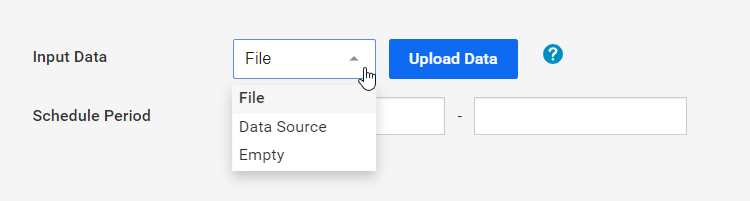
In the Input data drop-down list, select your input data type:
- File: upload a data file.
- Data Source: in the drop-down list that appears, select a Data Source. For more details on the Data Source configuration, refer to Start task and Business Process from Data Source.
- Empty: set up the scheduler to use the data from recorder variables.
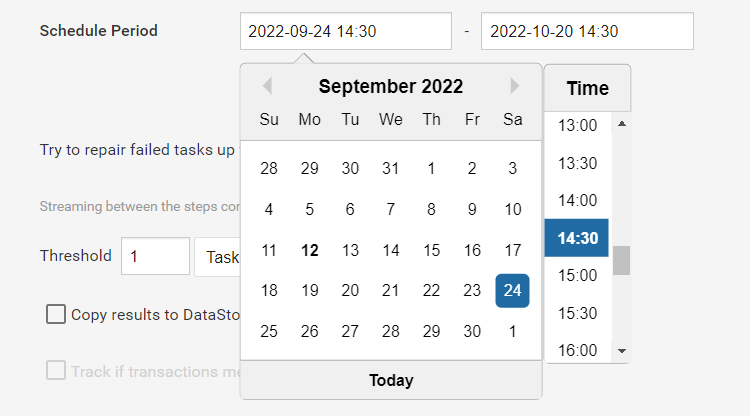
In Schedule Period, specify the starting and ending dates for the schedule to work.
 note
noteThe server time of the scheduler is set to GMT, and all schedules are triggered according to that time setting.
Set up the Streaming between the steps configuration option. In the Threshold field, specify the minimum completion level required for the streaming. In the field next to it, select Tasks or Percents.
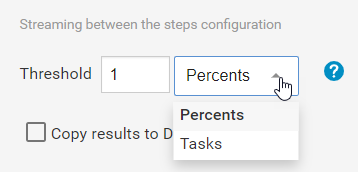
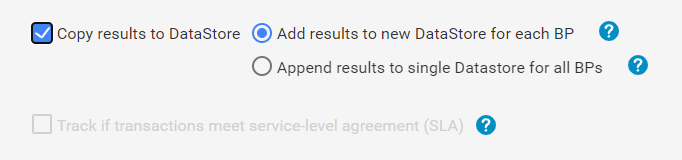
To enable copying results to a Data Store, select the appropriate checkbox and set how the copy should be made:
Add results to new Data Store for each BP: each BP will have an individual Data Store to save the results. The Data Store name's format is [mm-dd-YYYY hg-mm-ss]-[BP-name].
Append results to single Data Store for all BPs: data from all BPs will be saved to the same Data Store. The Data Store name's format is [BP name].
 info
infoWhen transactions tracking is enabled, you can also check Track if transactions meet service-level agreement (SLA) to get SLA data.
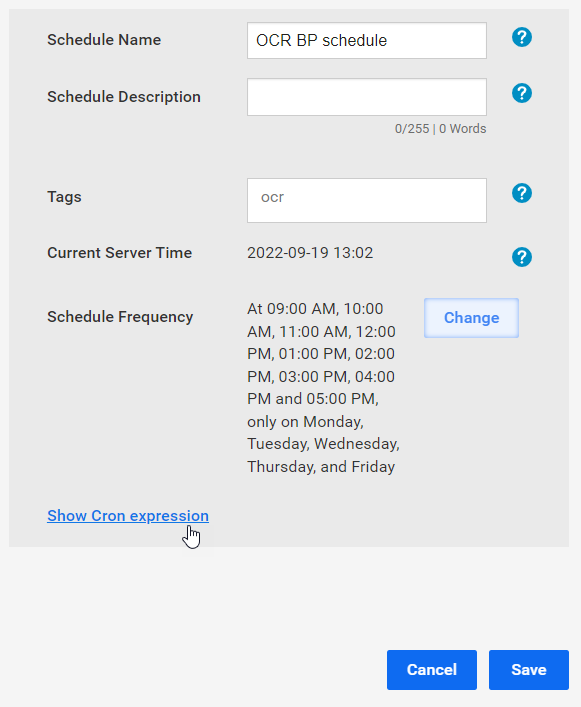
In the section on the left, add a title, description, and tags if required.
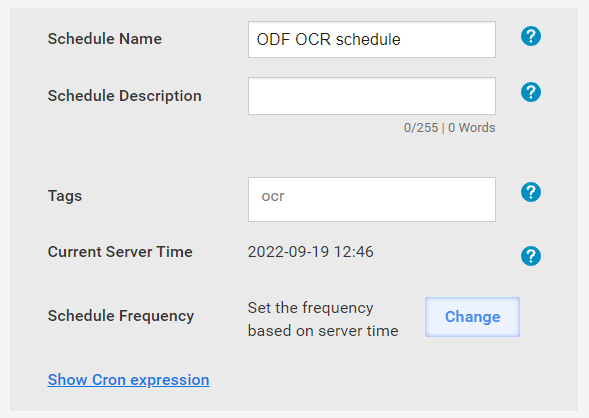
To configure the schedule frequency, click Сhange and type in or select values in appropriate drop-down boxes. You can set the BP to start at particular time or run at specific intervals.
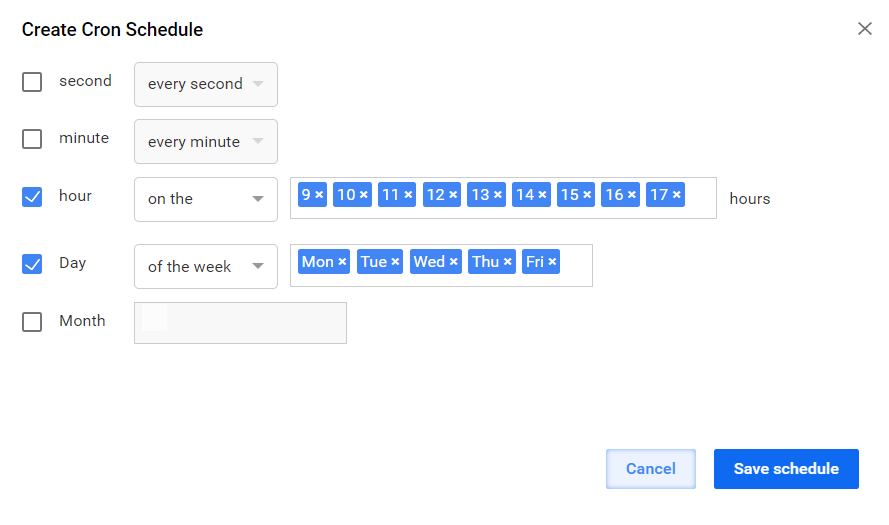
To view the specified schedule frequency as a Cron expression, click Show Cron expression.
 note
noteThe schedule is triggered according to the schedule frequency only within the schedule period configured in Step 3.
Click Save.
Manage schedules
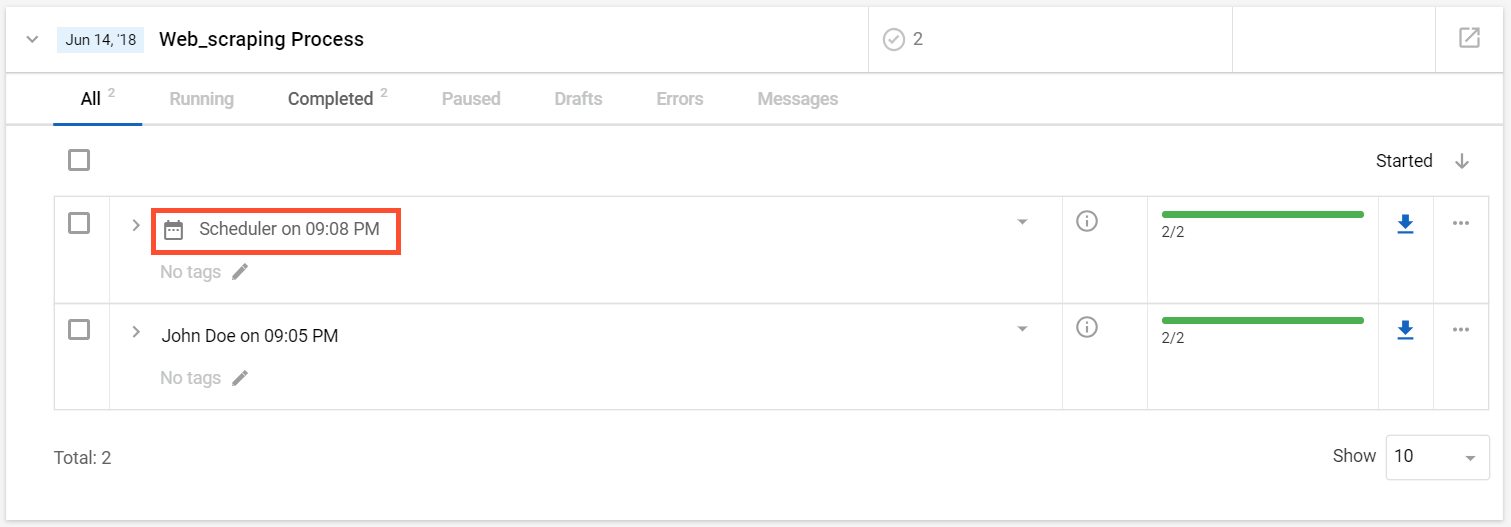
When the scheduler starts a BP, it creates a separate instance. You can see all BP instances on the Business Processes > View all page.
To edit a saved schedule, go to Advanced > Schedules, select the schedule, modify its parameters, and click the Save button.
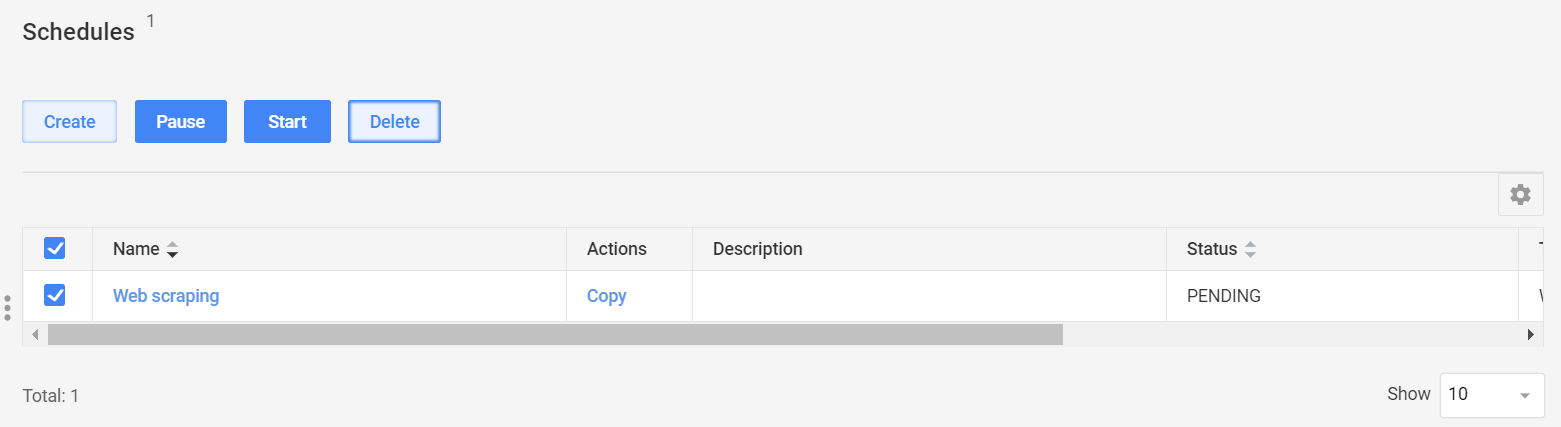
You can also manage schedules in the following way:
- Pause
- Start
- Delete
To initiate the above actions, select the checkbox next to a schedule and click an appropriate button.
When you delete a BP from the BP list, its instance remains in Control Tower.
Import schedules with Asset Bundle
Advanced users with coding skills can also import scheduler configurations by packaging them into an Asset Bundle together with the associated Business Process. In this case, they will not have to additionally configure a schedule for the Business Process—the latter will start running on schedule as soon as it is installed.
For details and instructions, refer to Import Business Process schedules with Asset Bundle.