Modify setup
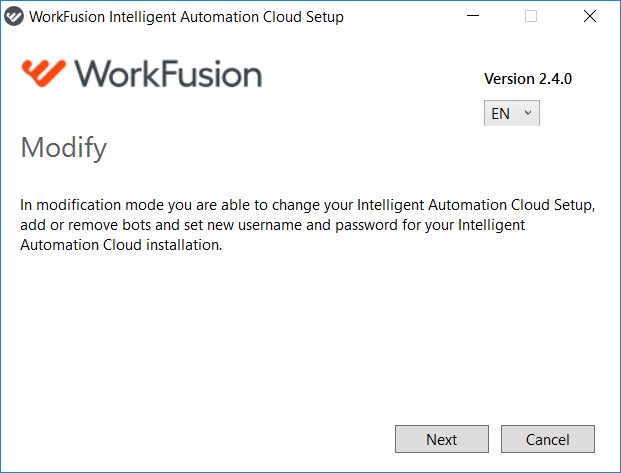
In the modification mode, you are able to change your Intelligent Automation Cloud Business setup, add or remove bots, and set new Administrator credentials.
There are several ways to enter the modification mode.
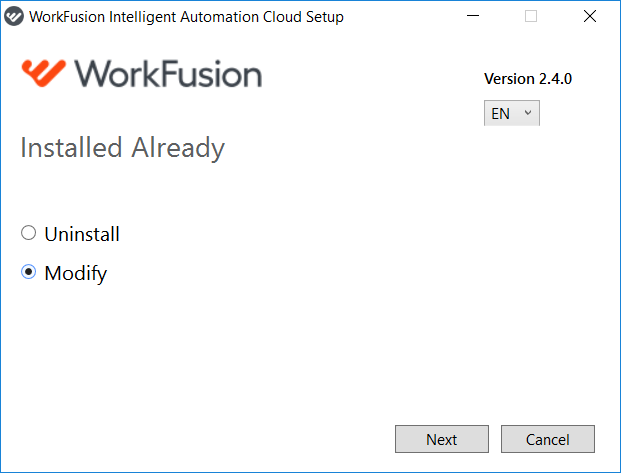
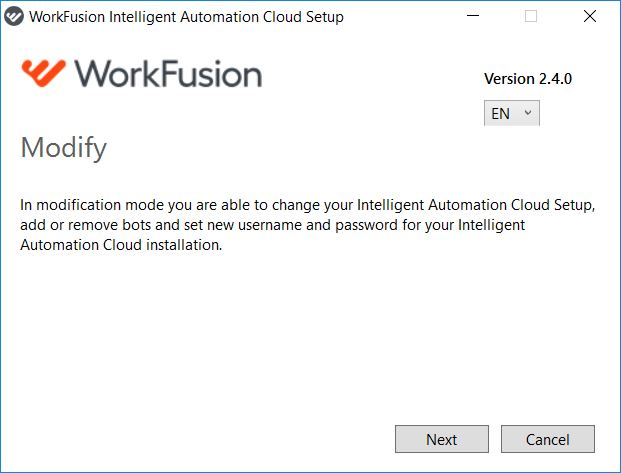
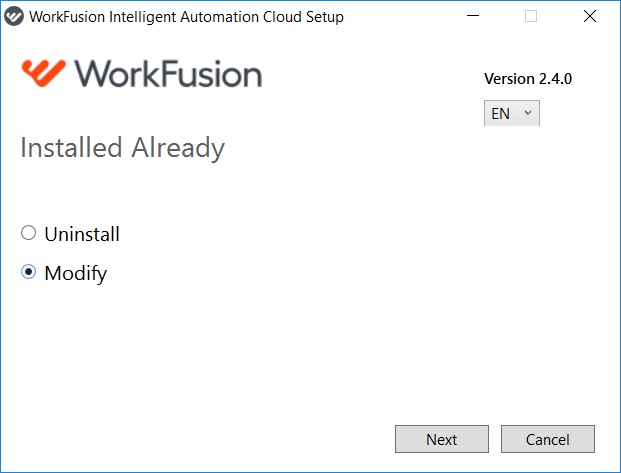
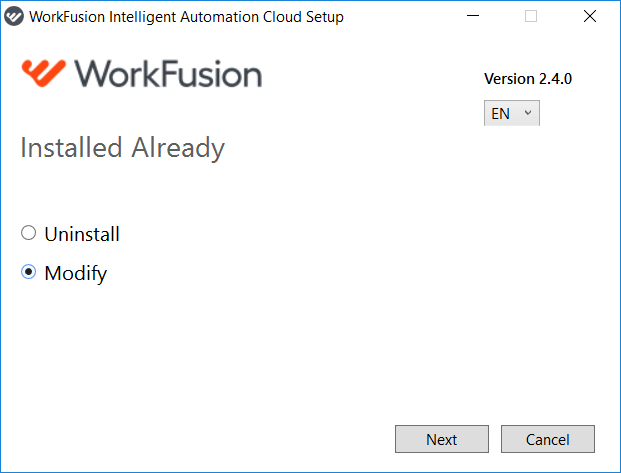
- Run IntelligentAutomationCloudInstaller.exe and select Modify > Next.
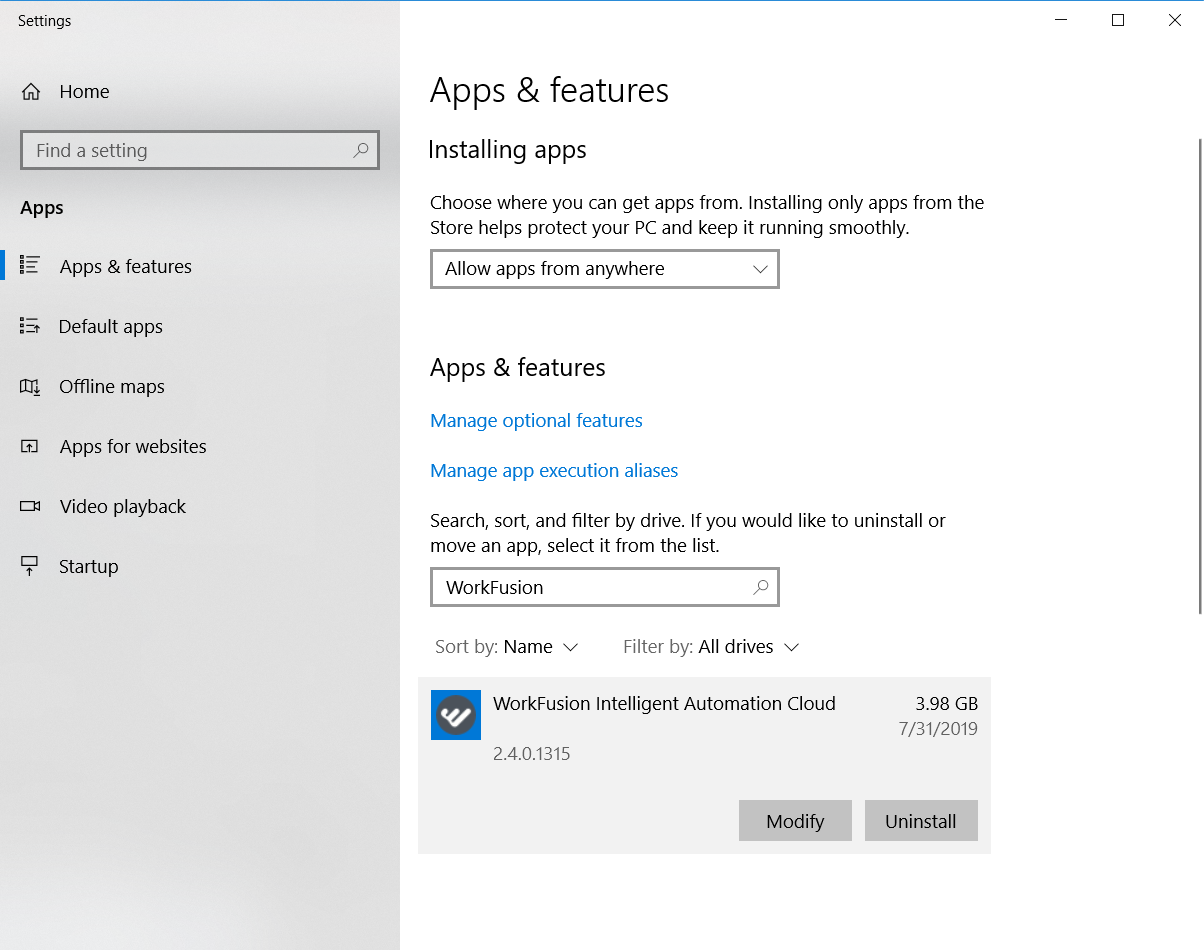
- If you do not have the installer file, use the app list in Windows settings. Open Windows Settings > Apps & features and start entering the application name.
 To enter needed changes, click Modify > Next.
Add server components
To add server components, you have to install them (in case of the Development Workstation installation type). For that, use the Modify option.
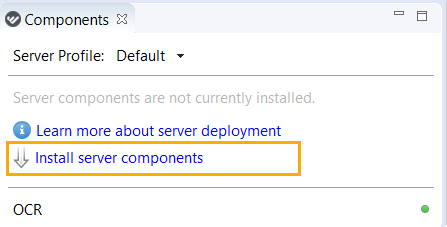
- Сlick Install server components on the Components tab.
- Or run IntelligentAutomationCloudInstaller.exe and select Modify.
Follow the steps to add server components.
In the modification mode, click Next to proceed.
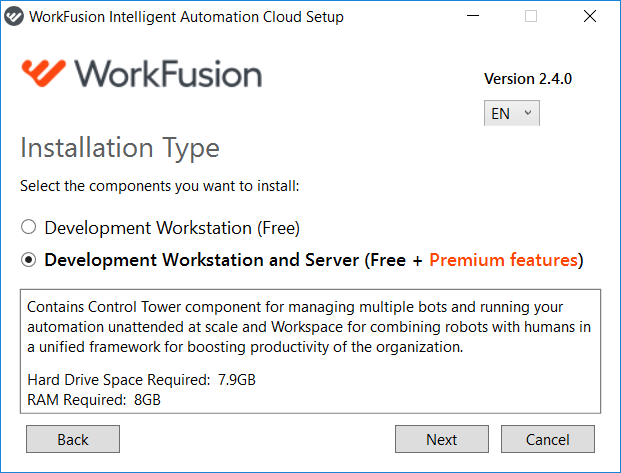
Select the Development Workstation and Server installation type and click Next.
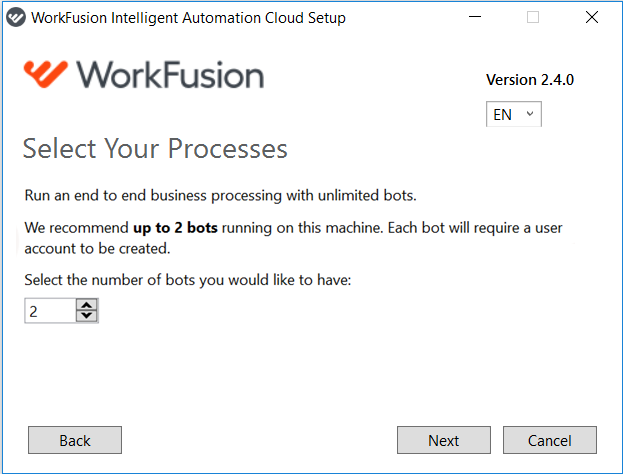
Enter the number of bots to be run on Server. To select multiple bots, you need:
- Windows Server: 2012 R2 or 2016
- user account created for each additional bot
- 2 GB of RAM for each additional bot (refer to System Requirements)
warning
If the machine has non-server OS, you cannot select more than 1 bot.

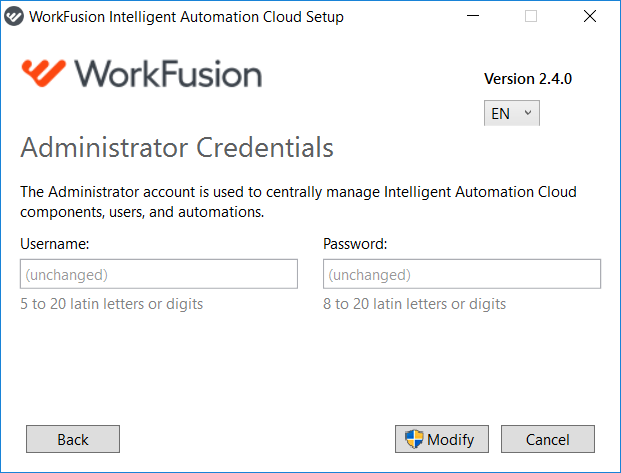
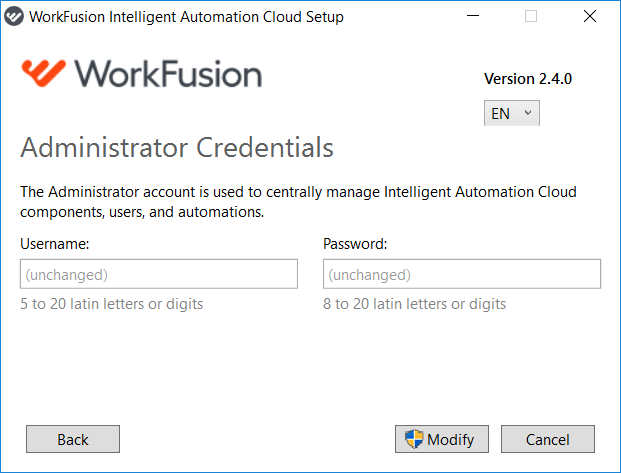
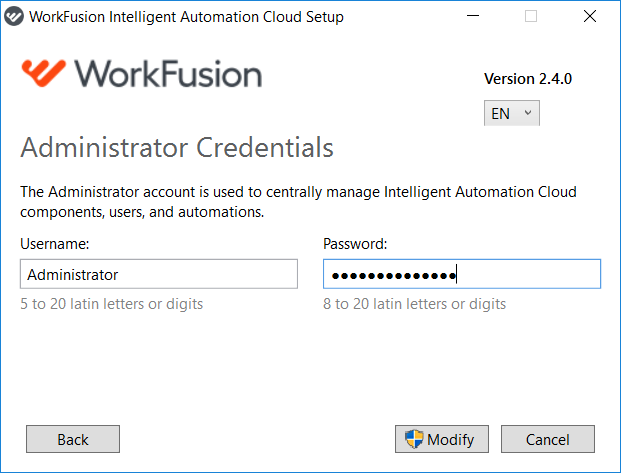
Edit your Administrator credentials if needed, or skip this step.
Click Modify.
To start modifying, accept a security prompt by clicking Yes.
note
The User Account Control window appears in case the current Windows user does not have Administrator's privileges. User Access Control (UAC) is set to notify the user when applications try to make changes to a computer.
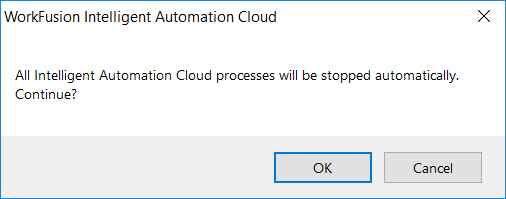
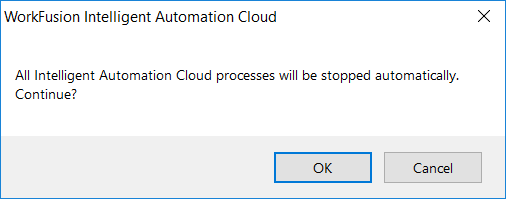
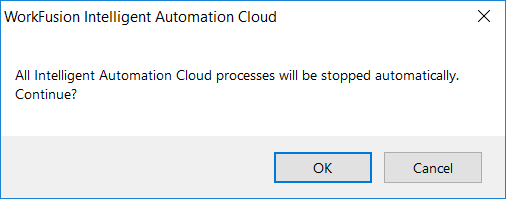
If Intelligent Automation Cloud is running, the following message appears. Click OK to continue.
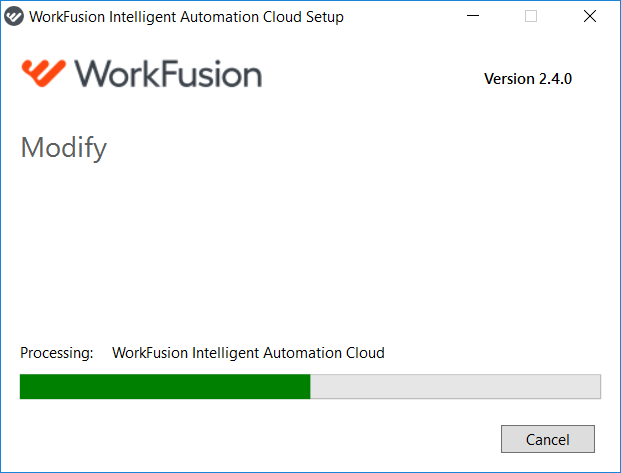
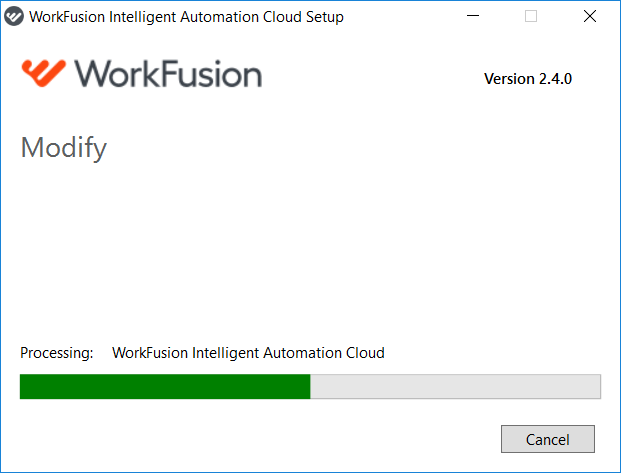
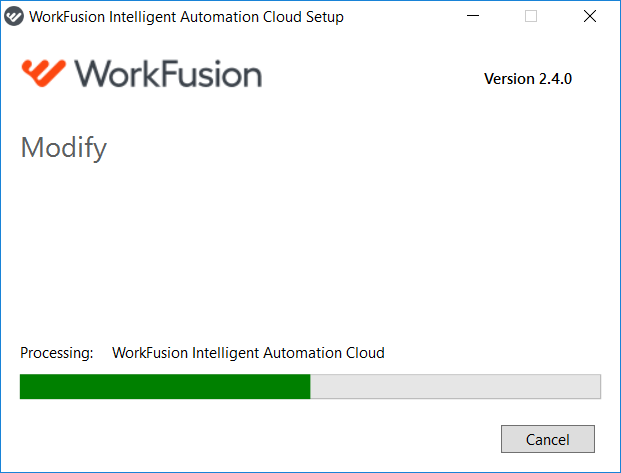
Wait till the modification process is performed.
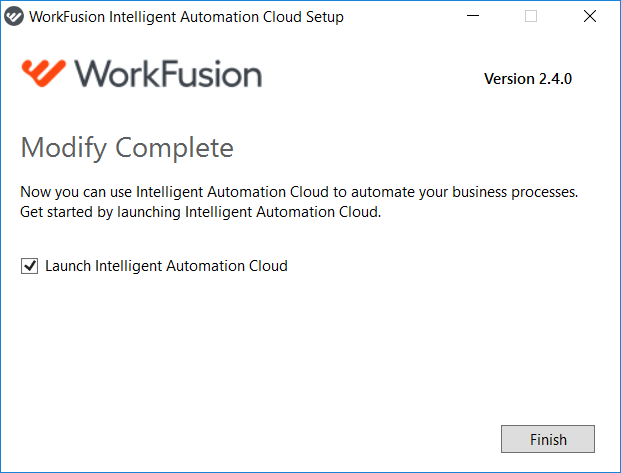
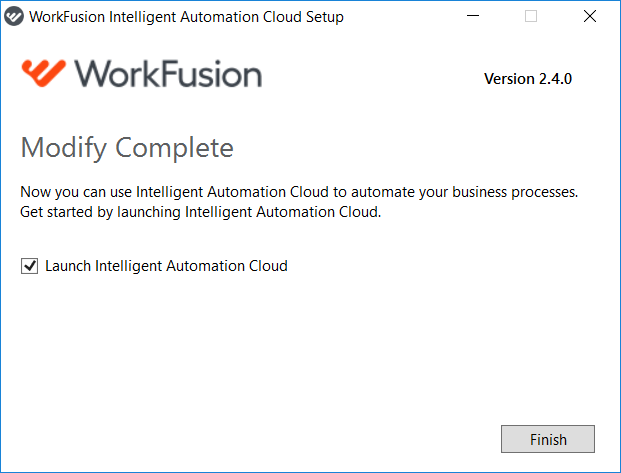
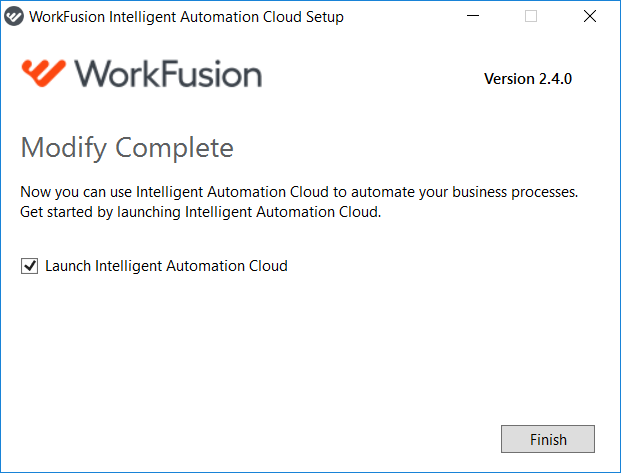
Click Finish.
Change number of bots
To change the number of bots running on the server concurrently, follow the instruction below.
- Run IntelligentAutomationCloud.exe to enter Intelligent Automation Cloud Business setup.
- Select Modify and click Next.
- Specify the number of bots and click Next.
- On the Administrator Credentials screen, click Modify.
- To start the modification process, accept a security prompt by clicking Yes.
- If Intelligent Automation Cloud is running, the following message appears. Click OK to continue.
- Wait until Intelligent Automation Cloud Business is modified.
- Click Finish to exit.
Modify credentials
Modify Administrator credentials
To modify Administrator credentials, follow the instruction below.
- Run IntelligentAutomationCloud.exe to enter Intelligent Automation Cloud Business setup. You can enter the modification mode via Windows Settings too.
- Select Modify and click Next.
- Edit the credentials and click Modify.
- To start the modification process, accept a security prompt by clicking Yes.
- If Intelligent Automation Cloud is running, the following message will appear. Click OK to continue.
- Wait until your Business Edition is modified.
- Click Finish to exit.
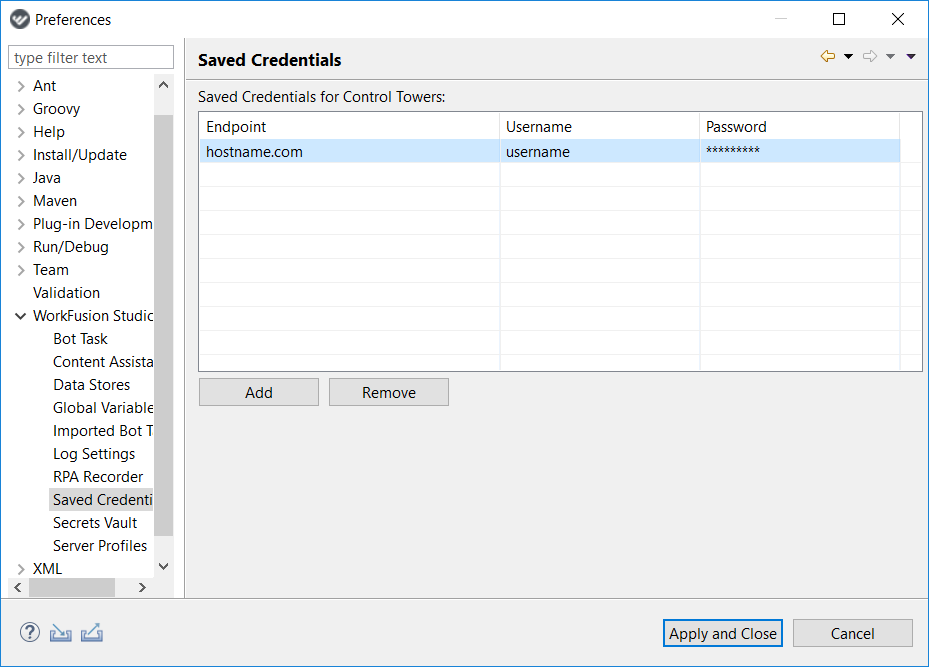
After you have performed the steps above, go to WorkFusion Studio > Window > Preferences > Saved credentials to enter edits there. On finishing, click Apply and Close.
Modify Secure Storage password
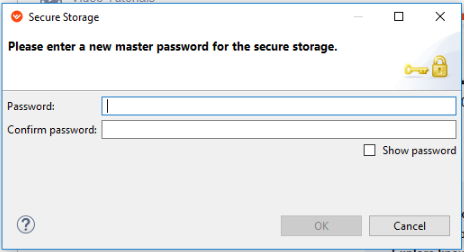
You need to enter the Secure Storage password for WorkFusion Studio. If you forgot to do it, you can reset the Secure Storage password as described below.
- Close WorkFusion Studio.
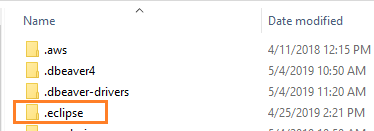
- Go to the folder C:\Users\<your_user_name>\.
- Find the folder named .eclipse and remove it.
- Start Intelligent Automation Cloud Business. It should ask you to enter a new password. Confirm the password and click OK.