
File storage overview
To simulate the use of an S3 storage in your Business Processes, Business Edition offers a local File Storage, which is installed and configured on your machine during the product setup.
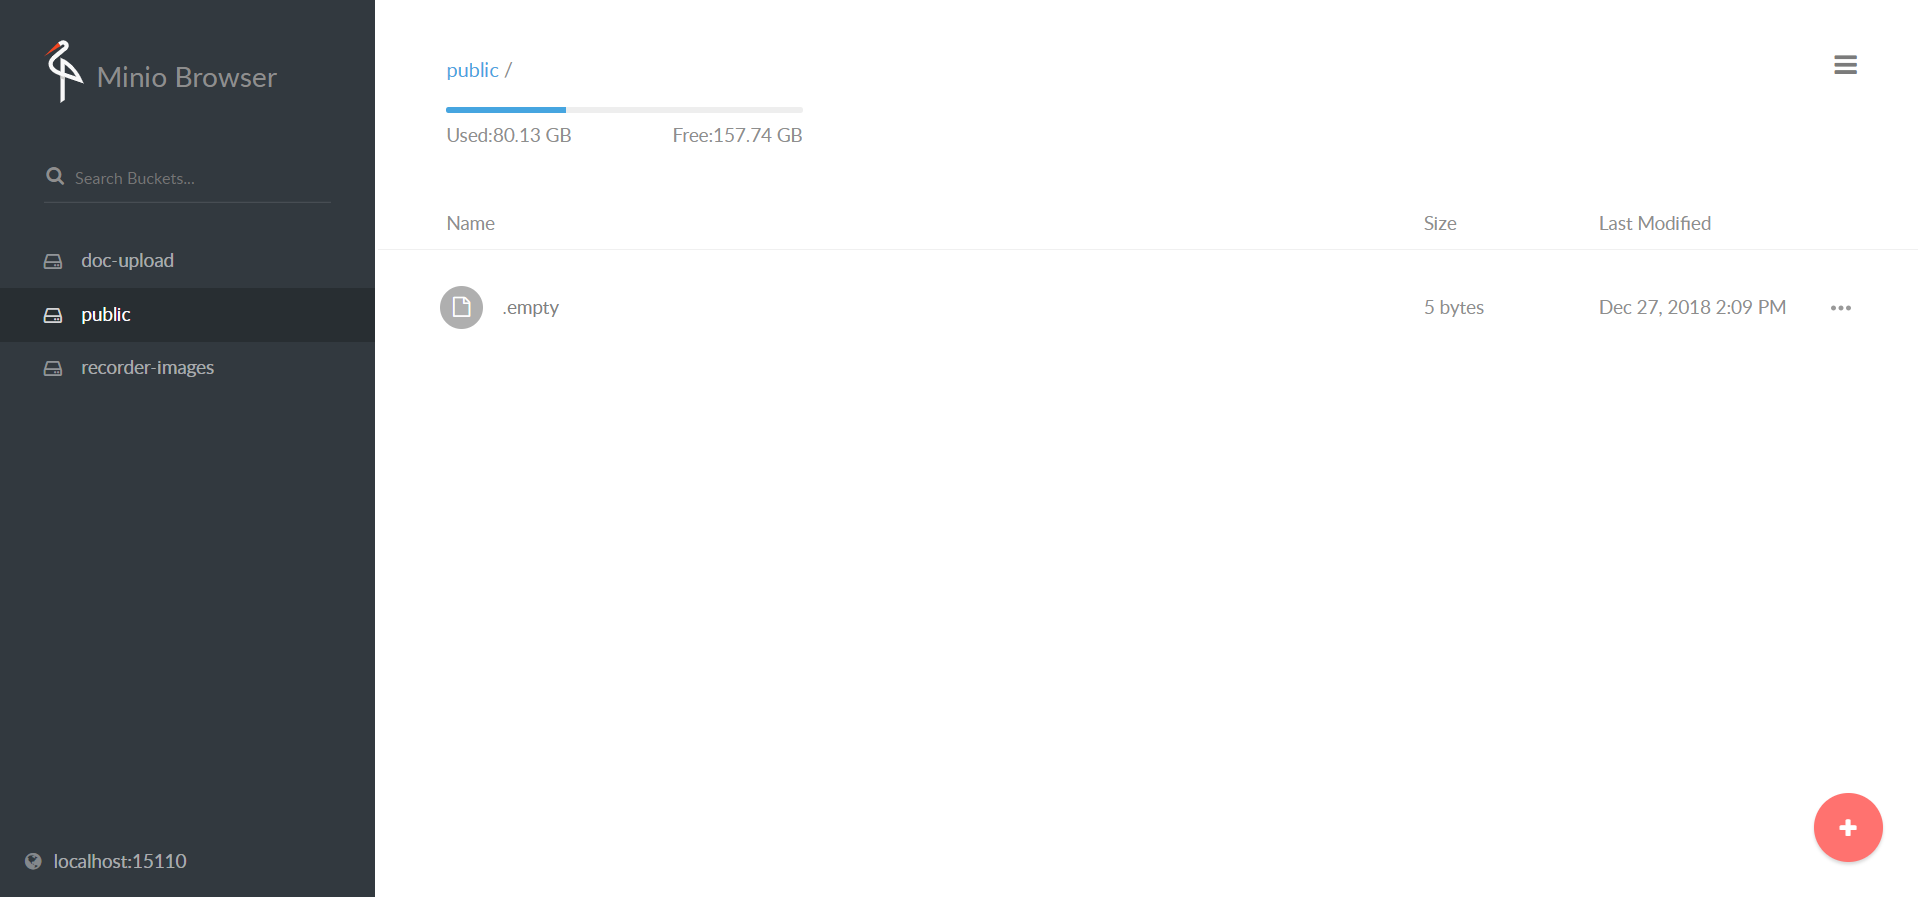
There is a preconfigured common bucket called Public, with Read/Write access, so you are able to upload/download files there.
File Storage options
In order to create a new bucket or use the existing one to upload files, you should use the local File Storage, which is installed with Intelligent Automation Cloud Business. To get access to File Storage, do as follows.
Go to Components and enable server components.
Log in using your credentials. The credentials for File Storage are defined during installation. See the installation guide for more details.
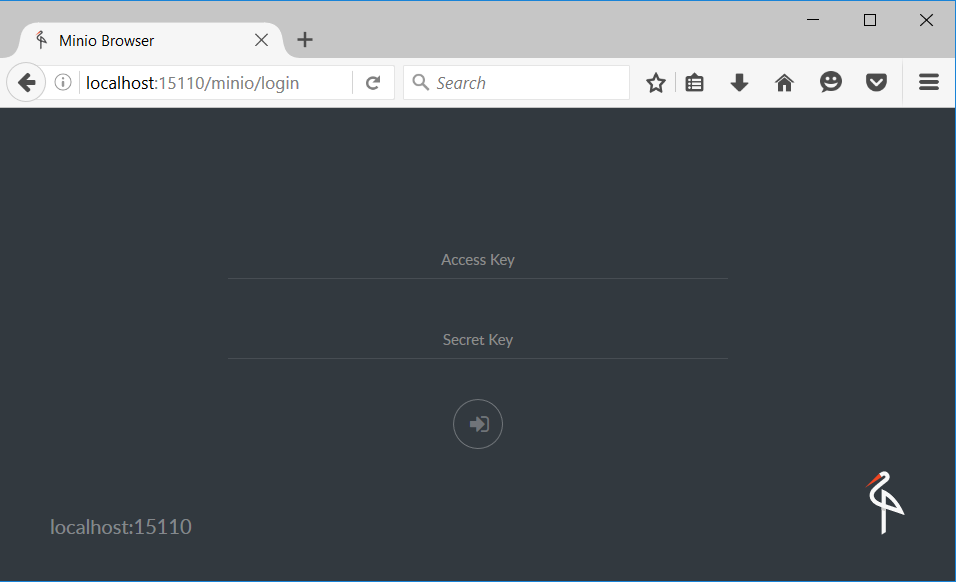
Upon login, you can browse the content of File Storage, create new buckets, or upload/delete files.
warning
The other buckets are for internal purposes of Intelligent Automation Cloud Business. Do not use, modify, or delete them!
Create bucket
You can create your own buckets for your Business Processes, if needed.
- Click the plus button.

- Select Create bucket.
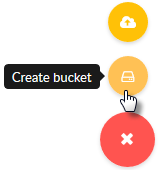
- Enter the name for your bucket.

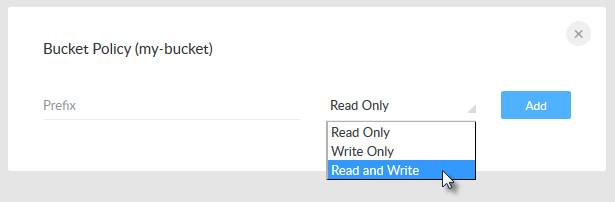
- Set Bucket Policy (by default a new bucket is created as read-only).
Hover the bucket and click the Options icon.
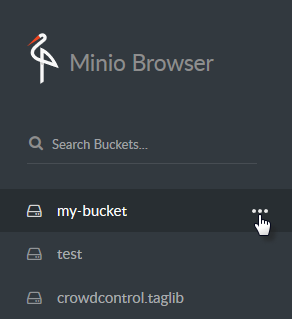
Change the default read-only policy to the type you need for your Business Process.
tip
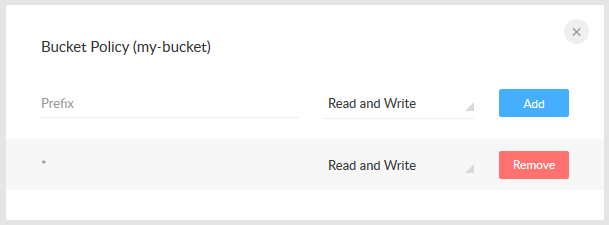
Add the asterisk (*) symbol to the Prefix field.
Click Add to save your changes and close the window.
Upload files to bucket
You can upload files for your Bot Tasks to your bucket.
Select the bucket to upload a file to. If you need to upload the file to a subfolder in the bucket, then you should choose the subfolder before.
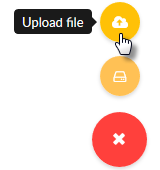
Click the plus button.
Select Upload files.
Navigate to the file you want to upload to the bucket.
note
You can upload one file at a time!
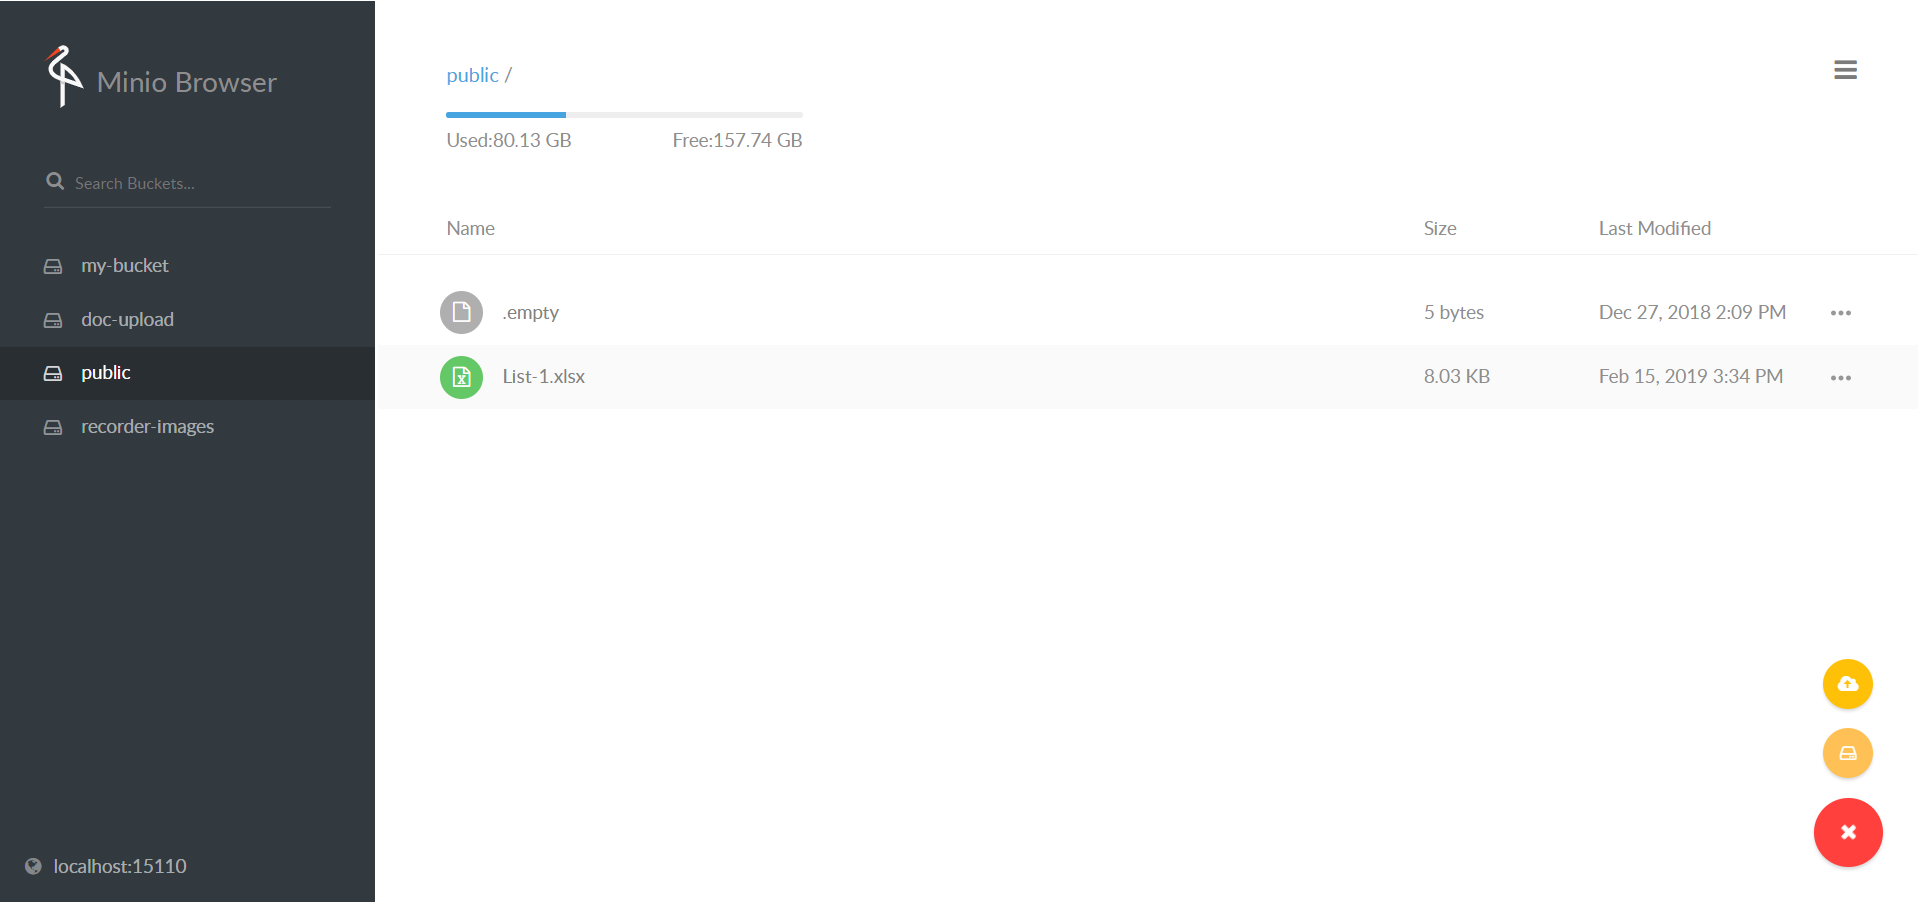
Now you can see the uploaded file in the bucket.
Delete files from bucket
You can delete files from your bucket, if you don't need them anymore.
- Select the bucket to delete a file from. If you need to delete the file from a subfolder in the bucket, then you should choose the subfolder.
- Select the file you want to delete, and click the Options icon, then select Delete.
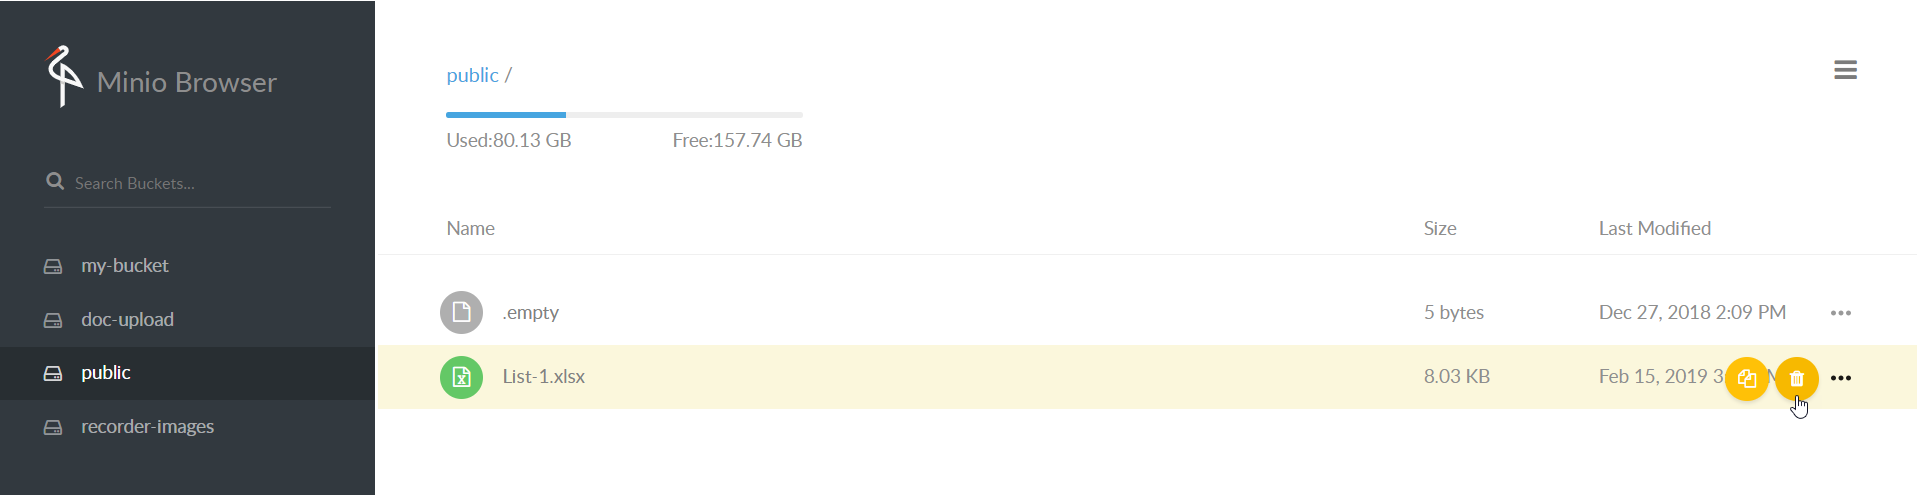
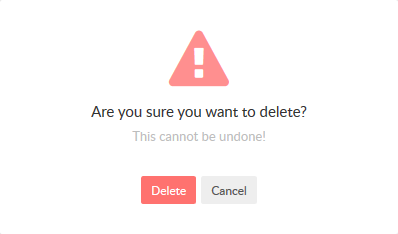
- Click Delete to confirm deletion, or Cancel to abort the operation.
Use File Storage in recording
For your recordings, you can use the Public bucket or create your own bucket as described above. When you create a new bucket, do not forget to set the Bucket policy.
Create folders
Folders in a bucket can be created either from a script or using the file system. To create a folder in the file system, proceed as follows.
- Open a file manager, for example Windows Explorer.
- Go to your Intelligent Automation Cloud installation folder (by default, C:\IntelligentAutomationCloud\).
- Find the data folder (\IntelligentAutomationCloud\minio\data\).
- Find your bucket there (for example, public).
- Create a new folder in the bucket to upload your files to. The files can be uploaded or copied over the file system.
Upload files
The files can be uploaded or copied over the file system. To copy files over the file system, do as follows.
- Open a file manager, for example Windows Explorer.
- Go to your Intelligent Automation Cloud installation folder (by default, C:\IntelligentAutomationCloud\).
- Find the data folder (\IntelligentAutomationCloud\minio\data\).
- Go to your folder in the bucket (for example, \public\invoices2process\).
- Copy your files to the folder. Now, you can create a list with your files to be used as the input data for your Business Process.
Create input data files
The input data files can be uploaded or copied over the file system. See how to copy files over the file system.
Create a .csv file.
Enter the column name, for example
file_link.Open File Storage.
Choose a file in your bucket, click the Options icon, and select Copy.
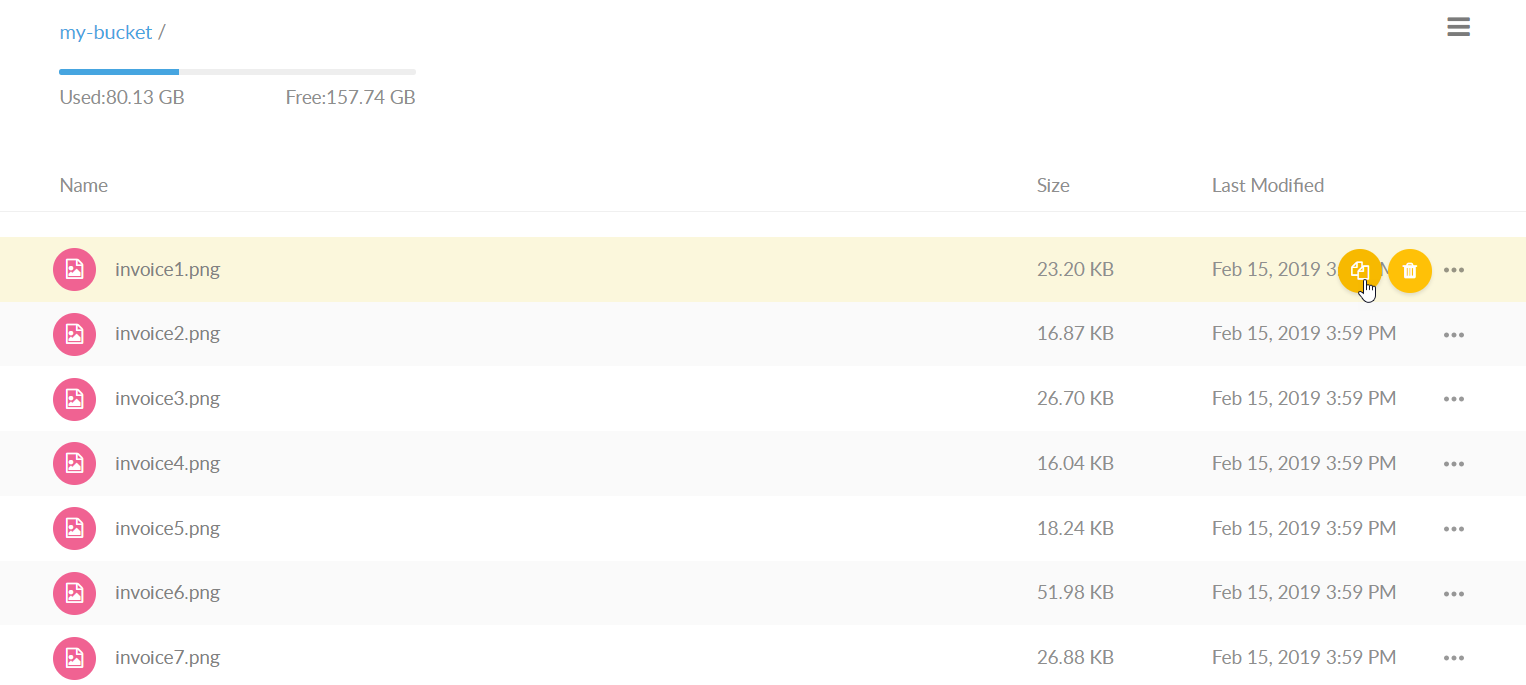
Click Copy Link to copy to clipboard.
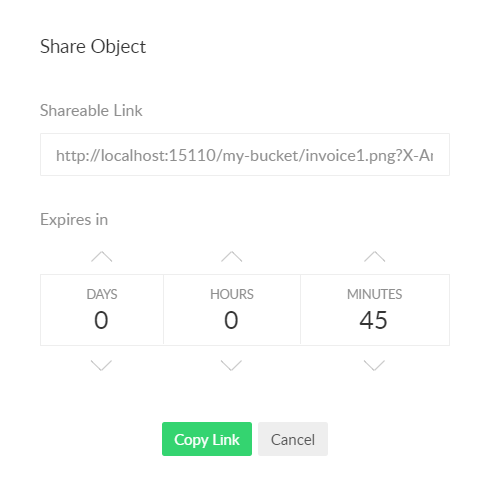
Paste the link from the Clipboard in the .csv file. The pasted link looks as follows.
http://localhost:15110/my-bucket/invoice1.png?X-Amz-Algorithm=AWS4-HMAC-SHA256&X-Amz-Credential=workfusion%2F20190215%2Fus-east-1%2Fs3%2Faws4_request&X-Amz-Date=20190215T130528Z&X-Amz-Expires=604800&X-Amz-SignedHeaders=host&X-Amz-Signature=576bfcd6fdd29ee4afcb3afba928a1c3c3b5b5682eb668ccd897beed0f71153aRemove all characters after the question mark, as they are not needed, for the link to have the following format:
http://localhost:15110/my-bucket/invoice1.pngRepeat the procedure for all files you are going to use as the Input data.
Save and close the file.
Use the file as Input data in your Business Process.
Open bucket to public access
- Open the folder where Minio is installed.
- Run the next command in minio_mc which adds your host as follows:
minio_mc config host add myminio http://127.0.0.1:15110 %userkey% %passwordkey% - Run the next command in minio_mc that applies the needed policy to your bucket:
minio_mc policy public myminio/publicNow you have open access to the file like this: localhost:15110/public/invoices2process/invoice1.png
Use File Storage in bot task
Below you can see an example of how to use the Public bucket in the script (Bot Task).
Sample S3 File Storage:
<var-def name="variable_name">
    <s3 bucket="bucket_name">
        <s3-put-public path='myfiles/tiff/${document_uuid}.tiff' content="${tiff_content}"/>
    </s3>
</var-def>
Code execution results are as follows:
- Subfolder myfiles/tiff/ is created in the Public bucket.
- A .tiff file is put there under the name defined in
${document_uuid}. - The link to the file is included to the export for the next step.
- The procedure is repeated for all files from the input data.